How to Preserve a Tree Stump: The Best Methods to Keep Your Stump Standing
If you “wood” like to keep that stump around, here’s what to do
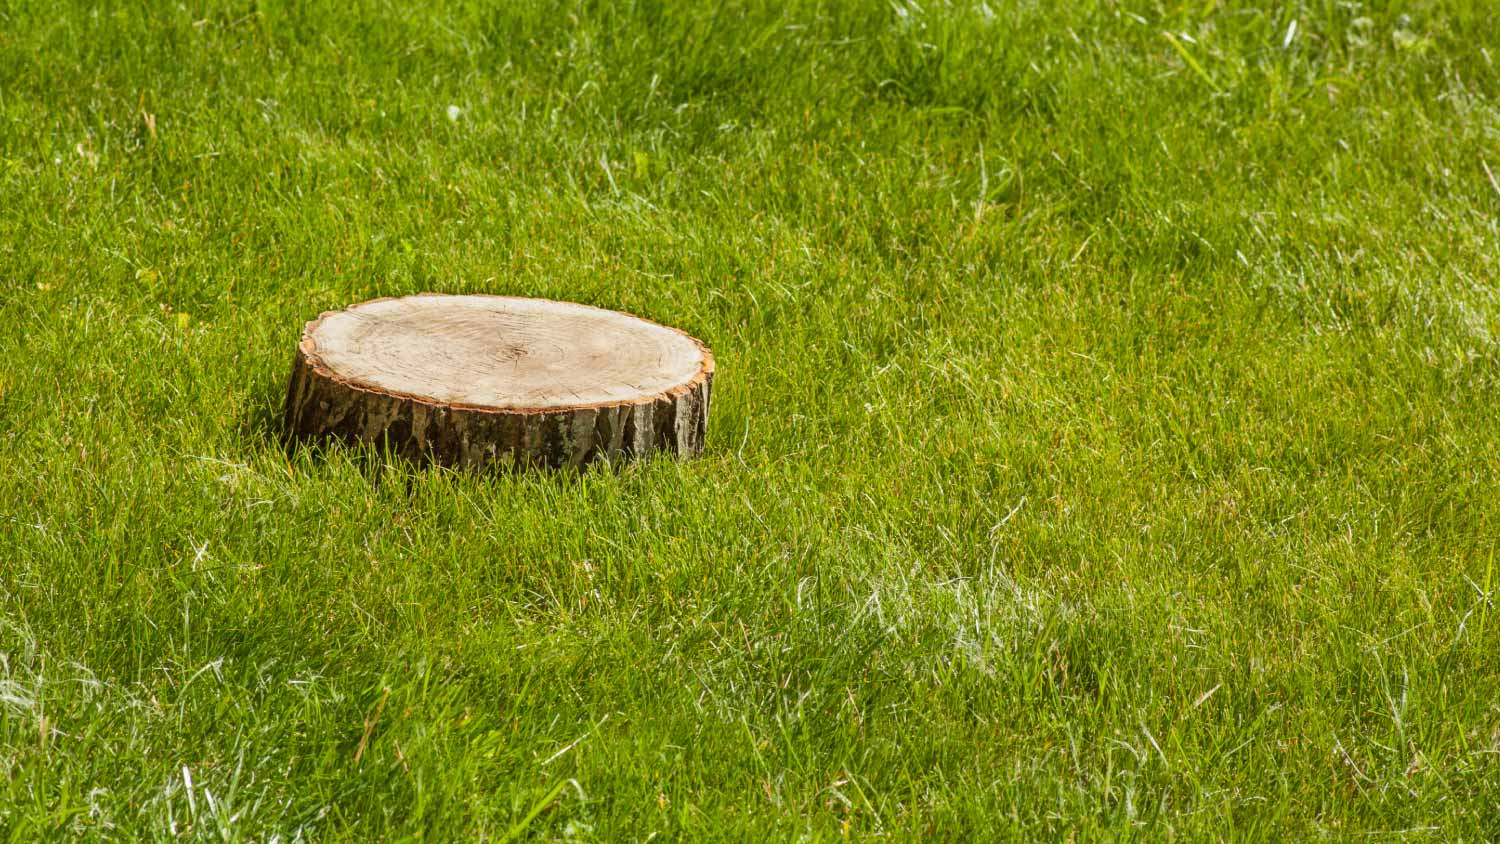

A leftover tree stump can be one person’s eyesore and another person’s rustic decor. If you’re in the latter category, you’ll need to learn how to preserve a tree stump properly to avoid rot and pests. These are the best methods to protect and preserve your stump, freeing you up to get creative with incorporating it into your landscape.

1. Clean and Sand the Stump
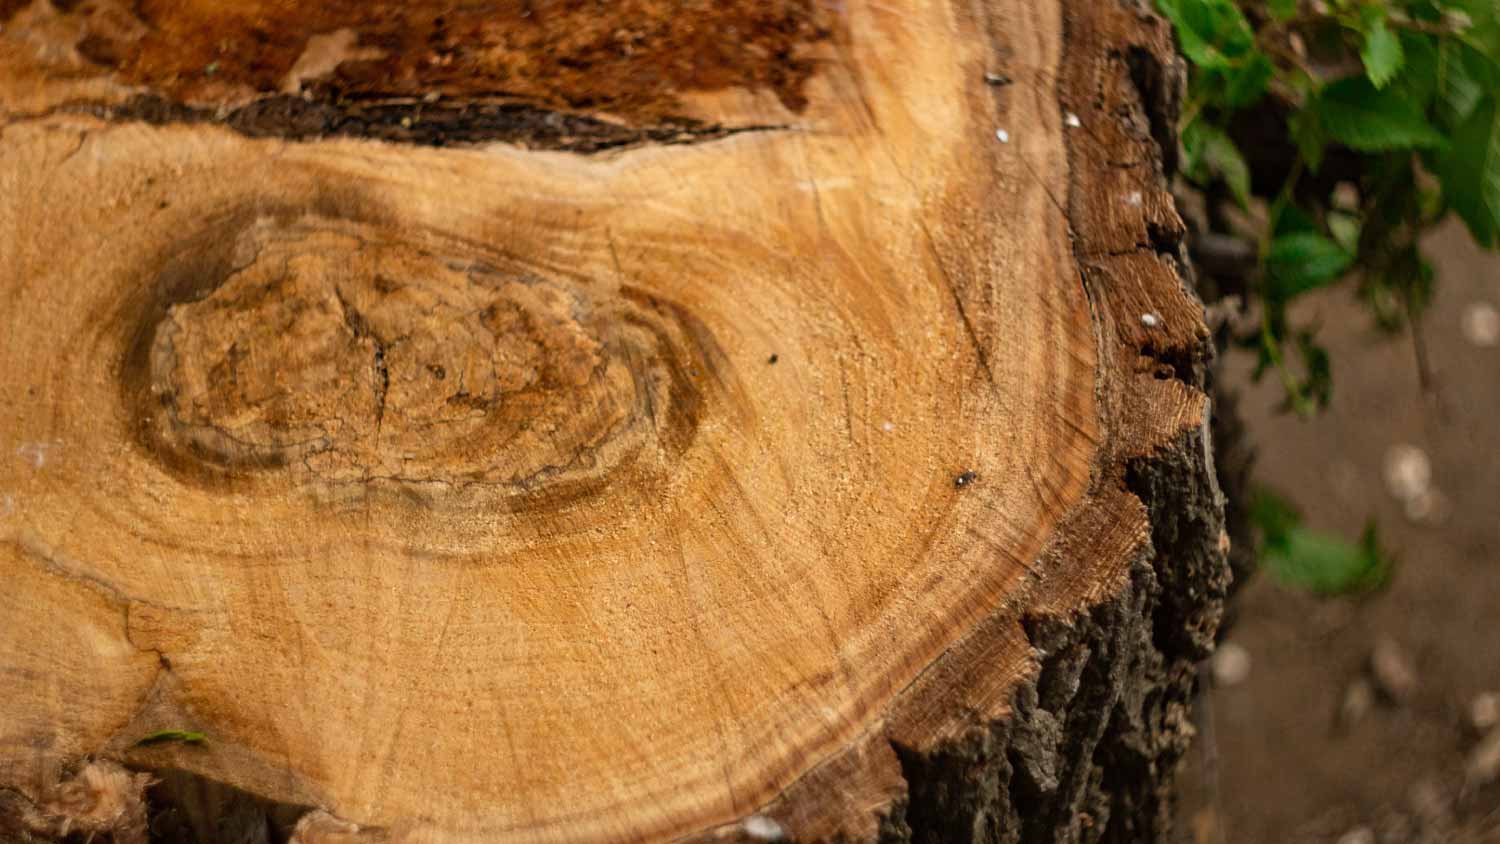
Before starting a stump preservation method and thinking about decorative ways to repurpose a tree stump, it’s important to clean the wood thoroughly to remove dirt and debris. Start by wiping the top and bottom with a damp cloth, avoiding the bark to prevent it from crumbling or flaking off. Next, gently pull off any loose wood, bark, twigs, or leaves.
Once the stump is clean, use medium-grit sandpaper to remove the top layer and create a level surface. If your stump’s texture is especially rough, you can use an electric rotary sander to spare some elbow grease. After sanding, wipe the entire stump with a damp microfiber cloth to remove any leftover sawdust.
2. Remove the Bark
If the bark on the stump is in good shape and you like the rustic aesthetic, you can leave it as is. However, if the bark appears dry or has a black ring between it and the wood, or if you prefer a cleaner look, you can remove it using a rotary hammer, a hammer and chisel, a flat-top screwdriver, or a draw knife. Once it’s removed, sand the sides of the stump down with medium-grit sandpaper, using a rotary sander if desired.
3. Optimize Drainage
The drier the environment around the stump, the longer it will take to rot. Optimize drainage by removing as much dirt as possible from around and under the roots of the stump. Then, fill it in with gravel. You can also consider drilling a hole in the top of the stump to add even more drainage.
4. Char the Stump and Wire Brush It
Charring it with a propane torch will prevent the stump from sprouting and help release any moisture trapped inside. Once you’ve charred the stump, go over it with a wire brush and apply your preservative of choice.
5. Apply Oil
Applying oil to the stump will help form a protective barrier against water and keep wood-loving pests at bay. A few good options are tung oil, linseed oil, or a 50/50 mix of pine tar and linseed oil. This will darken the stump but enhance the natural beauty of the wood grain, so it’s the perfect solution for transforming a stump into rustic decor.
6. Apply Wood Filler
After you’ve cleaned and sanded your stump, you can seal any large or deep cracks in the wood with a wood filler, such as clear epoxy. If you’d like to create a smooth, uniform surface, apply tape along the sides and bottom of the stump beneath the cracks to prevent any leakage. Then, carefully pour the epoxy into the cracks, allowing it to settle and fill the gaps. Apply the wood filler in a single layer and let it cure overnight for the best results.
Remember to always wear gloves when handling epoxy, as it contains strong chemicals and has an incredibly sticky texture that you don’t want coming in contact with your skin.
7. Use Lime Sulfur to Preserve the Tree Stump
Another good method for how to preserve a tree stump is using lime sulfur, which you can find online or at animal feed stores. It will lighten and turn the wood white while majorly hindering the decay process, helping your stump last for years.
8. Cover It With a Coat of Superglue
For a simple and effective way to protect your tree stump from moisture and cracks, take a leaf from the book of bonsai care and apply a coat of clear superglue. To apply the glue, use a brush or the superglue’s applicator nozzle to spread a thin, even layer over the surface of the stump, focusing on any small cracks or weak areas in the wood. Once it’s dry, the glue will create a protective barrier that helps preserve the wood without covering up its natural beauty.
9. Purchase a Commercial Wood Preservative
If you’d prefer a straightforward DIY process, search online or head to your local hardware store for specialty products that are designed for wood preservation. Look for products such as clear wood stabilizer, a wood preservative such as borate, or wood restoration kits for a quick and effective way to preserve a tree stump.
10. Paint It
Coating your tree stump with exterior-grade paint is an easy way to shield it from the elements while adding a pop of color to your landscape. Before you start, make sure the stump is completely clean and dry. Use a high-quality exterior paint that can withstand outdoor conditions, and apply an even coat with a brush or roller. For extra durability, let the first layer dry completely before adding a second coat.
11. Finish With a Clear Exterior Sealant
Once you’ve prepped, filled, oiled, or painted your stump, finish it off with a clear exterior-grade sealant. Look for clear spray sealants to make quick work out of this finishing touch.
12. Keep Up With Maintenance
No matter which method you choose, regular maintenance is key. Be sure to check the stump every few months for signs of rot, cracks, or insect damage. Reapply sealants, oils, or preservatives as needed to keep the stump in tip-top shape for years to come.
13. Remove the Stump
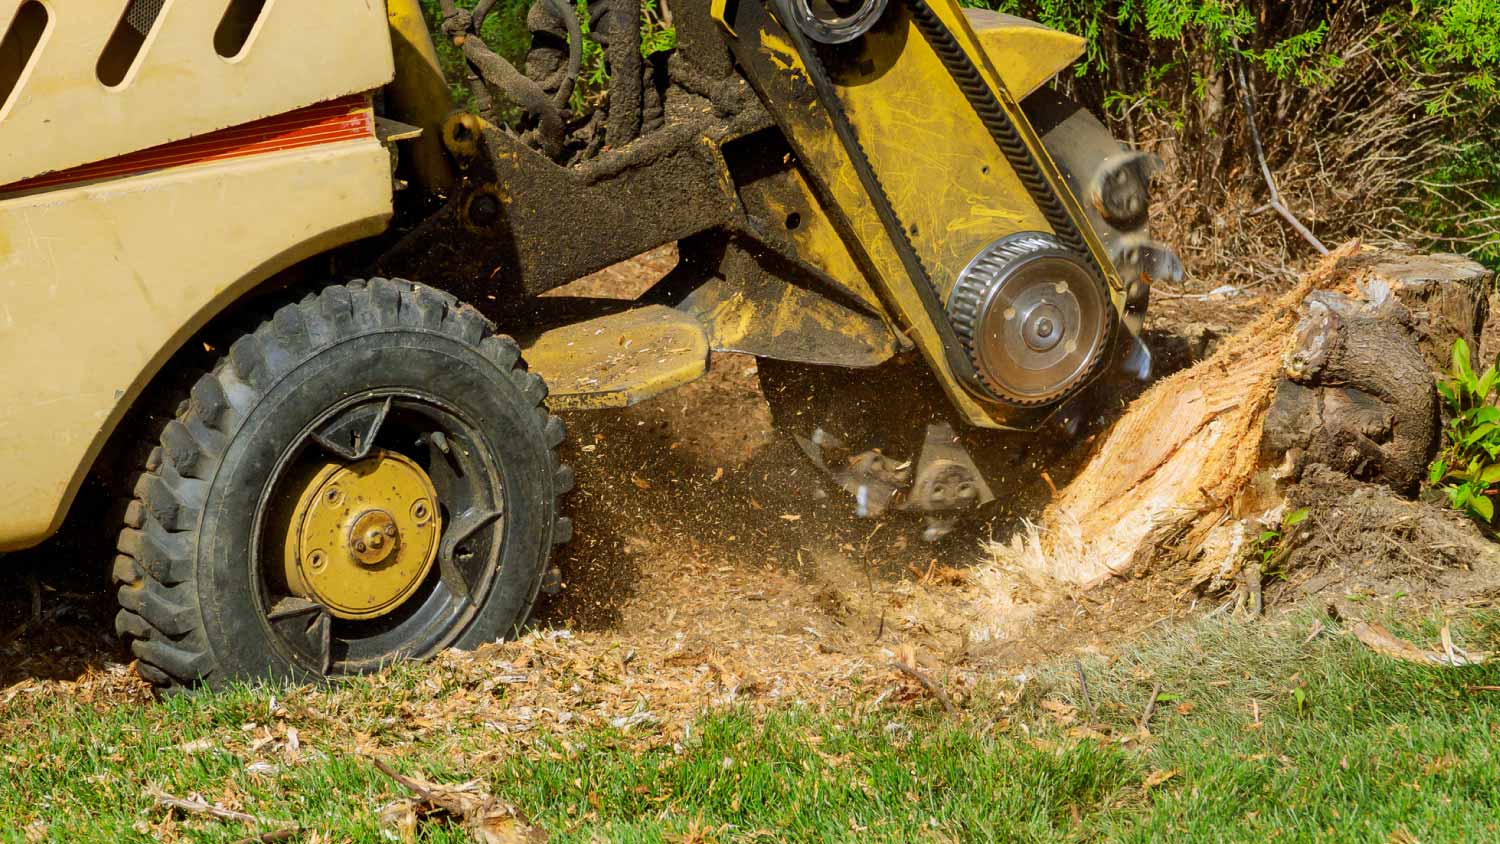
Unfortunately, if your stump decays despite your best efforts, it might be time to explore options for stump removal. Over time, a rotting stump can attract pests, create safety hazards, and become an eyesore in your yard. While there are DIY options for killing a stump, hiring a local stump removal service is the most efficient way to remove the stump from your landscape.
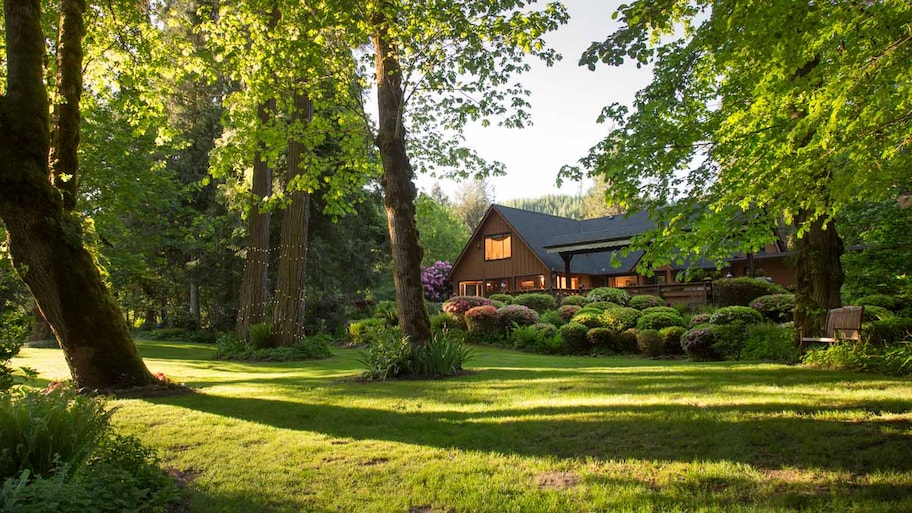
Note that you shouldn’t plant a new tree where the stump was, as the soil will likely be depleted of nutrients and there may still be roots that will harm any new plantings. Instead, you can add a fresh layer of topsoil and plant grass, or add a decorative piece like a planter or a birdbath. Stump or no stump, you can still bring out the natural beauty of your landscape.


Get our Angi-powered app


