
Looking to estimate the cost of rough-in plumbing for your new home? We’ve got you covered with a guide that covers the different cost factors for this type of job.
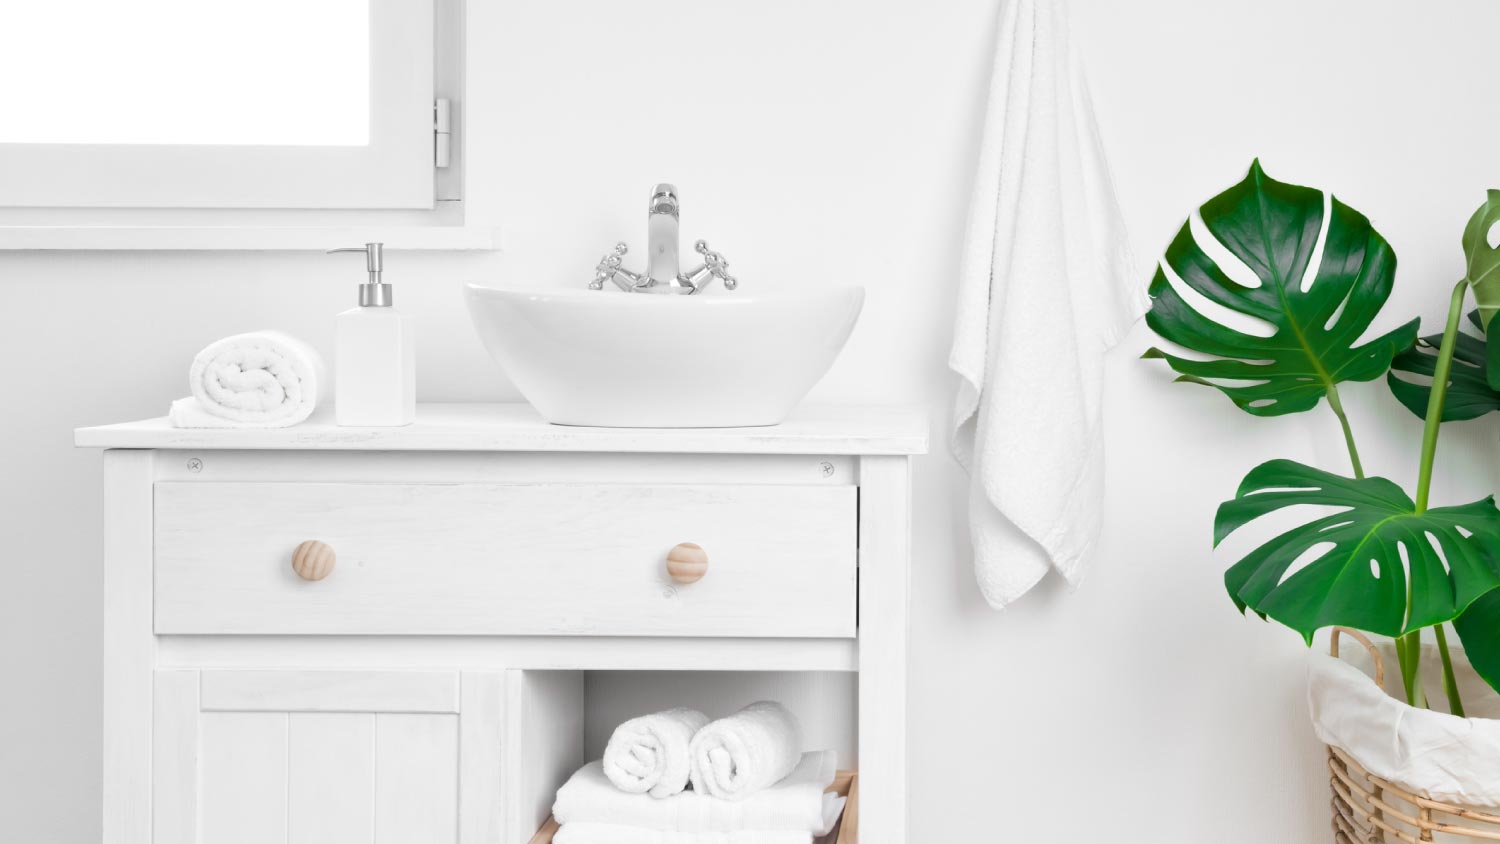
Get your new bathroom up and running

Residential plumbing installation involves roughing in water supply lines and drain lines for your toilet, sink, and tub before installing the fixtures themselves.
Rough-in plumbing costs around $6,500 for new installations, while repiping your house averages $7,500, so planning ahead helps you budget appropriately.
You need to check local plumbing codes before starting work, as they determine where you can install pipes and what materials you can use.
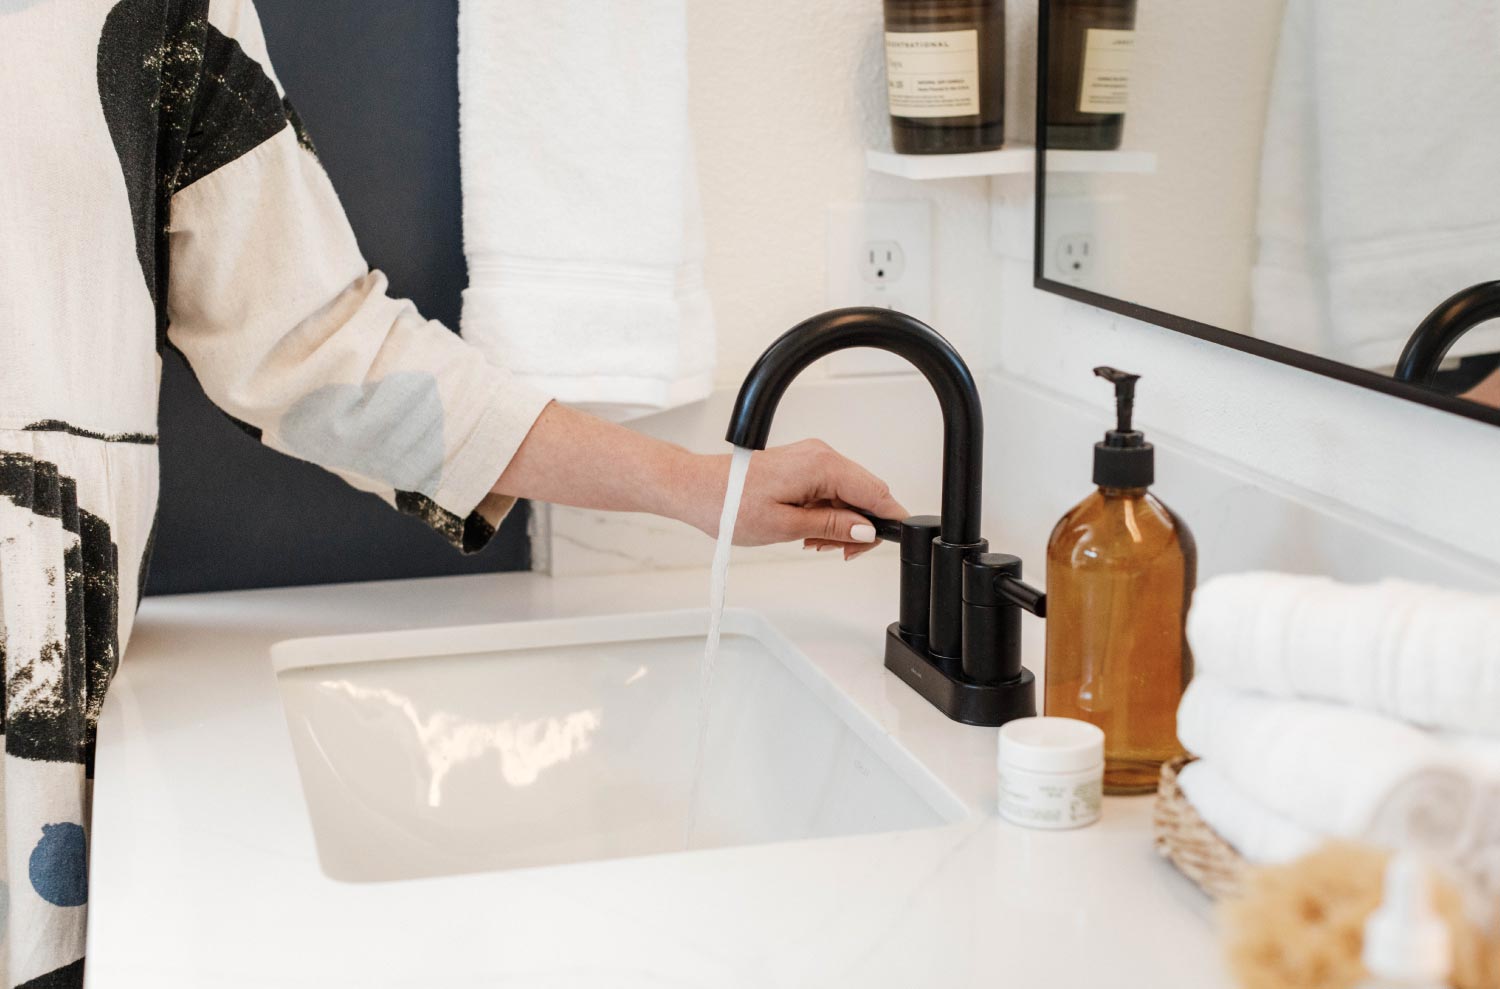
Hiring a local faucet installation professional keeps your bathroom plumbing safe and code-compliant, helping you avoid hidden leaks and expensive water damage behind walls.
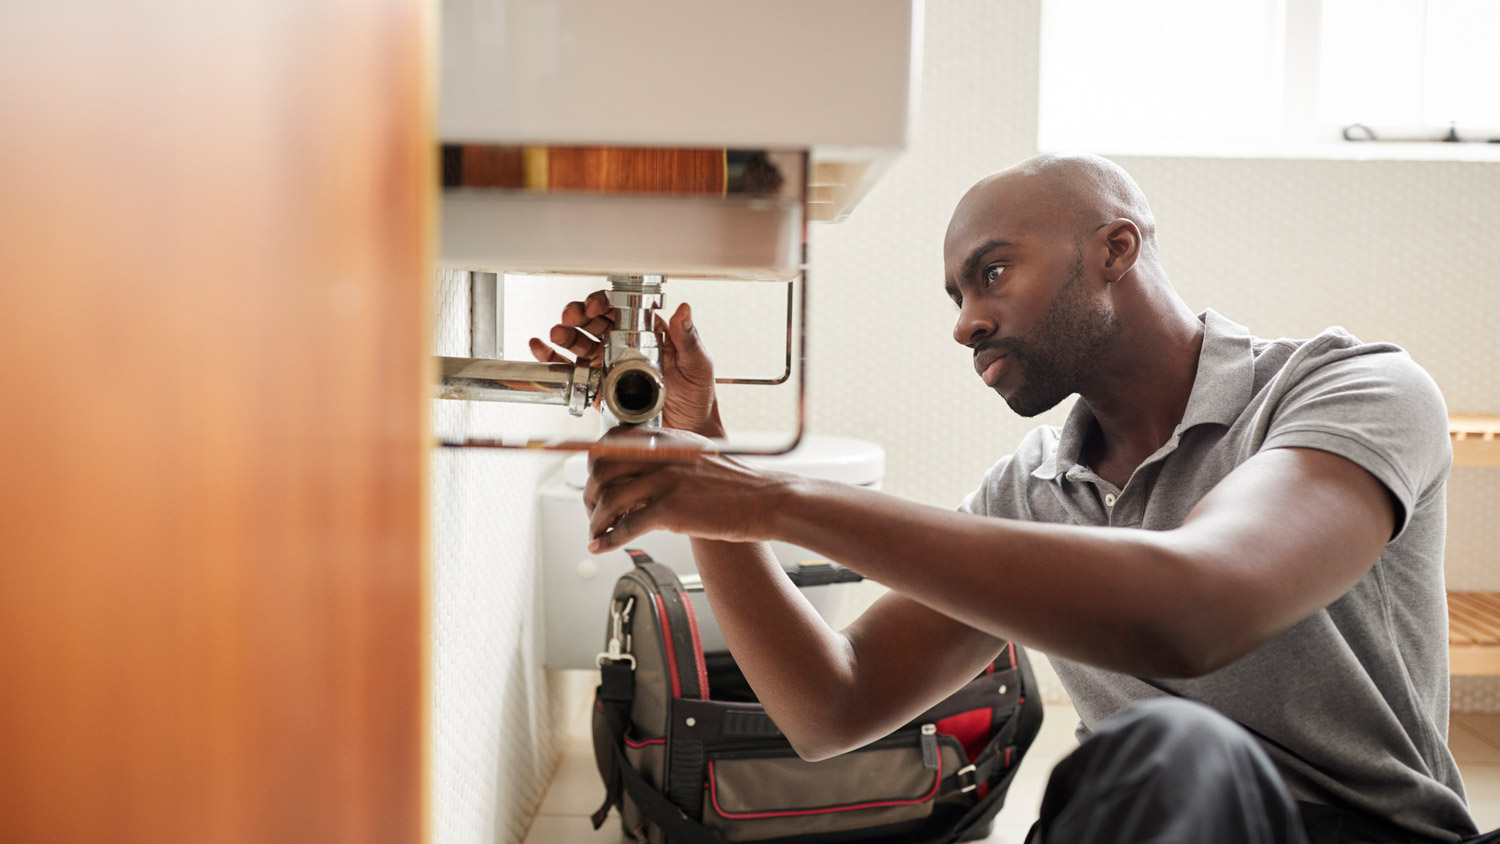
Whether you’re building a new home or remodeling an old one, you may find yourself needing to plumb (or replumb) a bathroom. While you can hire a plumber to handle the job, you can save money by taking on this job yourself. Plumbing a bathroom isn’t for the faint of heart, though. You’ll need to know all of the ins and outs of water supply lines, drain lines, fixture installations, and more. This guide will walk you through the process of how to plumb a bathroom so that you feel confident in your ability to plumb your home yourself.
Since plumbing your bathroom involves making significant changes or additions to your home’s plumbing system, you should hire a professional plumber. A pro will ensure the work adheres to state plumbing codes and requirements, preventing future issues.

Plumbing a bathroom involves installing the water lines and drains for each fixture and the fixtures themselves. To complete this project, you’ll begin with “rough-in” plumbing.
This process involves installing the following:
Hot and cold water lines for the sink and bath
A cold water line for the toilet
Connecting sink, bath, and water lines to the main water lines that run through the house
Fitting drain and vent lines for each fixture that connect to the main drain (or main stack), which run from the basement or crawl space to the roof.
Once you’ve finished roughing in the plumbing, you’ll complete the project by installing bathroom fixtures, which include the tub or shower, toilet, and sink.
Since the rough-in process requires you to make precise measurements and drill holes into the wall studs and floor, it’s best left to a professional plumber. But whether you choose to go with a pro or do it yourself, it’s important to understand how the rough-in process works.
The average cost for rough-in plumbing is around $6,500 depending on the material and the size of your project. This typically applies to a new home install. If you’re looking to replace existing pipes with new ones, the cost to repipe a house is slightly higher with an average of $7,500. Because plumbing is integral to the overall functioning of a home, it’s worth hiring a professional plumber to ensure a job done well.
To correctly plumb your bathroom, start by checking the local plumbing codes, as they may limit where you can install pipes and fixtures and the type of materials you can use. You might also need a permit. Since plumbing a bathroom involves working around sewage lines that emit noxious gas, this job has the potential to be dangerous. As such, some jurisdictions may require you to hire a licensed plumber to plumb the bathroom.
If your state or city requires a permit, you’ll need to include a plan with diagrams up to local codes. The plans should be on grid paper and show the location of all fixtures and pipes. When making your plan, allow for adequate clearance between the tub, sink, and shower (about 15 inches is adequate, though code requirements may call for something different).
You should also list the type of material you plan to use and show how to vent the sink, toilet, and shower in your bathroom. If you don’t feel comfortable producing plans yourself, you can hire a plumber to do it for you.

You plumb your bathroom in two phases. First, you’ll rough in the water supply lines and drain lines, then you’ll complete the work by installing the bath, toilet, and sink.
For this project, you may use some or all these tools and supplies:
PEX crimping tool
PEX cutter
Tape measure
4 1/2-inch hole saw
Cordless drill
Reciprocating saw
Plumber’s wrench
1/2-inch water supply lines
1 1/2-inch PVC drainpipe
PVC cement
Tub drain assembly
Tub P trap
1 1/2-inch plastic sink J trap
3-inch toilet flange
Toilet seal
Plumber’s tape

The first step is to shut off the water lines to the entire home. If you have city water, you’ll find the shut-off valve somewhere inside the house near where water enters the home. Check the garage, basement, and closets along the exterior wall near the meter.
If you live in a warmer climate, you may find the shutoff on the exterior of the house near the water meter. If you live on well water, you’ll find the shutoff valve on the main pipe that runs from the pressure tank into your home.

To rough in the bathroom plumbing, you’ll install the supply lines and drain lines for the toilet, sink, and tub to transfer water from your home’s main hot and cold water lines to all the fixtures in the bathroom. You’ll need to run five supply lines: hot and cold water supply lines for both the tub and sink and a single cold supply line for the toilet.
Depending on where the hot and cold main water lines are in relation to the bathroom, you can run the supply lines up through the bathroom floor or wall studs.
You have options when choosing what material to use for supply lines, including copper, steel, polyvinyl chloride (PVC), and cross-linked polyethylene (PEX). PEX is the best option for DIYers as it doesn’t require you to solder or glue pieces together. You will need to purchase a PEX crimping tool and cutter if you choose this material.
Drain lines send wastewater from the sink, bath, and toilet to the home’s main stack, which serves as the central hub where all of your home’s plumbing fixtures send wastewater. During the roughing-in process, you’ll connect each fixture's drain line to the main stack. Drainpipes for the toilet and bath are usually located in the floor, while sink drains typically run through the wall or floor. PVC is the standard material to use for drain lines.
If you have to run drain lines horizontally to reach the main stack, they must have a minimum fall of 1/8 of an inch per foot to ensure the wastewater doesn’t back up. Check your local codes as they may have different minimum fall requirements.
With all of these factors in mind, below is a breakdown of how to rough-in plumbing for toilets, sinks, and baths.

Start by choosing a location for the toilet in the bathroom. Make sure it has a buffer of at least 15 inches between it and any walls or other bathroom fixtures and a minimum of 21 inches of clearance in front of the bowl.
To rough-in the toilet, locate and cut the toilet drain on the floor of the bathroom. The center of the toilet’s drain hole should measure 12 1/2 inches from the bare wall studs (12 inches if you’re measuring from drywall), so the tank fits flush against the wall. While 12 1/2 inches is the standard measurement for most toilets, you’ll want to double-check the rough-in measurement for the toilet you’ve selected before measuring and cutting. You’ll find this information in the toilet specs.
Use a tape measure to mark the location of the drain hole on the bathroom subflooring, then use a 4 1/2-inch hole saw and a cordless drill to make the toilet drain hole in the subfloor. Next, install the toilet supply line, which is responsible for filling the tank after each flush. The line should enter the bathroom 8 1/4 inches above the floor and 6 inches to the side of the toilet’s centerline (the line that runs from the wall to the middle of the toilet drain).

How you rough-in the sink will vary depending on the home’s plumbing. Generally speaking, the drain for the sink should enter the room 16 to 20 inches above the floor. However, there are some cases where it may make sense to have the sink drainpipe come up through the floor. Choose the drain installation that best works with the sink style and allows you to connect to the main stack.
You’ll need water supply lines for both the hot water and cold water lines. These lines should enter the bathroom 4 inches to the right and 4 inches to the left of the center of the sink drain, at least 2 to 3 inches above the drain line. As with the drain, it may make more sense to run these supply lines through the floor in some cases. Run the lines in a manner that makes sense for the style of the sink and the location of the home’s main hot and cold water lines.

To rough-in a bath, start by locating and cutting the tub drain. The hole for the tub drainpipe should be 10 to 14 inches from the wall framing on-center with the tub drain. Check the tub manufacturer’s instructions for specific measurements, then use a reciprocating saw to cut an access hole in the floor at the drain location. This hole will allow for the installation of the drain line and trap once the tub is in place.
As for the supply line, the two faucet holes should be 20 to 22 inches off the floor and 4 inches off-center (the tub drain) to the left and right. The tub spout should be on-center 4 inches above the rim of the tub, and the showerhead supply should be 80 inches from the floor on-center.

Before moving on to the finish plumbing phase, which involves installing the fixtures, you’ll need to have the rough-in approved by a building inspector to make sure it adheres to code. While roughing in the plumbing is usually a job for a plumber, installing the fixtures is something you can handle.
Depending on the style of fixtures you choose, it may make sense to install drywall before putting in the fixtures.

Begin by installing a 3-inch toilet flange over the hole (if the plumber hasn’t already done this). Next, install the toilet. Lay the toilet on its side and press a new toilet seal over the drain. Put the toilet seal over the flange and bolts and secure it in place using the supplied bolts and a crescent wrench. With the bowl secured, install the tank to the bowl. Attach the tank to the bowl, then connect it to the flexible hose that comes with the toilet.

How you install a bathroom sink will depend on whether it's a pedestal, vanity, or wall-mount style. Follow the manufacturer's instructions to install the sink. Once in place, attach the cold and hot water supply lines to the appropriate connections to the sink faucets. Attach the sink to the drainpipe using a 1 1/2-inch plastic sink J trap.

Install the bathtub or shower pan over the drain. If you’re installing a bathtub, you’ll need help as these fixtures are typically very heavy. Anchor the tub or drain pan in place using fasteners and a cordless drill per the manufacturer's instructions. Once the tub or drain pan is in place, complete the drain assembly.
Finish up by installing the bathtub or shower surround over the connections for the faucet and spout, then install the new fixtures.
When it comes to plumbing a bathroom, the more you know, the better. So, use the following tricks of the trade to make the process of plumbing your bathroom a little bit easier (and safer!).
Use flexible drainpipe: Part of what makes rough-in plumbing such a challenge is getting all the pipes to line up so they fit together properly. Consider using flexible pipe, which gives you some wiggle room when fitting your drainpipes.
Preassemble your pipe: You won’t have much room to work when installing plumbing inside a wall. Assembling your fittings as much as you can before putting them inside a wall cavity or between joists makes the process easier.
Don’t be stingy with tape: Nothing’s worse than springing a leak after roughing in your plumbing or lacking good insulation to keep your pipes from freezing. Use an adequate amount of plumber’s tape when wrapping the threaded ends of a pipe to insulate your pipes and ensure you don’t end up with a leak behind the wall.
Wear eye protection: Plumbing a bathroom involves a lot of overhead work and can involve using liquid metal (solder) and plumbing cement that can be a hazard to your eyes. Don’t take unnecessary risks—wear safety glasses when plumbing a bathroom.
While it‘s possible to plumb an entire bathroom yourself, at least part of this job really should be left to the pros. Rough-in bathroom plumbing is not easy DIY work. If you don’t properly install the water lines or drainpipes, you could end up with a leak inside your walls, resulting in significant damage. In this case, the risk outweighs the benefits.
Consider hiring a plumber near you to rough-in plumbing to avoid common plumbing problems, then install the fixtures (a much easier project) yourself to save some money.
An Angi survey found that the most common DIY projects gone wrong include drywall repair, plumbing work, electrical repair, and flooring installation. Mistakes can lead to costly or timely fixes, so if you’re not confident about tackling these projects yourself, consider hiring a pro.

Positive experience. As previously stated, the replacement/repair could not be completed (no fault of the plumbing tech) b/c misinformation was rec?d by property management maintenance. Thanks to the plumbing tech for your efforts. Appreciate you!
 The Waterworks
If you want to pay the most exorbitant prices possible for your job, this is the company for you. “By the job” pricing is a rip-off, at least how these people use it. Every job is plugged into a category and prices are set by category. You might have a job that takes half an hour or one that...
 Benjamin Franklin Plumbing
Cole has been handling plumbing and general contracting for our four properties over the past three years, and he’s always done a great job. Most recently, he installed a sink and countertop in our retail store where none existed before, and it turned out exactly how we needed. He’s...
 ANB Renovations LLC
Matt is a consummate professional. The work turned out to be far more difficult than expected and rather than turn the job down, Matt rose to the occasion and completed a near impossible task. I can not recommend Greene's Plumbing Service more highly. On a scale of 1-5 I would give Matt a...
Involved an extensive bathroom remodel, including removing tub & installing walk in shower, new drywall, custome tile work to ceiling, plumbing, etc. Overall, job was done on time and on budget. Nick & his team were very professional and had high attention to detail. Quality was great. Highly...
 Stamos Flooring and Remodeling LLC
Awesome company. Had a jacuzzi tub taken out and replaced with huge walk in shower with partial glass enclosure. Onyx to the ceiling with a decorative border, moved plumbing and installed hand held shower, new ceiling, flooring, and paint. Replaced window with glass block. Everything was done...
 Columbus Bath Design
The initial quoted price from a walk-through seemed high, but we discussed that the quote represented worst case scenario (re-wiring to two floors) and we were excited about the opportunity to have the work done in a timely manner with closing for fire safety reasons, etc. When the job was...
Initially, I called the Service People to have a leaking garbage disposal replaced. I had purchased a special deal through Angie's List: $79 for $200-worth of plumbing services. <br /> When I went to schedule the work, the earliest date I could get through Angie's List was after the upcoming...
This company did a very good job on the brick wall and it looks just amazing. The staff was always professional and was practically OCD on how the bricks were stacked and how they were laid. Although it took longer than expected, I am willing to sacrifice time over perfection anyday. The...
 My Handy Mate LLC Improvement & Remodeling
<p>I am so glad we called Rotor-Rooter. I was hesitant to call them because we usually prefer to give business to local providers. But when we had sewage back up in our basement on a Saturday evening, I had a hard time getting a hold of someone, not to mention the high weekend/evening rate...
From average costs to expert advice, get all the answers you need to get your job done.
Looking to estimate the cost of rough-in plumbing for your new home? We’ve got you covered with a guide that covers the different cost factors for this type of job.
The costs for common plumbing issues are determined based on parts, labor, and expertise level. Read our guide to find out how much you should budget.
Before you consider adding a bathroom to a basement, there are things you should consider to know if it’s the right addition for your home.
DIY sink installation is a doozy but do-able for those with experience. Use this guide to learn how to install a bathroom sink in a few steps.
Early detection of bathroom plumbing problems is crucial to keeping your pipes working properly. Learn the top nine signs your bathroom plumbing needs repair.
Stuck with a small bathroom or tired of clutter? Check out these easy, DIY bathroom storage ideas and organization hacks to make the most of your space.