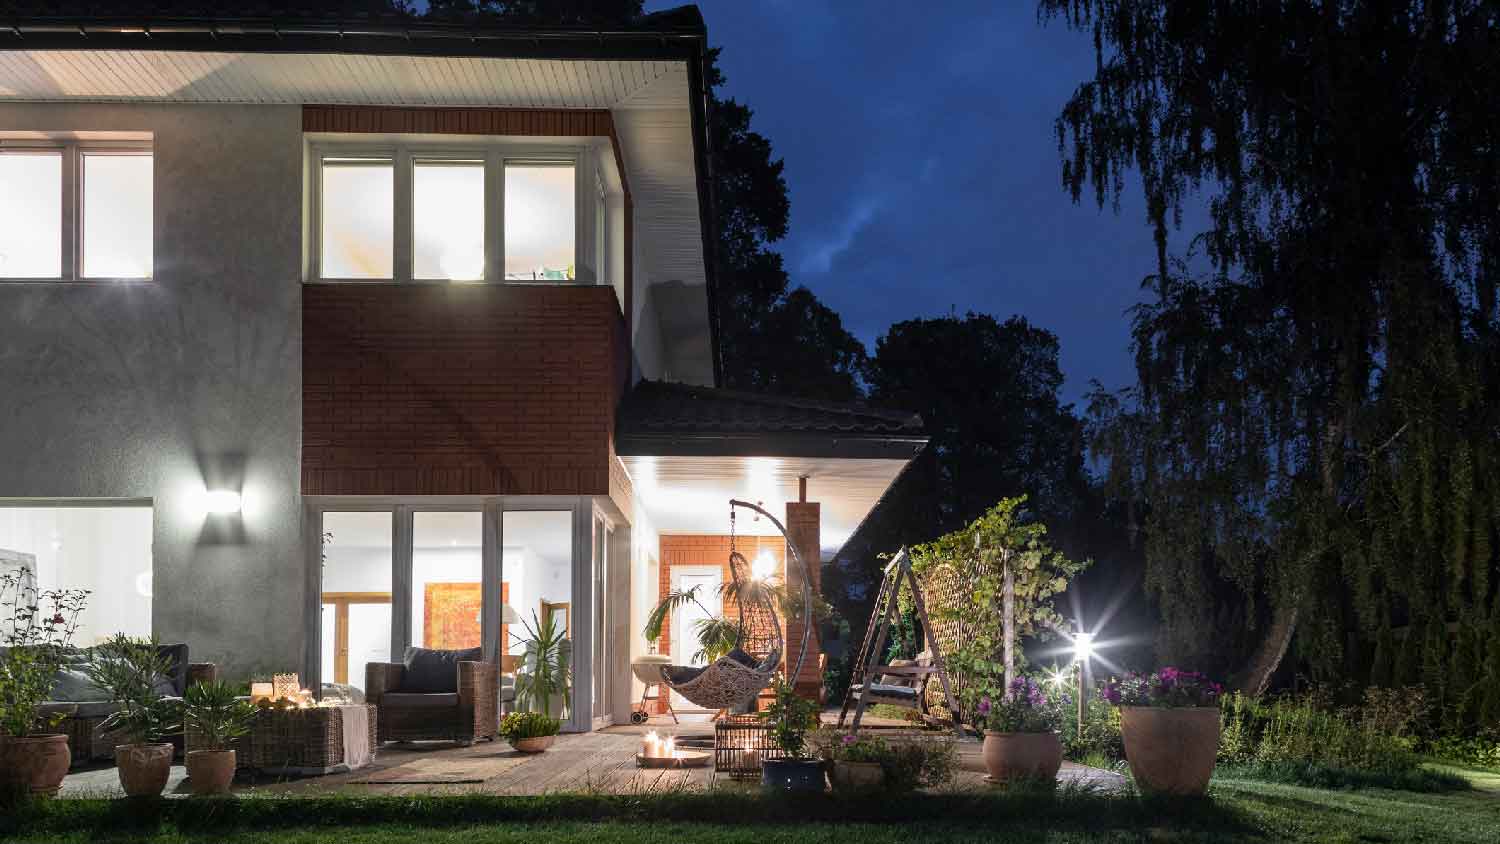
Discover the cost to install landscape lighting. Learn about average prices, key cost factors, and ways to save on your outdoor lighting project.
Backyard entertaining doesn’t have to stop at sundown


The warm glow of string lights creates ambiance in any backyard, big or small. Plus, they’re bright enough to keep summer outdoor fun going well into the night.
Are you ready to turn your backyard into the ultimate hangout space once the sun goes down? DIY planter posts for string lights make it easy to illuminate your entire backyard without having to staple cables to your house or surrounding trees. Plus, these planter posts provide extra garden space to grow vibrant flowers and greenery without having to touch your current landscaping.
Learn how to make planter posts for string lights with this simple step-by-step guide.

Building your own string light post out of a wood planter is easier than you may think. Make one post and utilize surrounding trees and structures for support, or make multiple to hang string lights anywhere (or at least anywhere an extension cord will reach).
Maximize your outdoor living space in a weekend with this simple DIY project.
Start by staining each of the 4x4 wood beams and letting them dry. After staining, treat and protect the wood with a sealant or varnish. This will help prevent your planter posts from weathering and warping in the elements.
The planter post will be too heavy to move once the concrete has been poured. Place each planter in your desired location now so you don’t have to attempt any dangerous lifting later.
Once the wood posts have fully dried, secure them vertically in the center of the planter by drilling corner brackets to the beam and the planter box. Use one bracket for each of the four sides.
Now it’s time to mix and pour the concrete. Combine all the ingredients in a large plastic work bucket and follow the directions on the bag of concrete. Once ready, pour the concrete mix into the planter until it fills the planter halfway. Let the concrete dry for 24 to 48 hours.
Adding drainage holes to the planter will allow water to escape after rainfall, protecting the planter from rot and mildew. Use a drill and drill bit to carve out three holes on each side of the planter just above the concrete layer.
Not only do planter posts hold string lights, but they also provide a convenient space to grow vibrant flowers and greenery without disrupting your landscaping.
Add a layer of stones on top of the concrete for drainage. Make sure the rock layer sits well above the drainage holes on the sides of the planter. Then, pour in a layer of soil that reaches one to two inches below the top of the planter.
Transplant grown flowers into the planter, or use seeds to start from scratch.
Use hook screws to hold the string lights in place. Attach one hook screw an inch from the top of each post.
It’s finally time to hang the string lights! Start with the planter closest to a power source. You may need to use an extension cord to keep light bulbs off of the ground.
Hang the string lights without the bulbs from the hook screws, creating your own pattern as you go from planter to planter. Screw in the lightbulbs after the cords are secure on the hooks to prevent glass bulbs from shattering.
Consider using a small zip tie around the light cord and hook screw to keep the lights secure in place, even on windy days.
We have the answers to your most common DIY planter post questions.
Yes, there are other ways to hang string lights without using planters. Options include:
With a nail gun or screw hooks between trees
Securing the 4x4 posts directly into the ground
Hanging underneath a pergola
The most common type of outdoor string lights are industrial string lights, also referred to as bistro or cafe lights. Just ensure they’re labeled “for outdoor use” before purchasing.
Most packages of string lights come with one or two replacement bulbs. Simply twist the blown bulb counterclockwise (left) to remove it from the light socket. Twist the replacement bulb clockwise (right) into the socket.
From average costs to expert advice, get all the answers you need to get your job done.

Discover the cost to install landscape lighting. Learn about average prices, key cost factors, and ways to save on your outdoor lighting project.

If there's one thing your outdoor parties and barbecues need, it's a bit of light. These outdoor lighting questions will help you light up the night.

How do you choose between the many types of outdoor lighting when planning for your space? Learn about each kind in this quick outdoor light guide.

Get transparent landscape lighting repair cost info. Learn what impacts price, compare repair vs. replacement, and find ways to save on your project.