How to Paint Walls: 8 Steps to Transform Your Home With Color
Become the Picasso of home-painting projects


- Paint stirrer
- Paintbrush
- Paint roller
- Paint roller cover
- Paint tray
- Paint
- Primer (optional)
- Painter’s tape
- Drop cloth
- Spackle
If you’re seeking a simple yet impactful DIY that’s budget-friendly to boot, look no further than learning how to paint the walls in your home. This painting project is great for beginners and dedicated DIY-ers alike—plus, with drop cloths and painter’s tape, it’s practically goof-proof. As long as you’re patient with the prep work, the toughest part of this project will be choosing the right wall color. Here’s how to paint your walls for professional-quality results.
Prepping to Paint Walls

To prepare for your painting project, the first step is to determine how much paint you’ll need. Calculate the square footage of each wall by multiplying the height by the width, then add up the totals for each wall to calculate your total square footage. One gallon of paint covers about 300 to 400 square feet, and you’ll want to purchase enough paint for at least two to three coats. When in doubt, round up. You may also need a paint primer if you’re moving from a dark to a light color or if the surface is textured or porous.
Before you land on a color, remember that the lighting in each room will make certain colors appear lighter or darker or brighter or duller. It’s best to grab paint samples and swatch colors on the wall before committing. At the very least, bring the paint color strips home to test them out because they’ll likely look different than they do under your retailer’s fluorescent lights.

Remove Outlet Covers and Light Switch Plates
First, carefully unscrew and remove all light switch plates and electrical outlet covers. You can also wrap them in painter’s tape if you prefer to leave them up. Put the covers and screws in a baggie to keep them from getting lost.
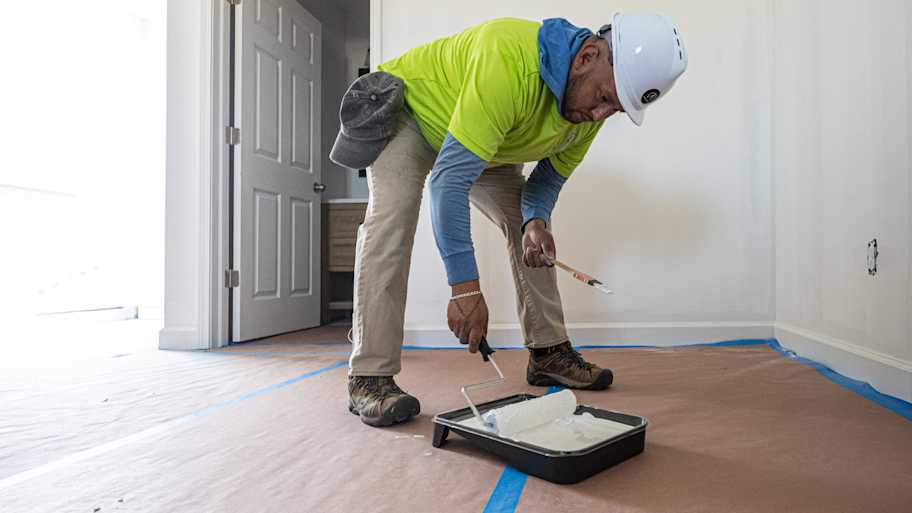
Lay Drop Cloths
Next, lay protective drop cloths over the floor and furniture. If possible, remove furniture or scoot it to the center of the room. Don’t forget to use furniture sliders to protect your floors from scratches or dents.
Apply Painter’s Tape
 Photo: Westend61 / Westend61 / Getty Images
Lay painter’s tape around any surfaces that you don’t want to get paint on, including window and door frames, the ceiling perimeter, crown and base moldings, and baseboards. Hold the tape taut, line it up, then firmly slide your fingers down the length of the tape to ensure a straight, tight seal.
Prep the Walls
If your wall has any holes, dents, or dings, cover these imperfections with spackling paste using a putty knife. Once the spackle dries, use fine-grit sandpaper to sand the area until it’s completely smooth. Wipe down any sanded areas with a damp cloth to remove any dust particles.
The next step to prep walls for painting is to wipe down the surface with a damp rag and mild detergent. Be sure to take care of grease splatters, crayon marks, and other oily messes off the walls. If you’re painting in a light color, you’ll also want to remove scuffs and other dark marks that could show through. You can clean these with vinegar, a degreasing spray, or a melamine sponge.
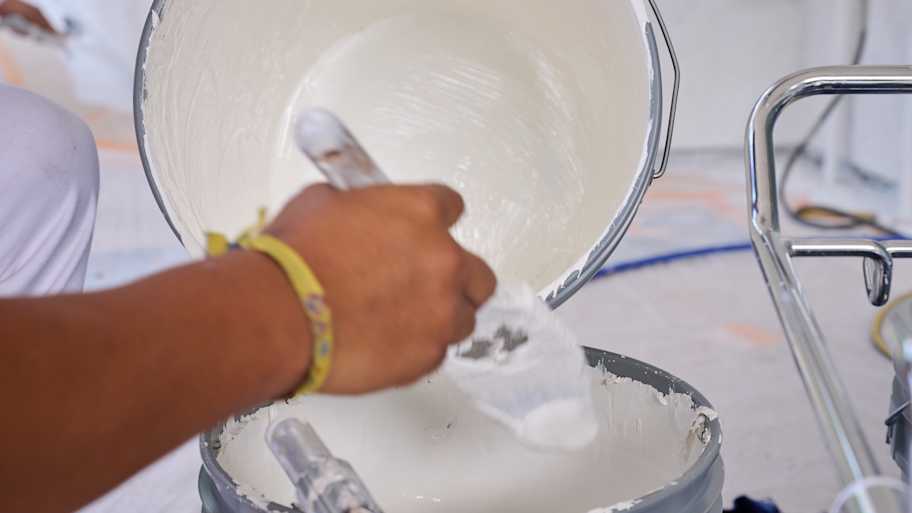
Stir and Pour the Paint
 Photo: SDI Productions / E+ / Getty Images
Use a flathead screwdriver to open your paint can, then give it a stir with a paint stirrer. Pour it into your paint tray to a depth of two to three inches, depending on the square footage of your wall.
Paint Around Edges and Crevices With a Paintbrush
Follow this pro painting tip before going in with your paint roller: Grab a paintbrush and paint around—or “cut in” as the pros call it—areas that will be difficult to reach with the paint roller. That includes the perimeter of the wall and any awkward bends or crevices. Once you’re done cutting in the edges, move immediately to the next step as you’ll see the marks if they’re allowed to dry.
Paint the Walls With a Roller
 Photo: andresr / E+ / Getty Images
Dip your paint roller in the paint tray and roll it to saturate it with paint. Roll the paint onto the wall using a vertical motion and working from top to bottom.
Allow the Paint to Dry
Give the paint at least two hours to dry before touching it or adding additional paint coats. Use this downtime to clean your paint rollers and brushes to prepare them for your next coat or painting project. If you’re done painting, hammer the lid back onto the paint can and store it for later use.
DIY vs. Hire a Pro
Painting your walls is a highly approachable DIY, but it requires patience and preparation to ensure your home’s surfaces are protected from drips, splotches, and splatters. If there’s one major benefit to hiring a local interior painter, it’s the peace of mind that the job will get done efficiently and accurately.
Plus, if you’re working with high ceilings or other hard-to-reach spaces, you’ll likely want to bring in a pro to get it done safely. In any case, if you’re not confident, or if you just want to save time and effort, it’s worth investing in the cost of professional painting services rather than attempting the DIY.
Frequently Asked Questions
You’ll often have picture-perfect results by painting over the old color. However, if you’re transitioning from a dark wall color to a light one, you’ll want to use a primer first to save yourself from applying multiple coats for coverage. Also, if you’re moving from an oil-based paint to a water-based one and vice versa, you’ll want to use a primer. Don’t forget to spackle over any holes or dents before adding your new paint color.
Dirty or not, you should always clean the wall beforehand. Even if the wall looks sparkling clean to the naked eye, it’s good practice to wipe it down with a damp rag and mild detergent. Leftover dirt, dust, and residue can create unsightly textures or interfere with the paint’s adherence to the wall. You’ll never regret cleaning it, but you might regret skipping this step.
First and foremost, don’t skip the prep work. Even if you have the steady hands of a surgeon, mistakes happen, and they can potentially be catastrophic. Also, never underestimate how much paint you’ll need. Returning to the store is enough of a pain, let alone the streaks and uneven color you’ll get if a half-done wall dries before you can finish it.


Get our Angi-powered app


