

•
Discover the cost to stain cabinets, including average prices, key cost factors, and tips to help you budget and save on your cabinet staining project.
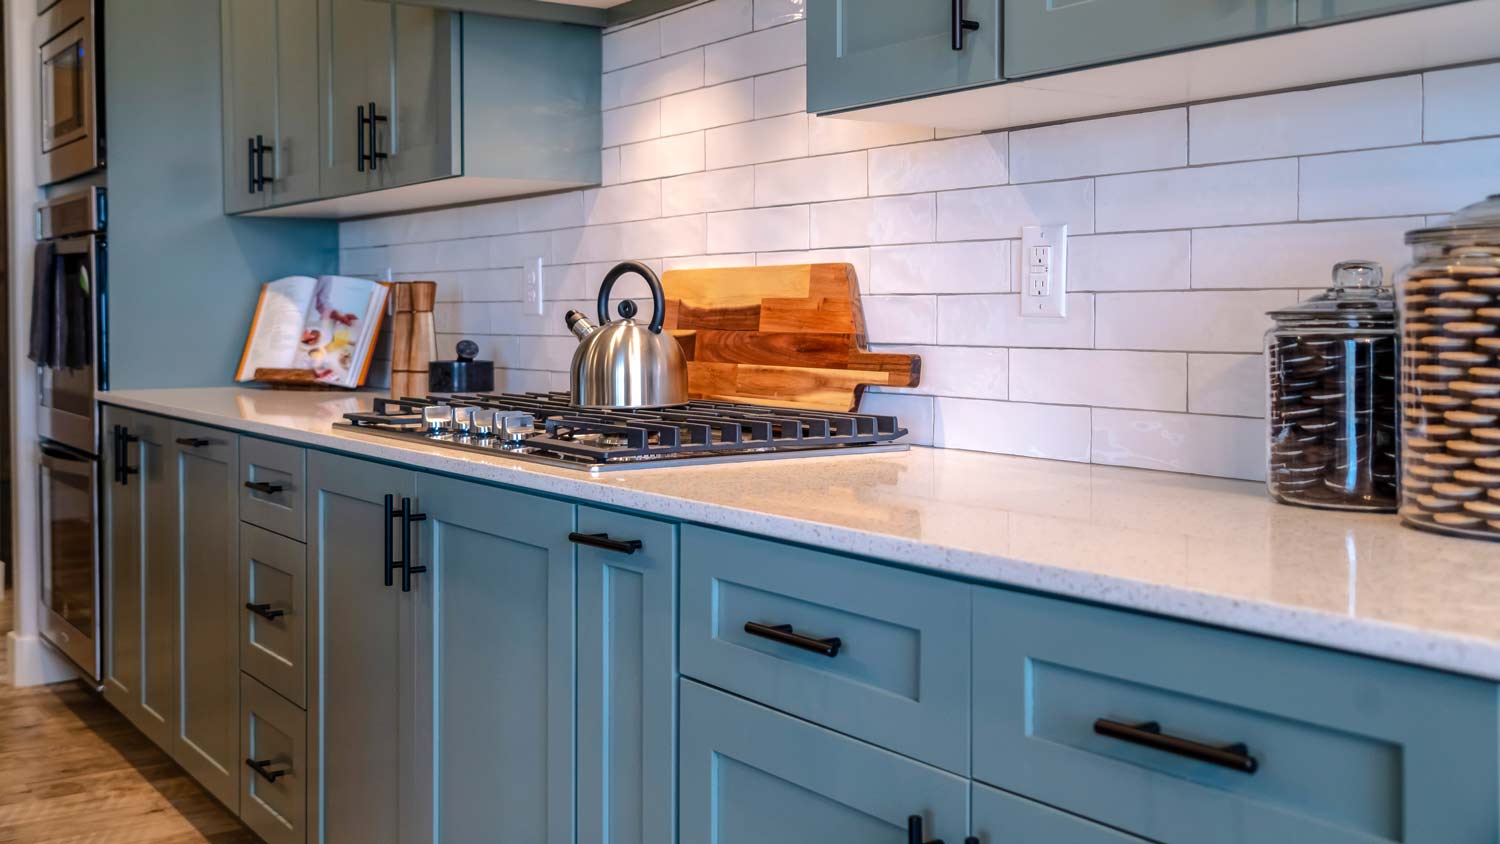
Bring your stained cabinets back to life with a fresh coat of paint


If your stained cabinets could use a glow-up, then a fresh coat of paint (or two) might do the trick. With a few tools, supplies, and perseverance, you can learn how to paint stained cabinets. Our guide will walk you through how to paint stained cabinets to refresh your space instantly.
Consider applying water-based stain to your cabinets, as it is easier to apply and dries significantly faster than its oil-based counterparts. This time-saving stain option is also less prone to streaks or imperfections in the finish.

Aside from purchasing your tools and supplies in advance, you’ll also want to ensure you have a place to paint your cabinet doors, drawers, and shelving—whether it’s a pre-built worktable in your home or a worktable in your garage or outside. This worktable is where you’ll be degreasing, sanding, priming, and painting the cabinetry. So, you’ll want to make sure there’s nothing precious around this table that can get damaged during the project.
You should completely clear the room of bulky furniture and tables so you have plenty of space to move around. As a final prep step, use drop cloths and plastic sheeting to cover any open spaces, such as windows, doorways, countertops, floors, backsplash, and walls.

Grab a screwdriver or screw gun and remove cabinet doors and drawers. Next, take off the cabinet hardware, including hinges and knobs, and store them in a safe place if you plan to reuse them. Then, number the back of each cabinet door and drawer with a marker and tape—use the same number in the corresponding cabinet box—so you know where each one goes when it’s time to re-install them.
It’s essential to remove grime, wax, and any buildup on the cabinet boxes, drawers, doors, and shelving before painting. Take a liquid degreaser and either spray on cabinets or douse a rag and scrub off all the dirt and grease. Make sure to work the degreaser into every crevice thoroughly. Rinse the cabinets with water and let them fully dry.

Put on a mask and protective eyewear, and open the windows for proper ventilation. Take a foam sanding block and thoroughly sand every piece of the cabinet. Make sure to really dig into corners, edges, and raised panels. Lightly brush off dust with a wood paintbrush or soft cloth.
Grab wood filler and a putty knife and gently coat the cabinets, filling in all the pores within the wood grain. Add one to two layers of skim coat, layering it on in an up-and-down and side-to-side motion. Adding a skim coat will ensure a smooth, flat surface when you paint your cabinets.
Take your foam sanding block and re-sand the entire surface of the cabinet boxes, doors, drawers, and shelves. Continue sanding the surface toward the grain until the cabinets are clean and smooth. You may need to use 220-grit sandpaper in the crevices to ensure a smooth finish.
Take a water-based interior primer and add it to your paint tray. Use a paint roller to prime the large parts of the cabinets. You’ll need to fill in the small angles and crevices with a paintbrush. Apply at least two coats of paint primer to cabinets.
If you plan to change the design of the cabinet hardware and hinges, you’ll first need to fill in the remaining holes with epoxy after you’ve primed the cabinets.
Take 220-grit sandpaper and start sanding the cabinets. Go over the cabinets with a foam sanding block until the surface is completely smooth. Do a one-over on your cabinet boxes, doors, and drawers to ensure there aren’t any holes, dents, or scratches. If you notice any imperfections, take your putty knife and use a spackle to fill in any gaps. Re-sand the cabinets and wipe off the excess dust with a soft brush or cloth.

Take your cabinet enamel paint and add it to your paint tray. Take a paint roller and roll on the paint, covering every part of your cabinet boxes, doors, and drawers. Use a regular paintbrush to fill the crevices and continue layering for a smooth finish. Apply at least two top coats of paint and let cabinets thoroughly dry.
Now is the time to add new cabinet hardware and hinges. Use a screwdriver or screw gun to add your cabinet hardware and re-install cabinet doors and drawers according to your number system.
If you’re handy and have the tools and supplies, you can tackle this DIY project over the weekend. The cost to paint cabinets runs from $420 to $1,400, so you can save money on labor and expenses if you take on painting stained cabinets yourself.
However, if you want to ensure a perfectly smooth finish, we recommend hiring a cabinet painter near you. Not only do cabinet painting pros come with all of the tools and supplies, but they also have the knowledge and experience to do the job correctly.
From average costs to expert advice, get all the answers you need to get your job done.
Discover the cost to stain cabinets, including average prices, key cost factors, and tips to help you budget and save on your cabinet staining project.

Discover the cost of resurfacing kitchen cabinets, including average prices, key cost factors, and tips to help you budget and save on your next kitchen update.

Discover the best wood for cabinet doors depending on type, use, style, color, and more to add beauty and function to your space.
Discover the cost of glazing cabinets, including average prices, key cost factors, and tips to save on your cabinet glazing project.

Learning about problems with refacing kitchen cabinets can help you avoid common errors before and during your kitchen upgrading project.

Are you ready to give your kitchen a makeover? Learn how to refinish cabinets to a look you love with these top methods.