How to Paint a Garage Door With Wood Paint for a Charming, Natural Look
Fake wood, but real compliments


- 3/4-inch paint roller
- Paintbrush
- Stool or ladder
- Wire scrub brush
- Sponge
- All-purpose cleaning spray
- Exterior primer
- Exterior wood-tone paint
- Painter’s tape
- Sandpaper
Looking for an easy way to turn a basic garage door into a wood-themed wonder? Give it a slap of wood-tone paint and marvel at the results. Updating your garage with a fresh coat of paint is a great way to boost curb appeal, and wood-tone paint with a bit of wood grain finish takes this a step further. Learning how to paint a garage door to look like wood is a DIY-friendly project that only costs $100 to $200. Follow these steps to get your garage door looking so wood-like that the neighborhood trees will get jealous.

Prepping to Paint a Garage Door
The first step to learning how to paint a garage door to look like wood is measuring your door. Check the length and width, then multiply the two to get the total square footage. Most gallons of paint can cover up to 400 square feet, so you’ll likely only need one gallon of wood-tone paint. Then, you'll want to buy a gallon (or however much you need based on your measurements) of wood grain finish. Make sure the color of the finish doesn’t have a hue that contrasts too much with your base wood-tone paint and pick the best paint type for your door material.
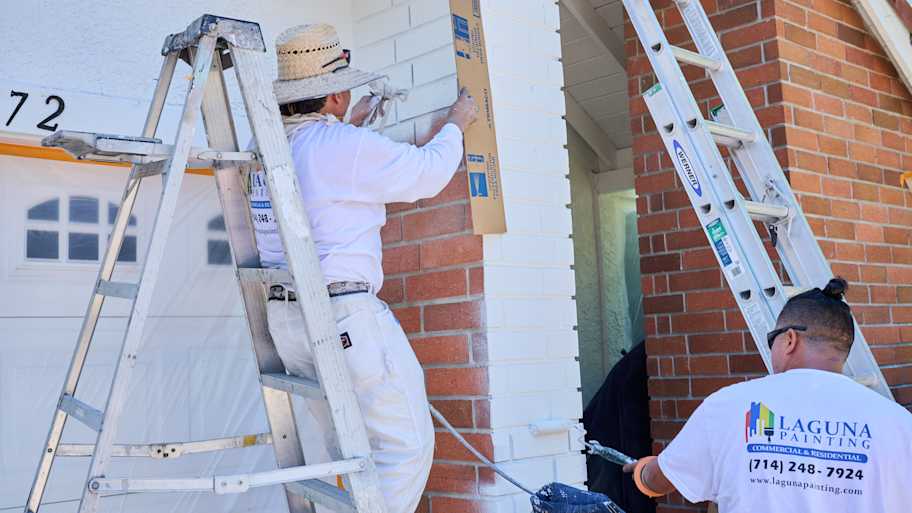
Before you slather the paint and finish all over your garage door or hire a local exterior painter, there’s some prep work worth considering.
Keep an eye on the weather: Before you start painting your garage door, check the weather and act accordingly. You want two to three days of low humidity with temperatures ranging between 50 to 75 degrees Fahrenheit. This gives both coats plenty of time to dry without being rudely interrupted by moisture. On the flip side, scorching hot weather makes the surface dry too quickly.
Don’t skip cleaning: Wood-tone paint shows off imperfections, so you want to make sure the garage door is sufficiently sanded and washed before you put down any primer and paint. Don’t worry; there’s more on this step later.
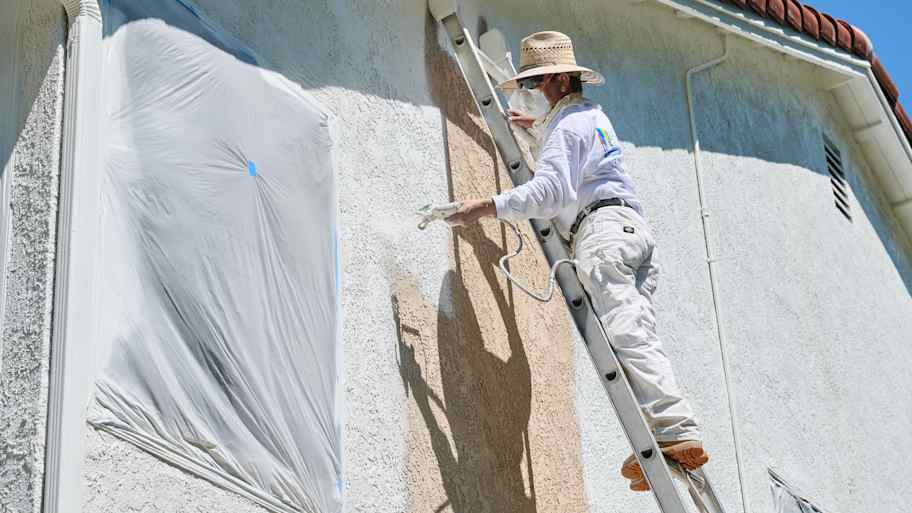
Use a sturdy ladder or stool: Much of the garage painting process is done on top of a ladder or stool, so don’t use low-quality tools here. Things will go faster, and you’ll be safer with a durable and well-made ladder or stool.
Fill in cracks: If you notice any cracks or holes during the cleaning process, apply caulk to the gaps with a putty knife and let the caulk fully dry before laying down paint. This ensures an even layer.
Remove hardware components: If possible, remove hardware components like door handles before painting. This speeds up the process, but if removing hardware is too much of a hassle, applying painter’s tape also works.
Turn off remote door openers: You don’t want the door to accidentally open as you paint, so make sure to completely disable any remote garage door openers you have.
Sand and Scrape the Door
Your first step is to sand the door and scrape away debris and leftover paint from any previous restoration projects. Pay special attention to rust spots and scrape them away with a wire brush.
Once you're finished scraping away obvious imperfections, like chipping paint, you can start sanding. Throw on your safety gear, including eye protection, gloves, and a face mask, grab fine-grit sandpaper, and work slowly until the surface of the garage door is completely even. This helps with paint adhesion later on.
Wash the Door
 Photo: RyersonClark / iStock / Getty Images Plus / Getty Images
You aren’t quite ready to grab a paintbrush yet. The next step is to give the garage door a thorough washing, which also helps the paint adhere to the door and ensures a smooth, seamless finish. Spray the door liberally with an all-purpose cleaning solution. Sponge it down gently and slowly. If you notice any stubborn stains or collections of debris, run over the area again with the wire brush.
Once you’re finished sponging and retouching, break out the water hose and rinse the entire door. Wipe everything down with rags and let the door air dry for a couple of hours. Power washing the door is another option here, but it requires advanced (and expensive) tools. If you don’t already have a power washer, the price won’t be worth it for just this one project.
Lay Down Drop Cloths
Lay down some drop cloths to protect your driveway and any nearby plant life from receiving a paint bath. These cloths are budget-friendly, so it never hurts to lay down a few more than you think is necessary. Extend the protected radius several feet from the garage, as you’ll be on a ladder or stool soon, meaning the paint is liable to spread a good distance. While you’re here, go ahead and lower the door to an appropriate height to simplify the remaining steps.
Apply Painter’s Tape
Paint is messy, so drop cloths won’t be enough. Continue paint-proofing the area by taping off the space with painter’s tape. Use heavy-duty painter’s tape for the best results. Pay special attention to hardware like door frames, keypads, handles, and locks. If it’s near the garage or part of the garage and isn’t going to receive a fresh coat of paint, cover it up with tape. You’ll thank yourself for being so diligent when it comes time for clean-up.
Prime the Door
Now it’s time for the fun to begin. Your first proper painting step is to lay down a coat of primer. Choose a high-quality white acrylic primer here for the best results. The lighter the tone, the better the paint shows up later. Apply an even coat of the primer to the garage door, starting with a roller brush and finishing up with a standard paint brush for detail work.
Begin working with the inset panels, and don’t overload the brush and roller (a little primer goes a long way here). After the panels, finish up the rest of the door and wipe away any paint splatters as you go. How long you should wait between coats of paint can vary depending on your environment, but it’s a safe bet to let the garage door dry for 12 hours. That sounds like a lot, but you definitely want this primer to be bone-dry.
Paint the Door
 Photo: Alikaj2582 / iStock / Getty Images Plus / Getty Images
Once the primer is dry, you can start painting. Use the roller for flat surfaces and the brush for recessed or partially obscured elements of the door. Start this process at the top of the door and move down as you work. Wipe away any splatters and drips as they occur to protect the rest of the area.
Once you complete a passthrough, take a step back and check things out, completing more detail work as required. Again, let this layer dry for a full 12 hours before considering another coat. Don’t remove any painter’s tape yet.
Apply a Second Coat
Once the door is dry, go outside and take a good, long look at your work. If it looks like the first coat did the trick, you can go back inside and grab a soda. If some areas look patchy or uneven, lay down a second coat. The steps here are the same as with the first coat; just remember to allow the garage door to dry for a full 12 hours before doing anything else.
Apply a Wood Grain Finish
To finalize the beautiful faux wood look, you’ll need a wood grain finish. Using a sponge or rag, wipe on the wood grain finish in one direction (in the same direction as the layout of your panels) and on one panel at a time. If you mix the direction of your strokes, it will look less like real wood than you probably want. Once you’ve finished with all panels, go back in with large strokes in that same single direction over the entire door.
Let your wood grain finish dry completely. If you want a more stark look, apply another coat, and let that dry completely. Afterward, you can remove all the drop cloths and painter’s tape and revel in your newly-painted faux wood door.
DIY vs. Hiring a Pro
This is a budget-friendly project that’s perfect for budding DIYers, but it does represent a certain level of risk. First of all, the garage is an extremely large outward-facing fixture, so passers-by can see even small mistakes. Hiring a pro to paint a garage door costs $120 to $500, but these painters are insured, licensed, and experienced.
Additionally, completing this job will likely take you longer than a seasoned painter, especially if there’s a lot of old paint to remove during the scraping and sanding phase. Basically, if you have the time and plenty of attention to detail, go the DIY route. Otherwise, hire a pro.
Frequently Asked Questions
Sure, many garage doors are metal, and the same goes for traditional entranceways. You can use wood-tone paint and a wood grain finish to give these fixtures a warm and rustic look, adding much-needed character and personality. There are a few ways to achieve the desired wood grain effect, but traditional wood-tone paint with a wood grain finish is the easiest option for most DIYers.
Sure, but detail is extremely important here, as the garage door faces the outside for everyone to see. The best way to paint a garage door is a combination approach that incorporates both a roller and a standard paintbrush. Use the roller on wide-open portions of the garage door and the brush on smaller panels and trim. Also, opt for a roller with natural fibers over synthetic fibers for an even coat.
Metal is finicky, particularly when exposed to the elements. In other words, you should always prime your metal garage door before laying down paint. Primer not only helps the paint stick to the metal, but it also prevents rust from bleeding through. If you already have some rust and want to avoid it peeking out, cover the spots with a zinc chromate primer.


Get our Angi-powered app


