

The cost to sandblast your home’s exterior or another surface on your property depends on the method and the materials you use. Learn more with this guide.
Because first impressions matter


Whether you have just painted your front entryway, you want to save money on a potentially expensive exterior paint job by doing some of the work yourself, or you are simply looking for a quick way to boost your home’s curb appeal, consider adding a fresh coat of paint to a door. It will refresh your house fast, and it is an inexpensive alternative to buying a new door altogether. Follow this step-by-step guide to learn how to paint any door like professional painters do.
Difficulty: Medium (2/5)
With the right tools, materials, and prep work, painting a door is a straightford project; however, painting one with paneling requires a bit more skill.
Total Project Time: 2–5 hours to paint and one day to dry
Removing the door and painting it can take around 2–5 hours, but plan for a full day for the paint to dry. If you are painting a door that is frequently used like an entryway door, be sure to account for the drying time when planning.
Cost: $100–$200
One quart of paint
One quart of primer
Sandable patching compound
Screwdriver
Pliers
Utility knife
Hammer
Cleaning solution
Sanding sponge or orbital sander
Drop cloth
Painter’s tape
Paint brush and mini paint roller
Mini paint tray
Whether you are painting an exterior or interior door, picking the right color can complete the look of an entire space.
Your front door is one of the first things people see when they walk by or visit. You can choose the best color for your door by complementing the exterior paint or picking a contrasting color to make the door pop. Think about your personal preferences as well as the style of your home when making your decision.
Also take into consideration the material of the door to find the best type of exterior paint. You can choose between oil or latex paint. Oil-based paint is more durable on certain surfaces, such as metal or cedar, but emits more fumes, can take longer to dry, and requires a more extensive cleanup process. Latex paint, however, dries quickly, is more eco-friendly, and has an easier cleanup process. Latex paint may be less durable than oil-based paint in harsher climates, but still provides good coverage for most exterior door surfaces.
When painting an interior door, consider the amount of use it gets on a day-to-day basis. High-gloss latex paint is recommended for interior doors because it’s durable and easy to wipe down and clean.
While white paint pairs well with almost any interior color, you can also consider painting your doors a different color to showcase your personal style and add dimension to the room. When painting an interior door, consider choosing environmentally friendly paint options that may limit your exposure to potentially harmful chemicals.
If you are painting an interior door or an exterior door with a screen door behind it, you can fully remove the door before painting. However, if you are painting a front door without a screen, consider leaving it on the hinges to paint so your interior isn’t exposed to outdoor elements during the project.
To remove the door:
Remove the doorknob and lock set.
Remove the bottom hinge pin first by placing your screwdriver at the base of the pin, then tapping upward on the head of the screwdriver with your hammer.
Repeat this step with the middle and top hinge pins.
Carefully lift the door off the hinge pins and move it to your workspace-you may need a second person to help with this step depending on how heavy the door is.
Remember to keep all hardware in a safe place for easy access when you’re ready to reattach the door.
After the door has been removed, you can start prepping for painting:
Clean the door and hardware from any dirt and debris using a cleaning solution and towel.
Sand the door using a fine sandpaper first (100 to 200 grit) to buff the surface and allow the new paint to adhere better.
Use a coarser grit sandpaper (60 to 80 grit) to go over more stubborn areas that may have excess paint build-up.
Repair any nicks and imperfections using sandable patching compound and a putty knife. Wait for it to dry before moving on.
Go back over the door with a fine sandpaper to smooth the entire surface.
Clean the door again with warm water and a towel to remove any remaining debris or remnants from sanding and allow it to fully dry.
Tape off areas that you don’t want painted, such as door frames, door jambs, doorknobs (if you left them intact), and hardware.
Lay down a drop cloth underneath the door.
Remember, if you are painting over a metal door or a door with multiple layers of paint, you may need to spend extra time prepping and priming as the paint won’t stick to the surface.
This step may not be necessary if you are painting over a door that is in like-new condition. However, if you are painting a metal door, a door that gets frequently used, or a door that has been painted multiple times, priming is recommended. Primer can help the new paint adhere better, and if you’re covering a darker paint, it can help you achieve the shade of the new paint coat more quickly.
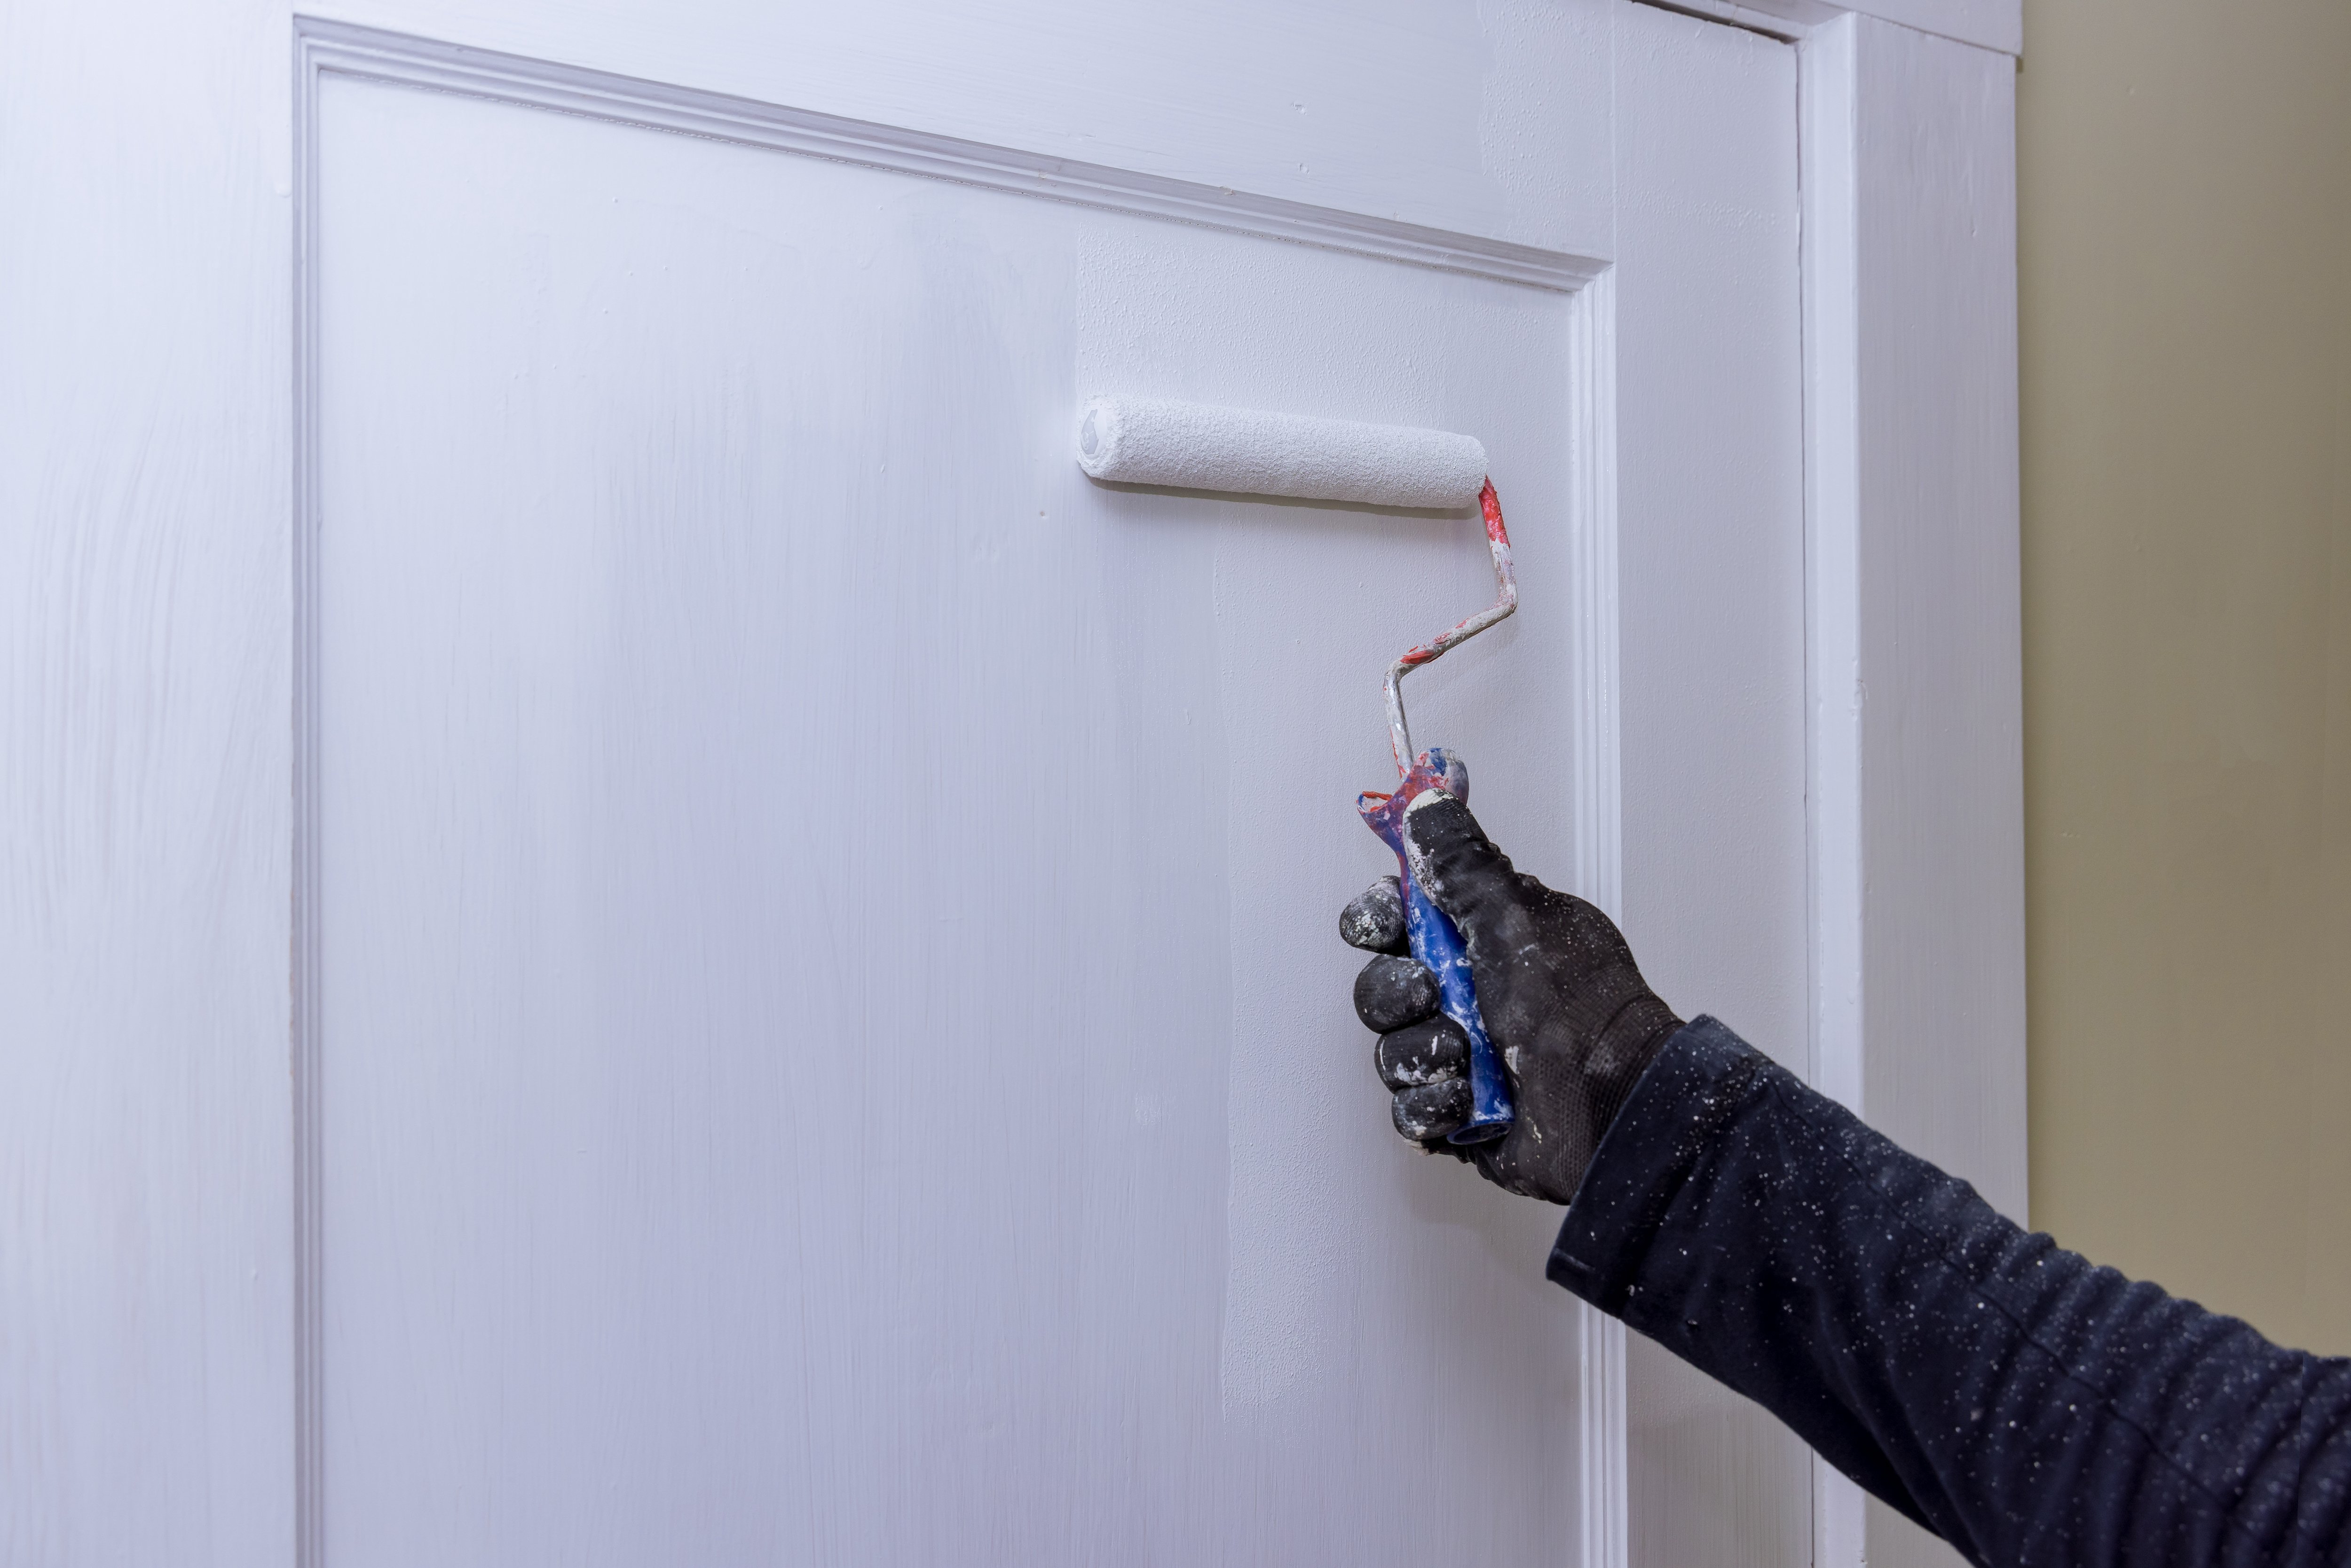
If you are priming a door with panels, use a paintbrush to paint the edges of the panels first and then fill in the panel to minimize brush strokes. If the door doesn’t have paneling, you can use a roller to evenly coat the door, working from the top to bottom.
Once you have applied the primer to the entire door, wait for it to dry completely according to the manufacturer’s directions before applying your first coat of paint.
After the primer has dried completely, it’s time to apply your first coat of paint. Depending on the type of door you are painting, a few more steps may be required to ensure a flawless finish.
Paneling adds dimension and a decorative effect to a door but can create a layer of complexity when you’re trying to paint over it. If your door has panels, learn how to paint a door without brush strokes by using both a paint brush and a mini roller.
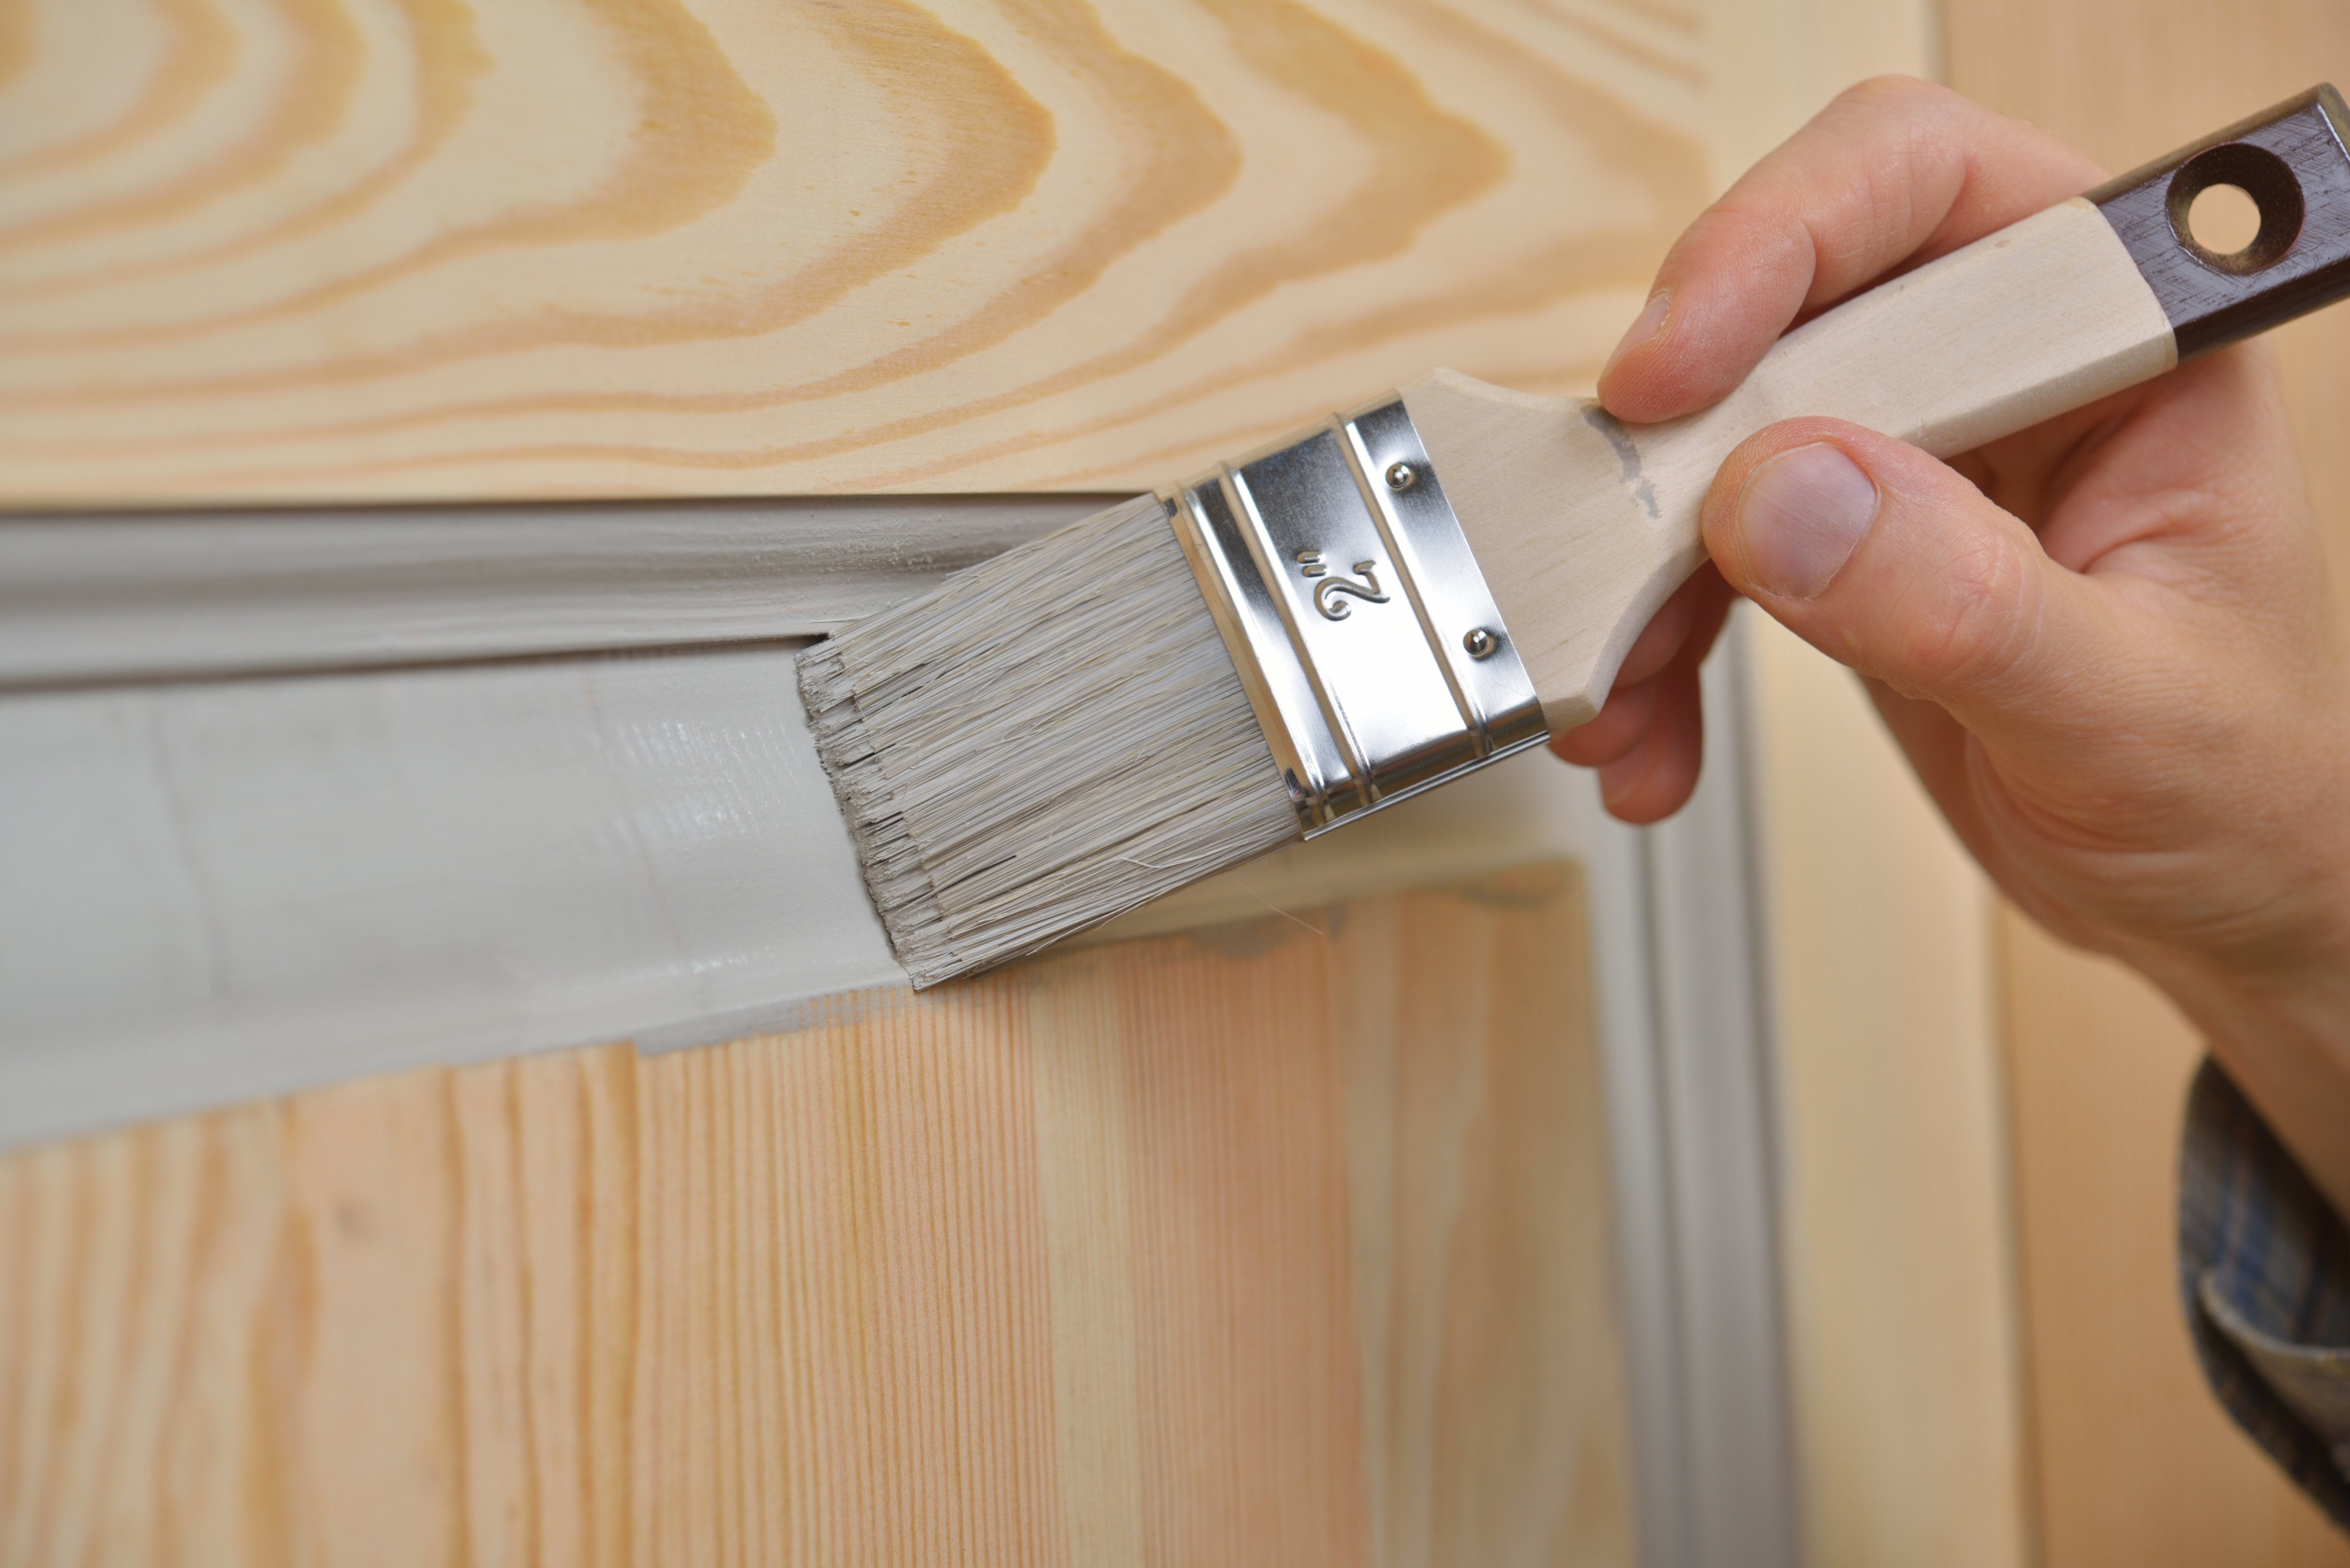
Because you will be painting crevices and multiple corners of the panels, consider preconditioning your paintbrush first to allow you to cut in easier and also extend the life of your paintbrush for future use.
When painting, divide the door into three vertical segments and work sections at a time, starting with the top panels, then working your way down to the middle and bottom panels. This minimizes brush strokes because you are more quickly able to blend the areas together when working in smaller sections.
Pour some of your paint into a mini paint tray and keep some of the paint in the can.
Dip your paint brush into the can and tap off excess paint.
Start with the top two panels and paint around the edges of the paneling first.
Dip your roller into the tray’s reservoir, then roll it back and forth over the back of the tray to remove excess paint.
Go over the faces of the panels with your mini roller, working in line with the wood grain.
Use your paint brush to cut in the top corners and edges of the door. When cutting in, feather the edge of the area you are painting so that it blends easily once you start using the roller.
Use your mini roller to blend in the middle and side flat surfaces of the door with areas you have cut in, painting in line with the grain. Be sure not to press too firmly to avoid paint seeping off the roller and dripping down the door.
Repeat these steps on the middle and bottom panels, cutting in around the doorknob as well.
Look for drips, splatter, or patchy areas in the paint, and lightly go back over them with your roller.
Allow the door to dry completely, then add your second coat, repeating the same process you used for the first coat. A second coat of paint is particularly important for entryway doors or interior doors that are frequently used to ensure that the paint holds up for years to come.
Learn how to paint a door with a roller and a paint brush to minimize brush strokes on a door with a flat surface.
When painting, divide the door into two vertical segments, working in separate sections at a time, starting from the top to bottom. Doing this will give you a painted door without brush strokes as you will be able to more quickly blend the brushed and rolled sections before they dry.
Pour some of your paint into a mini paint tray and keep some of the paint in the can.
Dip your paint brush into the can and tap off excess paint.
Start with the top corners and edges of the door, and cut in with your paint brush, feathering the edge for easy blending with the roller.
Dip your roller into the paint tray and roll over the end of the tray, removing excess paint.
Roll the paint on the door, working top to bottom and blending in with the cut-in areas. Make sure not to press too hard to avoid paint drips and splatter.
When you’re ready to start on the bottom half of the door, use your paint brush to cut in the corners and edges of the door as well as the doorknob.
Use your roller to fill in the surface and blend in the areas you have cut in.
Clean up any drips or splatter and fill in patchy areas with your roller to ensure a smooth finish.
Once the first coat has completely dried, you can apply your second coat using the same process. A second coat can add durability and protect your paint from any interior or exterior elements, making this additional step a worthwhile time investment.
Once all coats of paint have completely dried (the paint doesn’t feel tacky to the touch), it’s time to reattach the door. You can either replace the hardware and hinges or re-use them if they are in good condition.
To reattach your door:
Set the door upright and align with the hinges.
Start with the top hinge and push the pin from the top, using your screwdriver to tap it back in if necessary.
Repeat this step with the middle, then bottom hinges.
Once the door is attached, you can remove the drop cloth and masking tape and begin cleaning your supplies.
When cleaning your paint brush and paint roller, rinse them in the sink until the water runs mostly clear.* Then use a mixture of mild soap and warm water to rinse off any remaining paint. Use an old towel to dry them completely.
Properly cleaning your paint brush and roller extends the life of your painting supplies so you can use them again in the future.
* This cleaning method is only good for latex (water-based) paint. If you used an oil-based paint, you will need a paint thinner when cleaning to avoid damaging your pipes. For more information on how to dispose of paint properly, check with your county for local regulations.
From average costs to expert advice, get all the answers you need to get your job done.
The cost to sandblast your home’s exterior or another surface on your property depends on the method and the materials you use. Learn more with this guide.

The cost to paint a stucco house depends on its size, the type of paint used, and any required repairs. This guide will help you budget for the painting project.

The cost to paint a pool deck depends on the dimensions and material, the type of paint, and whether you DIY. Read on to help determine a project budget.
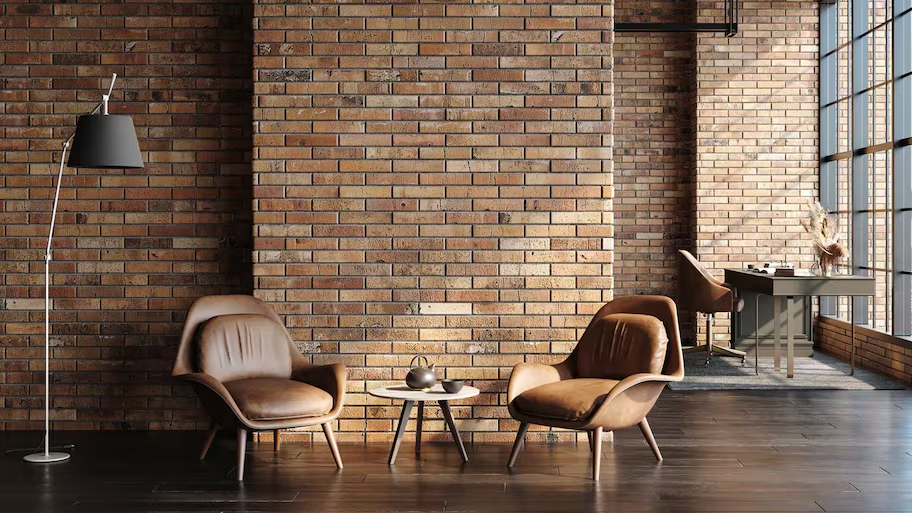
Can brick be stained? With proper preparation, you can stain your home’s brick and give it a major refresh. Here’s what to know about this beautification project.

Are you ready to refinish your siding and revitalize your curb appeal? Before getting started, discuss these exterior painting questions with your pro.
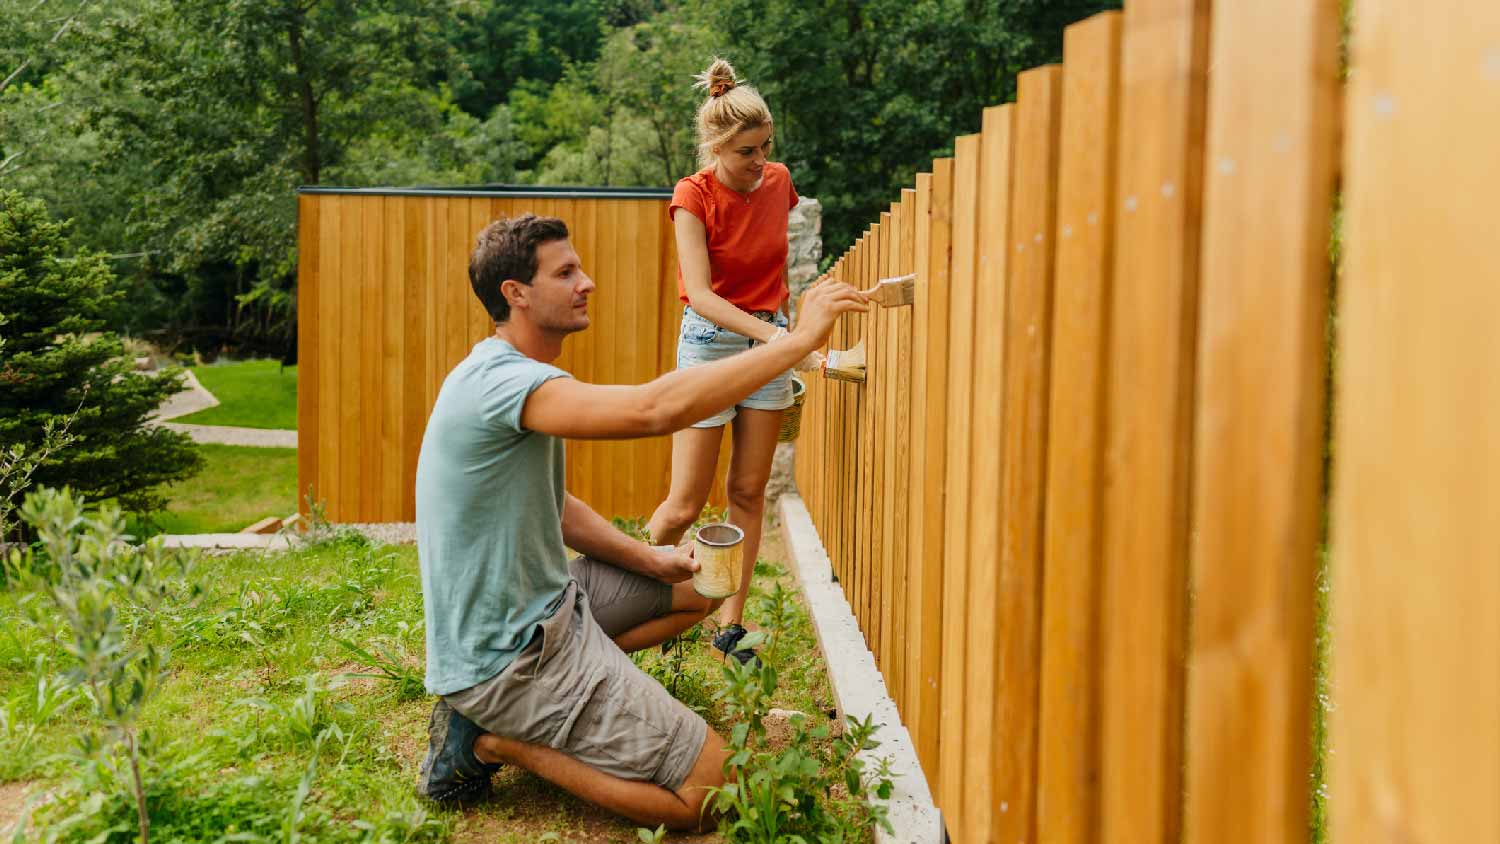
Staining a fence is a great project if you’re a handy DIYer. Learn how much it costs to stain a fence and how you can influence the price.