
The cost to paint the interior of a house in Columbus, OH depends on size, layout, type of surface, and more. Learn what factors can influence your total in this guide.
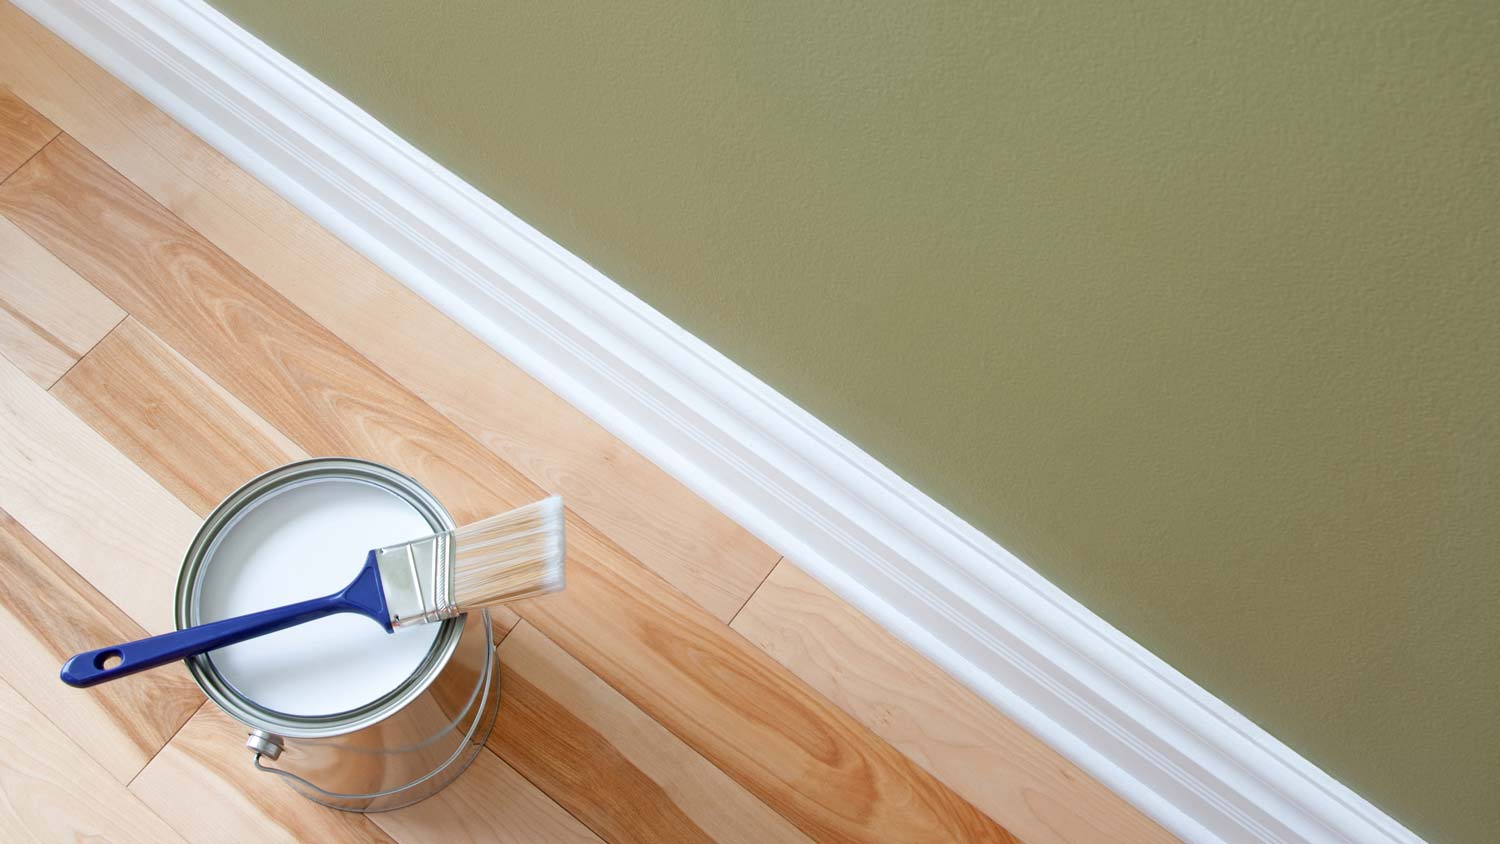
From baseboards to ceiling, a room's beauty is in the details


Learning how to paint baseboards or trim work can change the entire look and feel of a room. Or, it can be an excellent way to update or refresh a room without painting the walls.
However, the detailed appearance of some trim can be intimidating and is known to have kept DIYers from attempting to paint their baseboards. Of course, we're not going to let that happen to you. Here’s a step-by-step guide to achieving outstanding results when painting your baseboards.
Depending on the trim's condition, your baseboard painting preparation may vary by room. In some rooms, you can get right to work. However, baseboards in poor condition will likely require some repair before starting the paint job.
Also, if you're painting new or bare baseboards, you'll want to spend extra time preparing them with an interior paint primer before or after installing them. Regardless of your preparation tasks, before starting work on your baseboards, put on a high-quality pair of knee pads to lessen the strain on your body over the next few hours.
Although painting your baseboards isn't inherently dangerous, you may encounter lead paint if your home was built before 1978. Painting over lead paint seals it in place and isn't a health hazard when it's not disturbed. However, some baseboard preparations require light sanding, which can pose a health risk.
If you need clarification on whether the potentially harmful material is present in your home, test for lead paint by purchasing a testing kit or hiring a local lead testing service.

As with any painting job, proper prep work is crucial. The condition of your baseboards will determine how much or little prep you'll need to do.
Start by cleaning the baseboards. Use a small sponge dipped in a bucket of warm water with dish soap added. Follow that by wiping off excess water left behind with a soft cloth. While cleaning, look for spots you'd like to return to and repair if necessary. Allow the baseboards to dry completely.
Once clean, go back with a putty knife and spackle to fill in holes and repair scratches in the baseboards. Apply the spackle liberally, allow it to dry, and then sand it smooth with 150-grit or finer sandpaper. Wipe any sanding dust from the baseboards with a soft cloth.
Whether or not you should sand your baseboards depends on the type of finish you're covering up. Lightly sand baseboards with polyurethane or high-gloss finish with 220-grit sandpaper to help your primer coat adhere better.
A light sanding, enough to scuff the surface, is all you'll need. When complete, wipe the sanding dust off the baseboards with a soft cloth. You can skip this step if you're painting new trim work or the old paint is flat or matte.
To make your baseboard painting project as straightforward as possible, spend some time preparing the room. Move furniture a few feet away from the walls to work comfortably. Vacuum the floor near the baseboards to keep dust out of your work. Place a drop cloth or plastic sheet where you'll handle the primer and paint cans and have one available to move with you as you paint to catch drips.
Mask the wall and floor with painter's tape. Start by applying the tape above the trim work to the wall as close as possible to the baseboards without overlapping it. If you have hard surface flooring, apply tape to the floor at the junction between it and the baseboards. For carpeted floors, run the tape along the baseboards overlapping them by about ¼-inch. Don't stick the tape to the baseboards. Instead, follow with a putty knife and tuck the tape under the trim work.
For bare wood, new, or heavily damaged baseboards, you'll want to apply a full primer coat before painting. Also, be sure to apply primer over any spackled repair spots. You can skip the priming step if your trim is in good condition.
For ease, consider transferring small amounts of primer at a time from the original can into a small painting pail to work from while priming. Prime horizontally with your 2-inch brush and fill in detailed sections with the 1-inch one. Move your drop cloth as you work your way around the room. Allow the primer to dry thoroughly according to the product directions, and clean your paint brushes before moving onto the next step.

Now it's time to add some color. Thoroughly stir your paint and transfer a small amount into a painting pail. Place your drop cloth on the floor in the area where you're starting. Use the 2-inch brush to paint horizontally and evenly. You may also opt for a small paint roller or paint pad. Fill in trim details with the 1-inch brush as you work, and drag the drop cloth around the room to protect the floor from drips.
When complete, follow up with additional paint coats in the same manner if necessary. Allow the paint to cure for about 24 hours before moving to the next step.
Almost to the finish line! To remove the painter’s tape without damaging your hard work, carefully use a utility knife to score a line at the wall and baseboard junction. Pull the tape up and away from the wall as you cut the dried paint. Repeat the procedure at the floor junction. Use caution not to cut the fibers if you're working with carpeting.
In most cases, DIY baseboard painting is a no-brainer if you have the right tools and skills. Additionally, the project is an excellent way to expand your painting skills and try something new.
Painting your baseboards costs between $25 and $50 per room, including the cost of about one quart of paint and a quart of primer. Depending on how many rooms you'll paint, the cost per room could vary slightly, especially if purchasing primer and paint in one-gallon or larger quantities.
Other costs to consider are the price of your painting tools and supplies, including a pair of high-quality knee pads. For baseboards requiring significant repair work before painting, expect to spend more for spackle and sandpaper or a sanding sponge.
However, if you'd rather not get on your hands and knees to do the job, or if the possibility of running into lead paint exists, you may want to reconsider the project and hire a professional interior painting company near you to take over.
From average costs to expert advice, get all the answers you need to get your job done.
The cost to paint the interior of a house in Columbus, OH depends on size, layout, type of surface, and more. Learn what factors can influence your total in this guide.
The cost to paint the interior of a house in Kansas City, MO depends on size, layout, type of surface, and more. Learn what factors can influence your total in this guide.
The cost to paint the interior of a house in Charlotte, NC depends on size, layout, type of surface, and more. Learn what factors can influence your total in this guide.

The German schmear technique can revitalize the look of your brickwork. Learn what German schmear is and what you should know before you get started.

Are you ready to enliven your bathroom and protect it from moisture? Learn how to paint a bathroom with the right tools and techniques to give you peace of mind.

Are you ready to give your popcorn ceiling a modern refresh? Learn how to paint popcorn ceilings to better suit your home's design aesthetic.