
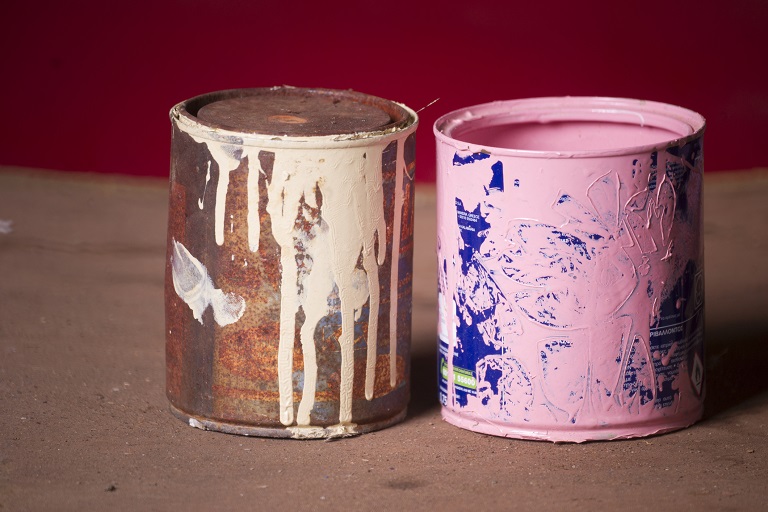
Is that can of paint in your garage still good? How long does paint last and how can you tell if it's gone bad? Here are a few things to know.
Open with care to keep the color in the can

When your paint is mixed and canned, it’s carefully sealed to prevent any splashes on the drive home. However, learning how to open a paint can is essential to ensuring you break the seal cleanly. Being too aggressive when opening can leave a spill or splash. Yes, it’s a beautiful color, but probably not what you were thinking for your driveway or living room floor.
Learn to carefully open your paint can so you don't damage it or cause a mess. If you don’t finish your project in one day, you’ll need to reseal the can ahead of your second coat or touch-ups. If you don’t use it all, don’t worry—you can use leftover paint creatively.
If you don’t own a flathead screwdriver, you can use a putty knife to pop the lid off a paint can. Other tools such as a 6-in-1 painter’s tool or a designated paint can opener from your local hardware store also work. You can also use household items like the edge of a spoon or a pocket knife to open a can of paint if you run out of other options.

To start, place one hand on top of the can. Then wedge your paint can opener, flathead screwdriver, or putty knife between the rim of the can and the lid.
If you use a putty knife, ensure it’s stiff. A flexible one might be good for other jobs, but it won’t be effective in breaking a paint can seal.
Gently push down on the paint can opener tool handle to pry the lid away from the can, breaking the seal. You may need to repeat this step a few times to unseal a stubborn lid.

Gently run your screwdriver around the can, opening the seal evenly. Often, people turn the can an inch and repeat the second step. But this prying motion can bend or damage the lid of the can, preventing the lid from going back on with a nice seal.

Once you’ve worked your way around the can, lift the lid off slowly. Make sure you’re wearing gloves, or you’ll get paint on your fingers.
No, we’re not talking about breaking out an actual label maker. But it’s helpful to add a dab of paint onto the can’s lid so you can know what color is inside for future use.
It’s also helpful to add a note like “living room trim” when your hands are clean. Paint can last 10 years; that’s enough time to forget what’s in the can. Then place the lid in a plastic bag to prevent it from getting messy.
Now for a trick from the pros: Puncture a few holes inside the gutter of the paint can. This painting technique will allow any paint that gets in that groove to drip back into the can where it belongs. It’ll go a long way toward keeping your can (and potentially floor) clean.
When you’re done painting for the day, it’s time to replace the lid. Place it on the can as straight as possible. To reseal it, drape an old towel over the top and use a hammer (or any heavy object) to pound it on tight. The towel will help prevent dents in the can from your hammer.
Make things easy on yourself and have a towel and hammer ready when you open the paint. That way, you don’t have to carefully run through the house–with splotches of paint on your pants–to find them later. If you hire a local interior painter to paint your home, remind them to reseal the leftover paint so you can use it for future touch-ups.
Custom Paint Jobs LLC is the go-to choice for all your painting needs. They painted both the interior and exterior of my house flawlessly. Their work speaks for itself!
Beginning with the estimate, Larry and Peyton were super helpful in getting my new condo's interior re-painted. Not only was the job well done, but also done in a super timely manner as promised.
 Five Star Painting of Plain City and Powell
From average costs to expert advice, get all the answers you need to get your job done.
Is that can of paint in your garage still good? How long does paint last and how can you tell if it's gone bad? Here are a few things to know.
If you’re a homeowner, you likely have an old paint can or two lying around. Get inspired to reuse them with these crafty uses for empty paint cans.
Wondering how to dispose of unused paint properly? Many homeowners are in the same boat. If you have cans of leftover paint cluttering up your home, we’ve got all the information you need on what to do with it, from paint recycling to donation.
Whether they’re covered in fresh or dried paint, learning how to clean paint rollers is easy for anyone to do.

Windows being painted shut is actually an occurrence that happens to many homeowners. Read on to learn how to open painted shut windows and let the air in.
Smooth paint is the best paint. Here are some tips to help you make the paint, primer, and finish dry smoother for a picture-perfect application.