

•
Discover the cost to install a ceiling fan, including labor, materials, and tips to save. Learn what impacts your price and how to budget for your project.
It’s systematic, why it’s your own greased lightning

Ceiling fan oil keeps your motor running smoothly by preventing parts from overheating, grinding, or wearing out, which extends your fan's lifespan and performance.
You need to oil your ceiling fan once or twice per year, or whenever you notice excessive noise, wobbling, or slowed rotation affecting operation.
Check the oil hole with a pipe cleaner to see if your fan needs lubrication, then add non-detergent motor oil slowly until it reaches proper levels.
Hiring a local ceiling fan repair professional provides reliable help with motor lubrication and diagnosing noise issues, keeping your fan running quietly and efficiently.
You probably haven’t ever thought about oiling up your ceiling fan—who has? But some models occasionally need extra lubrication to keep things running smoothly. Learn how to oil a ceiling fan and enjoy a noise-free breeze with this DIY guide.
Before starting, consult your user manual to get the maintenance details for your specific model. If your fan requires regular oiling, the manual should state the type of non-detergent motor oil lubricant you need to purchase. It’s important that you only use a non-detergent oil—other oils are combustible and can cause a fire.
Once you know the lubricant type, gather the following supplies:
Step ladder
Paper towels or microfiber cloths
Multipurpose cleaner
Pipe cleaner
Manufacturer-recommended non-detergent motor oil
Before proceeding to work on your ceiling fan, disconnect it from its power source to prevent electrical shock or other injury. The safest option is to turn off the associated breaker on your electrical panel.
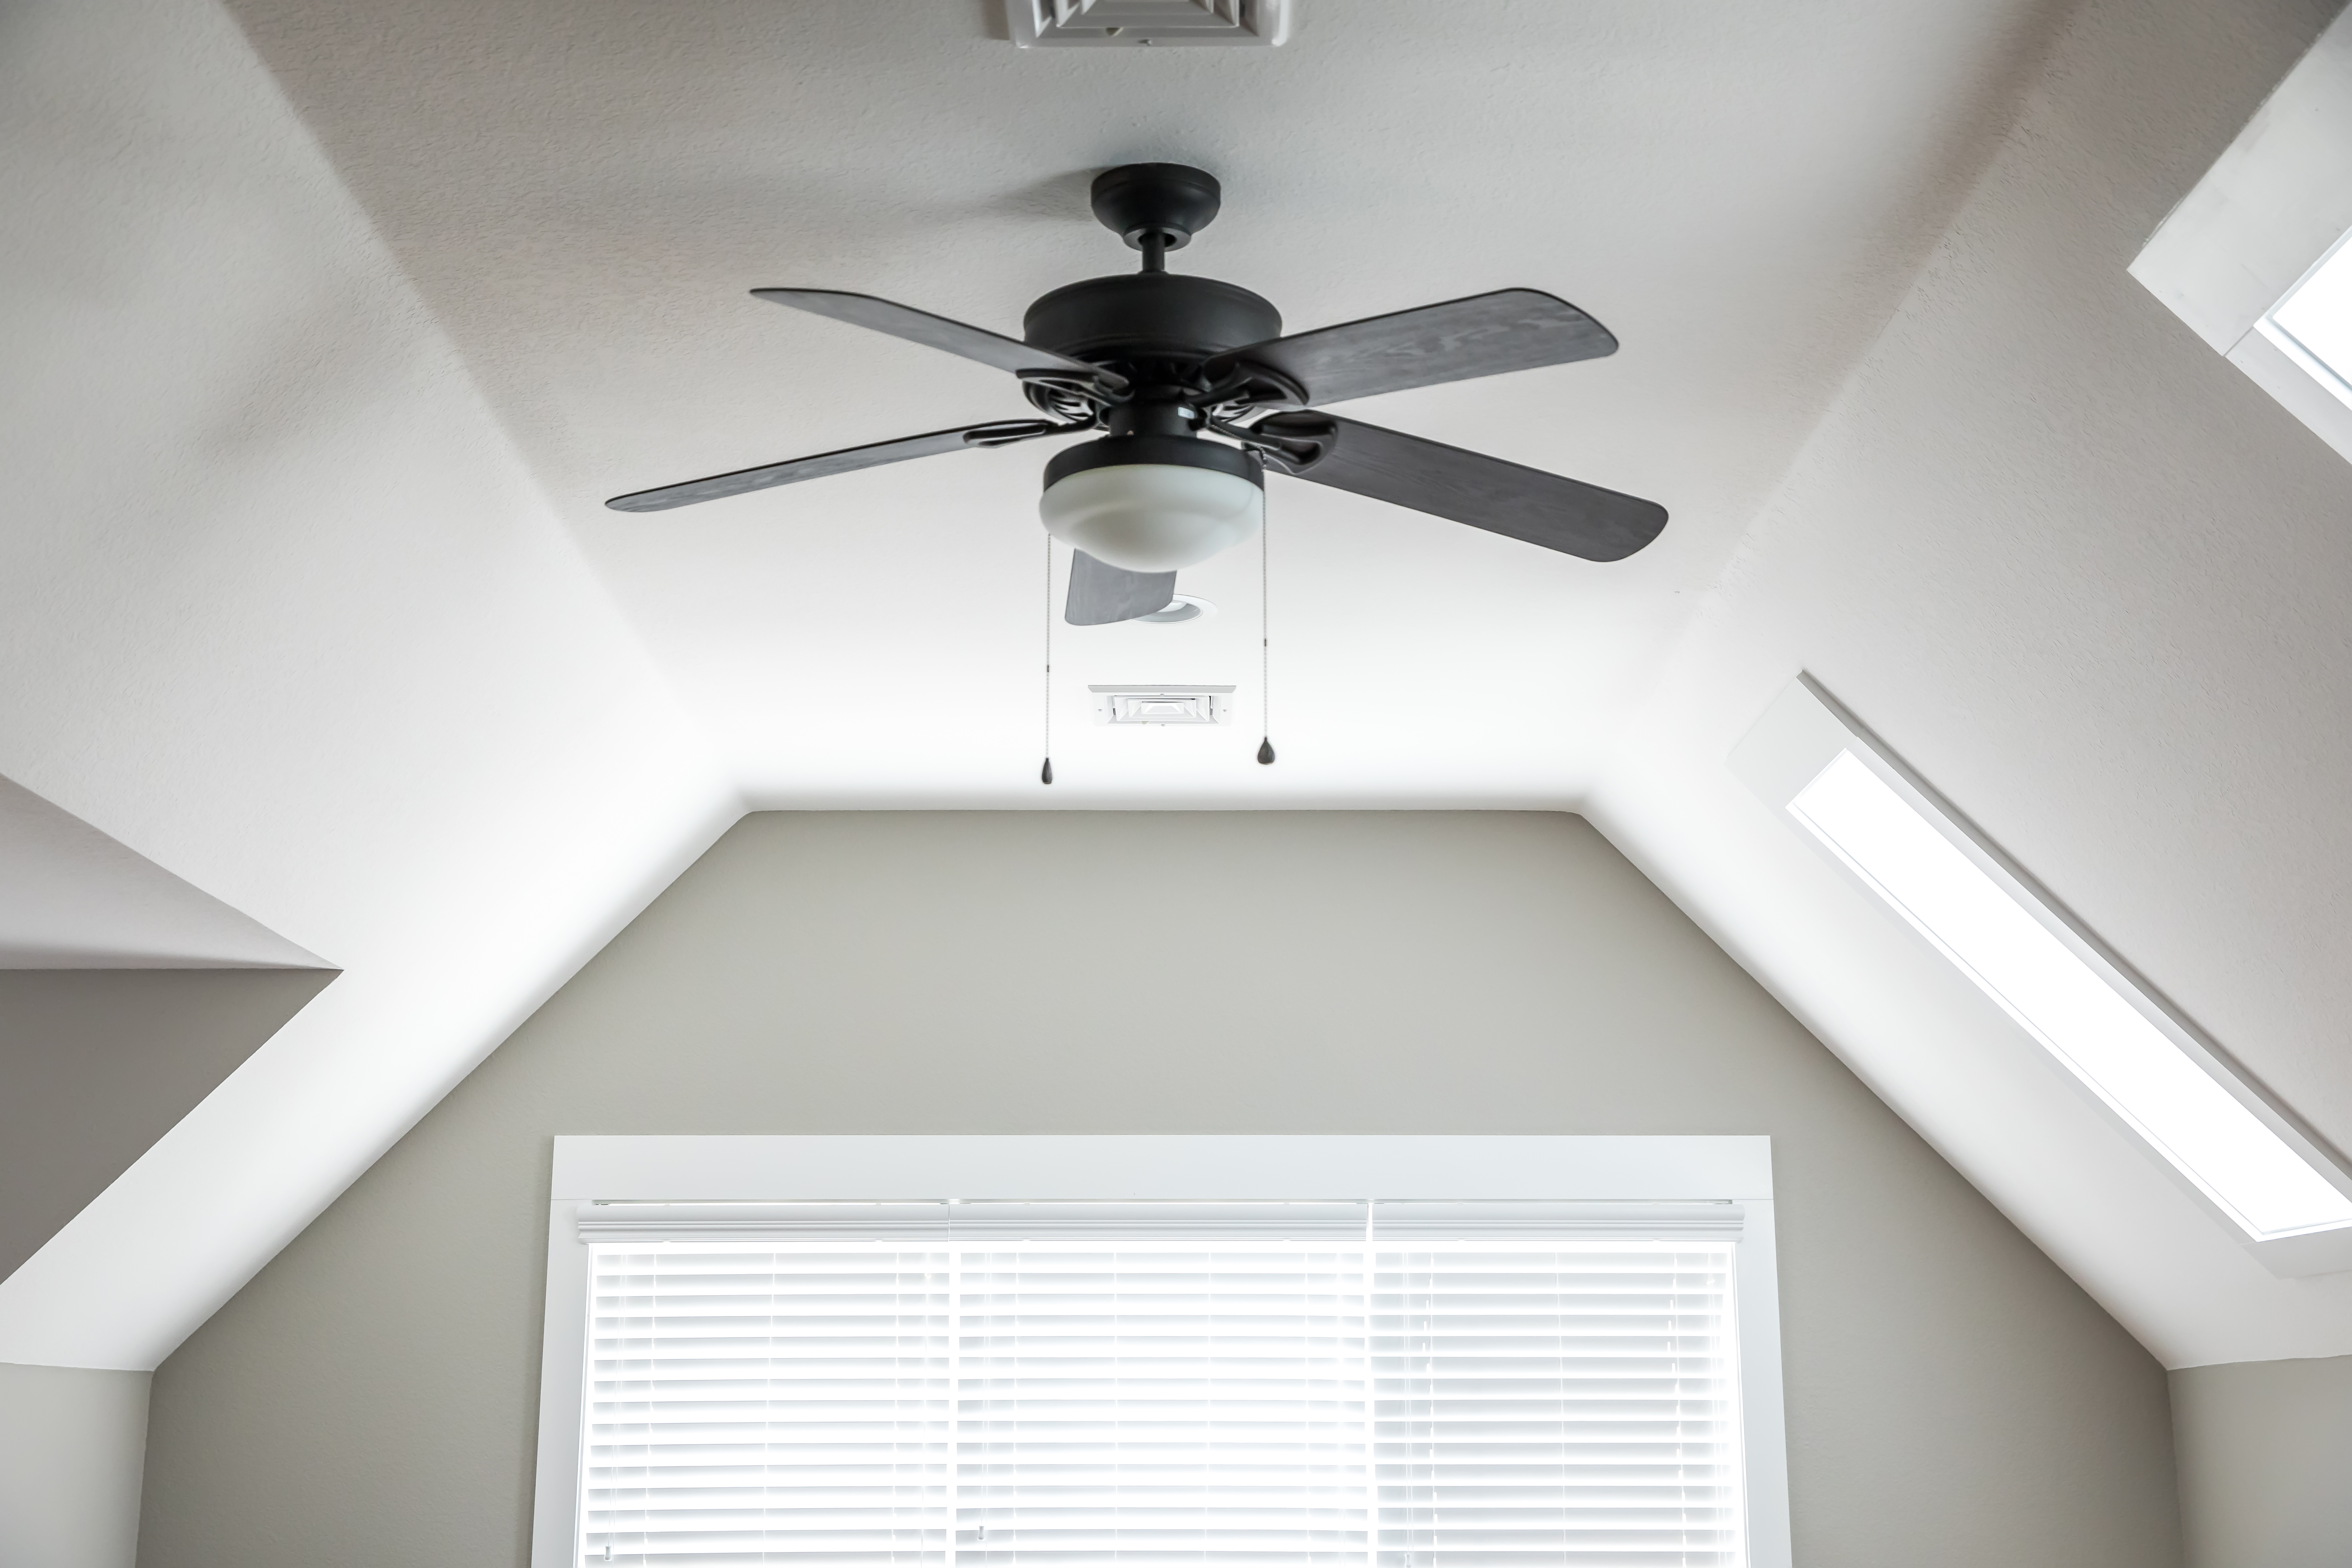
With your step ladder placed securely near your fan, climb up and look for the oil hole. Most oil holes are located on the top of the motor and near the downrod, which is the connecting piece between the motor and the mounting hardware. Most oil holes are also labeled, so you shouldn’t have to play hide and seek with it.
Bend a pipe cleaner to form a hook, and insert it about half an inch into the oil hole to check the oil level. If the pipe cleaner has oil on it, it doesn’t need additional lubrication. If it comes out dry, the ceiling fan likely requires oil.
Dirt, dust, and other debris on and inside your ceiling fan can stick to oil and build up in the motor, which is why it’s important to clean it thoroughly before adding oil. Using warm water, an all-purpose cleaner, and a microfiber cloth or paper towel, wipe dust and grime away from your fan blades and the housing.
To clean the oil hole and the motor, simply wipe it down with warm water. Optionally, you can use WD-40 degreaser to loosen up extra grime in the motor. Allow the fan to dry completely before adding oil.
Using the recommended oil, slowly pour between 1 and 2 ounces into the oil hole. If it’s been some time since you last oiled your fan, it might need additional oil.
To test your fan, slowly rotate it by hand. Check the oil again, and add more if necessary. Once the pipe cleaner comes out with oil, you’ll know that the oil reservoir is full. Turn the power back on, and run it at a slow speed to verify that it’s running properly. If your ceiling fan makes noise or rotates irregularly, you may need to take other maintenance or repair steps.
Ceiling fans require occasional maintenance to keep them running properly, and some models require oiling as part of regular maintenance. Oil keeps the components of your ceiling lubricated, which keeps them from overheating, rubbing, sticking, or grinding while the fan rotates.
Keeping your ceiling properly lubricated is a preventative maintenance step that keeps its parts from wearing out prematurely. Besides prolonging the lifespan of your ceiling fan, proper lubrication can reduce the risk of burning out the motor. It’ll also make your fan run more smoothly and efficiently, and it will prevent or resolve excessive noise.

In general, most manufacturers recommend that you oil your ceiling fan once or twice per year. The time between maintenance can vary depending on factors such as the unit model, how often you run it, and the amount of dust or debris it accumulates. If your fan requires oiling, your user manual should explain how often it’s recommended.
Newer ceiling fan models usually have sealed and self-lubricating bearings, but they might need oiling if their performance starts to suffer. In that case, you’ll likely need to remove the fan to lubricate it properly.
Other signs can also suggest that your fan may be lacking adequate lubrication. If you notice any of the following, it’s time to check your fan’s oil level:
Excessive squeaking, grinding, rattling, or other noise
Loose or damaged fan parts
Slowed rotation
Wobbling or rubbing
Oiling is an important part of ceiling fan maintenance, but other steps can also help keep it in good repair. To keep your ceiling fan running smoothly and efficiently, follow these maintenance tips:
Dust and wipe down your fan about once per month.
Check periodically for loose screws or fasteners.
Adjust any parts that loosen and come out of place.
Replace or repair any damaged parts.
When it comes to oiling and other routine maintenance, doing it yourself offers both savings and schedule flexibility. If you’re already having a local ceiling fan contractor install or replace your ceiling fan, they’ll likely also lubricate it as part of the service.
If oiling didn’t fix your noisy ceiling fan or it’s still wobbly after oiling and your other troubleshooting efforts haven’t worked, the next step is to call an electrician for assistance. They can also help you if you have a newer ceiling fan model that has to be disassembled once or twice in its lifetime for lubrication.
Great company! Price was competitive, technician showed up on time and completed the job (exterior electric Radon fan replacement) quickly. Would hire them again.
Best decision was going with PatchMaster. Greg was wonderful / responsive & Dave did wonderful work. Got me on the schedule quick, matched my popcorn ceiling perfectly, finished the job quick, and was so kind & reasonably priced. Will absolutely be hiring again
Jeff was a consummate professional. Responsive, courteous, and focused on meeting our needs. I had a small project of installing and replacing two ceiling light fixtures. He responded to my Home Advisory inquiry within 24 hours and in a span of two weeks our light fixtures were installed. ...
Involved an extensive bathroom remodel, including removing tub & installing walk in shower, new drywall, custome tile work to ceiling, plumbing, etc. Overall, job was done on time and on budget. Nick & his team were very professional and had high attention to detail. Quality was great. Highly...
 Stamos Flooring and Remodeling LLC
Mike and his crew did a great job working through a very challenging task. The job required a full demolition of our ceiling, removing the blown in insulation and removing all the material from the site daily. It involved multiple inspections from the city and many challenges to get the...
 Rising Height Unlimited
Awesome company. Had a jacuzzi tub taken out and replaced with huge walk in shower with partial glass enclosure. Onyx to the ceiling with a decorative border, moved plumbing and installed hand held shower, new ceiling, flooring, and paint. Replaced window with glass block. Everything was done...
 Columbus Bath Design
There isn't much I can add that hasn't already been said about Rhino Painting. Outstanding service and communication from the first phone call through the end of the project, we could not be happier with this company. They painted our kitchen, living room, ceiling, starirwell and wood work,...
 Rhino Painting & Color Consulting LLC
Charlie recommended a separate fan with new lighting to clear steam from the room better. Several weeks ago I contacted Charlie via email to ask about pricing and scheduling, after one follow up he did reply with cost and said it would be about two weeks before he could do the work. I replied...
 Settle Muter Electric
Scott was awesome! This job was not an easy one, especially the relocation of the cable in the Great Room. I had called several other companies on Angie's list only to be turned away due to the tight timeline I was under or the anticipated difficulty of the work. <br /> Scott was realistic...
 SIGNAL DIRECT SYSTEMS
After struggling throgh attempts to fix a persistently leaky skylight, I called Bob at Skylights Plus to check it out. Given the fact that previous attempts to repair the flashing/roofing around the skylight didn't work, he recommended a full replacement. <br /> Even though the weather...
From average costs to expert advice, get all the answers you need to get your job done.
Discover the cost to install a ceiling fan, including labor, materials, and tips to save. Learn what impacts your price and how to budget for your project.
If your ceiling fan stops working due to a bad motor or broken pull chain, here’s what you can expect to pay to get it fixed.

Did you know your ceiling fan can spin in two different directions? This quick-reference guide shows you why and how to change your ceiling fan direction.
Use this ceiling fan maintenance checklist to stay on top of your daily, weekly, monthly, and seasonal ceiling fan maintenance tasks.

With the right size, ceiling fans are an energy-efficient way to cool a room. Use this ceiling fan size guide to find the perfect model for your space.
Although the risk is low, there are a few telltale signs that a ceiling fan will fall off your ceiling. This guide explains when to worry (and when not to).