
If your sprinkler system isn’t working, it may be time for a new pump. Find out sprinkler pump replacement costs with this guide.
Get water where you need it with clever rerouting

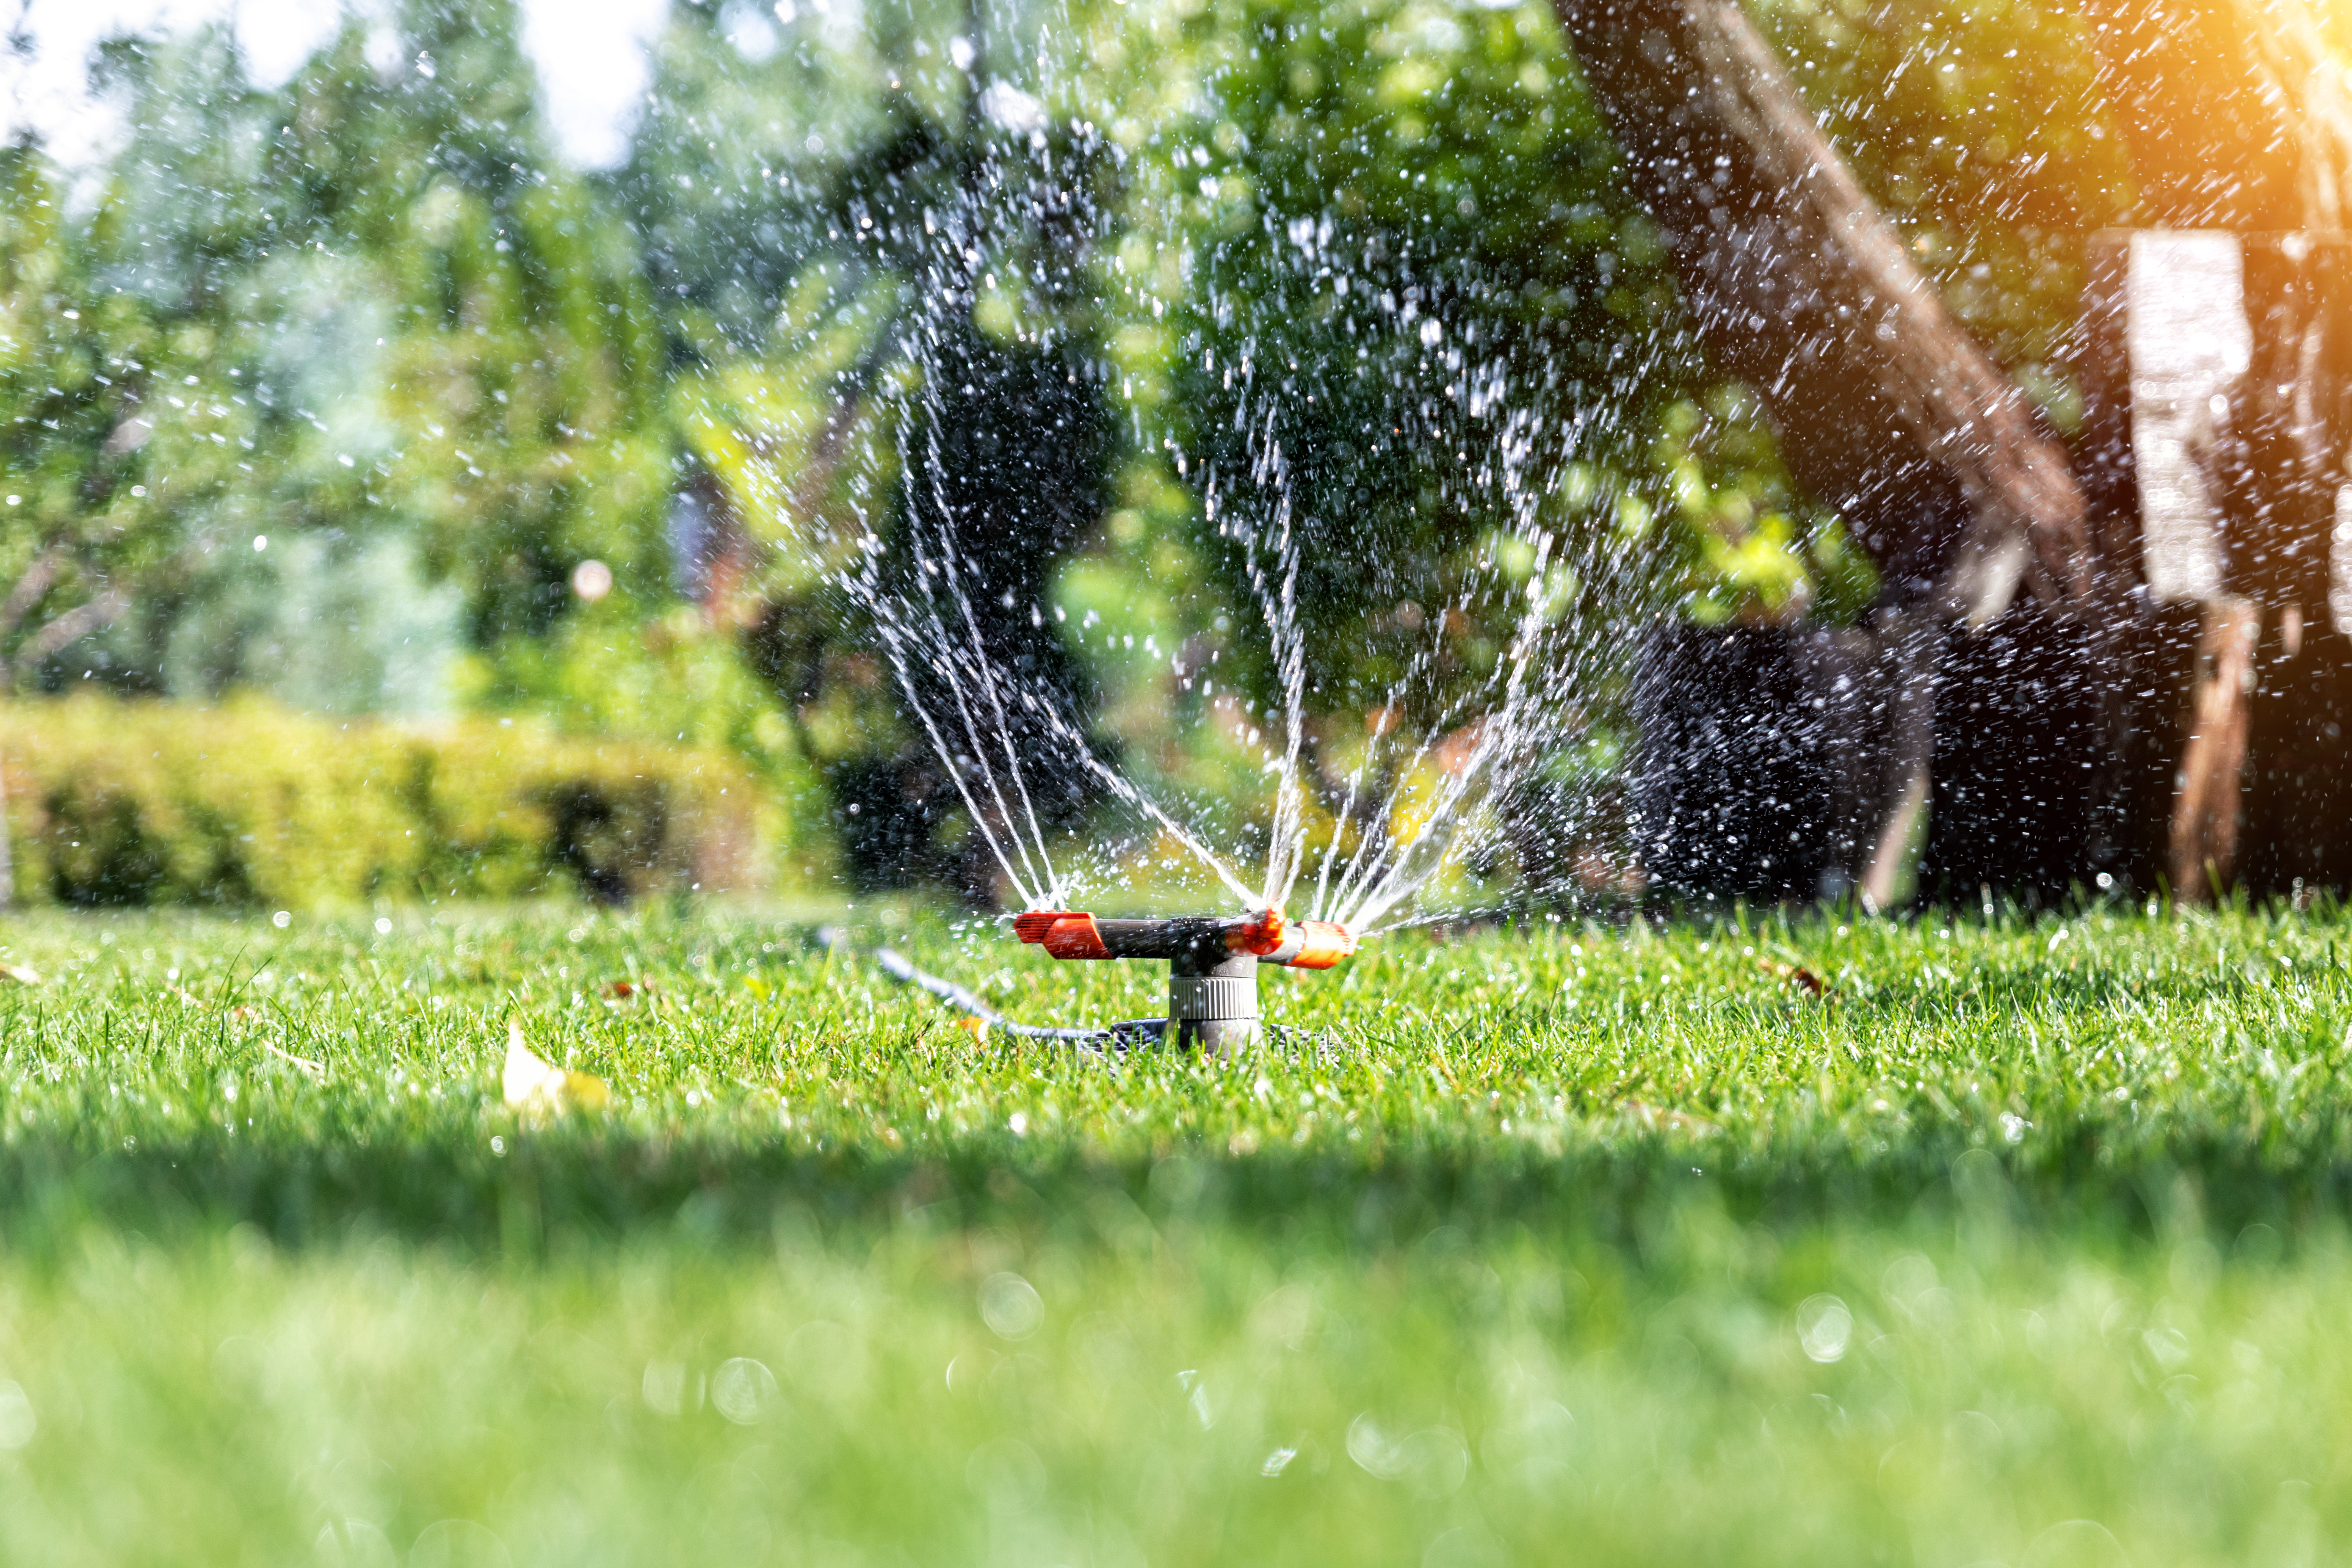
You’ve installed a sprinkler system, but you notice that the sprinkler heads along one water line aren’t reaching a far corner of your lawn, leaving the grass wilted and yellow. What if you could reroute the sprinkler lines to make sure every part of your lawn gets the water it needs to grow lush and green? Follow this guide to learn how to move sprinkler lines in your yard to help your lawn look its best.
Note that if you plan to DIY, moving a shorter line is easiest. If you have a long sprinkler line attached to several different sprinkler heads or multiple sprinkler lines that need to be relocated, leave this job to the pros to minimize damage to your lawn and avoid any potential leaks from rerouting your sprinkler system.
Follow these important preparation steps before moving sprinkler lines:
Call 811: Any time you plan to do digging in your yard, like when you’re going to move sprinkler lines or replace a sprinkler valve, call the Call Before You Dig hotline at 811.
Check the line depth: Know how deep sprinkler lines are before you start digging. Sprinkler lines are 7 to 10 inches underground, although they may be as shallow as 4 inches or as deep as 12 inches.
Plan your system: The other major task to check off before you start learning how to move sprinkler lines is designing the new sprinkler system layout. Make sure you have a plan for where you’ll be rerouting the sprinkler lines, and place markers along the new route.
Better yet, call a pro to handle all of these steps, and the job itself, for you.

It’s easiest to start laying pipe near where it will connect to the sprinkler valves, so locate your sprinkler valve box and mark it with a flag, stake, or other marker. The valve box is usually buried mostly or completely underground in a container with a black, plastic base and a green lid.
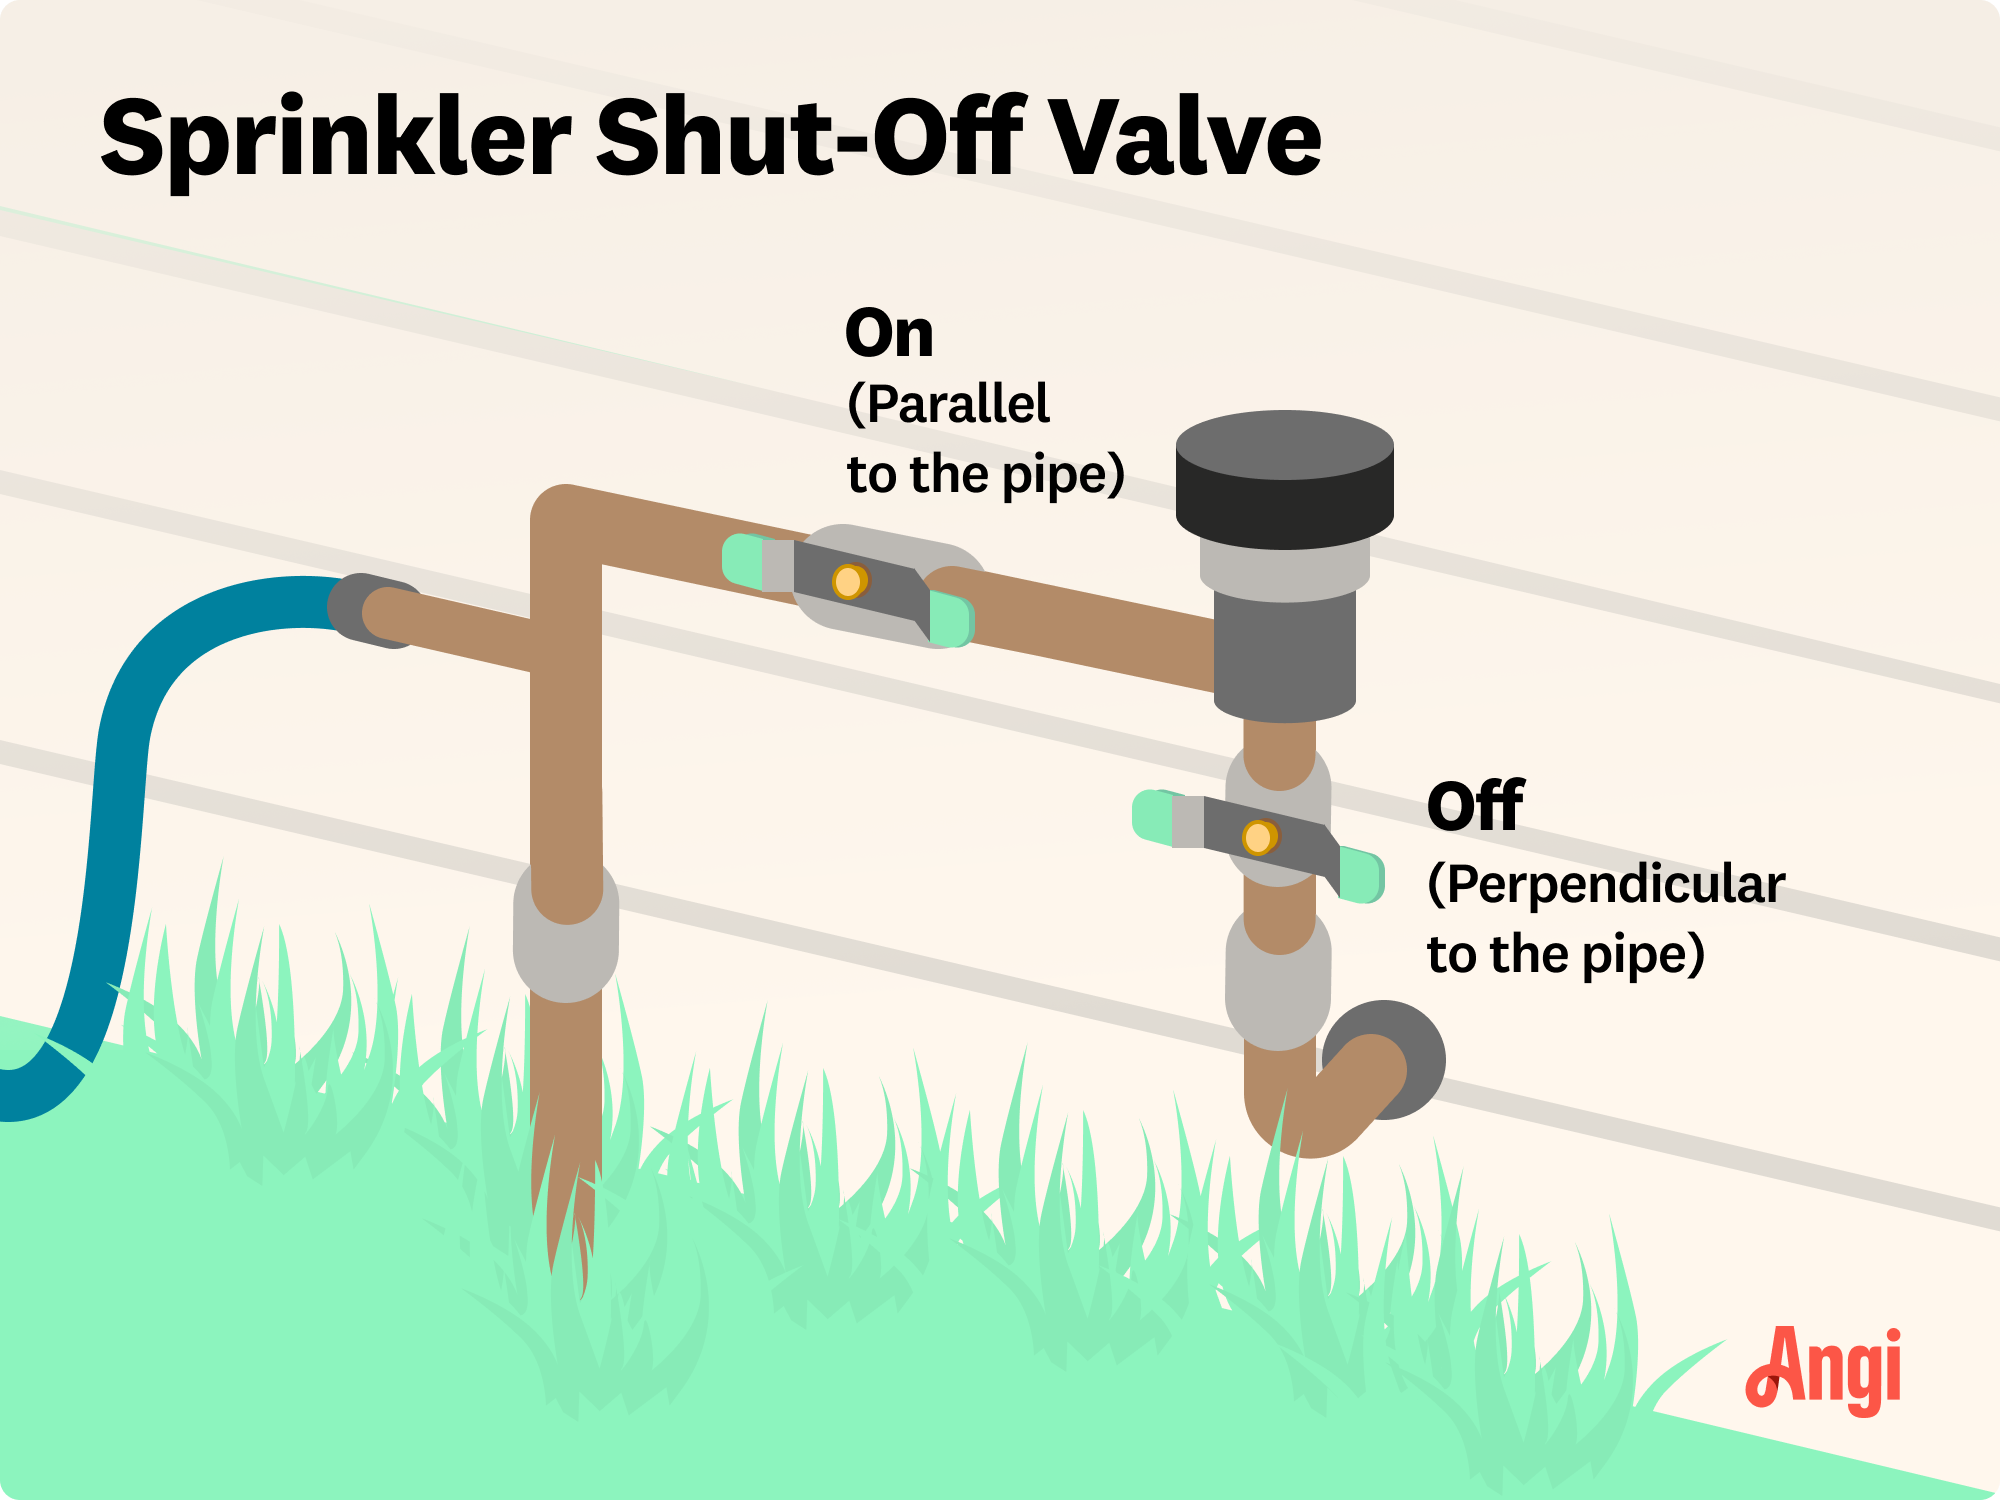
Next, shut off the water supply to your sprinkler system to prevent water from spraying out while you work. You can find the irrigation shut-off valve location in a few different places. It may be located near your water heater, outside in a protective box near your water meter or well, or even hidden inside an artificial rock protective cover somewhere in your yard. The irrigation shut-off valve may also be inside the valve box that you marked in step one.
Once you’ve found the valve, turn it until it stops to shut off the water to the sprinkler system. The handle will be perpendicular to the pipe when it is off.
Using a shovel, begin carefully digging out the soil around the existing line. As you get closer to the line, you can switch to a trowel to carefully remove soil without accidentally piercing the line and causing a leak. Make the trench for the entire length of the line, from where it connects at the valve box to the final sprinkler head at the end of the line.

Use pipe cutters to cut the length of the water line every few feet to make removal easier. Pull out the old pipes one section at a time. When removing the sprinkler heads, be sure to carefully twist them off counterclockwise to avoid damaging the threads, since you’ll need to reinstall them again on the rerouted line.
With the pipes removed from the former line’s location, you can now cap where the old line connected to the valves. Clean the remaining pipe, and apply PVC cement to a pipe end cap. Then, hold the end cap in place in the old pipe for about 30 seconds to allow it to adhere.
Now, lay out your irrigation pipes next to the location of the new pipes, where you placed your markers. Make sure they are off to the side enough that you have space to dig, but having them close by will make for easier installation.
Following along the new sprinkler line location you outlined, and after receiving the green light from your municipality and the 811 hotline, use the shovel to carefully dig the trench for your new pipes. They should sit between four and 12 inches deep, so dig according to your preferred depth.

Starting near the valve box where the new line will connect to the existing sprinkler system, begin installing the pipes in the trench. Use PVC cement to attach pipes as you go. You'll use PVC elbows to make these connections if you need to turn a corner along the line.
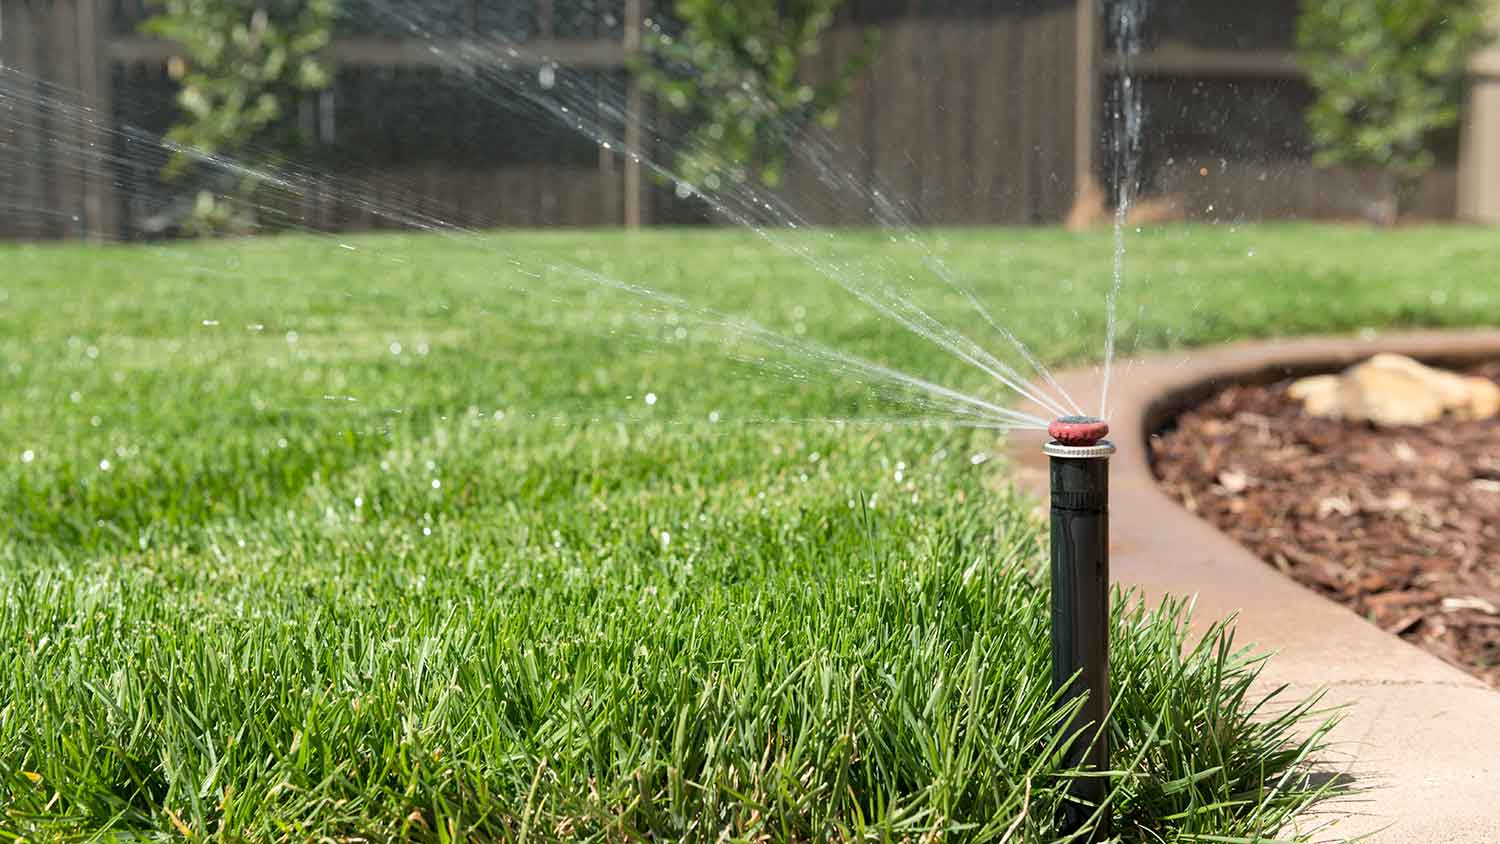
Work your way along the line until it’s time to attach risers and sprinkler heads, two important parts of a sprinkler system that serve as the end of the sprinkler line. Connect a tee fitting to the sprinkler line, then thread the riser to the tee fitting. Finally, screw on the sprinkler head to the riser.
Before you cover the newly laid pipes, you should test that the sprinklers work as expected. That way, you can easily make adjustments if needed. Go back to the water shut-off valve and turn it until it is parallel to the pipes. If the sprinkler system is turned off, go to the controller and power it on.
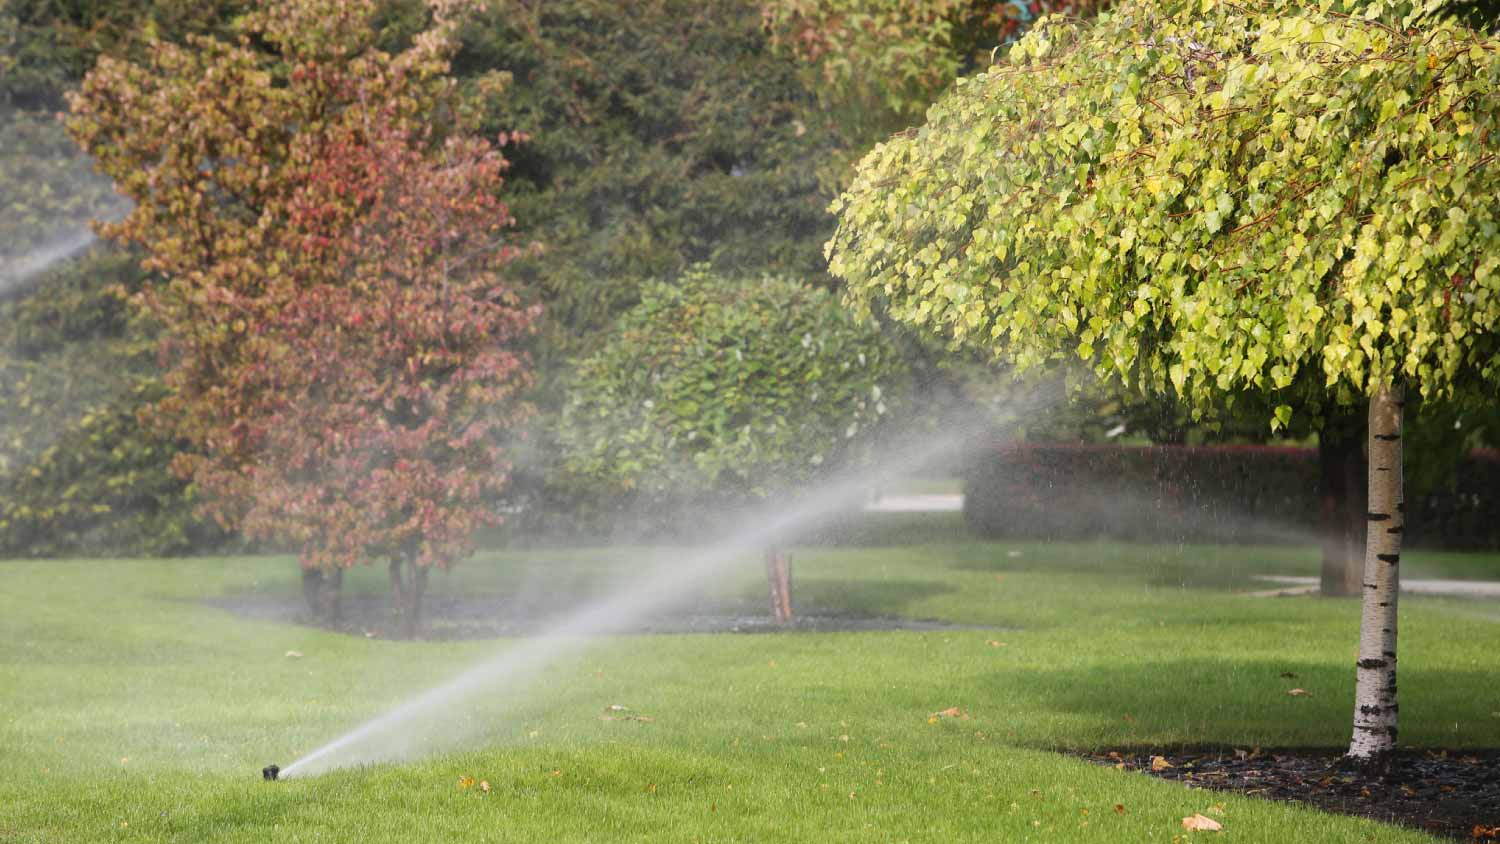
Let the sprinklers run and inspect the area where you removed the old line for any leaks. Check that the sprinkler heads' new location gives your lawn adequate watering coverage.
Wait about 15 minutes or up to two hours to give the PVC cement time to dry. If the rerouted sprinkler line works as you intended, go ahead and cover the pipes with the soil. Make sure to fill in the trench where the former line was removed at this stage, too. The fresh soil may not be the most aesthetically pleasing, so consider laying sod or planting grass seed to make your lawn look like new again.
No matter how short or long the sprinkler line you want to reroute is, hiring a local sprinkler installer is the best option for moving sprinkler lines. If you tackle this yourself and make any mistakes along the way, from not properly fitting the end cap on the old line to installing the new line incorrectly, you risk damaging your sprinkler system and lawn. If the system leaks, you could also be left with a muddy and expensive mess.
Cody did a great job!
Wonderful. I am going to have them remove and replace my driveway in the spring.
 All Star Paving and Sealing
We had a 20+ year old landscape lighting system that needed replacement. Midwest Lightscapes worked with us to design a much improved lighting system, lighting the exterior of the house and the back yard. Installation of the 45 light system took one and one-half days, and went very smoothly....
 Midwest Lightscapes
Did an amazing job transforming my yard. Also installed sod in places, would recommend to everyone.
Always been satisfied with the service work and how they have taken care of my pool.
Bill Gerhardt sold the company to his employees at the end of 2019, apparently without a workable succession plan and without notifying prospective customers of this fact. Most aspects of the maintenance contract have not been fulfilled: no installation of anual plantings per contract, no...
They started cutting my lawn last Summer, so it has been about a year.
They show up and they did take us on as a client which seems to be a problem with other lawn care providers. We have multiple properties and this one was located close to downtown and no one really wants to mess with it.
I was very happy with the service provided by AK Irrigation. They responded quickly to my email, and the woman I spoke with was polite and professional. I was able to get an appointment that same week. <br /> The technician (Tyler) arrived on time. He was very knowledgeable, and worked...
 AK Irrigation
The worker came out when he was supposed to come. He informed me he would honor the Angie's List deal, but would not do any more work for me since my son in law owns lawn care company as well, even though they do not do the same type of work. He said he did not feel comfortable giving me...
 Bello Giardino LLC
From average costs to expert advice, get all the answers you need to get your job done.
If your sprinkler system isn’t working, it may be time for a new pump. Find out sprinkler pump replacement costs with this guide.
Looking for pointers on how to design a sprinkler system? Use this guide to navigate the process and create the DIY sprinkler system of your dreams.
Do you know who to call for sprinkler repair? You might be able to DIY replacement sprinkler heads, but a pro is the way to go for major repairs.
Lawn irrigation system issues can be frustrating, especially if it’s running up your water bills. Here are seven sprinkler problems to troubleshoot.
Learn the steps to take to hire an excellent sprinkler repair professional who is licensed, insured, and has proper experience.
Learn how to adjust Rain Bird sprinkler heads, no matter the type. Fine-tuning your sprinklers ensures optimal water usage and reach.