
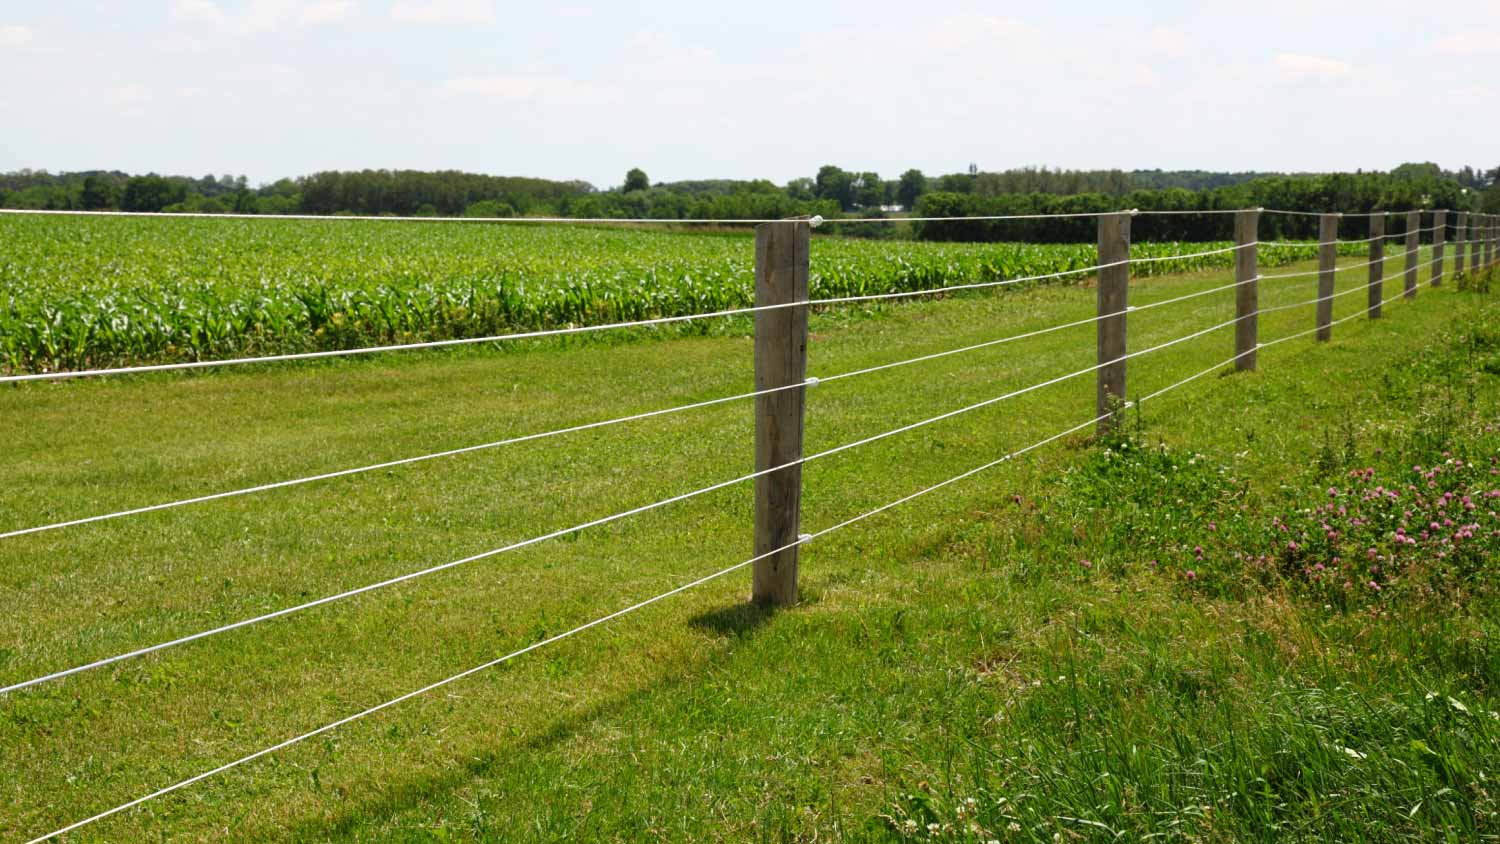
Wire fencing offers reliable property boundaries, livestock containment, and garden protection. Use this guide to learn how much wire fencing costs based on factors like type and material.
With this little piggy, you won’t have to go to market

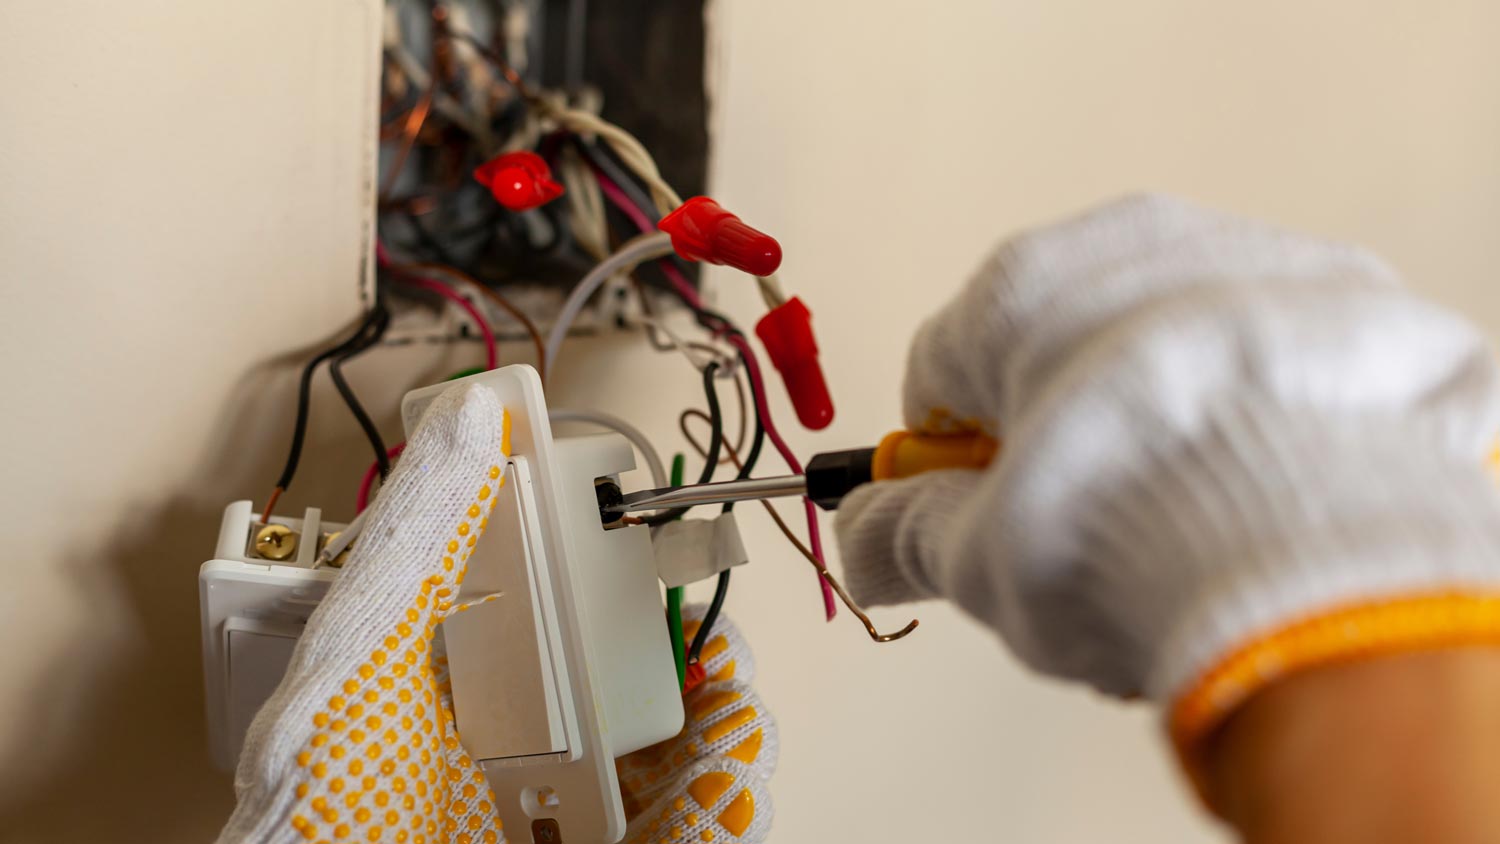
Pigtail wire may sound like something Pippi Longstocking used to create her iconic braids, but an electrical pigtail is actually a common household item. Pigtail connections are most frequently used to ground a switch or electrical outlet and for electrical devices that need to connect to multiple circuit wires. They also come in handy to lengthen circuit wires that are too short to reach a device. A pigtail is composed of three strands of wire (neutral, ground, and hot) that bridge a device connector and an electrical receptacle.
While working with electricity always involves some risk, making an electrical pigtail is a relatively simple project requiring very few supplies. The best way to ensure your safety is to make sure you understand each step of the process before beginning and to be in a state of mind that allows you to carefully attend to the details of the instructions.
One crucial safety measure when making your own pigtail is that you must cut your scrap lengths from the same types of wire in the circuit. Electrical wires are color coded to easily identify the proper kind. Before getting started on the project, confirm that you’ve got six-to-eight-inch lengths each of live wire, neutral wire, and ground wire.

When it comes to DIY electrical projects, safety is paramount. As with any other electrical repair, the first step in making a pigtail connector is to ensure that all power has been cut from the circuit you’re working with. Don’t chance it; after flipping the switch on your service panel, use a simple non-contact circuit tester to confirm that the flow has really stopped. All you need to do is bring the sensor on your tester to each one of your circuit wires; if it lights up while touching any one of them, the circuit power is still on.

You can cut the lengths needed for your pigtail connection from any scrap cable of the same color and gauge as the circuit wires. It’s very important to match the gauge so that you don’t exceed the maximum ampacity and to match the colors of the PVC casing on the electrical wires so that you’re not mixing neutral wires (white), ground wires (green or unsheathed copper), and live wires (red or black).
With the wire cutter, cut your three pigtail lengths. For safety, and to stay in line with the National Electrical Code, each wire used in a pigtail must be a minimum six inches long. Use your wire stripper to cut back three-quarters-of-an-inch of the insulating PVC. On some devices, you can find a strip gauge that will show you the exact length to strip back.

With needle-nose pliers, loop one bare copper end of the wire, moving in a clockwise direction, around the device’s screw terminal. Even if your switch includes a push-in wire connection, opt for the screw terminal to ensure a secure, long-term connection. Using a screwdriver, tighten the screw until it’s secure, with the exposed wire wrapped snugly around the screw shaft, leaving no bare copper visible.

After one end of the pigtail has been connected to your device, use lineman’s pliers to twist together the bare end of the pigtail wires with the circuit wires, turning in a clockwise direction. Once secure, screw on your wire nut, once again moving clockwise. Confirm that no bare wire remains exposed and tug each end of the wire to make sure the connection is secure.

Once the connection has been made, tuck any slack wires into the receptacle, and secure your device in its place. Re-mount the cover plate and secure any screws that had been removed. Then turn the circuit power back on and test your device.
As long as you’ve already got tools, making your own pigtail is practically free, and it’s an efficient means of quickly solving your own electrical problem. If you’re at all comfortable with doing your simple electrical, it’s a project within easy reach. There are, of course, lots of good reasons to avoid DIY electrical projects altogether. If you’d rather minimize the risk, or just skip the hassle, you can also hire a local electrician. The job takes less than an hour, so anticipate paying just the minimum call-out fee offered by the electrician—typically between $65 and $150.
Great company! Price was competitive, technician showed up on time and completed the job (exterior electric Radon fan replacement) quickly. Would hire them again.
I conferred with 2 other contractors before Armstrong Electric. Nick and his crew showed me that the project was not as convoluted as the other contractors made it appear to be. They completed the entire project on time. They were professional, friendly and cleaned up after at completion. I...
 Armstrong Electric LLC
The techs on my project, Shawn and Cliff, were great. They were prompt, courteous, and efficient. I am very happy with the results and would definitely contact Mr. Electric for any future electrical projects.
Victor was wonderful. He was on time, professional, and explained everything he was doing. He was thorough and figured out that the problem was electrical instead of with my HVAC system. Very knowledgeable. I will be using this company in the future for any HVAC needs. Thanks!
 Hubbs Heating & Air LLC
They were excellent. They did a great job. I was totally satisfied. They put tremendous effort in making sure the work was completed. They were great. They provided immediate response to any inquires I made. I would hire them again. I would recommend them to anyone who needs electrical work....
 Property-Tech Industries, LLC
Initially, the repairman could not find the problem. Apparently, there was some electrical shortage, but he could not find the definite problem. He left, but called back later to say he had a new idea. He returned and replaced the light switches on the doors. The refrigerator seemed to return...
 Appliance Pro LLC
The initial quoted price from a walk-through seemed high, but we discussed that the quote represented worst case scenario (re-wiring to two floors) and we were excited about the opportunity to have the work done in a timely manner with closing for fire safety reasons, etc. When the job was...
I have to tell you I am all about customer service - I will go out of my way and even pay more for it if you give me great customer service. <br> <br>In a world where this is hard to find, these guys were awesome! I can not sing their praises enough. They were prompt, personable, funny, got...
 Waibel Electric
When I challenged the markup on the generator, Bruder Electric withdrew its bid. They only want naïve customers.
We had no power to any of the electrical outlets in the MBR. We'd had an intermittent problem for a few years and they finally went out all together. We live on the 3rd floor of a 100 year old building and I know from past experience the wiring has been added to in hodgepodge ways over the...
From average costs to expert advice, get all the answers you need to get your job done.
Wire fencing offers reliable property boundaries, livestock containment, and garden protection. Use this guide to learn how much wire fencing costs based on factors like type and material.
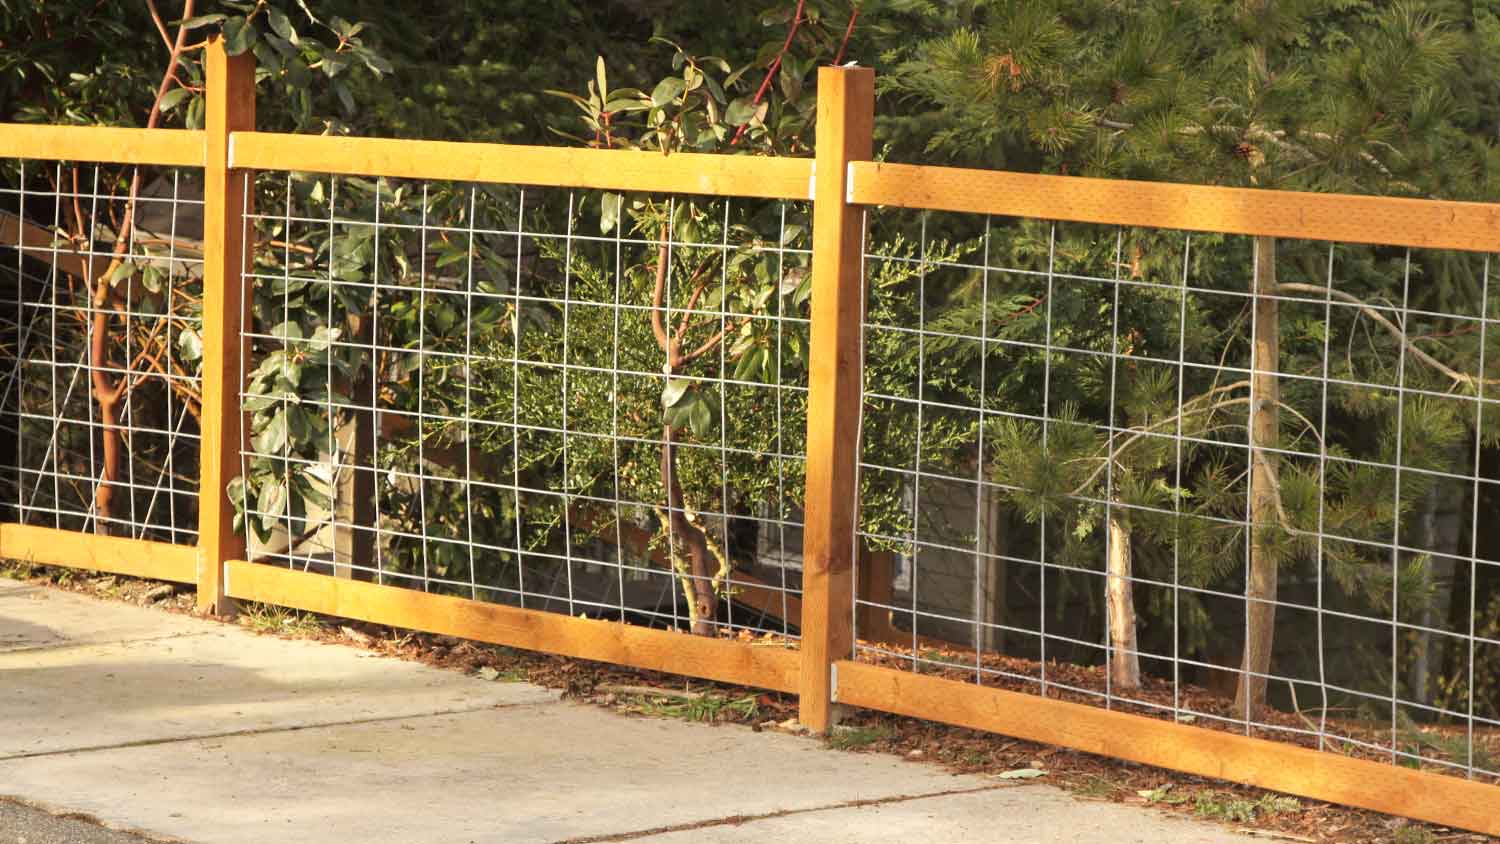
This guide breaks down hog wire fence cost factors to help you budget for a rustic, trendy fence style at an affordable price.

Wiring your house for ethernet can provide high speed, reliable, and secure internet access. Here’s who can ethernet wire through your walls.
Wire nuts are used to connect two or more electrical wires. Our guide explains what the different wire nut sizes and colors mean, and when to use each.

Learn how to wire an outlet switch combo receptacle in various ways to adapt an existing wired location for several applications.

There are a lot of different types of farm fencing. Find the one that’s right for your property with our handy guide.