

•
Discover the built in bookcase cost for 2026. Learn about price ranges, installation factors, and ways to save on your custom built in bookcase project.
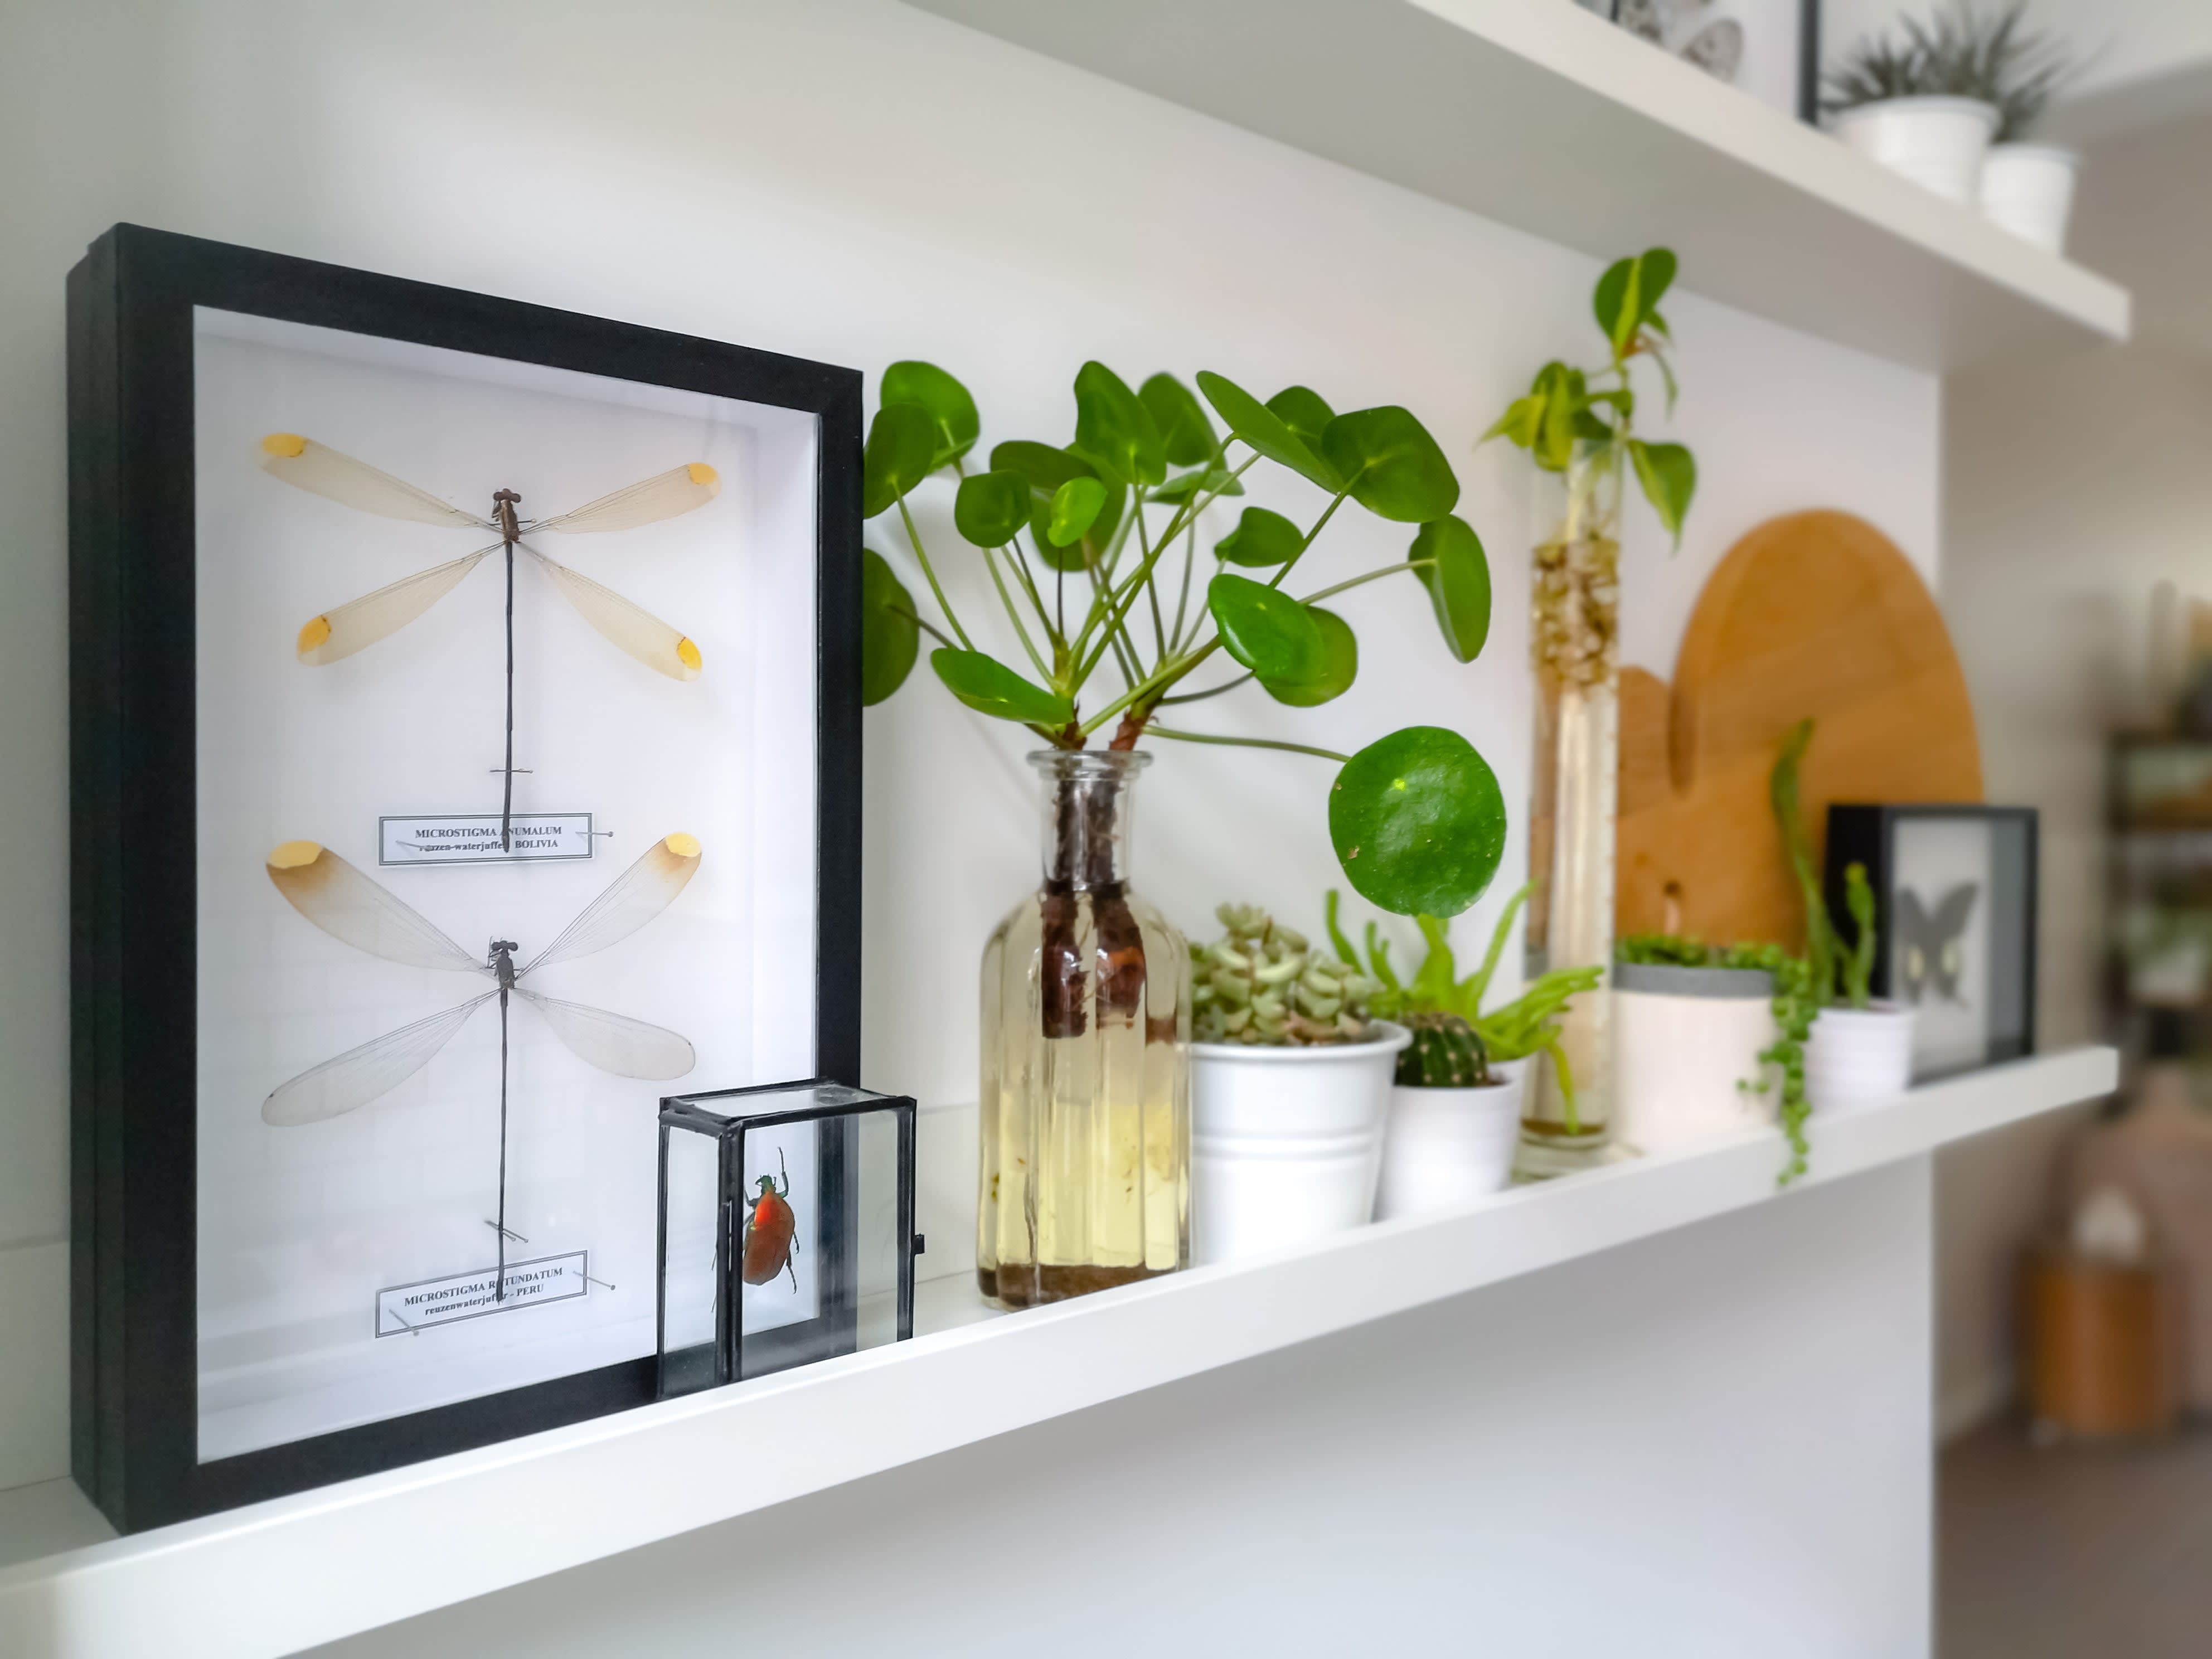
Make it look like your books belong in your home

The best wood for bookshelves depends on your budget and style, with cherry, birch, and maple offering beautiful, durable options for built-in shelving.
DIY built-in shelves cost $100 to $500 for materials, making them a budget-friendly way to add custom storage to your home library or office.
You can customize your built-in shelves by choosing dimensions that fit your space and adding features like trim, paint, or baseboard for a polished finish.
Hiring a local carpentry professional provides peace of mind with secure wall mounting and precise measurements, ensuring your shelves look great and last for years.
Love to read? Give your library a permanent place to call home by learning how to make built-in shelves. The project is customizable—how large or small you make your shelves depends on how much space you have to work with.
You know what they say: measure twice, cut once. Since you're making shelves that fit your space, determining their size is up to you. You also have flexibility when choosing the style of built-in you make, such as adding doors or a bench between two rows of shelves.
If you need inspiration, home library ideas include building shelves around a window to create a reading nook or making shelves that fill an entire wall.
Got all weekend? That's all you need to make your DIY home library or home office built-in dreams come true. Once you've gathered your supplies and measured the space, get ready to dive in.

Get started by measuring the wood you'll use to build the shelves. For example, let's say you're building shelving on either side of a door. You want to build two shelving units 8 feet high, 3 feet wide, and 1 foot deep. Each shelving unit will have five shelves, plus a top and bottom. Your shelves will rest on a base that's 4 inches high.
For each shelving unit, you'll need to cut your 3/4-inch plywood or wood boards:
Two sides measuring 92 inches high and 12 inches wide
Seven shelves measuring 34.5 inches long and 12 inches wide
You'll also need to cut the two-by-four boards. For each base, you'll need:
Two 36-inch long two-by-four boards
Two 7.5-inch long two-by-four boards
Use the miter saw to cut the two-by-four boards to the right length and the circular saw to cut the plywood or wood.
Assemble the two-by-fours into rectangles, using 3-inch wood screws to attach the pieces together.
Once the bases are attached, line them up against the wall. The frames should rest on the floor. You want the base to be flush with the wall, so you may need to cut away any existing baseboards. After doing that, use the 3-inch screws to attach the base to the wall.
Next, put together the actual shelves. Work on a flat, horizontal surface and arrange the two 8-foot boards parallel to each other, then place the bottom and top shelf between them, creating a rectangle. Run a line of wood glue along the short edge of the bottom and top shelf.
Use wood clamps to hold the boards together. Use a pocket hole jig to create holes in the 8-foot boards and pocket screws to attach the bottom and top shelf to the longer boards.
Now, decide how tall you want the interior shelves to be. Position the three remaining boards inside the frame, running a line of wood glue along the shorter edges. Hold the boards in place with clamps, then use the pocket hole jig and pocket screws to attach them to the 8-foot boards.
Repeat the process with the second set of boards.
Add a back to the shelving units by cutting a 1/4-inch plywood board to the edges of the frame. Attach the plywood to the bookshelf frame using a nail gun.

Set one of the shelving units on top of one of the base frames. Check that it's level and looks good, then use 1.5-inch screws to attach the unit to the wall. Use a stud finder to locate studs to drill into.
Now that your shelves are firmly attached to the wall, it's time to paint. Apply a coat of primer to start, or use paint with built-in primer to save yourself a step.
Sand the shelves, then wipe away any dust and let them dry before applying the first coat. Wait four hours, then sand again and apply the second coat. Let the paint dry overnight before doing one final sanding.
Add trim along the edges to your new built-in shelves to put the finishing touches on them. Measure and cut the MDF so that it fits the sides, top, bottom, and front of each shelf, then use the nail gun to attach the trim to the front.
Cut the baseboard to match the width of each shelving unit, then use the nail gun to attach one board to the front of each base.
Use caulk to fill in any holes the nails create, then add a final coat of paint to the MDF and baseboard.
If you're handy and don't mind spending a weekend with a saw, drill, or hammer, building your own built-in shelves may be the perfect way to spend your time. On the other hand, if you're nervous about messing up the measurements or aren't quite sure you'll be able to attach the shelving securely to the wall, you can always contact a local carpenter for the job.
Hiring a professional carpenter to build your built-in shelves for you will likely double or triple the project cost. But you'll get the peace of mind of knowing that your shelves are sturdy and built to last. Plus, you'll get your weekend back.
Incredible workers! Very skilled with the machinery, climbing, cutting, roping, and removal. Handled everything. Professionals!
 Hoffman Expert Tree Services
I m so impressed with Custom Paint Jobs LLC s craftsmanship. They truly care about quality.
Window Depot did an amazing job on my deck. I wasnt sure what I wanted to do, but their composite decking was affordable and will last a long time. I am excited to have family over, and I am no longer embarrassed by my backyard. Jeff and the ground crew were polite, respectful, and caring for...
Storms Mobile Welding was great to work with. They were prompt, professional and did an overall excellent job on the project. I highly recommend.
Great job...edging and pre clean up went well with a great job with seal coat. Friendly, efficient and professional.
 All Star Paving and Sealing
Great tree company, very professional and honest. Glad we found them, they had the best pricing
It was wonderful working with Yordy and his team. They were very professional and are experts in what they do. They have completed the work on time, with better quality and with in fairly reasonable price. We just started with backsplash work , but liking his work, we went on to provide...
We hired Jim to replace our hardwood floors with new hardwood. He and his helper Jerry did a fantastic job. Their work ethic is impeccable!! We would highly recommend McColl Floors!
The job went extremely well. Work was done as promised and the job came out better than expected due to Mr. Moyer's commitment to excellence and personal pride in providing the best work possible. He is one of those professionals who is not satisfied until the customer is completely happy...
 Pro Flooring
We needed to have a wall cabinet resized so that we could fit a larger refrigerator underneath. I removed the cabinet from the wall myself and brought it in, where Wally was able to resize it for me in his shop. The results were perfect: it's exactly the size that I asked for, and...
 Pioneer Woodworks
From average costs to expert advice, get all the answers you need to get your job done.
Discover the built in bookcase cost for 2026. Learn about price ranges, installation factors, and ways to save on your custom built in bookcase project.
Floating shelves are perfect for showcasing your favorite decor without the clutter. Learn how to make floating shelves from scratch with this step-by-step guide.
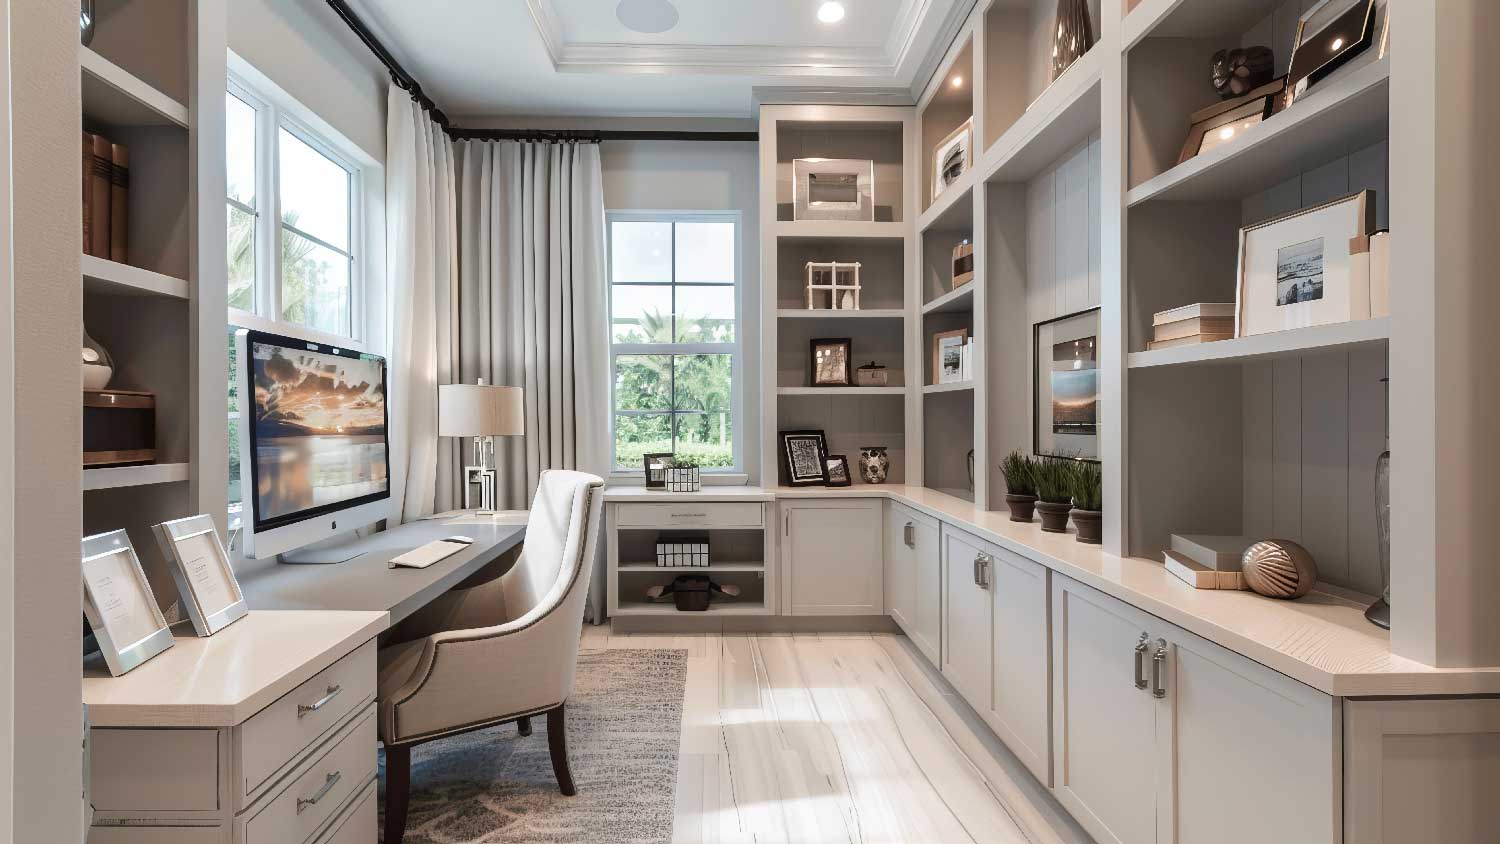
You have multiple options for creating DIY home office built-ins. Learn more about what it takes to make cabinets and bookshelves that look amazing.

House your best hardcovers on a DIY bookshelf made by hand. Here are seven ways to do it and all the tips you need to make it strong and sturdy.

Wondering who to hire for built-in bookshelves? Learn how to choose the best pro for the job with this informative guide.
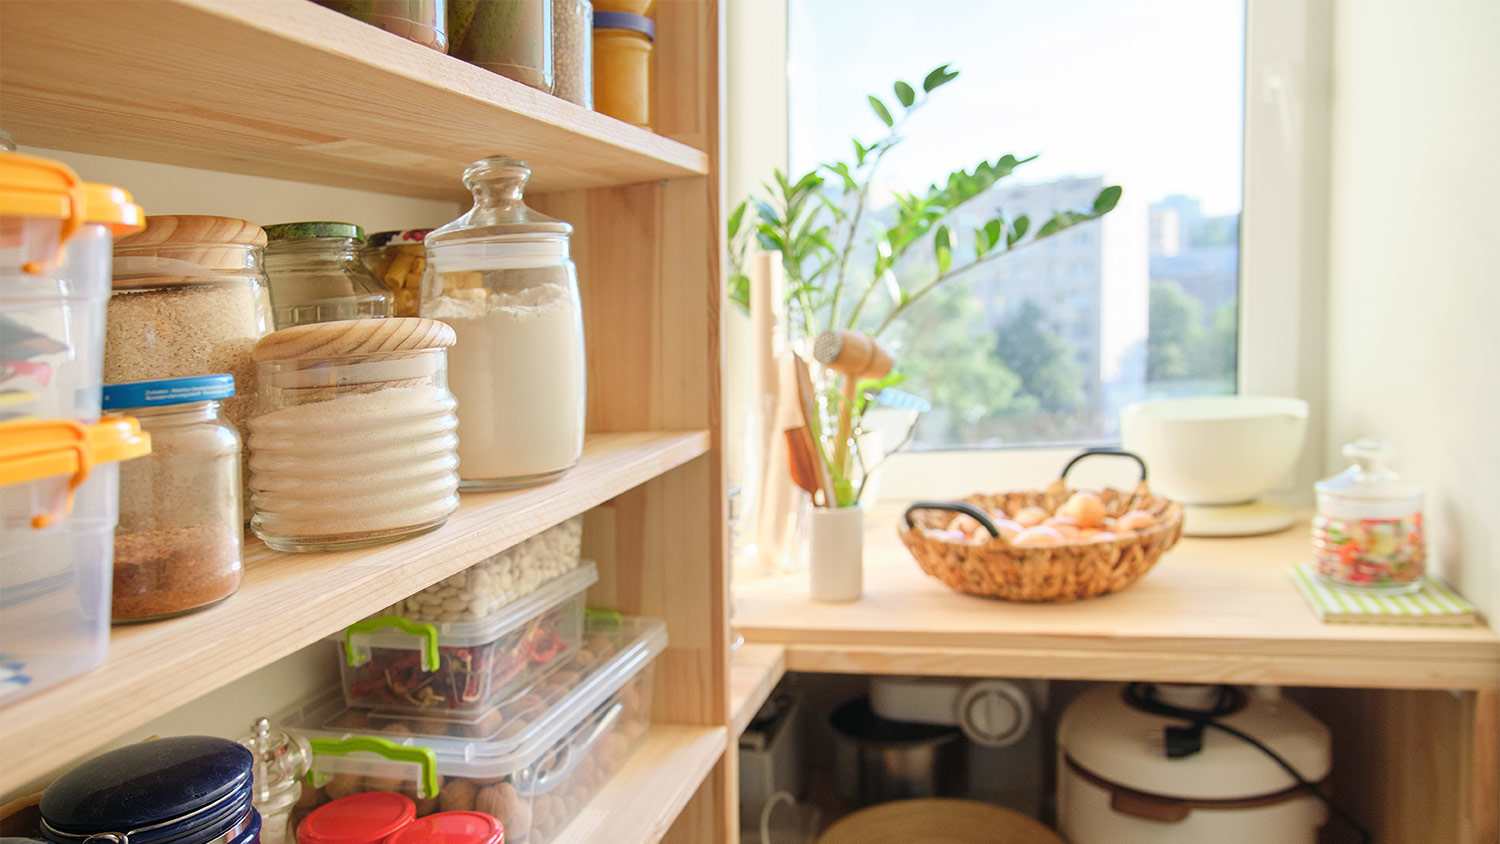
Ready to give your kitchen shelf life a boost? Learn how to build pantry shelving in this simple seven-step guide.