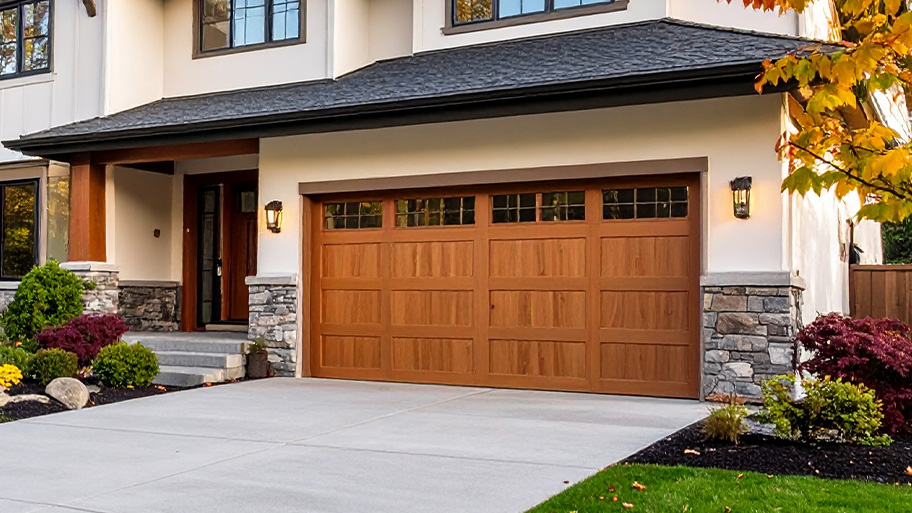
Replacing a garage door is necessary to add security and value to your home. Learn how each door type affects the total cost of this project in Atlanta, GA.
Don't get stuck with a broken garage door; learn how to lubricate it in a snap


Garage doors can protect cars and other valuables from the outdoor elements, but they need regular maintenance to work properly. Garage doors feature many moving parts, including hinges, tracks, and rollers, all of which can create friction when rubbing against each other, which leads to wear and tear. Lubricating these components reduces the friction and prolongs your garage door's lifespan.
Most homeowners can lubricate a garage door themselves in about an hour. Use this guide to learn how to lubricate your garage door from start to finish.
Before you start lubricating, take some time to clean the tracks on the garage door. If you don't clean them, the dirt and debris buildup can create a gritty texture when mixed with the lubricant, which can potentially damage the door.
Start by vacuuming up any dust or large debris, then wipe down the tracks with a damp cloth. Next, apply a mild detergent to a cloth and wipe down any areas with stubborn dirt. If there's any rust, mix a solution of 1 part water and 1 part baking soda to create a paste. Then apply the paste to the rust using an old toothbrush. Rinse with warm water.
To keep yourself safe while lubricating, disconnect the garage door opener. The disconnection process depends on the garage opener, but there's often a rope with a handle hanging from the garage door's center rail. In many cases, if you pull that, it will disconnect the opener. But to be safe, check with your garage opener's manufacturer for instructions.
After disconnecting the garage opener, start applying a silicone- or lithium-based lubricant to the door's hinges and rollers. The hinges are usually located near the center of the door panels, and the rollers are small wheels attached to the door that fit onto the track.
Hold the lubricant can about one foot away from the hinges and spray it all over, paying close attention to where any components move next to each other. Repeat this process for the rollers, using the thin straw attachment that usually comes with lubricant to reach any tiny ball bearings.
Next, use a ladder to lubricate the garage door springs and bearing plates. The springs are usually found above the garage door when it's closed and parallel to the horizontal tracks on both sides of the door. The bearing plates are usually circular and located on each side of the springs.
Spray all springs and bearings with your lubricant. Then manually open the garage door to help evenly spread the lubricant onto the components.

Locate the top rail and arm bar. The top rail is located on the ceiling and usually has the garage door chain traveling along it. The arm bar is a piece of metal that attaches the garage door to the top rail. Spray both of these areas with lubricant, holding the can about one foot away from each piece.
Finally, locate the lock, which is typically attached to the arm bar you lubricated during step five. Locks usually comprise a keyhole and a T-shaped or L-shaped handle. Spray the entire lock with your lubricant, using the small straw attachment to tackle any small crevices.
Once you're done lubricating all of the garage door's components, reconnect the opener. This process depends on the opener, but it often involves pulling the rope you used to disconnect the opener in the opposite direction. So if you disconnected the opener by pulling the rope toward the garage door, you can often reconnect it by pulling it away from the garage door. But check with your manufacturer for accurate instructions.
It usually takes around an hour to lubricate a garage door, and the average hourly rate of a handyperson is $40 and $140, so you can save money by tackling this project yourself. It's a fairly simple and straightforward DIY project that most homeowners can take on themselves, but if you're not comfortable with it or you want to save some time, you can always hire a handyperson near you to help.
From average costs to expert advice, get all the answers you need to get your job done.

Replacing a garage door is necessary to add security and value to your home. Learn how each door type affects the total cost of this project in Atlanta, GA.

Want to ensure your home is secure for storm season? We discuss hurricane garage door costs and which factors influence the price tag.

Your home's garage door cable repair cost depends on several factors, including the cost of other damage that may be the result or the cause of the failure.

Learn how to open your garage door manually during an outage safely without damaging the garage door. Never get stuck again.

Adjusting your garage door spring can be a dangerous endeavor. If you want to tighten your belt and tackle this expert DIY, here’s your complete guide.

Buying a garage door doesn’t have to be hard. Here’s your go-to guide with expert tips for a smooth and stress-free purchase.