
•
Wondering how much a locksmith costs? Discover locksmith prices, key cost factors, and tips to save on home lockout, rekeying, and installation services.
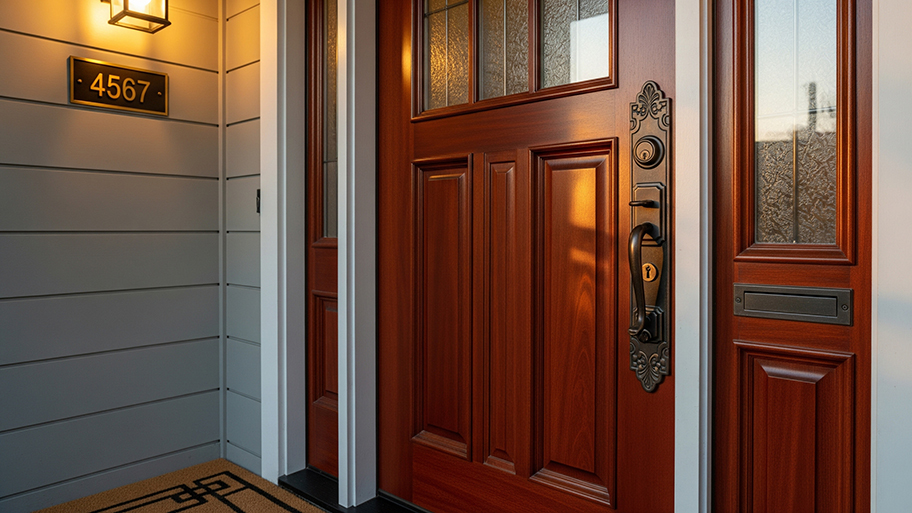
The biggest gateway in your home needs securing


Securing your home’s largest entrance is crucial. Yep, we're talking about your garage. It is arguably the most vulnerable spot in homes and deserves your full attention. Here, we share how to lock a garage door inside and out so you can fortify your sanctuary.
You need to purchase a few things for your garage door to get the project rolling. First, pick up a garage door keyed lock set for the exterior. Most home improvement stores sell them for around $50 or less. Next, buy a padlock with a long shackle for the interior. Expect to pay about $15.
It will add an extra layer of protection by securing the track.

Ensure you have all the components from your garage door lock kit. If you're replacing an existing lock, remove it first. If this is a new lock installation, decide where to install the lock on your garage door. Typically, it should be near the center of the door, at a comfortable height. You can use a tape measure to help determine what works best for you.
Grab the template provided in the kit. It is for the handle with the keyhole. You can hold the handle against the garage door if one isn’t provided.
Now, you are ready to mark where to drill holes to install the handle and the lock assembly. Place the template or handle against the exterior side of your garage door and mark the door using a pencil or chalk. You will need a mark for the center and two side holes. Do your best to hold the template or handle straight. You can use a ruler to draw a straight line first for reference.

Put on your safety glasses for eye protection. The kit should share what size drill bits to use. The middle hole may require a 7/16-inch bit, and the two side holes a 5/16-inch bit.
Now, use a drill to create the mounting holes. Ensure that the holes are deep enough to accommodate the screws provided with the lock kit.
Now, pop the end of the handle with the screws into the holes you created on the door's exterior, then go inside.
Next, install the actuator on the interior side of the door. First, pop in the spacer that comes with the kit behind the garage's metal frame. It will prevent crushing. Now, place the actuator over the middle screw according to instructions, aligning it with the two side holes.
The final step is to screw and bolt the lock assembly in place. Remember to make sure the lock assembly is firmly attached to the door.

Use a level to check that the lock assembly is aligned horizontally and vertically. Adjust if necessary. You may need to loosen the screws and tighten again to make adjustments.

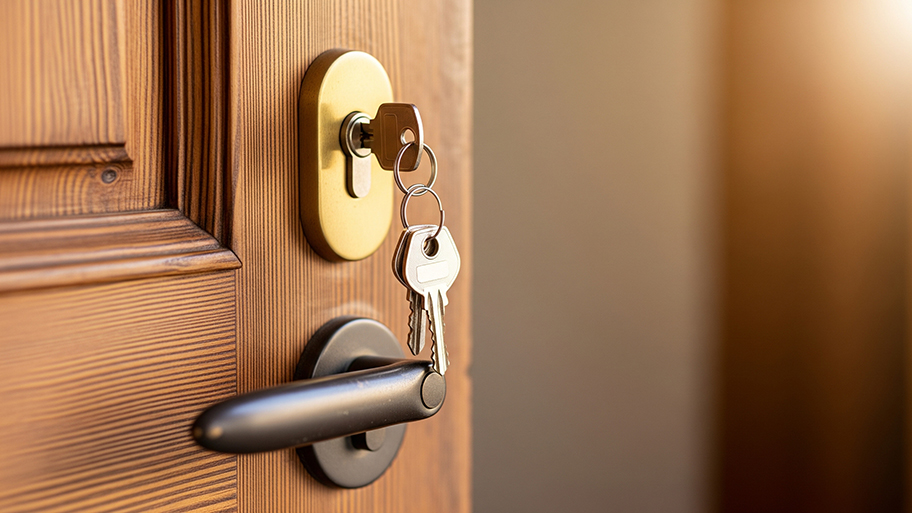
Return outside and insert the key with the kit you purchased into the lock. Turn it to ensure that it engages and disengages smoothly. Test it a few times to make sure it's functioning correctly.
If the lock feels stiff and challenging to turn, you may need to go back inside and slightly loosen the screws holding the actuator in place. However, you want to ensure that the screws are still tight.
You can also use a lock lubricant, like graphite powder or silicone spray. A quick application to the lock mechanism will smooth operation, making it easier to turn the key.
Some garage door lock kits have a strike plate to reinforce the locking mechanism. If your kit includes one, attach it to the garage frame or wall where the lock's latch will engage when locked. You will need a drill and the bolts in the kit.
Now that the keyed lock is in place, you’ll want to lock your garage from the inside with a padlock. It provides an extra measure of security.
First, examine the interior side of your garage door and track to find a suitable location for the padlock. Choose a spot just above one of the rollers.
Use a pencil or chalk to mark the exact spot on the track where you want to drill the hole. Ensure it's high enough to prevent interference with the roller but low enough to accommodate the padlock.
Carefully drill a hole through the garage door track at the marked point. Use a drill bit suitable for metal, such as a metal or a cobalt bit.
Apply gentle, steady pressure while drilling to create a clean hole. Remember to avoid pushing too hard or using excessive force, which may damage the track. You may want to start with a smaller drill bit and then move to a larger size that accommodates the padlock’s shackle.
After drilling the hole, test the fit of the padlock shackle to ensure it passes through the opening without any obstructions. Make any necessary adjustments if it is too small or has burrs.

Insert the padlock shackle through the hole in the track. If your padlock has a key or combination mechanism, ensure it is accessible. Lock the padlock to secure the door.
Verify that the padlock effectively prevents the garage door from opening when it's locked. Test the padlock to ensure it can be easily opened.
Periodically check the padlock and the hole in the track to ensure they are in good condition. Lubricate the padlock's mechanism if needed. Remember, proper maintenance is critical to securing your garage from theft.
Whether to hire a professional or install a garage lock yourself depends on various factors, including your skill level, the complexity of the lock installation, and your budget. Here are some pros and cons of both options to help you make an informed decision.
Expertise: A local locksmith has the knowledge and experience to install locks correctly and securely.
Time-saving: Hiring a pro can save you time and effort, as they can complete the job quickly and efficiently.
Warranty: Many professional locksmiths offer warranties on their work, providing peace of mind.
Security: Professional installation ensures the lock is secure and protects your garage.
Customization: A locksmith can recommend and install a lock that suits your security needs.
Cost: Hiring a professional locksmith can be more expensive than a DIY installation but could be worth spending for safety’s sake.
Cost savings: DIY installation is typically cheaper as you don't have to pay for labor.
Learning opportunity: Installing a lock yourself can be a valuable learning experience, and you gain skills for future projects.
Flexibility: You can choose when to install the lock without scheduling conflicts.
Risk of Errors: During installation, mistakes can lead to security vulnerabilities or lock malfunctions.
From average costs to expert advice, get all the answers you need to get your job done.
Wondering how much a locksmith costs? Discover locksmith prices, key cost factors, and tips to save on home lockout, rekeying, and installation services.

Uncover the cost of lock replacement. Discover labor, materials, and cost-saving tips for your next lock replacement project.

Wondering how much does it cost to copy a key? Discover prices, key types, and cost-saving tips to help you budget for your next key duplication.

Learn about different types of deadbolts on the market and which one will make your home the most secure.
Chances are, if you need to know how to get out a key stuck in a lock, you need a quick and easy solution. Try these easy DIY options so you can move on.

Adding new locks and keys helps you enjoy your new home. Here’s what you need to know about installation, locksmiths, and whether a lock change is a DIY project.