How to Lay Pea Gravel and Spruce Up Your Yard in 8 Steps
Perfect your yard with pea gravel


- Shovel
- Edged spade
- Rake
- Hose (with water access)
- Scissors
- Pea gravel
- Base sediment (crushed stone)
- Landscape fabric
- Metal or plastic edging (optional)
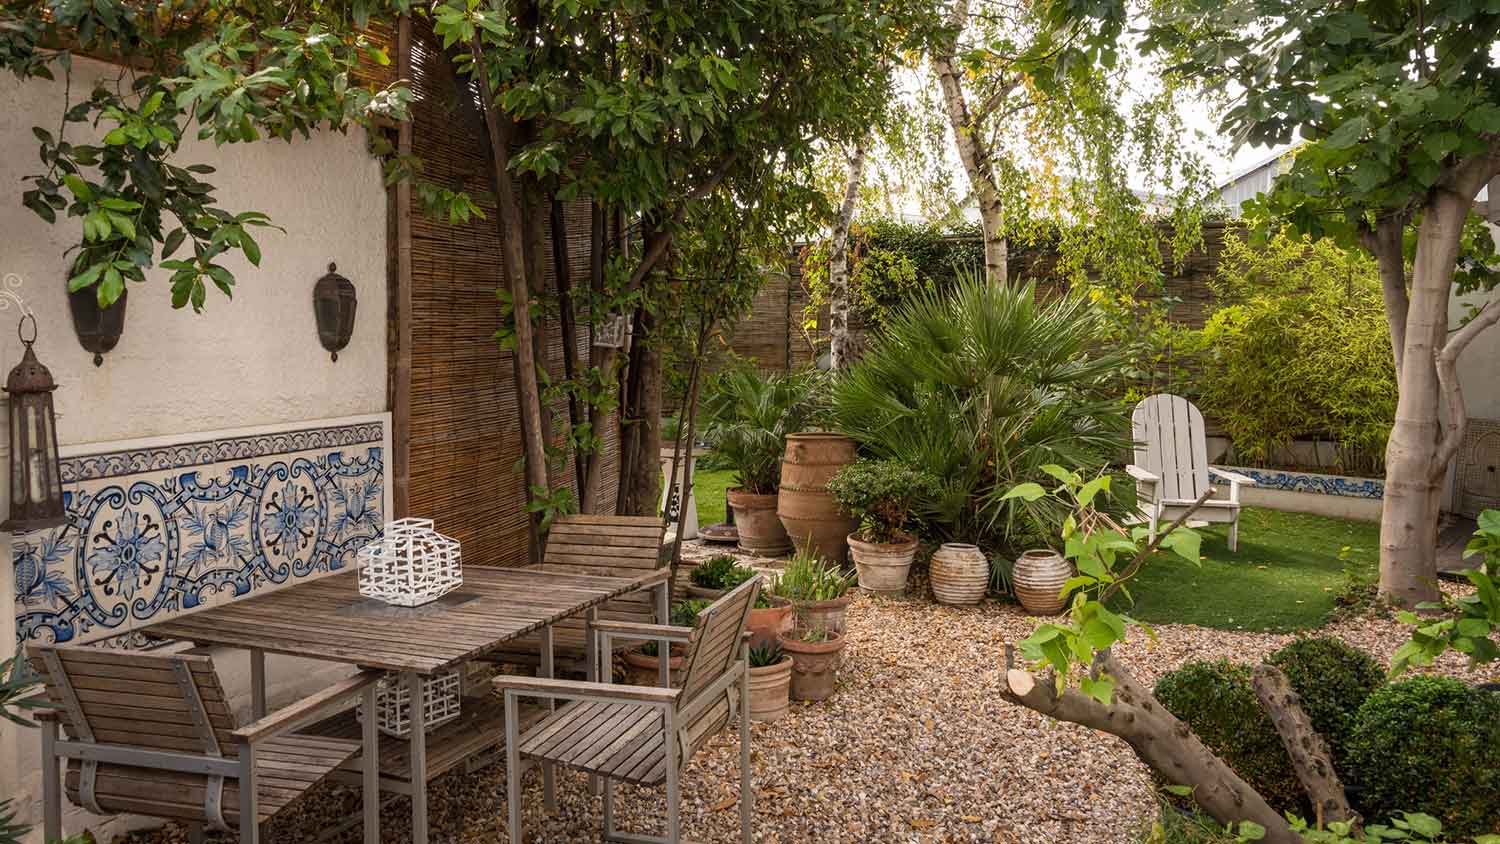
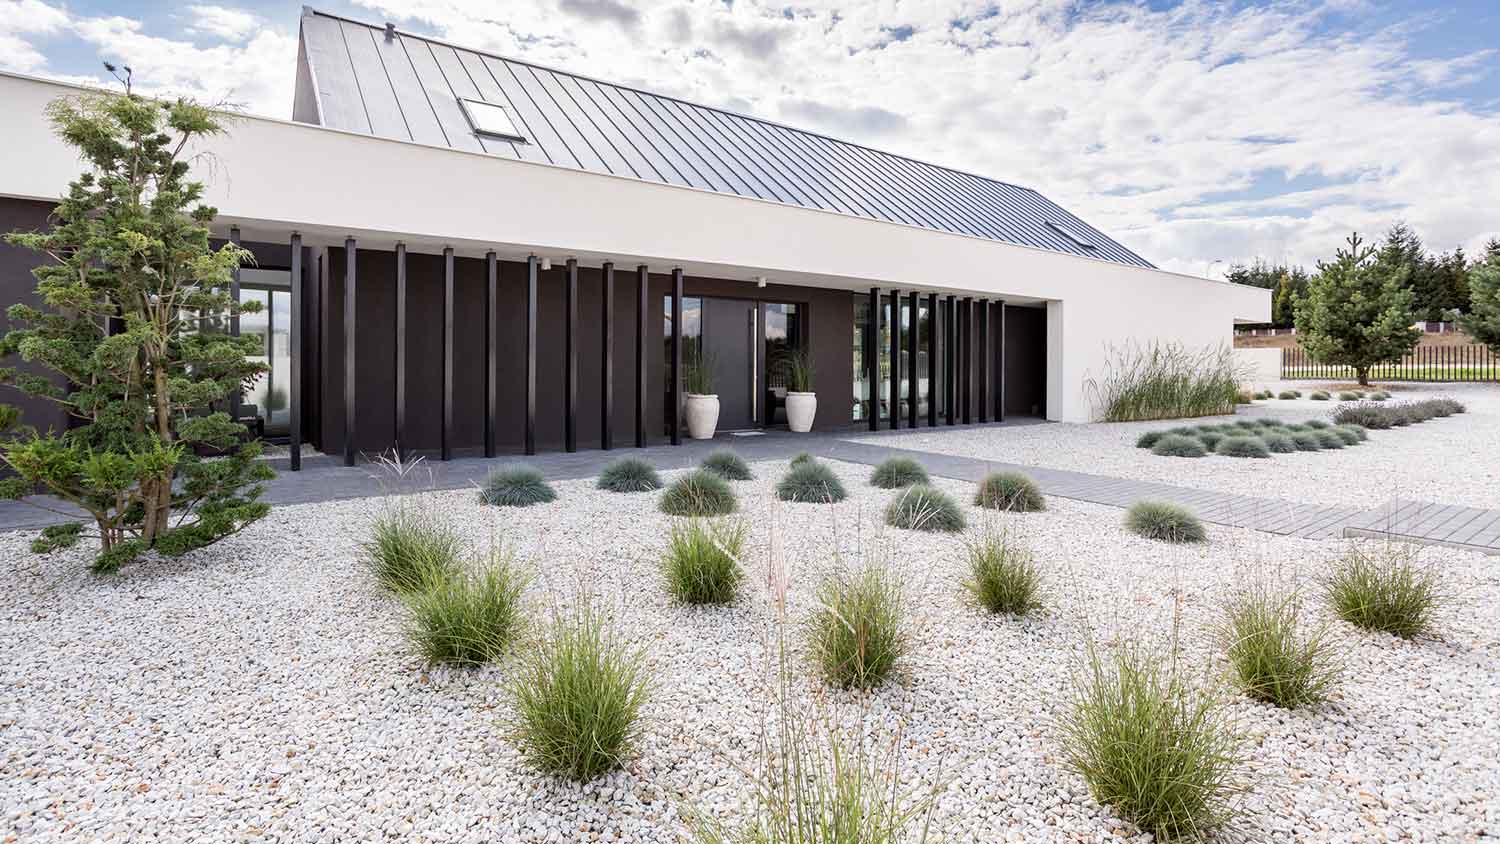
Pea gravel is a great option for DIY patios, covered plumbing areas, backyard play areas, and outdoor contained dog spaces. Luckily, you can easily learn how to lay pea gravel on your own. Not only is it affordable, but it’s also relatively easy to install and requires little maintenance once completed. It doesn’t hurt that it looks nice, too!
When it comes to installation, there is some key prep work you’ll want to complete to do the job right. Learn how to lay pea gravel DIY in eight steps below.
Before You Lay Pea Gravel

Before you can learn how to lay pea gravel, you’ll want to plan out the project, so grab a pen and paper, and let’s get started. Establishing your budget, dimensions, and edging materials will go a long way toward an effective DIY build.
How Much Pea Gravel Do You Need?
Pea gravel costs an average of $10 to $50 per ton, or roughly $15 to $75 per cubic yard. You can purchase gravel in either cubic feet or cubic yards. More expensive pea gravels may be slightly more uniform in size (between 1/8 inch and 3/8 inch is standard) and shape. Natural colors like rusted pea gravel could also drive material costs up.
So, how much pea gravel do you need? One cubic yard can cover roughly 108 square feet if you’re building a patio or walkway with 6 inches of depth (counting the base layer of crushed rock). A patio big enough to entertain or host guests is around 500 square feet or 25 by 20. So, for a standard patio, you might pay anywhere from $75 to $375 for materials.
Calculate the volume of gravel required for your project to determine the amount required. Start by multiplying the desired gravel depth by your project's length and width in inches. For instance, if you're planning a 10-foot-by-10-foot patio with a 2.5-inch layer of gravel, do this math: 2.5 inches x 120 inches x 120 inches = 36,000 cubic inches.
To estimate your gravel needs, follow these steps:
Calculate the cubic feet of gravel
Multiply your initial result by 0.000579 to find the volume in cubic feet.
36,000 x 0.000579 = 20.8 cubic feet of gravel
Estimate cubic yards of gravel
Multiply your initial result by 0.0000214 to estimate the volume in cubic yards.
36,000 x 0.0000214 = 0.77 cubic yards of gravel
Decide on Edging
Decide which type of edging you’ll use. Installing a border is recommended for both aesthetic and structural reinforcement. The best landscape edging options will leave clean lines along your walkway or patio and help prevent pea gravel from leaking or spreading.
Stack stone blocks for an elegant finish or simple plastic/metal landscape edging for a more affordable, easy-to-install option.
Hiring a pro to install stone landscaping (because it’s often a custom design) can cost anywhere from $12 to $40 per linear foot. Plastic can cost as low as $3.25 per linear foot, and less if you do it yourself.
Dig Out the Desired Walkway or Patio Area
 Photo: Richard Johnson / Adobe Stock
Before laying pea gravel, use a shovel to dig out the walkway or patio section. Your trench should be 6 inches deep and as uniform as possible along the bottom.
In terms of time commitment, some homeowners use a guideline of one hour per 10 feet of digging. But since you’re only going down a half foot, you should be able to dig at about twice this speed. Keep the dirt you shovel away from your pea gravel if it has already been delivered.
Form and Tighten the Trench
Use a square-edged spade to remove dirt clumps along the edge and build a straight wall along the perimeter of your trench.
If you’re installing trim or edging, take your time here, as shoddy work here will only make life more difficult when you install the stones or plastic edging later.
Add a Base Stone Layer
Add a 2-inch layer of stone to the base of your shallow trench to form a foundation for your pea gravel. Crushed stone, which is synthetic and comes in various sizes (1-inch diameter stone is perfect for pea gravel installation), is a great choice.
Crushed stone is often sold by bag or by the ton when purchased in bulk (it costs about $2.50 per square foot). A ton of stone will cover about 100 square feet. Use your hands or a sturdy metal rake to smooth out the base stone layer.
Ensuring this layer is even will set the foundation (literally) for an even surface when you add pea gravel later. It’ll also help promote good drainage all over the surface.
Add Weed Barrier or Landscaping Fabric
 Photo: Carmina / Adobe Stock
Linen or polyester landscaping fabric helps prevent weeds from popping through pea gravel. It also helps set a nice boundary between your base layer and the top pea gravel layer. Set effectively, you’ll only need to replace it every three years or so.
Roll the sheets of fabric to cover the area. Make sure they overlap by at least 2 inches. Secure the fabric every foot along the edges with a garden staple gun.
Once the area is covered, leave the fabric sitting loosely on top of your base layer for now. You’ll secure it into the perimeter once the edging is installed.
Install Edging (Optional)
You should consider installing a perimeter on your structure, whether you’re building a pea gravel walkway or patio. It’ll help strengthen the edge from falling apart and keep pea gravel from finding its way all over your yard (which it’s very good at doing, by the way).
For walkways, simple plastic or metal edging are both suitable options.
For outdoor living spaces like patios, you could install rock gardens or patio edging for an attractive perimeter.
Whichever you choose, line your edging up around the perimeter. Make cuts using tin snips or scissors if you’re using plastic or metal. Tuck your landscape fabric into the space between your edging and the base layer.
Secure Edging
For metal or plastic edging installation, use your mallet and stakes to hammer in the edging and secure it every 6 to 12 inches. Drive the stake into the landscape fabric to secure it to the edging.
Smooth Out Your Base Layer of Rocks
If necessary, use your feet or hands to smooth out or eliminate any clumps of base layer rock before laying down pea gravel. Some may have shifted while you installed the edging. The weed barrier should be on top now, so just do the best you can.
Fill in the Remaining Section With Pea Gravel
 Photo: Andriy Blokhin / Adobe Stock
Now it’s time to learn how to lay pea gravel. Thankfully, it’s a quick and easy task. Lay shovels or wheelbarrows full of pea gravel around the perimeter every 5 to 10 feet. Use your rake to gently pull the pea gravel across, then add more on top and repeat until you reach a desired height.
Don’t add too much pea gravel to the same area all at once; the lumps may be hard to spread, and some may wind up in your grass.
Pros and Cons of Using Pea Gravel
Gravel can be a practical and attractive choice for many landscaping projects. Still, as with any home improvement project, it's always a good idea to consider the pros and cons regarding your specific needs and preferences.
Pros
Here are the reasons that you’re gonna love installing pea gravel.
Low Maintenance
For those who think landscaping is a chore, gravel requires minimal maintenance compared to grass or plants. You don't need to mow, water, or fertilize gravel.
Good Drainage
Unlike concrete slabs, gravel is suitable for areas with drainage issues. Water quickly passes through gravel, reducing the risk of flooding in your yard.
Weed Control
Wave goodbye to weeding and herbicides. Pairing gravel with a weed barrier fabric during installation will suppress weed growth.
Versatility
You will find gravel in different colors and sizes, opening up your creative design options. The material works for pathways, driveways, patios, and decorative accents around trees and plants.
Cost-Effective
Gravel is often more budget-friendly than installing pavers or concrete, which have high labor and material costs.
Cons
Here are a few things that might make you reconsider laying pea gravel.
Maintenance
Although it is considered low maintenance, gravel still requires occasional raking, hosing, and replenishing to keep it tidy and level.
Accessibility
Gravel may not be suitable for people with mobility issues—not to mention some types of shoes. Wheelchairs, strollers, and high heels can have a hard time navigating gravel pathways.
Sharp Edges
Put simply, gravel doesn't always feel good underfoot. Some gravel types have sharp edges that can harm bare feet and pet paws.
Installation
Properly installing gravel requires a well-prepared base and edge restraints, which can be labor-intensive and may incur additional costs. Skimping on the weed barrier will result in weeds popping up in your gravel.
Heat Retention
As with other stone and concrete surfaces, gravel absorbs and radiates heat. This makes walking barefoot on gravel on hot days unpleasant, and it can also heat up your outdoor space.
Alternatives to Pea Gravel
While pea gravel is definitely in a class of its own when it comes to attractiveness and convenience for those looking for everything from gorgeous landscaping to easy gravel driveway maintenance, it's far from the only stone material used in yards. Many other options offer similar benefits for aesthetics, drainage, and weed control. Take a look at similar options to pea gravel.
Decomposed Granite
The average cost of using decomposed granite for a landscaping project is around $60 per ton. This attractive option is perfect for rustic landscapes. It's commonly used for ground cover and garden trails. While decomposed granite is commonly used in driveways and walkways, its finer grain prevents it from being the best choice in areas that need gravel driveway dust control.
Lava Rock
Made from actual lava, this option showcases bright and bold colors. Its ability to absorb and retain heat during the day makes it a great choice for drier climates. The average cost for lava rock is between $80 and $240 per ton.
River Rocks
The smooth texture of river rock can make this option look like a larger alternative to pea gravel. Like pea gravel, river rock is also excellent for drainage. The varying natural hues of river rocks add beautiful texture to garden borders. The price of river rock is dependent on rock size and origin, and the price per ton can range from $10 to $350.
Marble Chips
Marble chips are sometimes used to add design elements to landscapes or gardens. While gorgeous, these acidic chips aren't always compatible with plants. Crushed marble generally costs around $85 per ton.
DIY Pea Gravel Installation vs. Hiring a Pro
Now that you know how to lay pea gravel, you can decide if you’re up to the task. Pea gravel installation is a job most homeowners can tackle themselves, as long as they’re physically able. But if you have pea gravel delivered by a local gravel delivery company, you could ask them to put it right next to the patio or walkway location to reduce labor difficulty.
Pea gravel costs slightly more than regular gravel, but the price of $1 to $3.15 per square foot is pretty close to other types of gravel like rock base or crushed limestone.
For specialty trim installations, you might consider hiring a professional landscaper to install stone or another desired material. A local gravel driveway company can assess your location and help you plan your project.
Frequently Asked Questions
Pea gravel consists of many small, rounded stones that, unsurprisingly, kind of resemble peas. They range in size from 1/8 to 3/8 of an inch. Higher-end products might be a little more uniform and have fewer jagged rocks in the mix.
Yes, weeds will grow through pea gravel but you can prevent this during the installation process. Install a weed barrier underneath pea gravel and swap it out every three years to keep weeds at bay.
Overall, yes. Crushed stone of any type is pretty effective for drainage. Compared to crushed gravel, though, pea gravel can be more prone to clumping over time, so it might not be the absolute best option. It’s sometimes used in underground drainage projects, though, so it’ll work well enough for most home improvement projects.
Yes, pea gravel is good for driveways as long as your driveway isn’t built on a hill or any type of slope where it can slide. It’ll settle on a flat surface and create a suitable driveway over time, though some spreading initially will take place. If you're wondering how to make a gravel driveway in a high-rainfall area, using pea gravel could help you to cut down on costs needed for extra drainage solutions.


