

Explore the key factors that impact vinyl fence installation costs in Columbus, OH, including labor, materials, permits, layout, design, and yard conditions.
A bit of gravel goes a long way toward protecting your fence


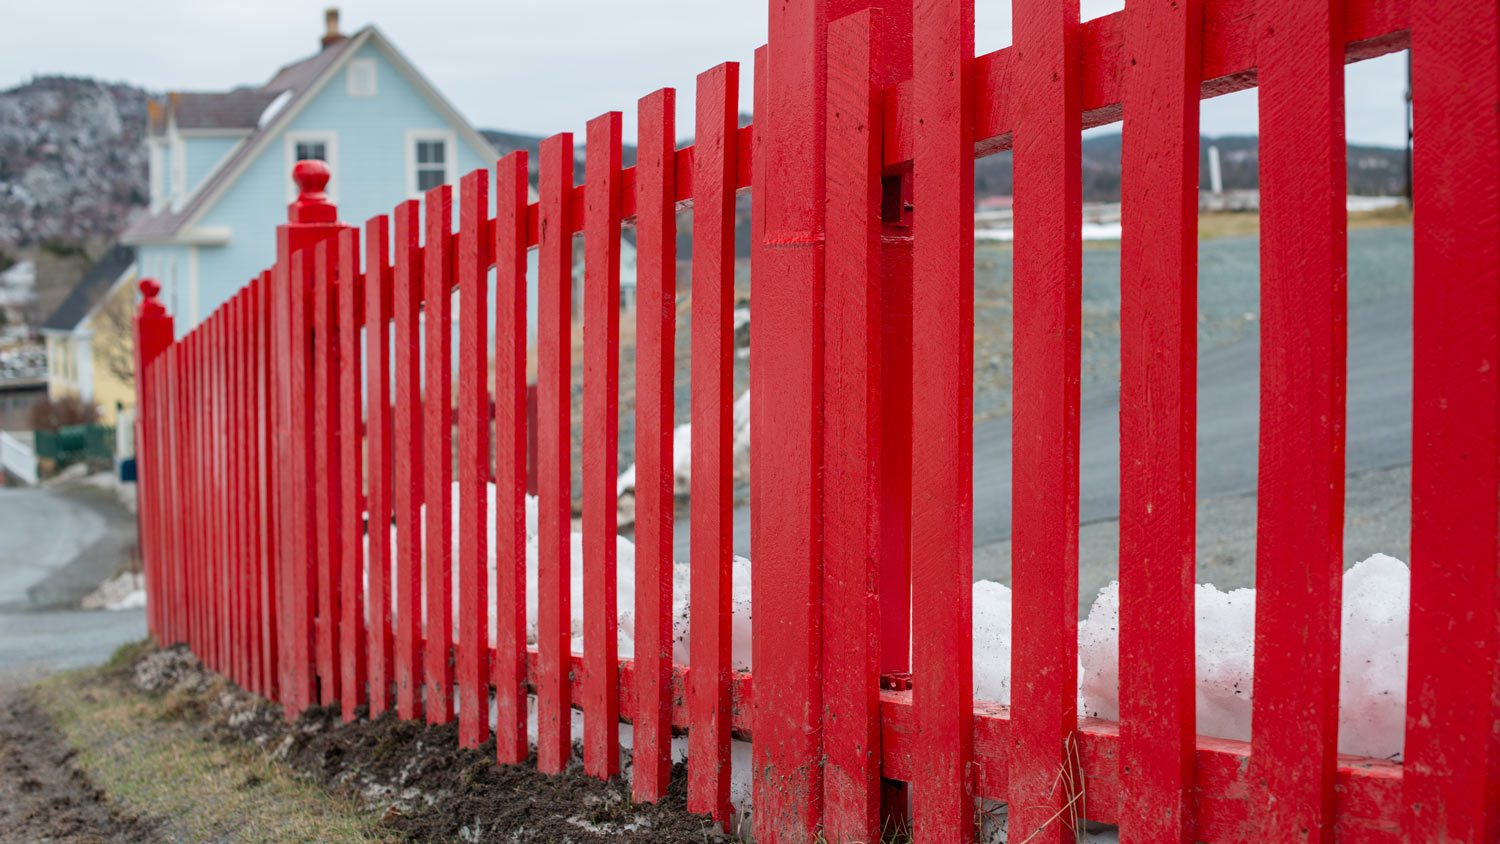
It's a fact of life—wood rots. If you have a fence made out of wood, decay can be a lot worse than an eye sore. When wooden fence posts begin to rot, they compromise the stability and strength of the entire fence. Knowing how to keep fence posts from rotting will extend the life of your fence. Follow these seven tips to protect and preserve your fence.
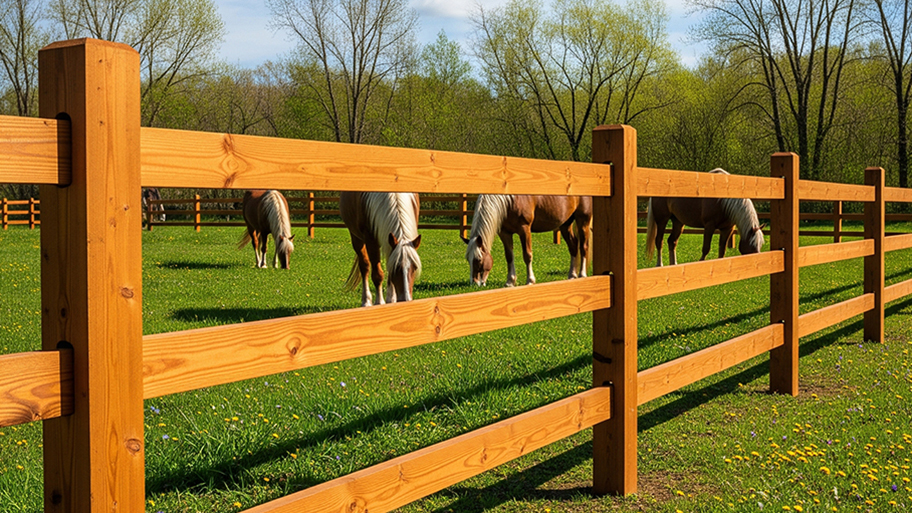
Pressure-treated wood contains preservatives that help it withstand moisture and avoid rot. The treatment also protects the wood from insect damage. It's commonly used on softwoods, such as pine, which are more susceptible to rot.
Prior to 2004 and an Environmental Protection Agency ban, companies used arsenic to treat wood. Since then, companies have switched to use copper to treat wood—a safer, but more expensive alternative.
If you don't like the idea of using treated wood for your fence posts, another option is to choose a wood species that naturally resists moisture, such as red cedar or cypress. Black locust or white cedar may be an option if you live in a particularly wet and marshy area.
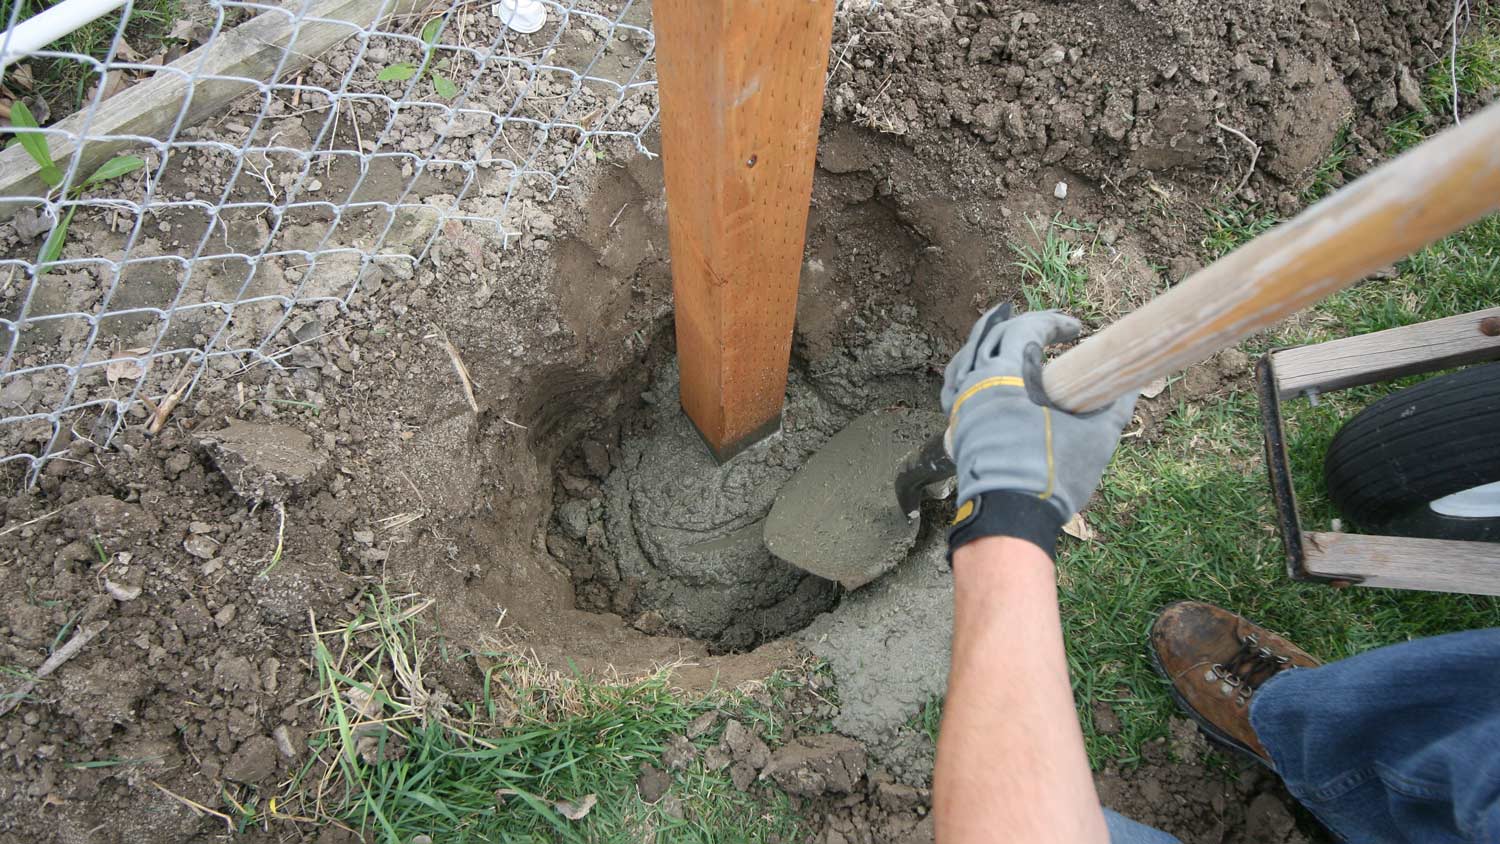
When building a fence, you dig holes for the posts. Since direct contact with soil will speed up the decay process, it's important to put down material between the wood and the soil.
Place gravel in the hole, filling up at least a few inches, before placing the wood. The gravel will help water drain away more quickly, making it less likely to pool around the post.
Once you've poured in the gravel, center the wood post on top, then pour in concrete to hold it in place. Build up the concrete around the post, forming a small hill, so that water will run away from the wood, rather than pooling around it.
If you live in an area that experiences freezing temperatures, the concrete and wood will go through a freeze-and-thaw process in winter and spring. The freeze-thaw cycle causes the material to swell and shrink, creating gaps that allow moisture.
To create a seal and keep water out, use an exterior silicone or acrylic latex caulk between the fence post and the concrete when you install the fence post. The caulk will adhere to the concrete, creating a barrier to protect the wood through several freeze-thaw cycles.
Don't pile soil or mulch around the posts. Your fence posts may be located in your garden or a landscaped area. While it may be tempting to conceal the concrete bases with soil, doing so can lead to rot.
It's also a good idea to keep an eye on the base of the posts, removing any debris or plant material that collects around it.
While installing a fence can seem like a simple DIY, several variables can affect the longevity of your completed fence. To ensure proper installation and drainage and to reduce the risk of rotting, consider hiring a local wood fence builder to install your fence or replace fence posts if they start to decay.
A professional fence installer will assess your land, add drainage channels to keep water flowing away from the posts, and install the fence on a slope to protect it from moisture.
A fence post-sleeve slides over top of a wood post, creating an extra layer of protection against moisture damage. They're designed to extend the life of your fence by reducing the risk of rot.
A few post sleeve styles are available. Some cover the entire fence post, allowing you to change the look and design of your fence. Others slide over the bottom part of the post and are largely concealed by the ground. Some are made from a heat-shrinkable plastic and will shrink down to tightly wrap around the post.
Another way to protect a wood fence post from rot is to stain or paint the post before installation. You can also coat the wood with a sealant or preservative.
Whether you stain or paint, choose a product meant for use outdoors. Follow the manufacturer's instructions when applying the paint or stain and allow it to dry thoroughly before installing the fence post in the ground.
From average costs to expert advice, get all the answers you need to get your job done.
Explore the key factors that impact vinyl fence installation costs in Columbus, OH, including labor, materials, permits, layout, design, and yard conditions.
Looking for that rustic charm only a split rail fence can provide? Use this split rail fence cost guide to get an idea of what your fence will total.

A fence can be a beautiful and functional addition to your property. Learn all the factors that determine your fence installation costs in Columbus, OH.

Do you need a permit to build a fence? Our guide can help you determine the local legal requirements you must follow for fence construction.
Looking for a little more seclusion in your yard? No problem. Learn how to cover a metal gate for privacy with a few simple tricks and tips.

If you assumed your hilly yard disqualified you from building a fence, think again. Here’s how to build a fence on a slope, including two ways to do so.