

Discover the leading factors affecting your main water line replacement cost in Columbus, including length, material selection, and installation details.
Keep your pipes warm and your wallet happy with this simple tutorial


A professional pipe insulation costs around $600, but pros can help prevent frozen or burst pipes in the winter, lower energy bills, and reduce the risk of leaks.
You might not have common pipe insulation materials like foam sleeves, foam tape, and rubber to DIY this project.
DIYers might miss hidden or hard-to-reach pipes in basements, attics, and exterior walls, resulting in unprotected pipes.
Hire a local plumber who knows which insulation materials and methods are best for your climate, home, and plumbing layout.
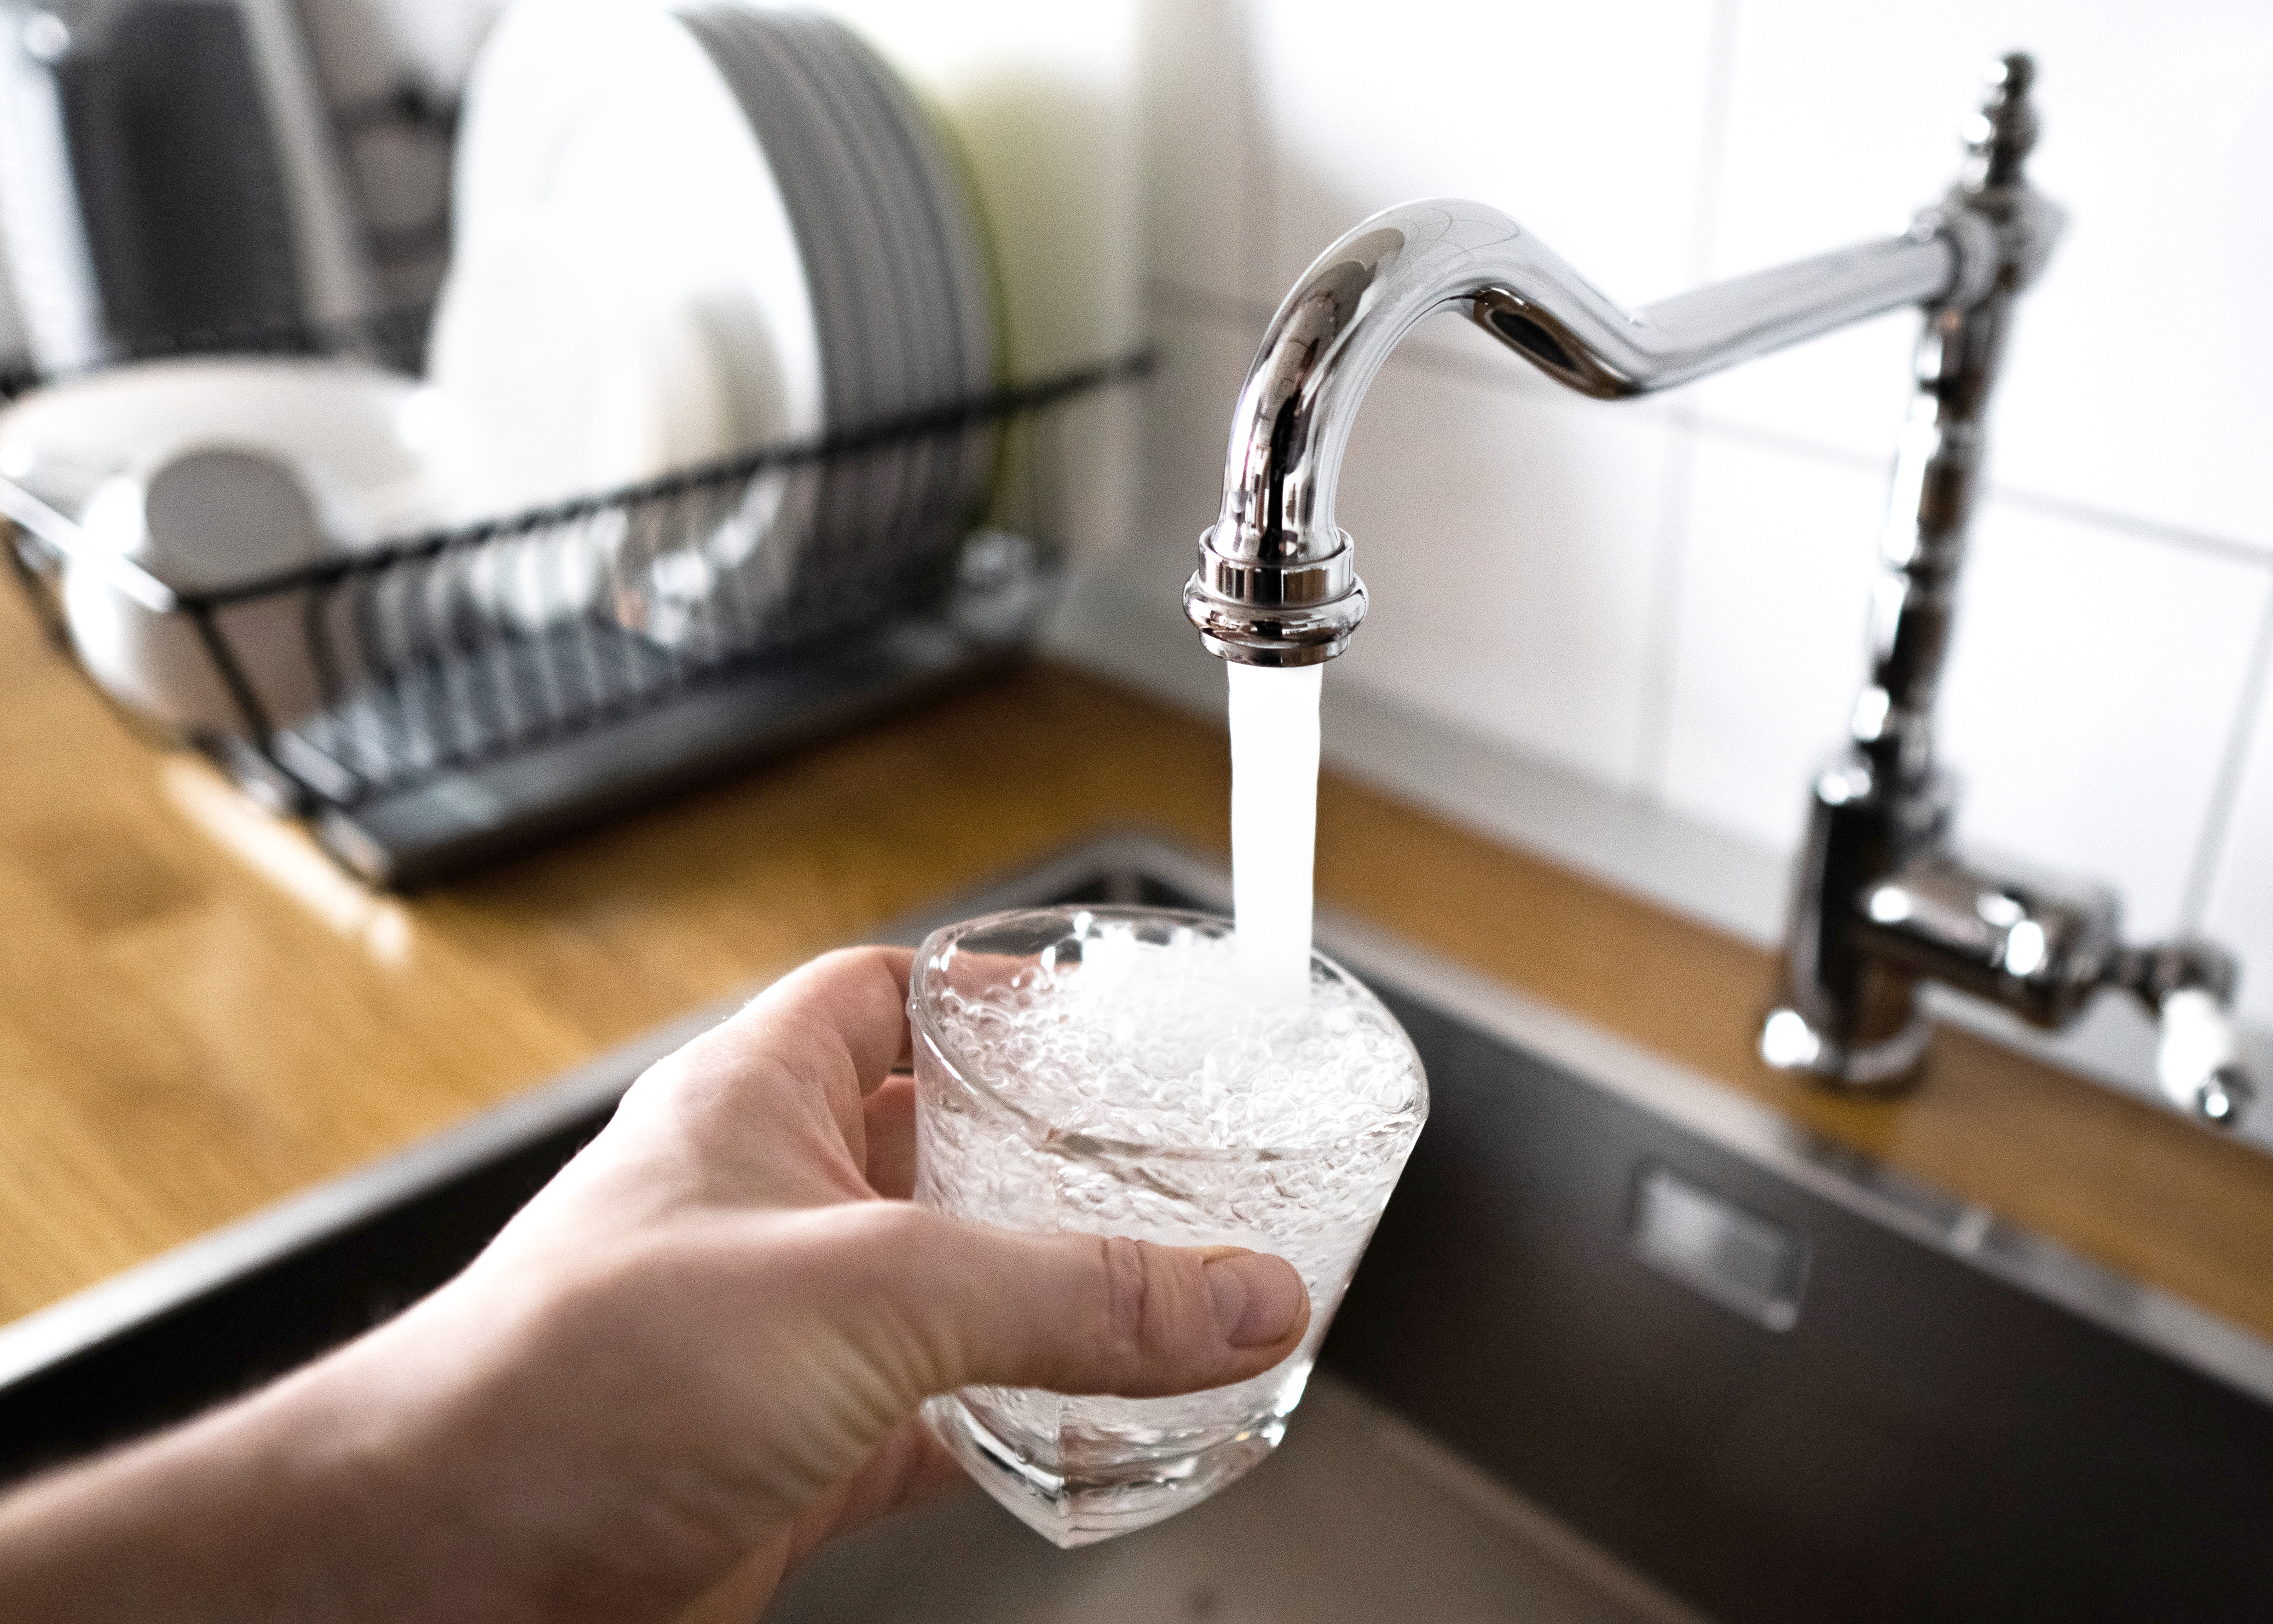
Hidden behind walls and tucked away in crawl spaces, pipes are easy to forget about until something goes wrong. But taking the time to insulate your pipes can save you a lot of hassle (and money) down the line. Not only does insulation protect against freezing and bursting pipes during cold snaps, but it also improves your home's energy efficiency. Use this guide to learn how to insulate your pipes and prevent costly problems in the future.
Insulating your pipes might not be at the top of your home improvement list, but it’s a relatively simple and affordable project that can prevent serious problems and save you money in the long run. One of the main reasons to install pipe insulation is to prevent your pipes from freezing during the colder months. When water in a pipe freezes, it expands and can cause the pipes to burst, leading to costly water damage.
Insulated pipes can also help maintain the water temperature as it travels from your heater to your faucet. This means your water heater doesn't have to work as hard, which can lower your energy consumption and reduce your utility bills.
Ideally, you should insulate your pipes before the temperatures drop below freezing for the season. Preparing in advance can save you from dealing with frozen pipes in the middle of winter. But even if winter isn’t around the corner, if you're planning any home renovations or already have walls opened up, it’s still a great opportunity to insulate any exposed pipes to prep for future freezes and/or improve your home’s energy efficiency.
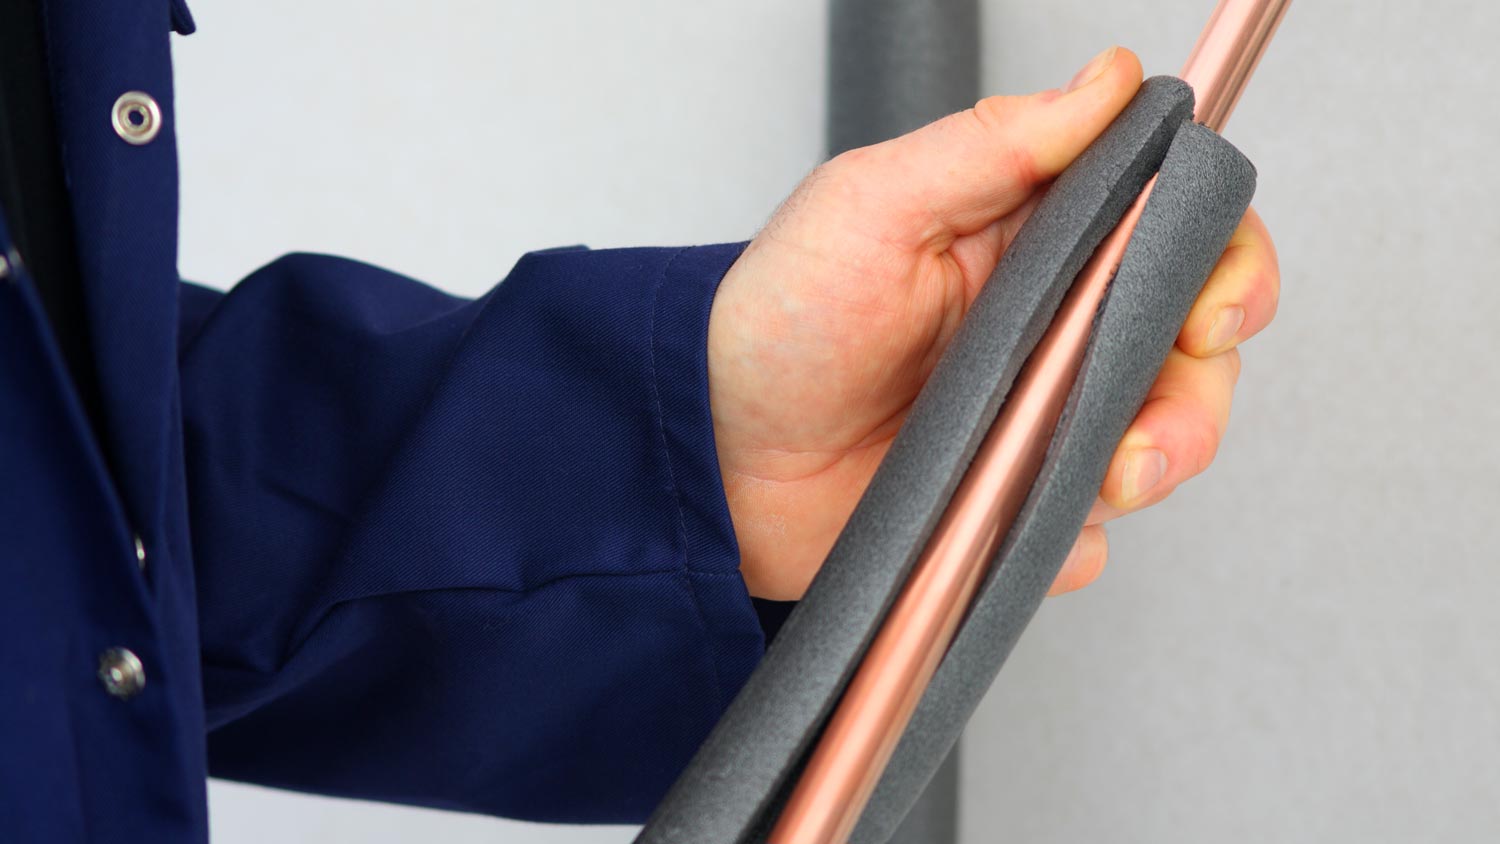
Before you begin, you’ll need to buy some insulation material for your pipes, which you can find at most hardware stores. Common options include foam pipe sleeves, foam tape, fiberglass wrap, and rubber insulation. For most DIY projects, foam pipe sleeves are ideal because they're affordable, easy to install, and effectively insulate both hot and cold water pipes.
Foam insulation tape is another DIY-friendly option, especially for pipes with irregular shapes or tight spaces where sleeves might not fit. It's flexible and adhesive-backed, making it easy to wrap around pipes, fittings, and valves.
Fiberglass wrap is suitable for high-temperature pipes but can be challenging to install and requires protective gear, so it's often best left to professionals. Rubber insulation offers durability and moisture resistance for indoor and outdoor use but can be more expensive and tricky to install.
Note: Make sure to measure your pipes before purchasing insulation material to reduce waste and ensure a tight fit.
Start by locating all the pipes in your home that would benefit from insulation. Focus on pipes in unheated areas like basements, attics, crawl spaces, garages, and exterior walls. Both hot and cold water pipes should be insulated to prevent heat loss and protect against freezing.
Once you identify the pipes, use a tape measure to determine the length and diameter of each pipe you plan to insulate. Making accurate measurements helps ensure you purchase the correct amount and size of insulation material, reducing waste and ensuring a snug fit.
Before you start insulating, make sure your pipes are clean and dry. Grab a cloth and wipe them down to remove any dust, dirt, or moisture. This helps the insulation adhere better and last longer, ensuring you get the most out of your efforts.

Now it's time to put on the insulation. Depending on the material you've chosen, the installation process will vary slightly.
Cut to Size: Measure the length of each pipe section and cut the foam sleeves to length using a utility knife or scissors.
Open the Sleeve: Gently open the pre-slit seam along the sleeve, being careful not to tear it.
Fit the Sleeve Over the Pipe: Place the sleeve around the pipe so it fits snugly along the entire length.
Seal the Seams: Press the edges of the slit together. If your sleeves have self-adhesive strips, peel off the backing and seal. If not, wrap duct tape or insulation tape along the seam to secure it.
Secure at Joints and Bends: Cut the insulation at an angle to fit properly at corners and joints. Use tape to secure these sections and eliminate any gaps.
Start Wrapping: Begin at one end of the pipe, firmly pressing the adhesive side of the tape onto the pipe.
Wrap with Overlap: Wrap the tape around the pipe, overlapping each layer by about half its width to ensure full coverage and a tight seal.
Press Firmly: Once you've wrapped the entire pipe, press the tape firmly along its length to ensure it adheres well.
Use smaller pieces of foam sleeve or extra insulation tape to thoroughly cover any fittings and valves. For irregular shapes, you might need to cut and shape the insulation material to fit snugly. Secure everything with tape to prevent any gaps where cold air could sneak in.
After you install the insulation, take a moment to secure any loose ends with duct tape or cable ties. You should also walk along the length of the pipes and inspect your work. Make sure there are no gaps, loose sections, or exposed areas. Everything should be snug and well-covered to maximize the insulation's effectiveness.
After insulating your pipes, make sure to properly maintain them so that your insulation remains effective year after year. Here are some tips to keep your insulated pipes in great shape:
Perform Regular Inspections: Inspect your insulated pipes every few months. Look for any signs of wear and tear, such as gaps, cracks, or areas where the insulation has come loose. Catching these issues early can prevent bigger problems down the line.
Keep Insulation Dry: Moisture is the enemy of effective insulation. If you notice any damp spots or condensation, address the source of the moisture immediately. Replace any wet insulation to prevent mold growth and maintain insulation performance.
Adjust for Shifts: Pipes may shift slightly over time due to temperature changes or the house settling. Make sure the insulation remains snug and fully covers the pipes. Adjust and re-secure the insulation as needed.
Deciding whether to insulate pipes yourself or hire a pro depends on the scope of the project and your comfort level with DIY tasks. For many homeowners, insulating accessible pipes using foam sleeves or insulation tape is a manageable job that can be completed over a weekend. The materials are affordable—typically costing between $0.20 and $2 per linear foot—and you can find them at most hardware stores.
However, if your plumbing system is complex, requires specialized materials like fiberglass wrap, or is located in hard-to-reach areas, hiring a local plumber is your best bet because they’ll have the expertise and equipment needed to handle these challenges safely and effectively.
From average costs to expert advice, get all the answers you need to get your job done.
Discover the leading factors affecting your main water line replacement cost in Columbus, including length, material selection, and installation details.
Learn about main water line repair costs in Columbus and what affects pricing to be prepared before you start getting estimates.

Learn how much plumbers cost in Columbus, Ohio. Discover pricing for faucet repairs, pipe work, and emergency services, plus how you can save money.

Range hood dripping water? You may have damaged flappers or need more insulation. Find out what’s causing the problem and call the right professional to fix it.
Discover the average plumbing stack replacement cost, key price factors, and expert tips to help you budget for your home’s plumbing upgrade.

Finding frozen pipes involves using all of your senses to listen for, smell, and see the signs. Keep reading to learn how to find frozen pipes in your home.