
•
Discover roof insulation costs, including average prices, key cost factors, and expert tips to help you budget and save on your next project.
Improve your home's comfort and energy efficiency with this handy guide


Insulating your concrete floor will help to regulate your interior temperature, providing year-round comfort. It will also improve your home's energy efficiency, potentially reducing your monthly energy bills while lightening your HVAC system's workload. This guide walks you through everything you need to know to insulate a concrete floor yourself.
Correctly installing insulation can be difficult. Health and safety risks are involved; therefore, we highly recommend contacting a pro to ensure the job is completed safely and correctly.

The first step to insulating a concrete floor is figuring out what type of insulation you'll use. There are several options, each with various pros and cons. For this guide, we're using rigid foam insulation boards because they're highly efficient and relatively easy to install. But other options include:
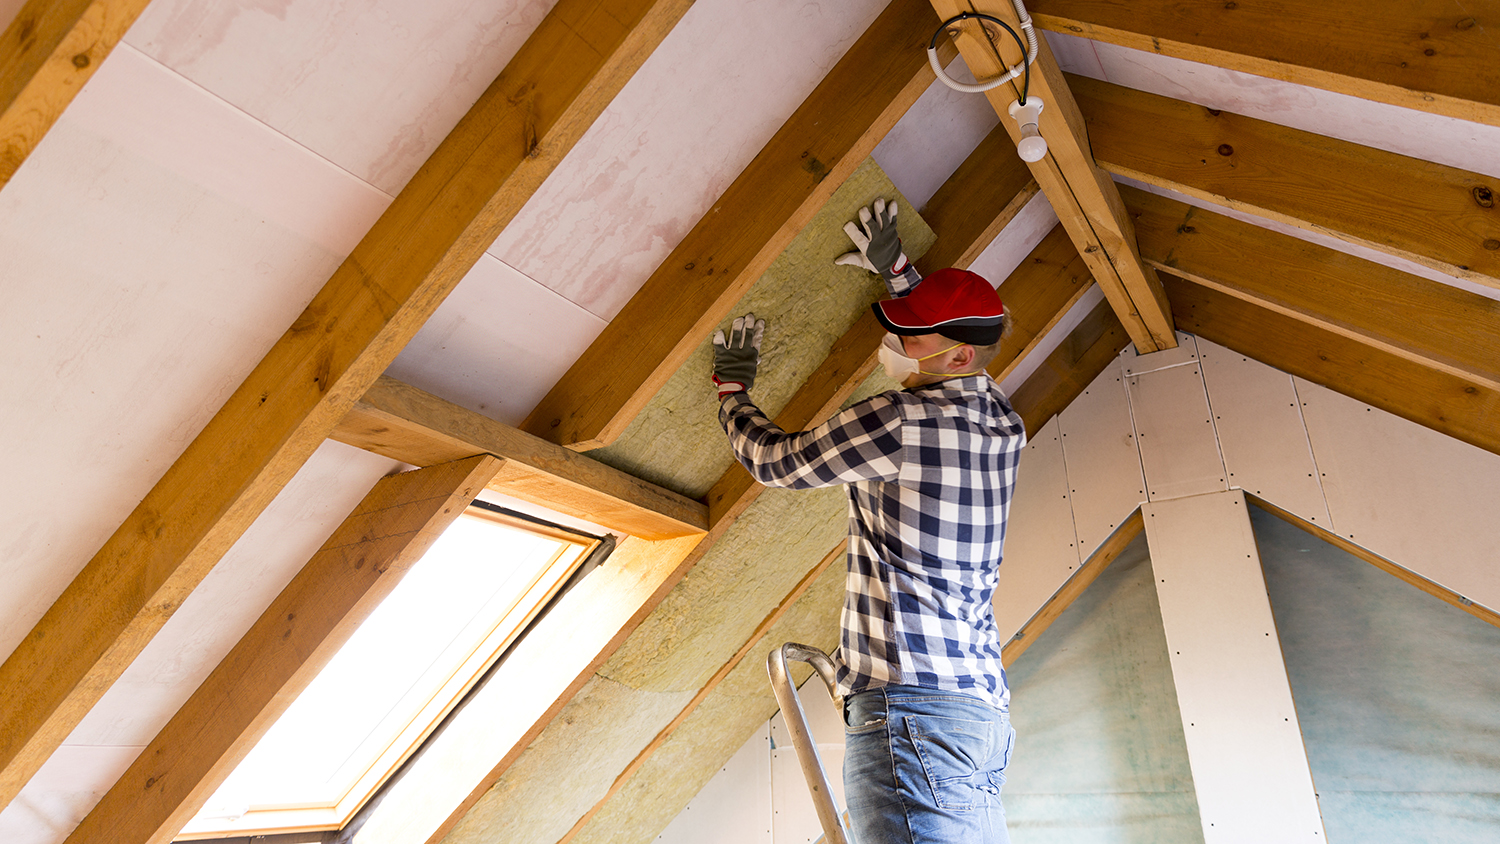
Fiberglass: Fiberglass insulation is relatively affordable, but the glass fibers are irritants that are difficult to work with. They can also trap moisture, so this insulation isn't ideal for moist environments.
Cellulose: Cellulose is a fire-resistant insulation made from recycled materials. But it requires special equipment to install and is fairly expensive.
Spray Foam: Spray foam insulation has a built-in vapor barrier, high R-values, and is structurally sound, but it's expensive and typically requires professional installation.
Reflective: Reflective insulation reflects heat rather than absorbs it, so it can lower cooling costs. But it's relatively expensive and not ideal for cold climates.
Before buying supplies and beginning the installation, check with a pro or do your own research to determine the best insulation R-value and thickness to use for your particular home and climate. Generally, the colder the climate, the higher the R-value that you'll need.
You should install insulation on a clean floor, so make sure the concrete is clean, dry, and debris-free. Start by sweeping away any dirt and debris. If you notice any oil stains or other residue, use a concrete-safe cleaning agent to remove them. If there are any significant cracks, fill them with a concrete sealant to prevent moisture problems.
Next, use a tape measure to measure the length and width of the floor in feet. These figures will help you determine the length and number of insulation boards you'll need. To be safe, order a bit more insulation than you think you'll need to account for any miscalculations or unforeseen issues.
After taking your measurements, place the rigid foam insulation board on a hard, flat surface and use a straightedge to measure and mark the right size. Then use a utility knife or saw to carefully cut along your marked lines. Take extra care during this step to make the lines straight, otherwise, they won't provide a snug fit on the floor.

Now you'll install the vapor barrier by rolling out the polyethylene sheets and covering the entire floor with them. Make sure the sheet seams overlap by at least 6 inches, and extend the sheets at least 3 inches above the wall. Use waterproof construction tape to seal all of the seams, including the seams between the wall and the sheets.
Once your vapor barrier is sealed off, it's time to lay the insulation boards. Starting from one corner of the room, lay the boards directly on top of the vapor barrier, ensuring they fit snugly against the walls and the other boards. For a more stable floor and to reduce thermal bridging, stagger the board seams similar to laying bricks. Then use construction tape to tape the seams.

Next, lay your 1/2-inch-thick exterior-grade plywood sheets over the insulation boards. Install them so that they're perpendicular to the foam panels and the seams aren't aligned with the insulation boards. This will help evenly distribute weight and pressure on the floor. Make sure to space the panels a 1/4-inch apart and leave a 1/2-inch gap around the perimeter to allow for seasonal contraction and expansion due to temperature changes.
After installing the first layer of plywood, top it with a second layer following the same process. But make sure the second layer seams are perpendicular (and not parallel) to the first layer. Use 7/8-inch utility screws to fasten this second layer to the first layer. Then use construction tape to seal all of the seams.
You did it! The insulation is installed, and if done so properly, you won't need to replace your installation for many decades. So now all you have to do is lay your new floor. If you closely followed this process, then your floor should be ready for any flooring material installation, such as hardwood, tile, or more concrete.
From average costs to expert advice, get all the answers you need to get your job done.
Discover roof insulation costs, including average prices, key cost factors, and expert tips to help you budget and save on your next project.
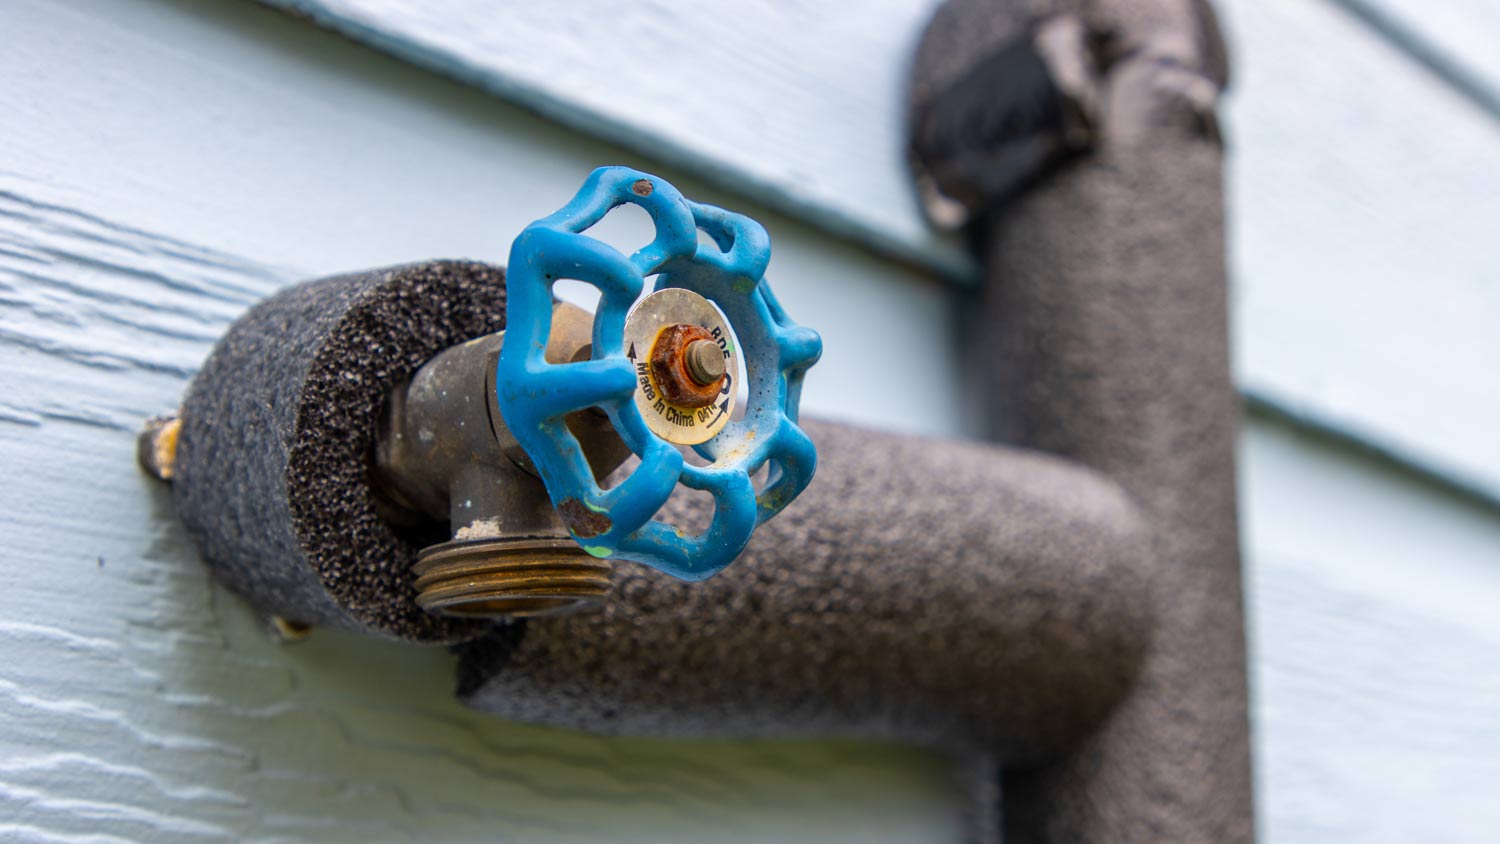
Find out the average pipe insulation cost, including material and labor prices, plus tips to save money on your project.

Wool insulation offers a higher R-value than fiberglass but is more expensive. Use this guide to estimate wool insulation costs for your home.

Soundproof a room in five simple steps. Learn to soundproof your windows, doors, floors, ceilings, and walls. Beginner friendly.

Learning how to insulate plaster walls can help improve your home's energy efficiency. However, there are crucial cautions to consider before attempting.

Use this DIY checklist for insulation repair to make your living space more comfortable and reduce your heating and cooling bills in the process.