
Discover how much wrought iron fence installation costs depending on factors like its size, thickness, design, and location.
Level up your property’s sophistication factor

Installing a wrought iron fence requires proper prep work, including checking HOA rules, confirming property lines, and taking accurate measurements before you purchase materials.
Expect to pay $2,300 to $6,000 for professional installation, while DIY materials cost $25 to $35 per linear foot for real iron panels.
Your fence posts need a week to cure fully before you add panels, as rushing this step can cause posts to sag under the weight.
Hiring a local land surveying professional helps you locate property boundaries accurately, preventing costly mistakes when you install your fence along the correct property line.
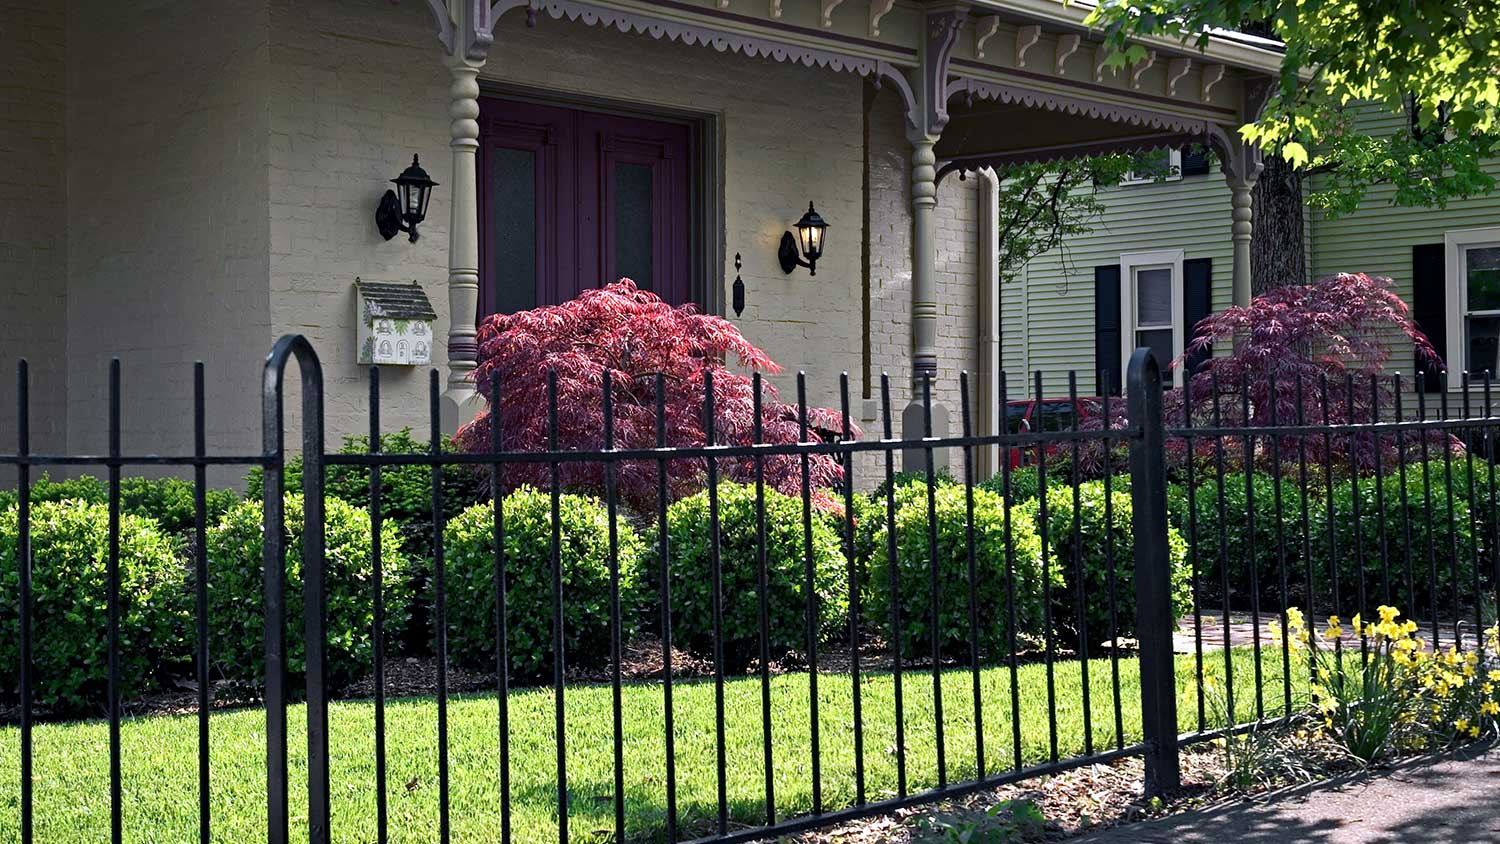
A wrought iron metal fence not only adds a layer of security to your home, but also creates a stately look that can accentuate its architecture. Today’s wrought iron fences evoke the look of true wrought iron from older homes but are actually made of hollow steel or aluminum tubes. This construction makes them not only more weather-resistant than true iron fencing but also much easier to install since they are lighter and come in pre-assembled kits. If you don’t mind the physical demands that come with digging holes and mixing and pouring cement, installing ornamental wrought iron fencing is a doable, though challenging, DIY project. Find out how you can save money on a fence installation by learning how to install a wrought iron fence on your own.
Before you put your time, money, and effort into building a wrought iron fence, it’s crucial to take a few steps to prepare for this project to save yourself money and grief later on.
Check your building codes: First, find out if a wrought iron fence is allowed in your neighborhood and whether there are rules stipulating height. If you have a homeowner’s association (HOA), you may need to submit your plans and get permission prior to breaking ground. Don’t skip this step, or you could find yourself ripping out an expensive fence.
Know your property lines: Make sure you aren’t building your fence on your neighbor’s property. Find your property line by locating metal pins that identify the perimeter, reviewing the neighborhood’s plots, or hiring a professional surveyor in your area. Whatever you do—don’t simply guess the boundaries. Even if you and your neighbor agree on where the property line is, if you’re wrong, it could create major issues when one of you moves or has a falling out (hey, it happens!).
Take accurate measurements: Once you’ve gotten permission from your HOA and identified your property line, plan the dimensions of the fence and take measurements. Accurate measurements will allow you to buy the right amount of materials for the job, reducing waste and preventing repeated trips back to the home improvement store for more supplies.
You’ll need two people for this step. Begin by using a hammer to drive in a stake at each corner of the fence or any location where the fence changes direction.
Have someone hold the spool of string at the first stake while you extend the line to the second.
Pull the string tight at each stake location by looping it around the stake once, pulling the long end taught, then wrapping it over the shorter end to hold it in place.
Mark the location of the post holes by spray painting large Xs along the line at intervals between each post that match the width of the fence panels (usually 8 feet). Make Xs larger than the hole, so you’ll have a visible reference point as you're digging the post holes.
Use the post hole digger to dig post holes that are about 6 inches in diameter and 2 feet deep at each post hole location. Then add about 2 inches of gravel to the holes.
Mix your quick-set concrete in a wheelbarrow, making sure its consistency is thick enough to hold the post upright while it’s still wet.

Place the fence post in the hole, then add the concrete until it's about 4 inches from the top of the hole. Use a level to ensure the posts are straight and in line with the rest of the posts. Once you’re satisfied the post is plumb and lined up, pack dirt in the top two inches to hold it in place while the cement dries. Repeat this process for each post until all are installed. This can be a timely process, but don’t rush it—taking your time will ensure each post is sturdy and straight.
Wrought iron fence panels are heavy, weighing 50 pounds or more. As such, it’s crucial that the cement is fully cured before adding the panels to ensure they can support the weight. With that in mind, it’s best to wait a week before installing the panels. Rushing this job could cause your posts to sag under the weight of the panels if the cement hasn’t had a chance to cure.
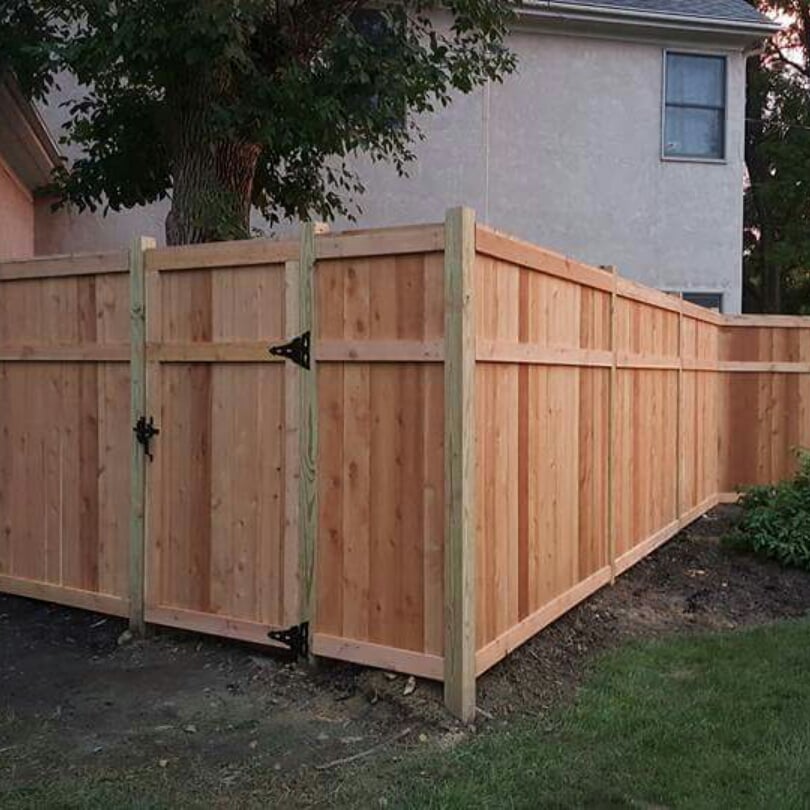
Since metal fencing comes as a kit, attaching the panels to the posts is a fairly easy process, though you’ll need at least two people to complete the job. Line up each fence panel with the corresponding brackets on the posts. Attach each panel with the included screws, starting with the top bracket before attaching the bottom bracket. Continue this process until all panels are installed.

Hang the gates per the manufacturer’s instruction using the included hinges and latches. As with the panels, the gates are pre-assembled, so they shouldn’t be difficult to install. You may wish to wait a week before hanging the gates, as wrought iron fences often settle.
If you install the gate too early, the settling process could throw off the gate latch’s alignment, forcing you to reinstall your gate latch. Once you’ve set up the gate, your wrought iron fence is all set.
While installing a wrought iron fence on your own is possible, it certainly isn’t an easy job. This project involves digging numerous holes, mixing cement, and working with fence panels that can weigh 50 pounds or more each.
That said, there is a lot of sweat equity to be gained by installing this fence yourself. While the job varies depending on location and the size of the fence, the cost to install a wrought iron fence is between $2,300 and $6,000 if you hire a local fencing contractor. But you’ll save money in labor fees if you install the fence yourself. Expect to pay between $25 to $35 per linear foot for real wrought iron panels if you DIY. If you opt for less expensive steel or aluminum tubes, you’ll pay between $7 and $40 per linear foot for the fencing materials.
A reliable team for moves across state. My switch to a new place needed careful lifting through tight hallways. The movers checked the doorway first, then carried heavier pieces with slow, controlled movements. Their patience helped prevent damage, and I?d choose them again.
We have used Window Warriors many times with no issues. They arrived on time and were very professional . We have pets and Window Warrior team treated them very well, well trusted team.
We have bought and sold numerous times over the past 50 years. Sherman Hall and Top Line are top notch. Thorough and detailed, he explains every possibility, probability, and eventuality. High class and pleasant. The best.
 Top Line Home Inspections, LLC
Our homes curb appeal skyrocketed thanks to Custom Paint Jobs LLC s exterior painting.
Window Depot did an amazing job on my deck. I wasnt sure what I wanted to do, but their composite decking was affordable and will last a long time. I am excited to have family over, and I am no longer embarrassed by my backyard. Jeff and the ground crew were polite, respectful, and caring for...
Great job...edging and pre clean up went well with a great job with seal coat. Friendly, efficient and professional.
 All Star Paving and Sealing
Did an amazing job transforming my yard. Also installed sod in places, would recommend to everyone.
Manuel Calvillo is the best option in the area for roofing and you won't be disappointed.
We hired Andrew and the team from Midwest Lightscapes for a custom lighting design and installation on a Victorian Village home. The house had outdated low-voltage halogen outdoor lights and many of them were not working. Andrew designed and installed a new system including uplighting on the...
 Midwest Lightscapes
The work was completed in a day and a half. They cut small trees, pulled out an old swing set, pulled out railroad ties and left the place spotless when the job was complete. I am very happy with the fence and their efforts were above and beyond my expectations.
 Elite Fence
From average costs to expert advice, get all the answers you need to get your job done.
Discover how much wrought iron fence installation costs depending on factors like its size, thickness, design, and location.

Metal fencing costs on the higher end to install, but when done correctly, it can last decades. Learn about which factors can influence your final budget.
Get expert insights on wrought iron railing repair cost, including average prices, key cost factors, and tips to save on your next project.

Learn how to hire a wrought iron fence installer with confidence. Find qualified pros, ask the right questions, and get expert tips for your project.

Unsure who to hire to install a wrought iron fence? Compare fence contractors and ornamental iron pros, see how installation works, and choose confidently.
Discover who to hire to repair a wrought iron fence and handle iron fence repair. Compare pros, see the process, and hire with confidence today.