

Crawl space repair costs can seem intimidating, but putting them off can lead to bigger issues. Learn about repair costs in this guide to set your budget.
Lay down that vapor barrier like a pro to keep your crawl space dry

If you’ve enjoyed a dry crawl space up to this point, congratulations. If not, well, you’re here to learn how to install a vapor barrier in the crawl space. Odds are that you've already been into the belly of the beast dealing with water leaking through your foundation or some other problem. Well, even if your crawl space isn’t a dank dungeon with a really low ceiling, you may still want to consider installing a vapor barrier, because moisture still rises from the ground and can cause condensation and rot in your floor joists and subfloor. So let’s walk—or crawl—through the steps for how to install a vapor barrier in your crawl space.
As you’ve seen, the crawlspace is called that for a reason. It’s tight, low, cramped, dark, and you’ve got to crawl if you want to get around down there. To make this project easier, get some good knee pads and a headlamp. You’ll want to run an extension cord or two and set up at least one work light so you can see what you’re doing. If you want to reduce the shadows, set up another work light from another angle. Also, if you’ve got a lot of cobwebs in the floor joists, go through with a shop vac or a broom to clear out as many as possible before you’re crawling around and dodging them as you work.
If you’ve already done battle down below, you know where the crawl space entrance is, so you’re all set. If you’ve not ventured into the land of hands and knees, find out where the crawl space access is and maybe take a flashlight to get a peek at what’s going on in there. It’s also important to understand that installing a vapor barrier differs from crawl space encapsulation.

This is a good time to remove any cobwebs so you can focus on the task at hand instead of always feeling like you have a spider on your neck. Besides having to drag it around down there, a shop vac is ideal for this because you’re going to be able to suck up cobwebs and anything hanging out in them.
You’ll want the ground as clean as possible, so take a garbage bag and pick up any debris. The most likely things you’ll find are chunks of concrete or mortar from when the house was built, but you never really know what you’ll find down there. The ultimate goal is a clean floor without debris that can poke through your vapor barrier.
Remove any standing water with a pump or buckets. Run a dehumidifier, monitoring and emptying when needed. Even if the crawl space seems dry, it doesn’t hurt to run a dehumidifier down there for one or two days to be sure it’s as dry as possible before installing the vapor barrier.
Take the rake and level out the ground. If the ground slopes significantly and you can’t get it level without hauling in fill, then just make the surface as smooth and flat as possible for the plastic.

Start at the opposite side of the crawlspace if possible, so you can work your way out and minimize how much you have to crawl around on the plastic after it’s in place. Roll out lengths of plastic (6-mil or thicker) from wall to wall, cutting each piece of plastic, leaving about 6 to 8 inches of extra along the walls. Overlap each run of plastic at least 12 inches and tape each seam until you’ve covered the entire floor.
Using double sided tape for installing vapor barriers, seal the plastic to the base of the walls all along the perimeter. Seal the extra plastic around any support piers.
Congratulations, you’ve installed a proper vapor barrier in your crawl space! Although the plastic won’t stop 100% of the moisture, you can help keep the crawl space dry by making sure the crawl space is properly ventilated.
This may mean calling a mason or a handyperson to install one or more vents in the top of your crawl space wall. The goal is to allow for cross ventilation to carry moisture out of the crawl space. A pro can also guide you on whether to keep your crawl space vents opened or closed, among other tips for keeping things dry.
The benefits of installing a vapor barrier and controlling moisture in your crawl space really include preventing mold, mildew, and rot or water damage to the floor joists and subfloor above the crawl space. Keeping the crawl space dry goes a long way in knocking down those dank crawl space smells.
If you have water leaking through the foundation into the crawl space, a vapor barrier will not remedy that. You’ll need to contact a basement waterproofing company to assess the problem and provide an estimate for fixing it.
According to data from Angi, the most common foundation problem is basement flooding, making up about 29% of reported issues. Another 20% of homeowners reported issues with excessive dampness, while 15% mentioned problems with mold, mildew, and fungus.
Finished Basements Plus was wonderful from beginning to end! First, they came out quickly for an estimate. I had 4 estimates and theirs was by far the best. (2 of the estimates were more than $20K higher than for the exact same work). Beyond their fair pricing, the work was excellent. They...
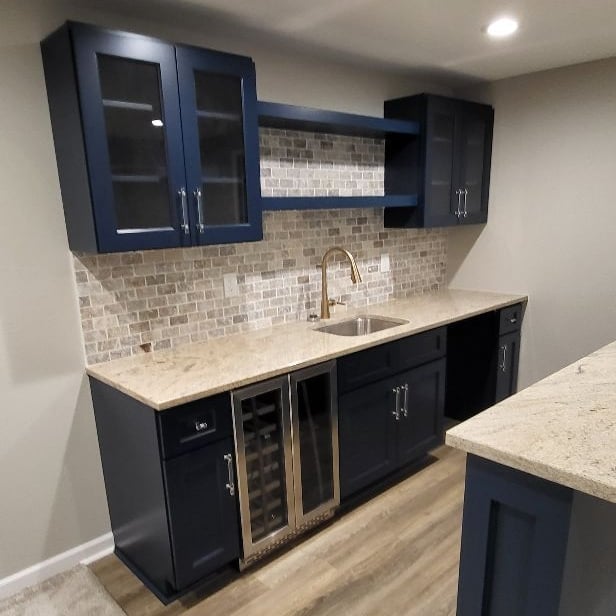 Finished Basements Plus Inc.
Amazing job. Efficient and quick without compromising quality. Basement feels brand new. Would use them again in a heartbeat.
 AffordaPro Restoration
Window Depot did an amazing job installing the windows in my basement! The process from start to finish was by far more than what I expected. I would highly recommend Window Depot if you want professionalism from the the consultation to the installation. Dont settle for mediocre when you can...
 Window Depot USA of Central Ohio
They cleaned my very dirty basement. They were prompts, quick, thorough and their price was fair.
 JDE House Cleaning LLC
I am very pleased with the services performed by OTS. Bless my late Mother, but she was a bit of a pack-rat. The basement of her home was crammed with 40+ years of "stuff," and the other companies I contacted were concerned with possible mold contamination of the items due to the musty smell...
The company was very easy to work with. My family is now able to enjoy a space that at one point, only collected junk!!!! I feel like i have a whole new addition to the house!!! Wonderful work Blurock on our basement, will recommend!
 BluRock Services, Inc.
Excellent work. Opted for the service contract which provides spring and fall checkups and deduction on maintenance charges which seems to be a good value. Initial dehumidifier for our large basement was undersized. They replaced unit after it failed with a larger unit and charged only for...
 Total Comfort Heating & Cooling Inc
We had water in our basement and Roto Rooter was original contact to evaluate the situation. We were informed that our sewer main was fractured and needed repair. We received their estimate and then looked for counter offers. Ohio Basement Authority came with the best quote for the work. Once...
 Ohio Basement Authority
Called Mark on a Thursday morning. Not really knowing if he could help me or not. I was having driveway, flooding issues due to a clogged channel drain and I was trying to figure out what direction to take. Heavy rains had come on Monday and again on Thursday leading to flooding in my garage...
 Mark Rodgers Construction
The crumbling basement wall needing repair is beneath a large 2 story porch. What i thought would be a complicated project was made very easy by this crew. I was very impressed with the speed and quality of the work performed. The job was finished in just a week as estimated. There were...
 Groundworks
From average costs to expert advice, get all the answers you need to get your job done.
Crawl space repair costs can seem intimidating, but putting them off can lead to bigger issues. Learn about repair costs in this guide to set your budget.

A variety of factors can affect your total crawl space encapsulation cost. Here’s a breakdown of the cost of this project, whether you hire a pro or DIY.
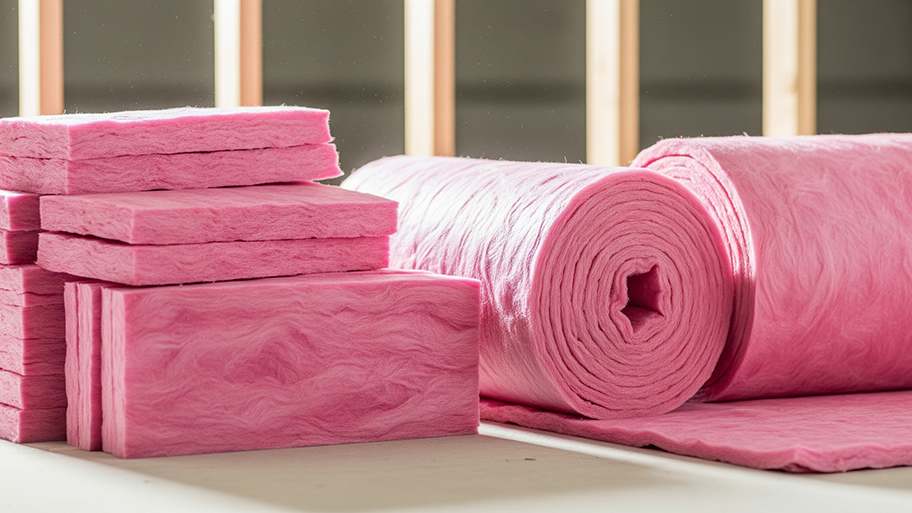
Crawl space insulation costs vary by size, insulation type, and material. Read this guide to learn how much your crawl space insulation could cost.

A vapor barrier protects your crawl space and insulation from water damage, but moisture can still happen. Here’s what to do about water on top of your vapor barrier.

Insulating a crawl space is an essential step toward reducing mold, offensive smells, and moisture damage potential. Learn helpful tips here.

Dealing with a damp crawl space? Use these eight simple tips to get rid of the moisture and water-related problems once and for all.