How to Install Elegant Stair Treads in 5 Steps
DIYing your dream home—one step at a time


- Nails
- Polyurethane glue
- Wood putty
- Wood finishing stain
- Measuring tape
- Sander
- Miter saw
- Nail gun
- Air compressor
Many homeowners dream of a gorgeous staircase that truly makes a house feel like a home. The part you step on—the stair treads—can make or break a staircase design. And while installing stair treads seems like a project almost anyone can tackle, this installation can be complex.
Whether you’re installing stair treads for safety, repair, or for a complete remodel, you’ll want to take the necessary preparations and steps to ensure the job is done properly.
Prepping to Install Stair Treads
Materials and tools may vary depending on whether you or the pro you hire choose prefinished and pre-cut treads versus custom-cut treads.
We recommend that only experienced DIYers with advanced carpentry skills embark on this project. General DIYers may not have all the tools or materials on hand, and installing stair treads can become a costly and hazardous endeavor.
Install Stair Treads in 5 Steps
Whether you’re a DIY pro or plan to hire a professional stair tread expert, follow these steps to plan, prepare, and finish your project.
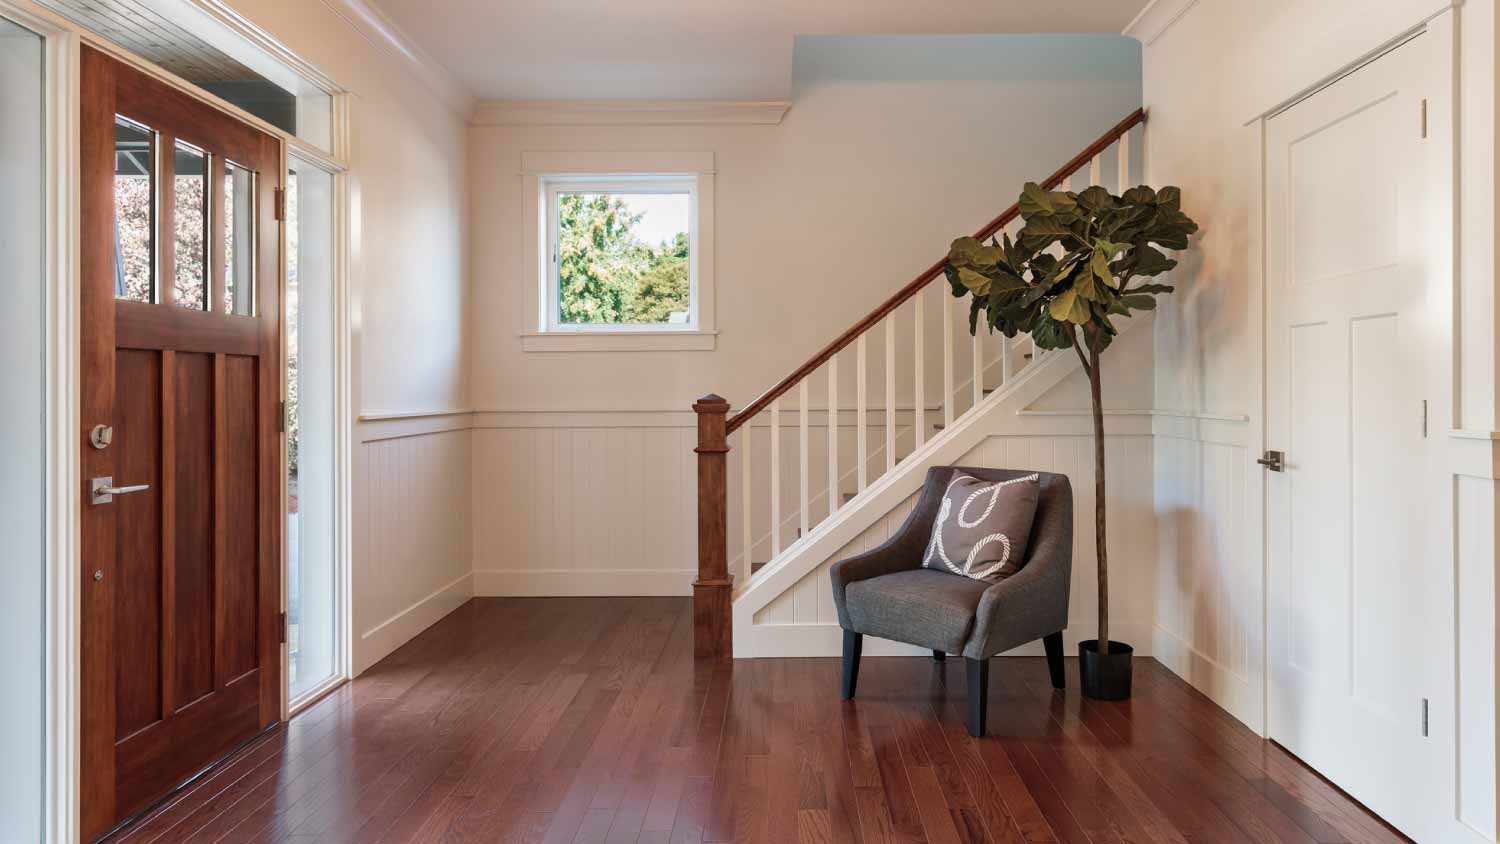
Complete a Stair Safety Check
 Photo: zephyr_p / Adobe Stock
Complete a safety check of your stairs by examining the length of your stair treads. You’ll want to make sure they are deep enough to fit the entire foot of the largest person in your home.
Grab your measuring tape.
Average stair treads should run 10.5 inches deep, accompanied by a 7-inch high riser—the vertical piece attached to your tread.
Treads and risers should measure 17.5 inches, a typical safety standard used for most building codes. Make sure to allow for a 1.5-inch overhang.
You’ll also want to record the number of stair treads you’ll need during this step. If you’re uncomfortable obtaining proper measurements, you may want to hire a local handyperson in your area to help jumpstart your project.
Prepare Your Staircase for Renovation
 Photo: michaklootwijk / iStock / Getty Images
For this step, you’ll want to make sure the staircase’s sub-structure is clean, dry, and free of any nails and debris. Essentially, you’ll want to take your stairs down to the bare minimum to prepare for your stair tread installation.
Many staircases have carpeting. For DIYers, you can rip up the carpet, padding, and tack strips with a carpet knife and then take a circular saw to remove any excess bullnose—the protruding edge of the tread. You’ll want to use a hammer or chisel to scrape any existing fragments off the stair treads.
For homeowners looking to outsource carpet removal, hiring a professional handyperson to remove carpeting will run between $75 to $300.
Finally, before installing your stair treads, you’ll want to ensure their staircase is in proper shape and free of any movement or squeaky noises.
Choose Your Hardwood Stair Treads
 Photo: zephyr_p / Adobe Stock
You’ll want to match your new stair treads to your existing hardwood flooring. Luckily, there are plenty of hardwood floor color choices, and you can find near-perfect matches.
Next, you’ll want to choose between prefinished and pre-cut, or custom-made stair treads. The most common wood choices are red oak and white oak. Both are durable and water-resistant and cost $100 to $200 per step. Other popular hardwood choices include maple, hickory, bamboo, pine, and ash. These choices run between $80 to $240 per stair tread.
Cut Your Stair Treads
 Photo: andreygonchar / iStock / Getty Images
For advanced DIYers or professionals, it’s time to roll up your sleeves.
Use a miter saw to cut the exact size tread needed—use an angle finder to ensure a straight 90-degree angle cut.
As you cut your treads, number each one on the back side. Start from the bottom step–label the first tread #1 and go up in succession until you reach the top step.
Stain stair treads that did not come prefinished—allow the first coat to dry, apply a second coat and let treads fully dry before installation.
Install Your Stair Treads
 Photo: Topfotolia / Adobe Stock
Here’s the part where pre-cut and custom stair treads differ for installation. Whichever way you choose to go, we recommend starting from the bottom stair and working your way up—installing each tread one at a time.
For a pre-cut and prefinished oak stair tread installed over existing stairs, you’ll need to nail and glue the new treads over the existing step. These treads must fit correctly. Ensure that treads are dried and sturdy before moving on to the next stair.
For custom-cut stair treads, you’ll take the following steps:
Line up all stair treads on each substrate to ensure they fit properly.
Apply polyurethane glue to each stringer—the vertical support board that runs next to the side or center of the staircase.
Squeeze polyurethane glue on the bottom of the tread—make sure to coat the glue in a U-shape pattern.
Place the tread on the stringer and use a rubber mallet to secure the tread in place.
Using an airgun, nail your tread directly onto the stair stringer—you can also predrill your nail holes to ensure you don’t split the wood treads.
Allow the glue to dry and steer clear of walking on your staircase–the amount of drying time will depend on an individual manufacturer's instructions.
Provide an easy transition to your flooring at the top of the staircase by installing stair nosing and molding to ensure a picture-perfect finish.
Once completed, you'll enjoy your new stair treads for many years to come. For added safety, you may want to consider adding stair tread covers to avoid any slips and falls on your hardwood staircase.
DIY Installing Stair Treads vs. Hiring a Pro
You can save a significant amount of money if you DIY hardwood stair tread installation. However, only experienced DIYers with high-level carpentry skills should take on this project.
If you're planning to hire a professional for this project, you can expect to pay an average of $160 per step and a total price ranging from $1,600 to $1,920 with labor for an average flight of 10 to 12 steps. If you need help with this project, you can find a great stair builder near you to provide quotes and options for your stair tread installation.

.jpg?impolicy=leadImage)


Get our Angi-powered app


