

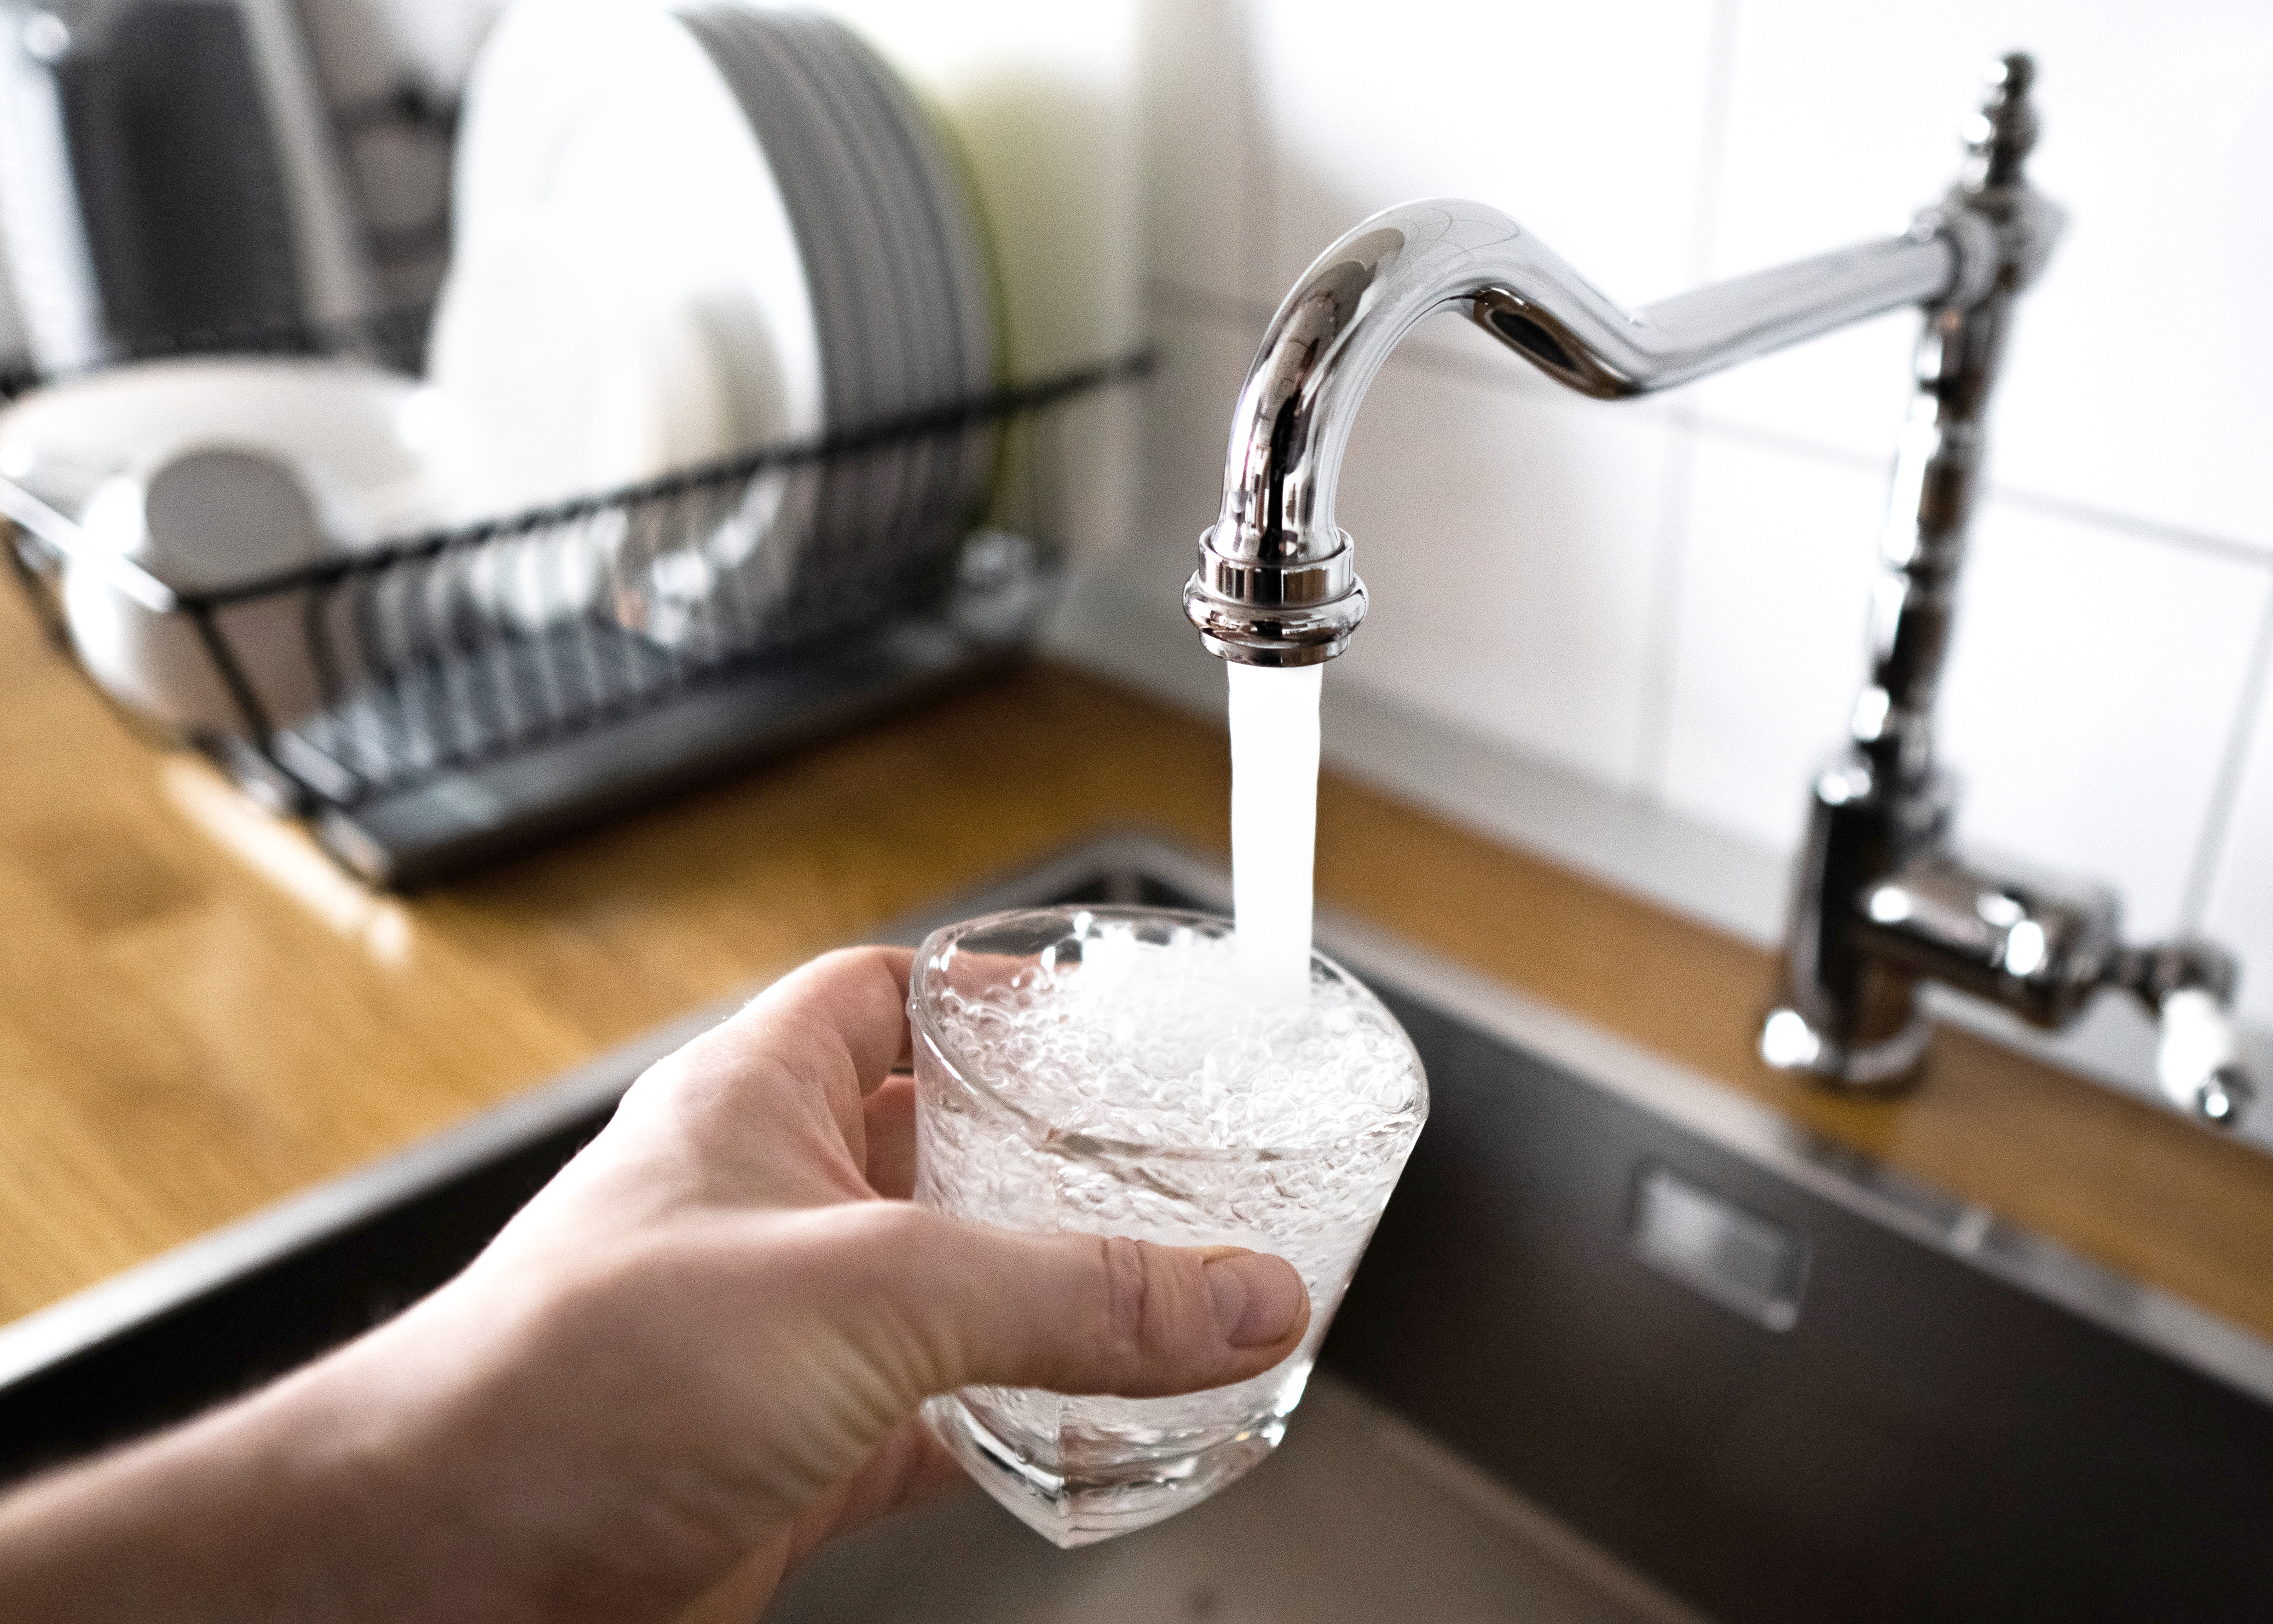
Discover the leading factors affecting your main water line replacement cost in Columbus, including length, material selection, and installation details.
Give your shower a new lease on life


Whether you’re bringing bathroom remodel ideas to life or building one from scratch, shower pan installation is a key step to a leak-free floor. Depending on your skill level, it’s a task you can complete on your own with a little elbow grease and a lot of patience and preparation.
If you’re converting a tub into a shower or replacing a shower pan, it might be best to call in a local plumber to ensure the job gets done right the first time. But if you feel confident about learning how to install a shower pan, follow this DIY step-by-step guide.
If you’re replacing an existing bathtub with a shower, you likely have a 1 1/2-inch pipe, which is smaller than the pipes required for a shower. To avoid overflowing, you’ll need to replace the tub pipe with a 2-inch pipe or bring over a 2-inch line from the toilet or your main water line. Once you have the right plumbing in place, you can move on to the shower pan installation.
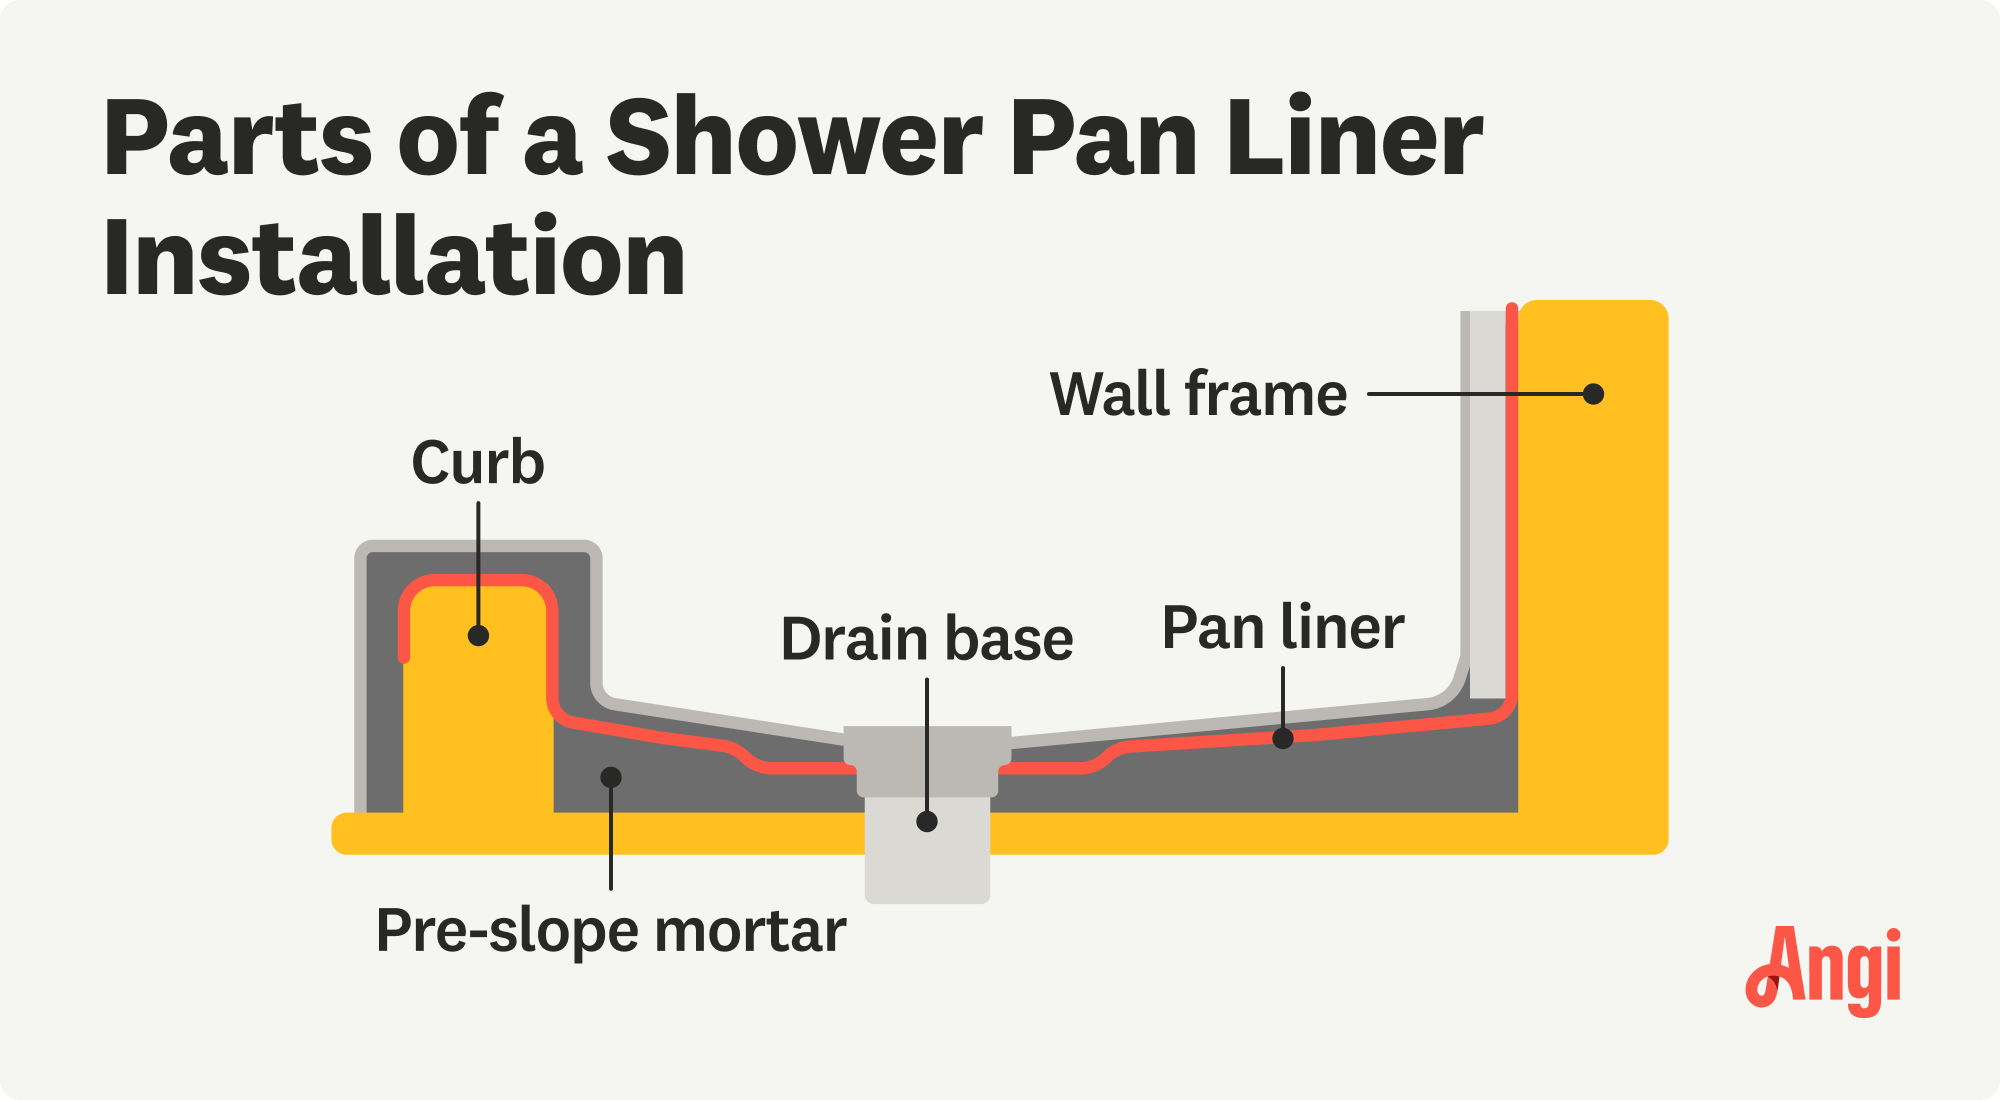
Familiarize yourself with the parts of a shower pan and the shower pan liner to help you better understand the following steps.
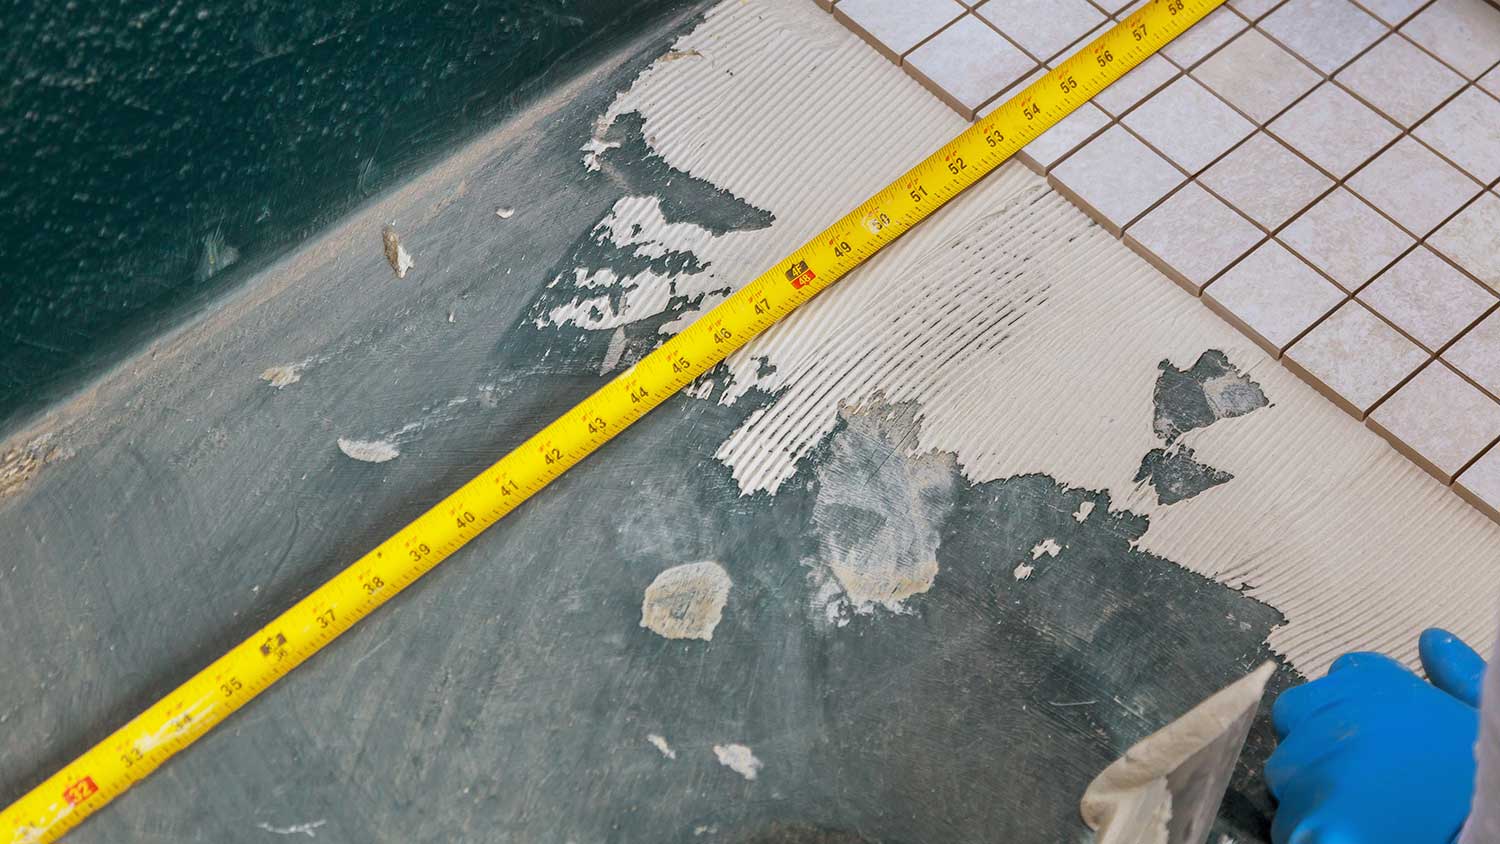
Accurate measurements will help your new shower pan installation run seamlessly. To start, determine the length and width of your space with a tape measure so you know which shower pan size to purchase.
Since you want to have a perfectly level shower pan, you want to avoid fitting the pan over any debris or other elements that could compromise how it sits. So, set aside time to thoroughly clean the bathroom floor and the shower. Your shower walls should also be as clear as possible so that nothing gets damaged during the installation.
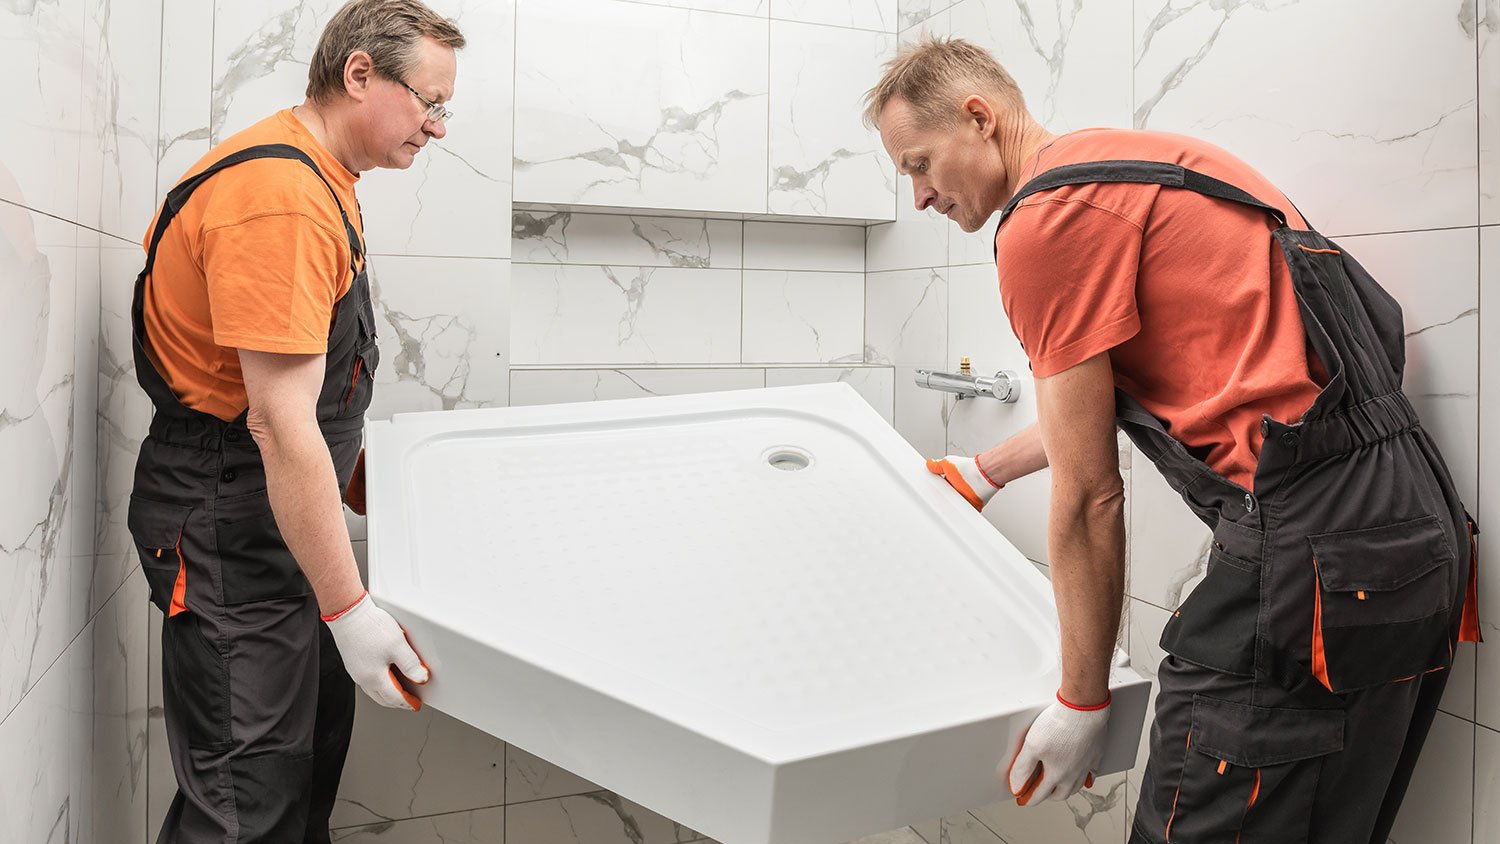
Now that you’ve properly prepped your space, it’s time to make sure the shower pan fits before installing it. Set the pan in place and ensure the edge of the base is sitting level and that the drain holes line up correctly. If it’s not level, use shims to adjust it and mark spots on the studs for reference. It also helps to put pieces of cardboard around the pan and walk on it to make sure it’s stable.
If the drain holes don’t line up, you may need to trace the hole on the subfloor and cut around the hole with a jigsaw. If you don’t have a jigsaw or feel comfortable using one, now is the time to call it quits and enlist the help of a professional plumber.
Once the shower pan is dry-fitted, insert the drain flange into the pan. Make sure it’s flush with the pan, then seal it with plumber’s putty under the rim. Once your sealant is in place, screw the flange onto the pan and wipe away any excess putty.
Then, finish attaching the drain body with gaskets or washers, depending on the instructions in your drain-fitting kit. Now that the drain flange is secure, you can remove the shower pan to prepare for installation.
If your shower pan has feet, you should pay special attention to where the feet will go. Install composite shims and make sure your pan is level when installed.
In case your shower pan does not have feet, grab a level and see if the flooring has any unexpected slopes. Mark any areas that you find and prepare the self-leveling compound. To prepare the compound, you’ll use a ½-inch electric drill and paddle, but refer to the instructions on the packaging. Pour the compound in the sloped areas, use a gage rake to smooth it out, and finish up with a trowel.
Once the subfloor is ready, you can set the pan. If your shower pan has feet, use the provided clips to attach the feet to the studs. If there are no clips, use flange locks instead.
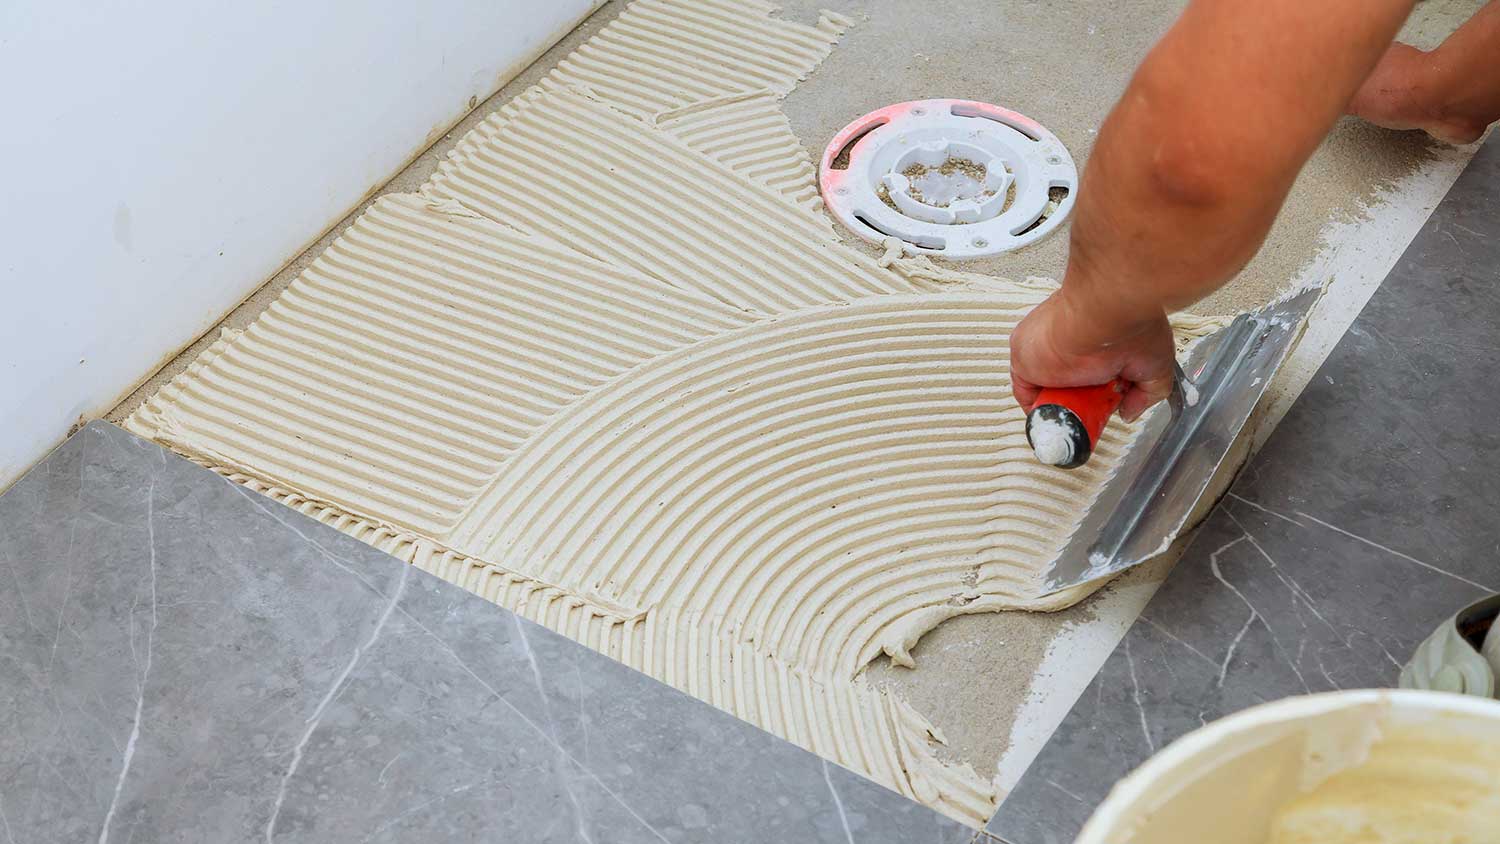
If your shower pan doesn’t have feet, find out if installation requires adhesive or mortar. Apply the adhesive or the mortar, and then place the shower pan onto the floor. Use pressure and a level to check that it’s properly in place. Once you’re satisfied with the placement, screw it into place.
Pour water into the pan to test the drain. If you have access, look at the space below the pan to make sure water isn’t leaking below the surface. If your installation passes the leak test, you can move on to applying finishing touches, including a faucet valve and a showerhead.
Installing a shower pan correctly the first time will save you from costly repairs down the road. Here are a few common mistakes to avoid.
Skipping the dry-fit step: Always test the fit before the final installation to ensure proper alignment and identify potential adjustments you need to make.
Not checking the drainage: An uneven shower pan can cause water to pool in the corners instead of draining properly. Make sure your pan is perfectly level.
Forgetting to waterproof: Even with a new shower pan, it’s essential to waterproof the surrounding area. Pay special attention to sealing the joints between the pan and walls.
Rushing the installation: Allow proper curing time for adhesives, mortar, or self-leveling compounds before moving onto the next step.
Using the wrong tools: Having the right tools for the job makes installation easier and more accurate. Invest in or borrow a quality level, drill, and other tools.
Shower pan installation is a challenging project even for experienced DIYers, and these mistakes are easy to make. If you’re feeling overwhelmed by the technical aspects and the risk of water damage, don’t hesitate to call in a professional.
Installing a shower pan on your own requires several tools and steps, so it may be worth hiring a shower installer near you to tackle this project. Labor costs for professional shower pan replacement average between $350 and $570.
Calling in an expert can be especially helpful if you’re replacing a previous bathtub, since installing a shower may require reconfiguring your plumbing. These pros have the best tools, materials, and experience to complete this project in less time and with more accuracy.
From average costs to expert advice, get all the answers you need to get your job done.
Discover the leading factors affecting your main water line replacement cost in Columbus, including length, material selection, and installation details.
Learn about main water line repair costs in Columbus and what affects pricing to be prepared before you start getting estimates.

Learn how much plumbers cost in Columbus, Ohio. Discover pricing for faucet repairs, pipe work, and emergency services, plus how you can save money.

An undermount sink can create a sleek, seamless aesthetic for your kitchen sink. Use this guide to learn how you can replace and install your undermount sink.

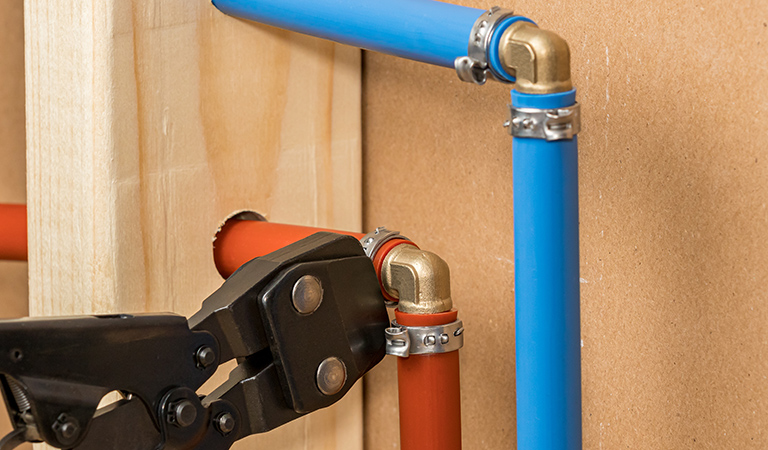
Learn how to cut PEX pipes if you need to replace copper or galvanized steel pipes due to leaking, corrosion, or rust. Cutting PEX pipe only requires a few simple tools.
Discover the average plumbing stack replacement cost, key price factors, and expert tips to help you budget for your home’s plumbing upgrade.