
Get clear answers on how much radon remediation costs, including average prices, key cost factors, and tips to save money on your home’s radon mitigation.
Protect your health, get that radon out of your house


Your home's radon test results came back, and they're not good. Don't panic. A radon mitigation system will whisk away the gas, keeping your family safe. While it's a good idea to go pro with this project, here's how to install a radon mitigation system so you know what to expect.
If your radon test results revealed levels above 4 picocuries per liter, you definitely need some form of mitigation system in your home to reduce radon levels, and protect your household from an increased risk of lung cancer. You may also want to install a radon mitigation system if the gas levels are elevated, above 2 picocuries per liter, to be on the safe side.
Keep in mind that many states require a license to install a radon mitigation system. For your safety and to keep your home up to code, it's usually best to hire a professional to do the job, rather than take it on yourself.

First, you need to find the foundation's footing, as you don't want to hit it when you cut the hole. Use a 12-inch masonry bit on a power drill and drill a hole in the basement floor, near the wall. If you hit the footing, drill again, a few inches away. Wear goggles and a face mask, because this is a dusty job.
Next, drill a hole in the basement floor. You can use the rotary hammer or drill with the masonry bit, making a circle of holes. Once you've made the circle, whack the cement with a hammer and it should fall away.
Use the shop vacuum to suction away cement dust, then use the auger to dig a pit under the basement floor. The type of material beneath the surface determines how much you need to remove.
If there's gravel under your home, you'll have to remove about 5 gallons to make the pit. If there's soil, expect to remove about 15 gallons. Pile the soil or gravel into buckets when removing it.

Place the 3-inch PVC pipe into the hole, then run the pipe up through your home. You may run the pipe all the way up to the attic, or cut a hole in the rim joist to have the pipe exit the house right above the basement.
Use a 4 1/2-inch hole saw to cut an opening large enough for the PVC pipe. Attach pieces of pipe together using the pipe sealant. Use cement and a trowel to secure the pipe in any holes.
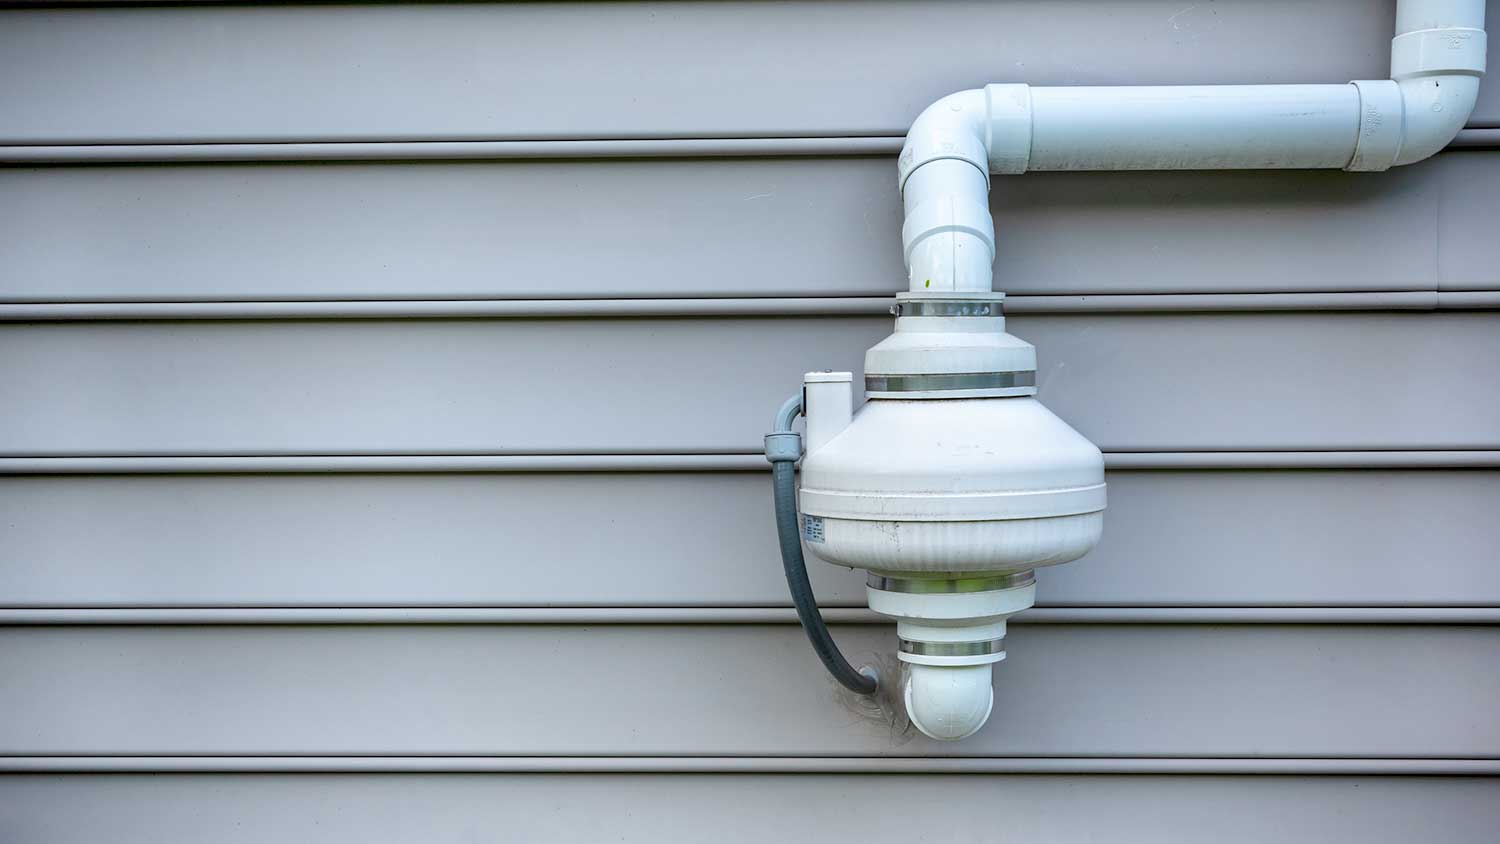
Attach the piping to the fan, usually on the outside of the house. Also, connect a manometer to the pipe. This will let you know if the system is still working or if it's time to replace the fan.
Conduct an at-home radon test to verify that the system is working and is pulling radon out of the house. If the radon results come back high, you may need a stronger mitigation fan or an additional suction pit.
While it's important to understand how a radon mitigation system works, this is usually a project best left to a professional radon mitigation company. Installing a radon mitigation system requires knowledge of several trades, including plumbing and electricity.
Some states require you to hire a licensed expert if radon reduction is needed, so it's best to err on the side of caution and hire someone who knows what they're doing from the start.
The cost of a radon mitigation system isn't much different if you hire a pro or DIY. Since your health is at stake, and your state may require a professional anyway, you might as well go pro.
From average costs to expert advice, get all the answers you need to get your job done.
Get clear answers on how much radon remediation costs, including average prices, key cost factors, and tips to save money on your home’s radon mitigation.

Discover the average indoor air quality testing cost, what impacts pricing, and how to budget for healthier air in your home.

Find out what impacts radon testing costs, including average prices for DIY kits and professional services, so you can protect your home and budget confidently.

Find out the average cost of radon fan replacement, key price factors, and ways to save. Get expert tips to budget for your radon mitigation system.

Want to learn how to master DIY radon mitigation? We have a step-by-step guide on how to complete this challenging project on your own.

What is radon gas? Find out what this radioactive gas is, why it is dangerous, how it gets in your home, and how to mitigate it.