
How much does a radiant barrier cost? Our guide breaks down prices by type of barrier and size of your attic space.
Improve your home's comfort and energy efficiency with this handy guide

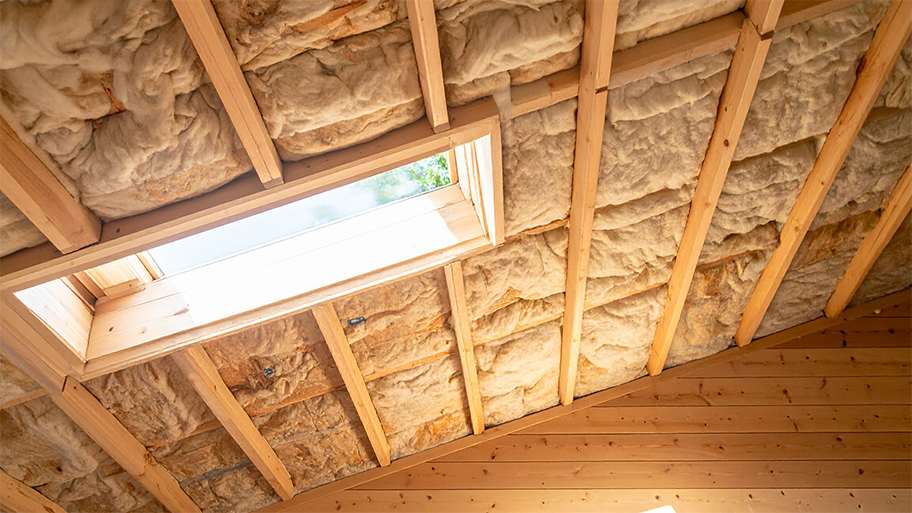
Installing a radiant barrier in the attic is a great way to better insulate your home. Usually made of aluminum foil, these barriers reflect rather than absorb heat, minimizing how much radiant heat your home receives from the sun. They're also a relatively simple type of insulation to install, so you can save some money on a pro by tackling this project yourself. Use this guide to walk through the process from start to finish.
Correctly installing insulation can be difficult. Health and safety risks are involved; therefore, we highly recommend contacting a pro to ensure the job is completed safely and correctly.


There are two primary ways to install a radiant barrier in your attic. You can attach the barrier to your roof rafters or install it directly over your attic insulation. Generally, it's more effective to attach the barrier to your roof rafters since it allows air to circulate between the barrier and your attic insulation, so that's the method we're outlining in this guide.
For your safety, follow these steps before you begin:
Disconnect any power sources connected to the attic
Inspect your attic for any obstacles, like vents and wiring, since you'll likely need to cut holes in the barrier to accommodate these areas
Remove clutter and debris to prevent trips and falls
You'll need to measure the length and width of your attic space while factoring in your roof pitch to determine how much radiant barrier you'll need. First, measure the length and width of your attic space in feet, then multiply those two numbers to get the flat square footage.
Your roof's pitch affects the actual surface area you'll need to cover, so once you figure out the flat square footage, multiply that number by one of the following figures:
For roofs under 8 feet tall inside the attic, multiply the square footage by 1.2
For roofs between 8 and 10 feet tall inside the attic, multiply the square footage by 1.3
For roofs taller than 10 feet, multiply the square footage by 1.4 to 1.5, depending on just how high the roof is
If you have any gable walls you want to cover with the barrier, make sure to measure the length and width of those as well. Once you get the final square footage, add on about 5 to 10 percent more than you think you'll need to account for overlaps and any mistakes.
Measure the length and width of the space between your rafters to determine how much radiant barrier you'll need for each section.
Roll out the radiant barrier onto a stable, flat surface and use your measurements from step two to mark the length and width required for your cuts. Keep in mind that it's best to install the radiant barrier perpendicular to the rafters, so make your cuts accordingly. Then place a straightedge along your marked line and use a utility knife to cut the radiant barrier, keeping your lines as straight as possible.
This is also a good time to make special cuts for any vents, wiring, fans, or other obstacles that you'll need to work around.

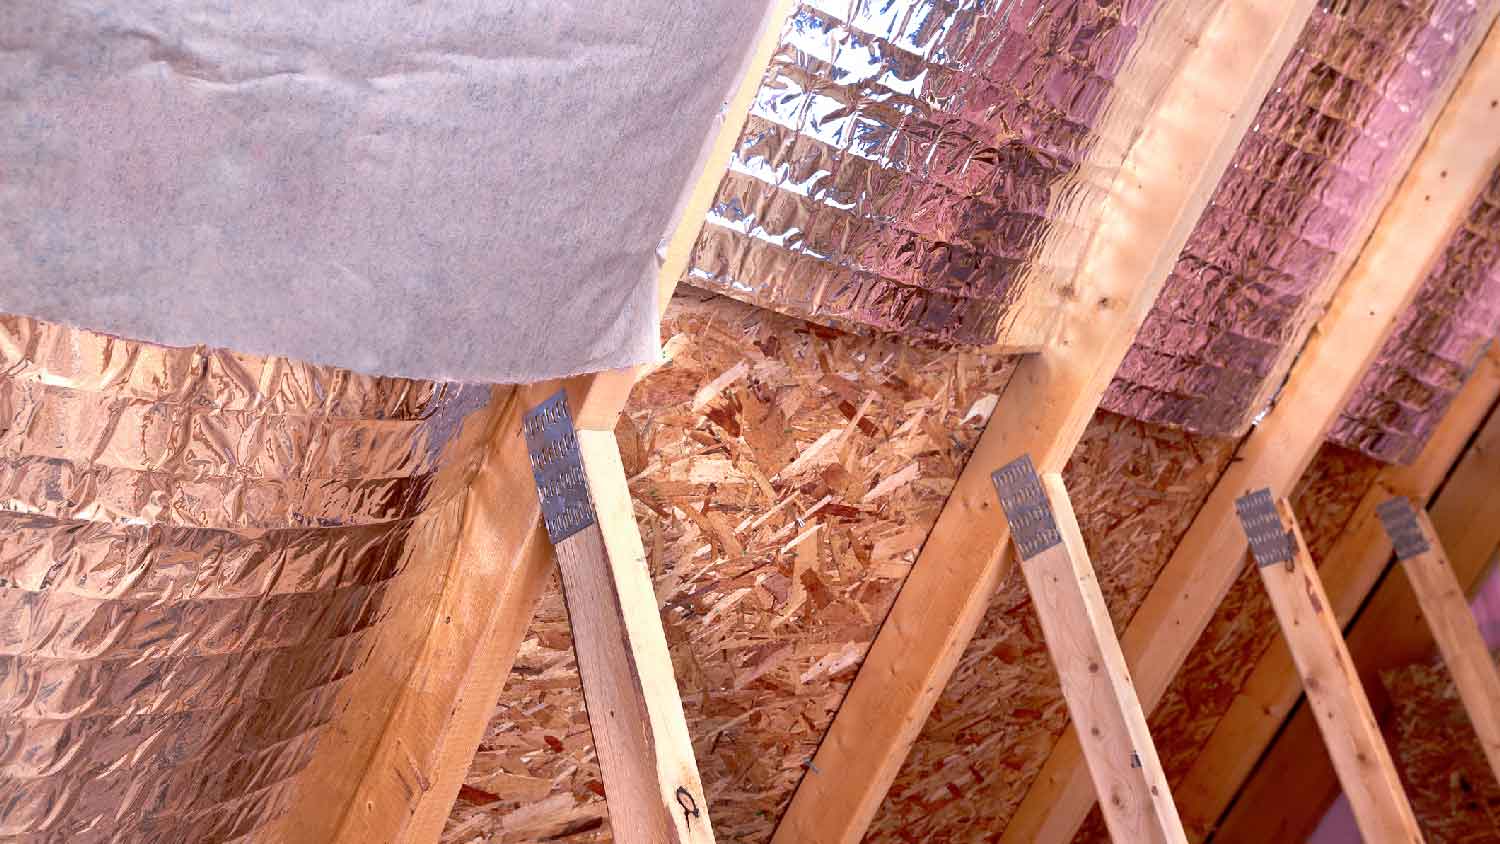
Once you cut your sections, begin attaching them to the rafters. Start about two to three inches from the highest point on the roof or the base of the roof—either one works—and align the radiant barrier so that it's taut and perpendicular to the rafters. Then use your staple gun to staple the barrier to the rafters, beginning at the center of the sheet to prevent wrinkles. Place staples every 12 inches or so.
After installing the first section, grab another sheet and overlap it with the first sheet by at least two inches. Then follow the same process outlined in step four. Repeat this step until you cover the entire roof.
Next, install the barrier on your gable walls, aka the triangular space on the wall between the roof pitches. Follow the same process you followed during steps four and five.
Now that you've stapled all of the radiant barrier sheets to the rafters and gable walls, place additional staples along the edges and where sections overlap to fully secure the radiant barrier.
Finally, take some time to inspect your work. Make sure all of the sheets are taut and secure and that they're not covering any vents or fans.
I would recommend this company to anyone! He showed up on time, was friendly, completed a very difficult repair on our dryer vent cover, was responsive, and pricing was extremely fair and competitive. I would have him back to do any of our repairs or cleanings without hesitation!
Best cleaning I've had at my property
I conferred with 2 other contractors before Armstrong Electric. Nick and his crew showed me that the project was not as convoluted as the other contractors made it appear to be. They completed the entire project on time. They were professional, friendly and cleaned up after at completion. I...
The technician was very professional and friendly. He answered all my questions and was very thorough. He left the fireplace area very clean . He inspected from the roof and advised me as to other work that might need to be done. There was no pressure there. I was very satisfied with the...
 Supreme brick & chimney
Our exterior looks brand new thanks to Custom Paint Jobs LLC. Theyre the best in town!
Excellent experience with hiring Tether House to Mount our 77’ Samsung TV in our bedroom. Fast, friendly, and knowledgeable. Highly recommend.
The techs on my project, Shawn and Cliff, were great. They were prompt, courteous, and efficient. I am very happy with the results and would definitely contact Mr. Electric for any future electrical projects.
We had our houses windows and back door replace this summer by Window Depot USA of Central. He gave us grate advise and saved my family lots money. The team did a fantastic job with installation. If you need help, they sure get job done right!
Beginning with the estimate, Larry and Peyton were super helpful in getting my new condo's interior re-painted. Not only was the job well done, but also done in a super timely manner as promised.
 Five Star Painting of Plain City and Powell
Great job...edging and pre clean up went well with a great job with seal coat. Friendly, efficient and professional.
 All Star Paving and Sealing
From average costs to expert advice, get all the answers you need to get your job done.
How much does a radiant barrier cost? Our guide breaks down prices by type of barrier and size of your attic space.
Insulating your attic can massively improve your home’s efficiency and reduce electric bills. Use this guide to find out what attic insulation will cost you.
New insulation can make your home more comfortable and boost energy efficiency. Use this insulation cost guide to get an accurate estimate for the installation.

Installing a radiant barrier is an excellent way to keep the heat out of your home. Using this guide, you’ll learn how to install a radiant barrier yourself in five easy steps. Though, you’ll want to bring some friends to get the job done.

What is a radiant barrier? This reflective building material is designed to reduce heat transfer and save you money on energy costs.
Is a radiant barrier worth it for your home? It depends on the climate where you live, installation factors, and the cost of keeping your home cool.