Discover the cost to build an outdoor kitchen, including average prices, cost factors, and tips to help you plan your project and maximize your investment.
Bring indoor convenience to your outdoor kitchen for the ultimate cooking space


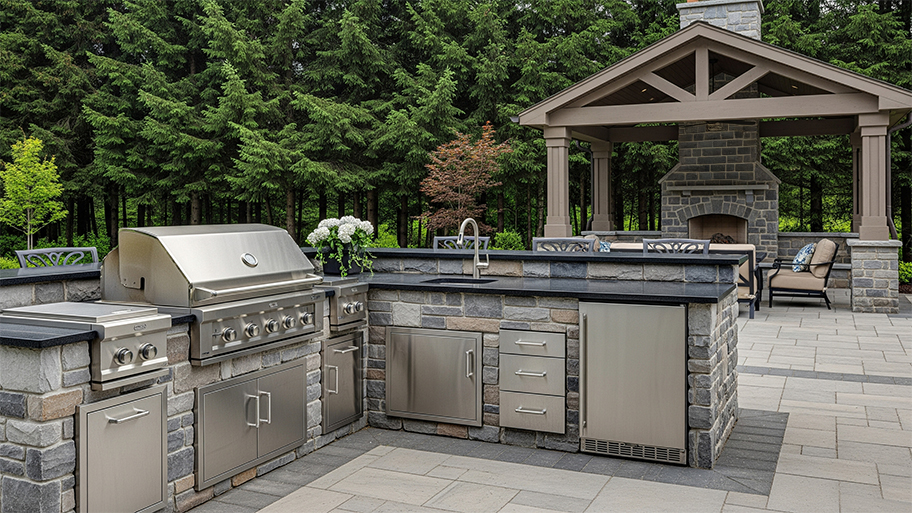
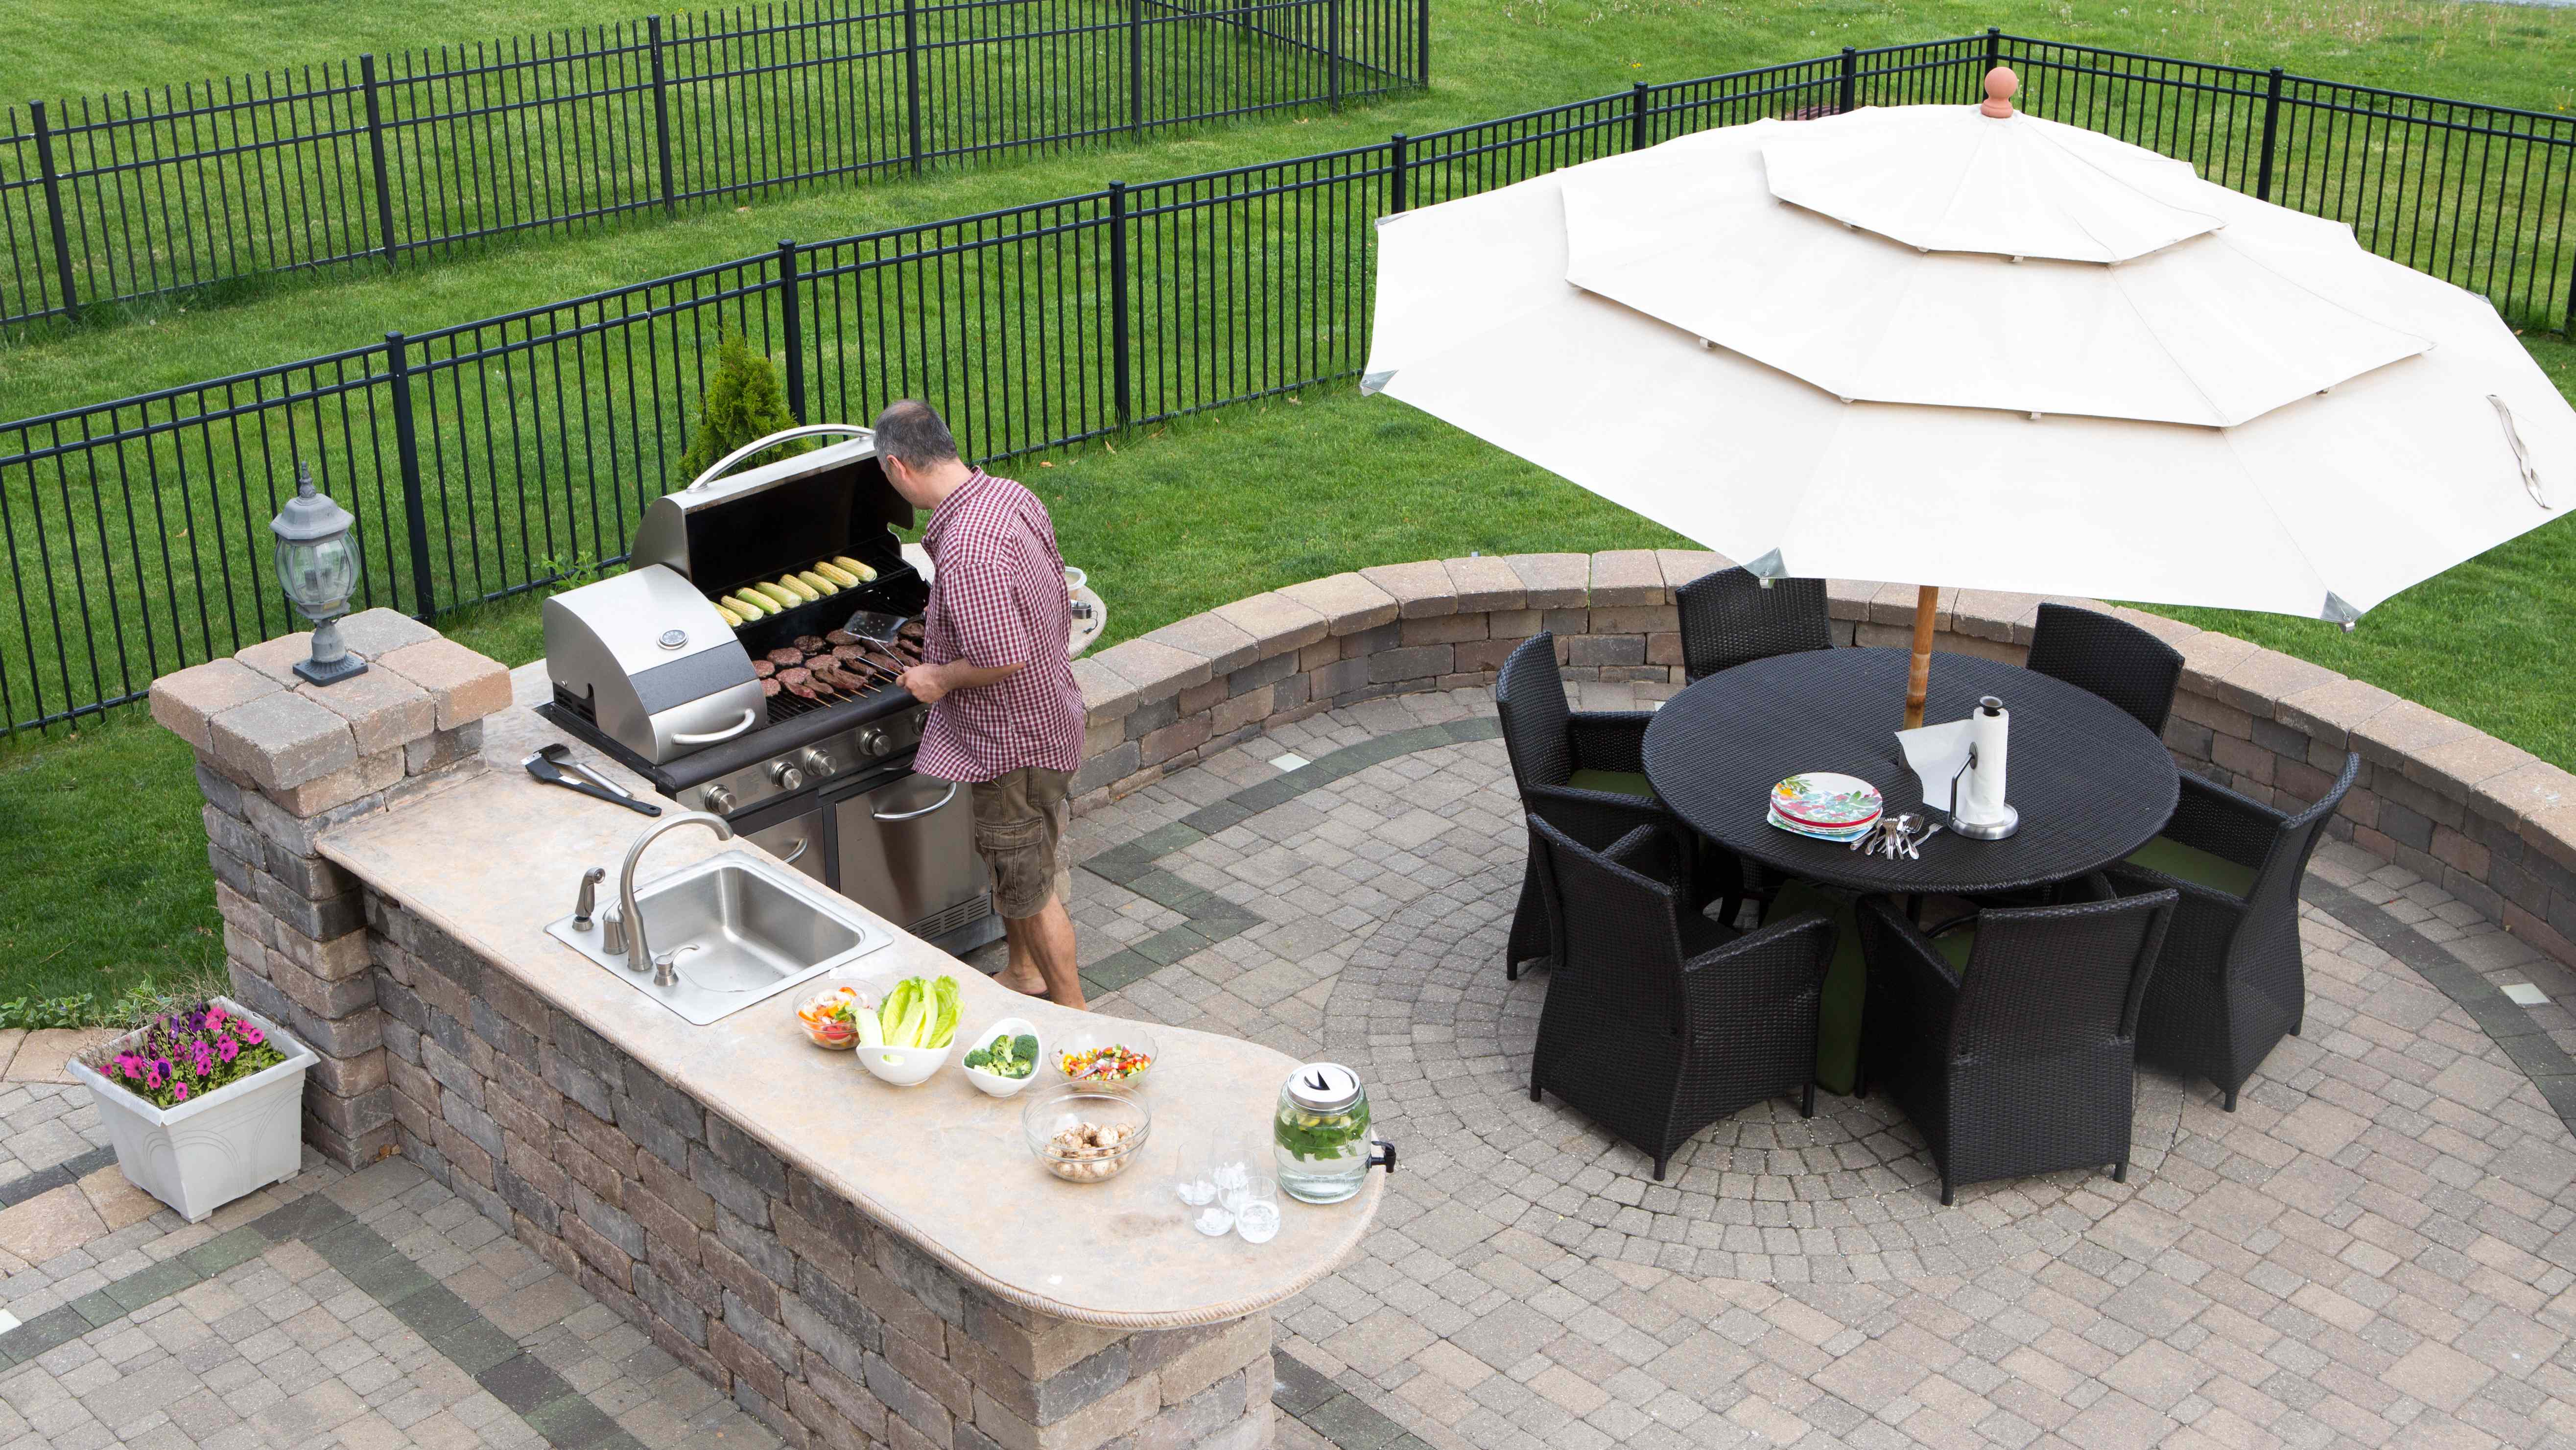
A basic outdoor kitchen includes a gas grill and countertop for food preparation, but an outdoor sink takes your outdoor kitchen ideas to a whole new level. Sinks may not always get the attention they deserve, but having one alongside your favorite grill can make meal cleanup a breeze, make it easier to wash dirty hands, and lessen the number of trips back and forth inside the home. You can make your outdoor cooking space even more efficient by learning how to install an outdoor sink and save money on the outdoor kitchen costs.
Before you head to your hardware store, there is a little prep work involved so you can get your project started off on the right foot.

The most essential piece of equipment for installing an outdoor sink is the actual sink. Before starting the project, measure your space to see if it can accommodate a standard-sized sink. Most kitchen sink sizes range from 25 inches, up to 39 inches or more, with multiple sizes in-between, but the last thing you want is a sink that’s too big or too small for the space.
Sink depth is another important consideration too, with deeper sinks ranging from 8 inches to 12 inches, offering enough room for cooking prep, washing hands, or dish cleanup.
Virtually any sink material will work for an outdoor kitchen. Stainless steel, ceramic, and stone are all excellent outdoor sink styles that are durable enough for outdoor use. You can even repurpose an old sink and breathe new life into one no longer in use–and save money on the project.
Before getting started, check with your local building or safety department to see if you need any local permits. If you’re moving existing or installing new plumbing, then you might need a permit. However, if you’re using existing plumbing or draining into a bucket, then you likely won’t need one.
To get started, your outdoor sink needs to connect to your home’s water supply. Before you establish the water supply, run a supply line from inside the house, which may require making holes within your drywall. Attach the pipes firmly in place with the two-hole clamps, placing a clamp about every four feet or less. Finally, use the drain plugs to install shut-off valves at the lowest point.
With your supply piping in place, run the piping through the house wall, going towards your outdoor kitchen, eventually going up through the base of the outdoor kitchen sink. Use thread adapters for connecting the supply pipe to the sink. You can also use plumber’s putty if you want an even tighter seal.

Drainage is a critical piece of the outdoor sink, so to ensure your sink drains correctly, you need to install a drain pipe plus an adapter for the sink trap. A sink trap is the curved pipe just below the drain and it’s necessary so you can catch small objects that accidentally fall down the drain pipe.
Starting from about 10 feet away from the home or patio, dig a hole sloping slightly downward. This hole is the dry well and it’s where the drain pipe will empty any liquids from the sink. Dig the trench and make sure it slopes downward away from the house, about ¼ of an inch per foot. Run the PVC drain line from the sink into the trench.
Take your garbage can or drain bucket and punch or drill holes in it with the hole saw. Each hole should measure about a ½ inch wide. Place the bucket inside the well hole, or trench, with the top of the bucket about two inches below the ground surface. Measure the width of the drain pipe and cut a hole in the bottom of the bucket so the drain pipe can fit through. Once you install the drain pipe, fill the bucket with coarse gravel for extra drainage. This is also time to go back and patch any holes you made in your drywall when you ran your supply line.
If you’re comfortable with DIY or have some experience with plumbing, you and a friend can install an outdoor kitchen sink in just an afternoon. Keep in mind, it’ll be an afternoon worth of work and if the work’s not completed correctly, you’re looking at potential water damage from leaks. Hiring a professional plumber for sink installation costs between $45 to $200 an hour, so if you’re not comfortable taking this project on yourself, or not ready to give up your Saturday afternoon, hiring a local professional near you may be the best option.
From average costs to expert advice, get all the answers you need to get your job done.

Discover the cost to build an outdoor kitchen, including average prices, cost factors, and tips to help you plan your project and maximize your investment.

Discover the cost to build an outdoor pizza oven, including average prices, key cost factors, and tips to help you budget your backyard pizza oven project.

Find out the cost to replace an outdoor spigot. Get a detailed breakdown of prices, labor, and tips to save on your next outdoor faucet replacement.

An outdoor kitchen can add significant value to your home. Learn about standard outdoor kitchen dimensions and how to choose the right size.

If you dream of dining and cooking al fresco, find out how to DIY an outdoor kitchen to reduce the typically high costs of a home addition like this.