
If you’re planning to hire an electrician to install outdoor lights, consider cost factors like light type, bulb type, quantity, and more.
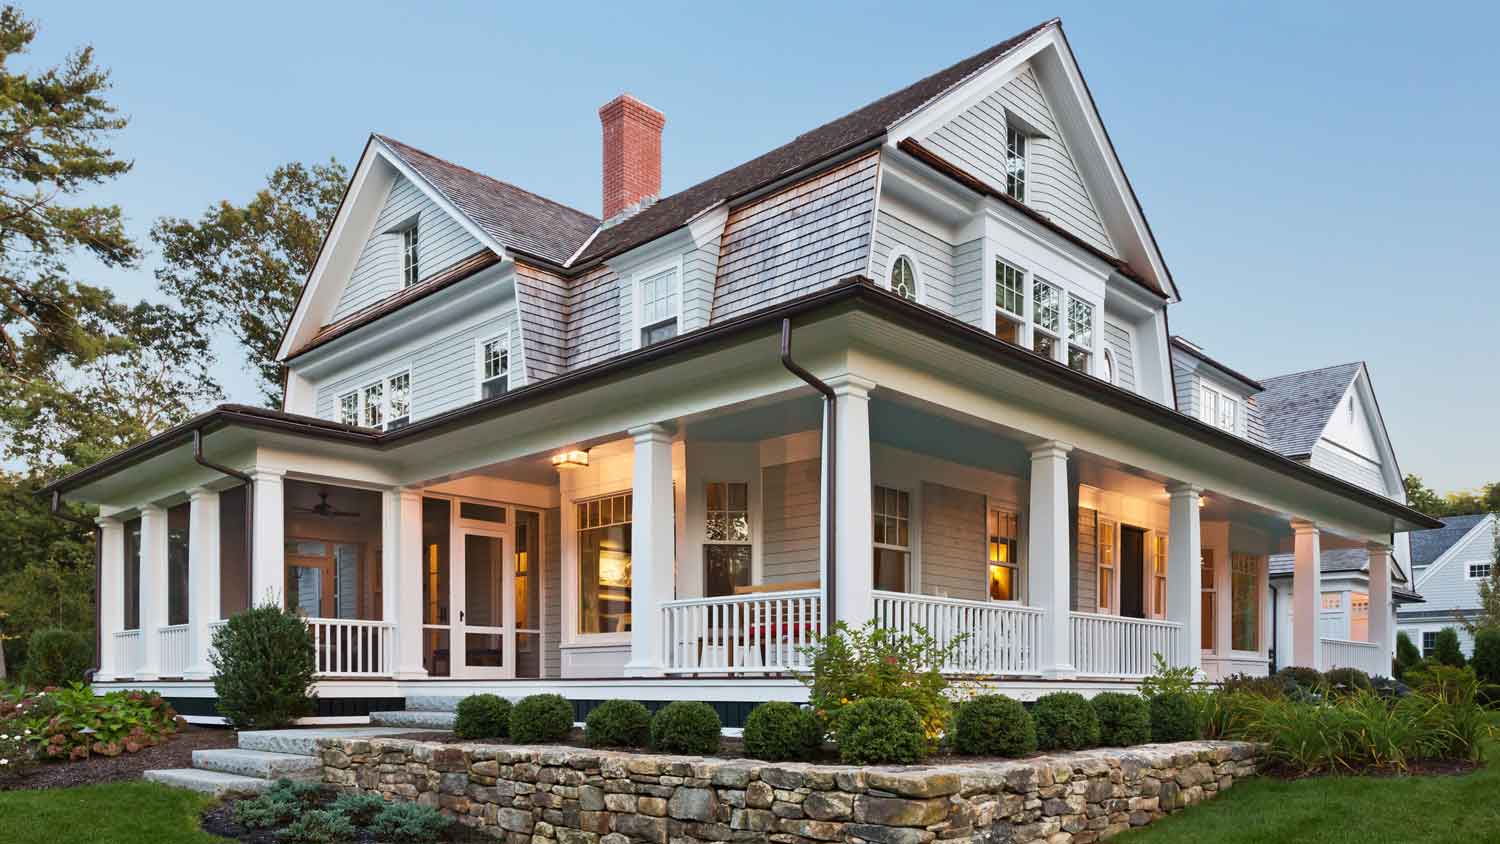
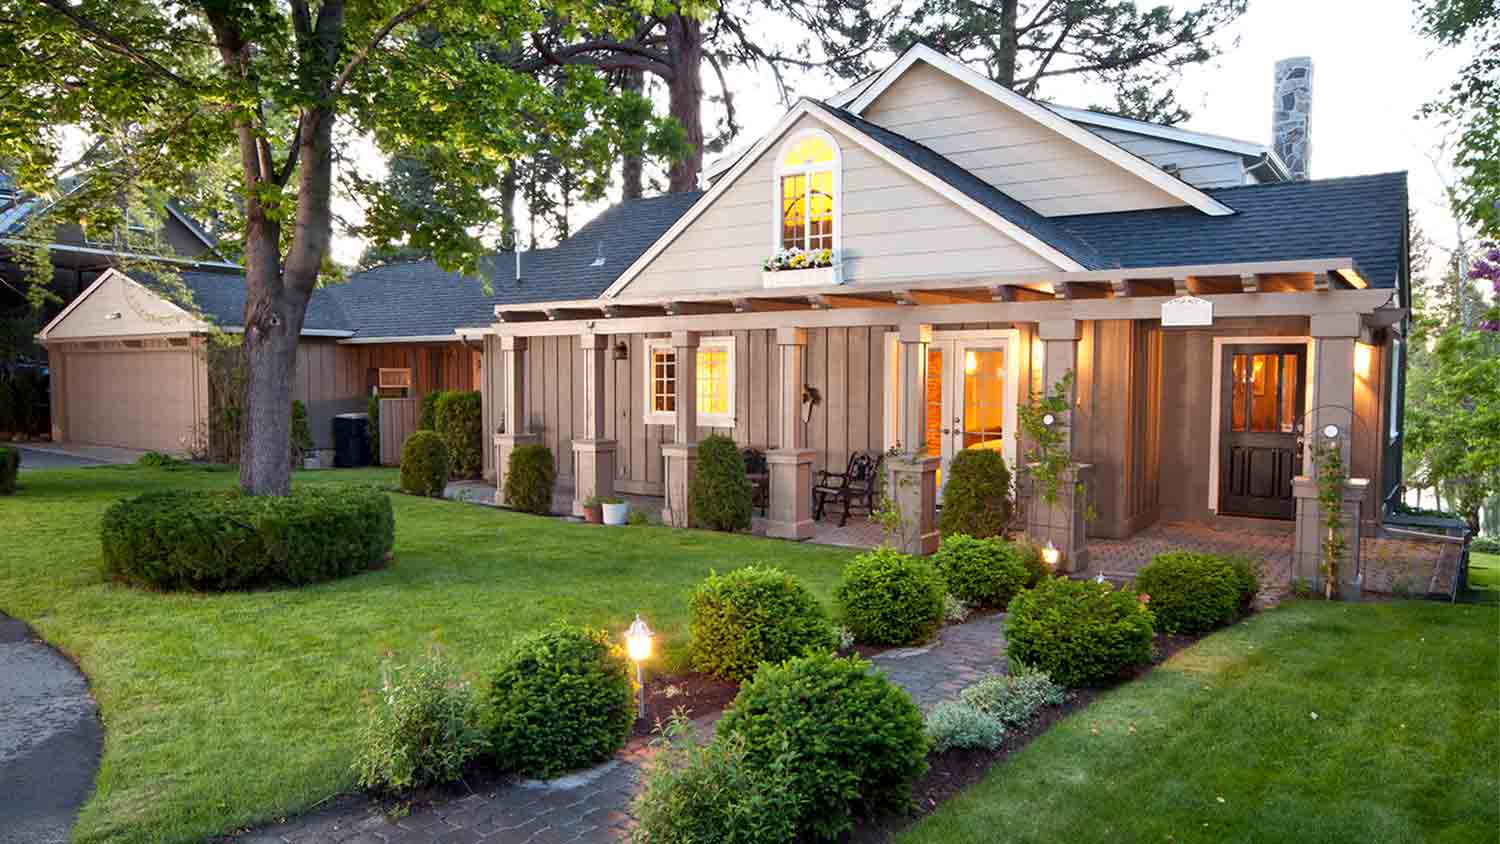
Illuminate your property so you can keep enjoying your yard after the sun goes down

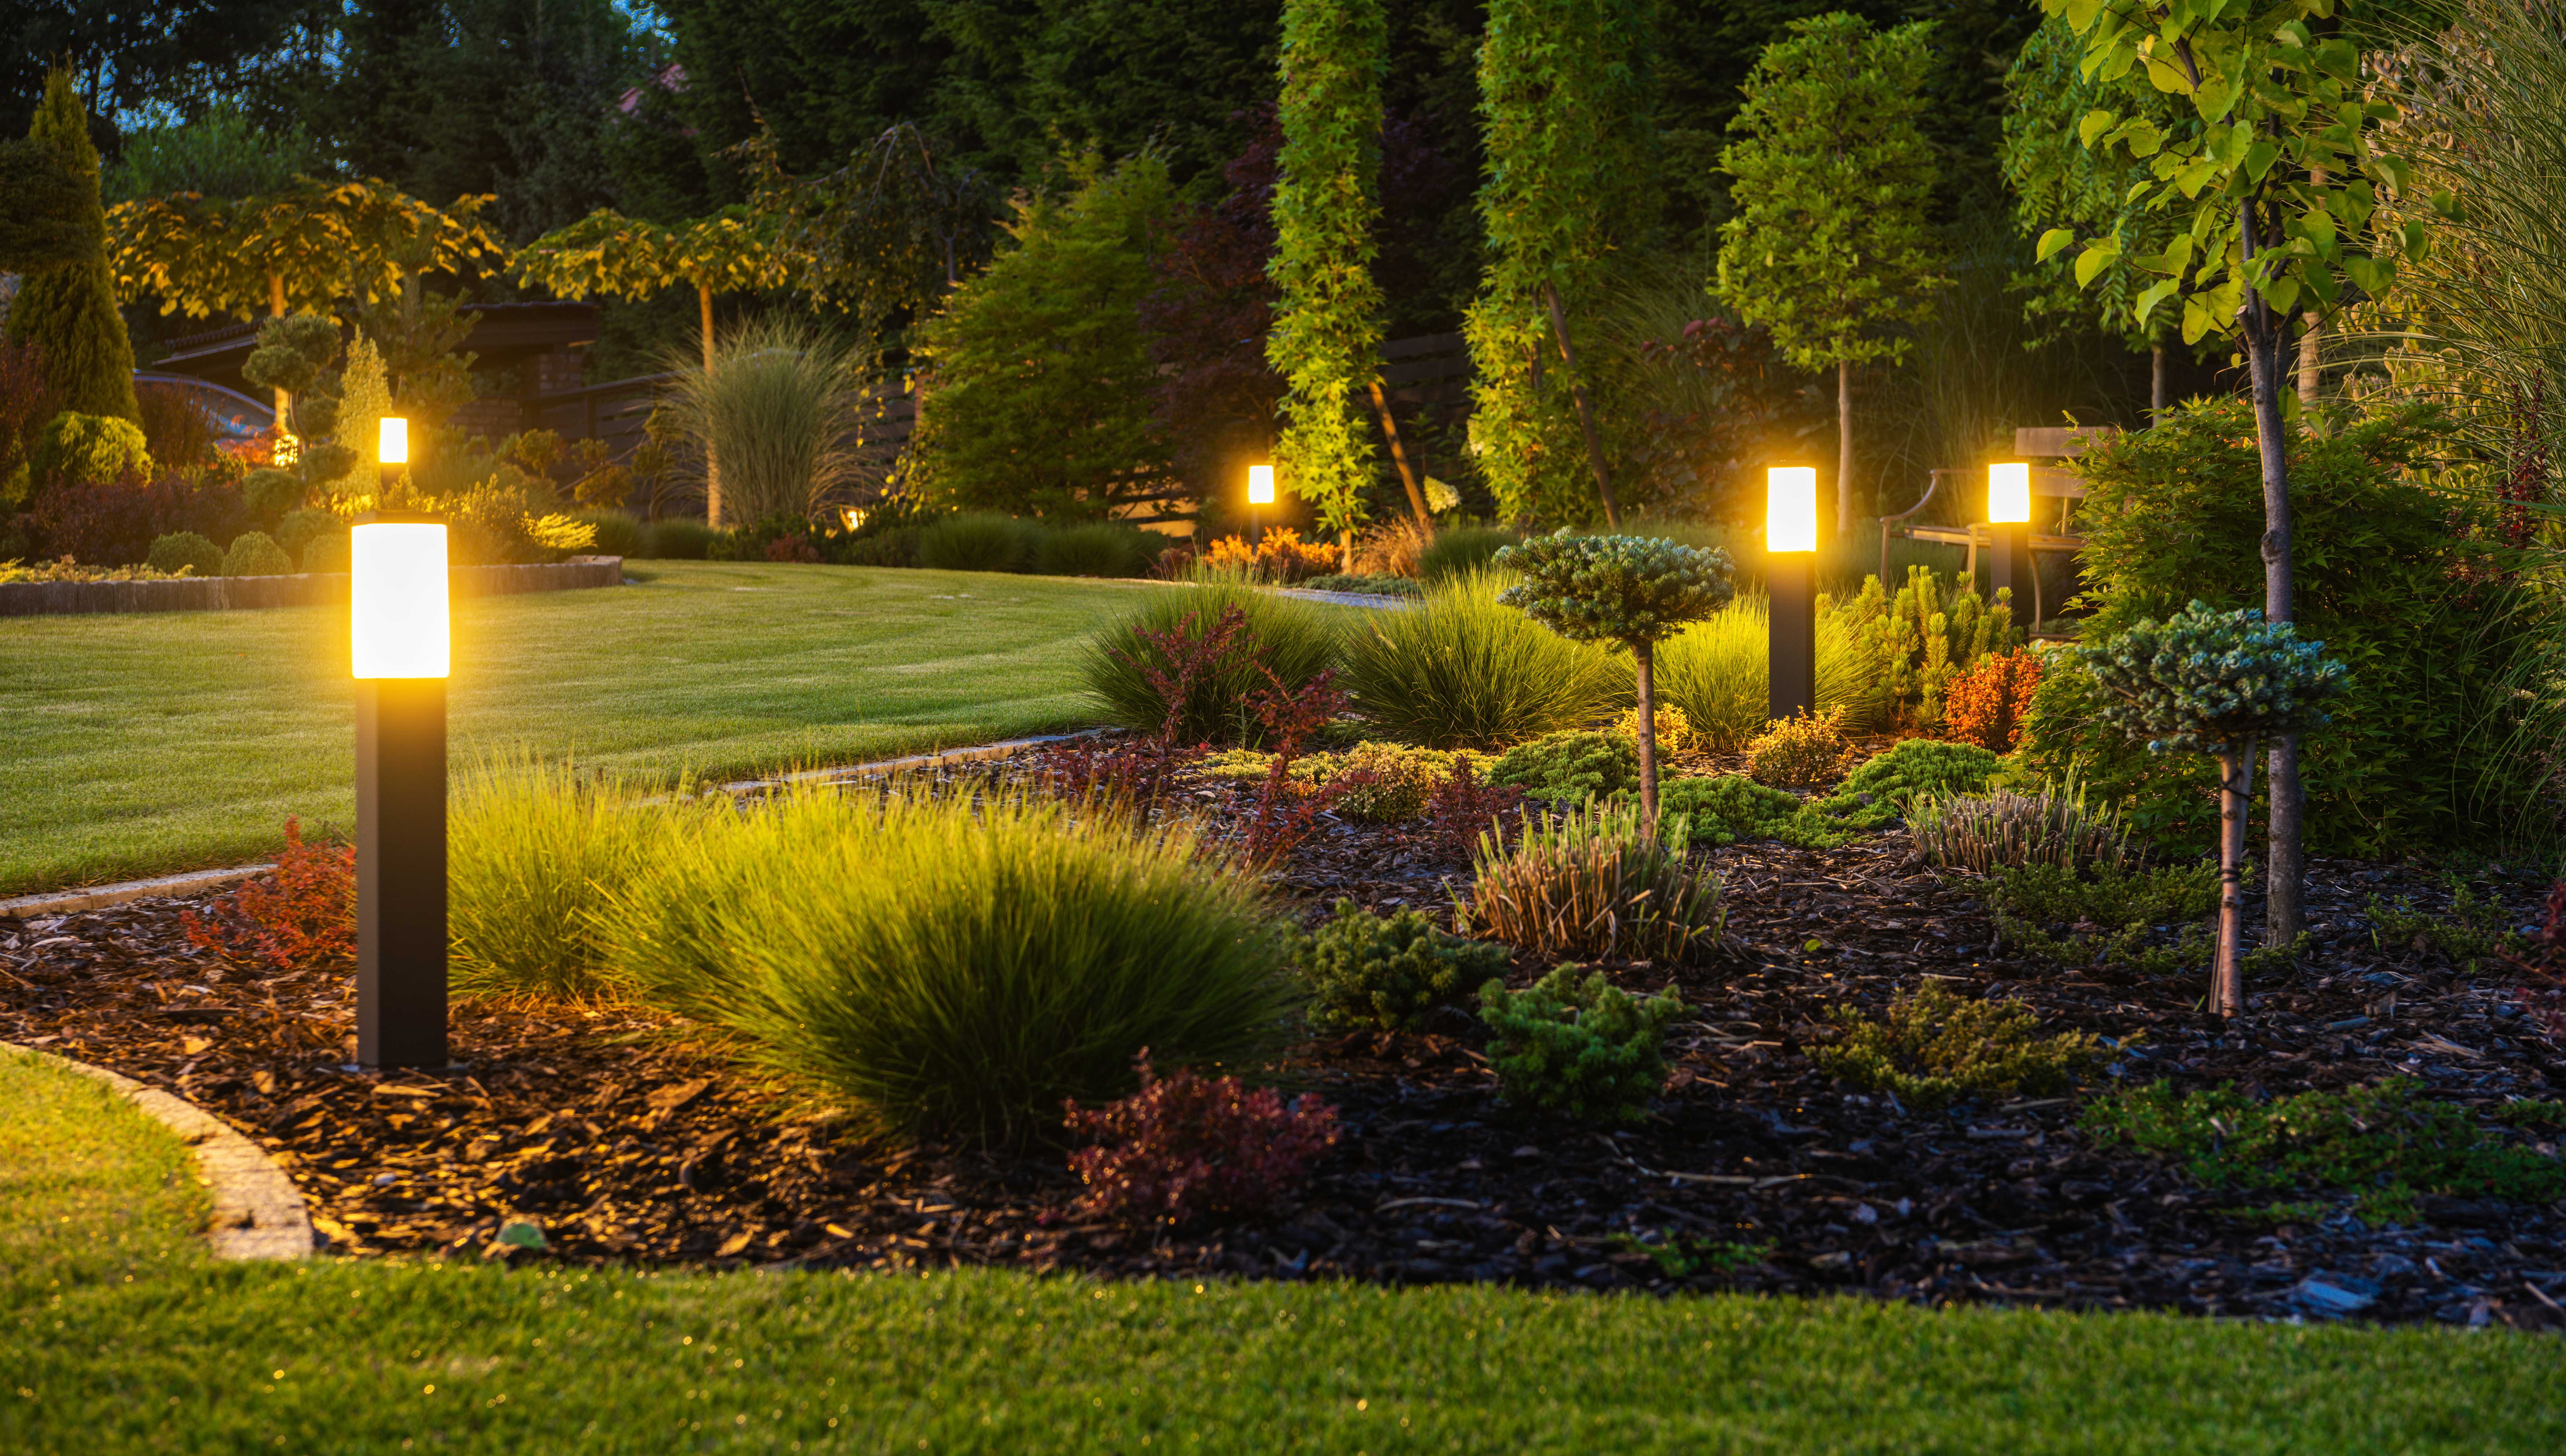
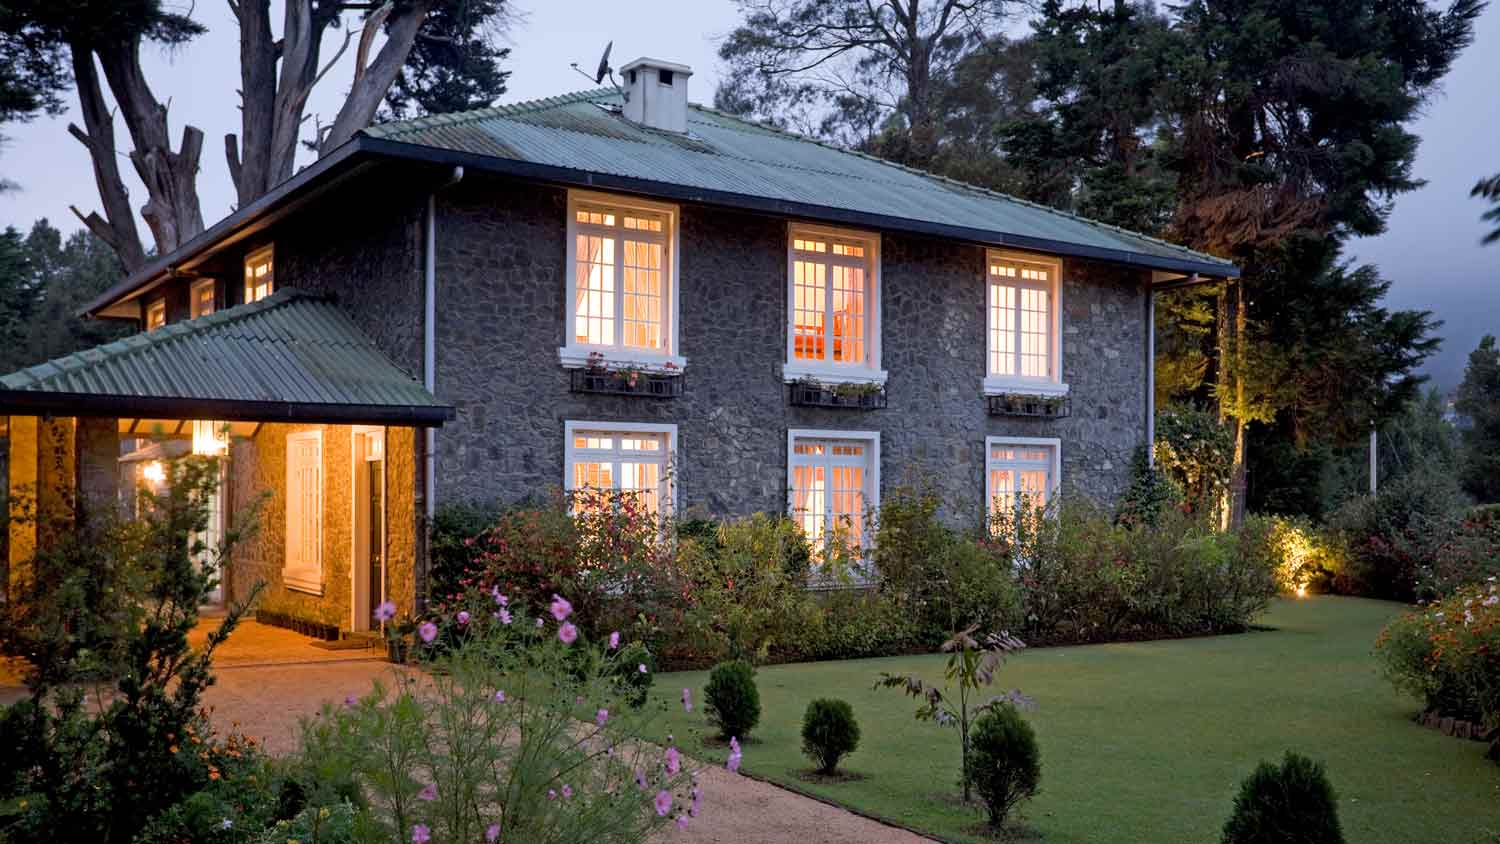
Low-voltage outdoor lighting is an easy way to illuminate walkways for safety and convenience, accent your landscape features, keep your home safe from intruders, and add drama and interest to your property. Low-voltage lighting runs on a 12-volt system, making installing it a safe and easy weekend DIY project for handy homeowners. Learn how to install landscape lighting the right way to improve your home’s after-dark curb appeal.
Before doing any digging in your yard, mark out existing wires, pipes, or sprinkler systems that are buried less than a foot deep. In addition, ensure your transformer is the correct capacity to handle the wattage of the lights you’ll be installing. If you have additional ideas for exterior lighting and anticipate adding lighting in the same area in the future, purchase a larger transformer than you need for your initial project, so it can accommodate additional lights. The transformer will make up a significant amount of your landscape lighting costs, so ensuring you won’t have to upgrade to a larger unit will save you money down the line.
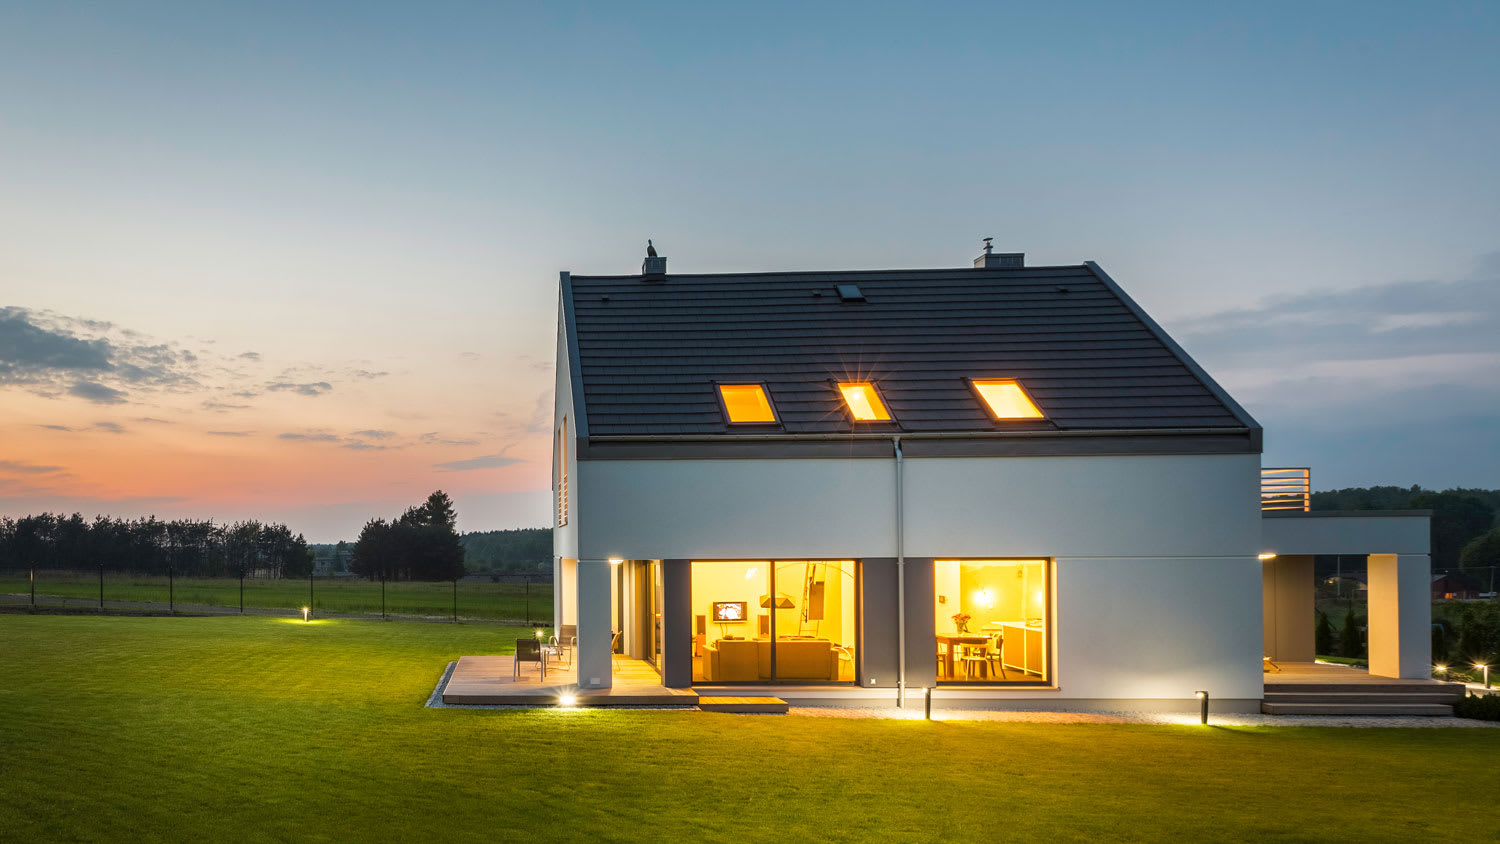
Placement is important as well when determining how to install outdoor lighting. You’ll want to install your transformer where it can be plugged into a GFCI-protected outdoor outlet, at least 30 feet from any water features, with the first light in the system at least 10 feet away. You’ll also need to install an in-use weatherproof outlet cover to protect the transformer’s power connection from the elements.
Most importantly, whenever we get into DIY electrical territory, there is a clear line between what is safe and legal and when it's time to call a local electrician.
Start by mapping out your lighting. Place fixtures on the ground where you want to install them, and set the electrical cable on the ground running from the outdoor outlet all the way to the farthest fixture. Leave at least 5 extra feet of cable at either end so you don’t run short and so you can make adjustments if necessary.
Next, use your drill and mounting screws to mount the transformer near the outdoor outlet it will be plugged into. Transformers can be mounted directly to the side of the house or on a post or stake near the outlet. Ensure that the area where you’re mounting the transformer is free of obstacles for a foot in every direction.
Connect one end of the electrical cable by using wire strippers to remove about an inch of the wire insulation, then attach the stripped wires to the terminal screws on the transformer. Terminal screws are usually located at the bottom of the transformer. Do not plug the transformer in yet.
Using a shovel, dig a trench 6 inches deep to bury the electrical cable. When digging along a pathway, position the trench so it’s 6 inches to a foot back from the edge of the path, so the lights will be installed between the cable and the pathway. If you’re making your trench in sod, carefully lift the sod and then dig down to the desired depth. Lay out the cable into the trench, but do not fill it back in yet.

After determining where you want your lighting fixtures, dig a hole for each fixture. Most outdoor lighting fixtures are set on stakes, although some are installed directly in the ground. Stake holes can be dug using an aluminum stake and a hammer. Ensure that fixtures are evenly spaced and not overhanging any pathways or areas where people will walk.
Next, connect the fixtures to the electrical cable using weatherproof wire clamp connectors. Many fixtures have connectors preinstalled; if not, install a connector to the wiring protruding from the fixture. Clamp the connector to the cable until you hear a click, which indicates that the connector has pierced the cable’s insulation and created a contact point with the wiring inside.
Once your fixtures are connected to the cable, plug the transformer into the outdoor outlet and confirm that each fixture is connected by checking that all lights are illuminated. If any lights are not illuminated, unplug the transformer and try reconnecting the fixture to the cable. If it still isn’t working, check that the bulb in the fixture is installed correctly.
After confirming that all the fixtures are connected, set each fixture into the ground using its attached stake. Check that fixtures are level and stable and fill in any remaining space around the fixture with soil.
Once your fixtures have been installed, bury the electrical cable in the trench by replacing the soil or sod. When working with sod, you may want to cut the sod to accommodate the lighting fixtures without any lawn bald spots.
While a straightforward walkway lighting system is a fairly easy DIY project, more complicated outdoor lighting designs may require a local outdoor lighting contractor to ensure all the electrical components are installed safely and correctly. The cost to have outdoor lighting professionally installed varies, but expect to pay between $2,000 and $6,000.
You may also want to enlist the help of an electrician if you don’t have a suitable outdoor outlet for your low-voltage landscape lighting system. The cost to install an outdoor outlet ranges between $150 and $300.
Ginny Bartolone contributed to this piece.
Great company! Price was competitive, technician showed up on time and completed the job (exterior electric Radon fan replacement) quickly. Would hire them again.
I am highly satisfied with the window replacement service I received; the professionals from Savvy Exteriors were punctual and did an amazing job that exceeded my expectations.
Our exterior looks brand new thanks to Custom Paint Jobs LLC. Theyre the best in town!
The Mosby team went above and beyond for my project. They not only installed my light fixture; they also worked through an old, wonky, and as it turns out incorrect wiring issue from the work of prior contractors. Professional, thorough, conscientious, and kind. Five star experience. Thank you!
We had a 20+ year old landscape lighting system that needed replacement. Midwest Lightscapes worked with us to design a much improved lighting system, lighting the exterior of the house and the back yard. Installation of the 45 light system took one and one-half days, and went very smoothly....
 Midwest Lightscapes
Jeff was a consummate professional. Responsive, courteous, and focused on meeting our needs. I had a small project of installing and replacing two ceiling light fixtures. He responded to my Home Advisory inquiry within 24 hours and in a span of two weeks our light fixtures were installed. ...
A team of 2 spent 5 hours, cleaning top to bottom (removed all light fixture and cleaned.... impressive!!!)
 Luzia's Cleaning
It went very well. I was able to select the color blocks I wanted and where they would be placed in the window. All of the employees were very pleasant and patient. The guys who installed the window arrived promptly, did their job, and there was nothing for me to clean up. The window looks...
 Innovate Home Org - Columbus Glass Block
Charlie recommended a separate fan with new lighting to clear steam from the room better. Several weeks ago I contacted Charlie via email to ask about pricing and scheduling, after one follow up he did reply with cost and said it would be about two weeks before he could do the work. I replied...
 Settle Muter Electric
I would recommend Danny's pro painters to anyone. I found Danny on Angie's List and arranged a meeting for an estimate the same week. Estimator arrived on time and provided a timely quote with a breakdown of the job. Danny's crew arrived on time on the scheduled start date and started working...
 Danny's Pro Painters LLC
From average costs to expert advice, get all the answers you need to get your job done.
If you’re planning to hire an electrician to install outdoor lights, consider cost factors like light type, bulb type, quantity, and more.
Discover the cost to install landscape lighting. Learn about average prices, key cost factors, and ways to save on your outdoor lighting project.
Learn how to hire someone to install outdoor lighting for your home. Find qualified pros, ask the right questions, and get expert tips for your project.
Outdoor lighting not only increases safety, but also boosts curb appeal and usability after dark. Learn more about the pros and cons of outdoor lighting.
How do you choose between the many types of outdoor lighting when planning for your space? Learn about each kind in this quick outdoor light guide.

If there's one thing your outdoor parties and barbecues need, it's a bit of light. These outdoor lighting questions will help you light up the night.