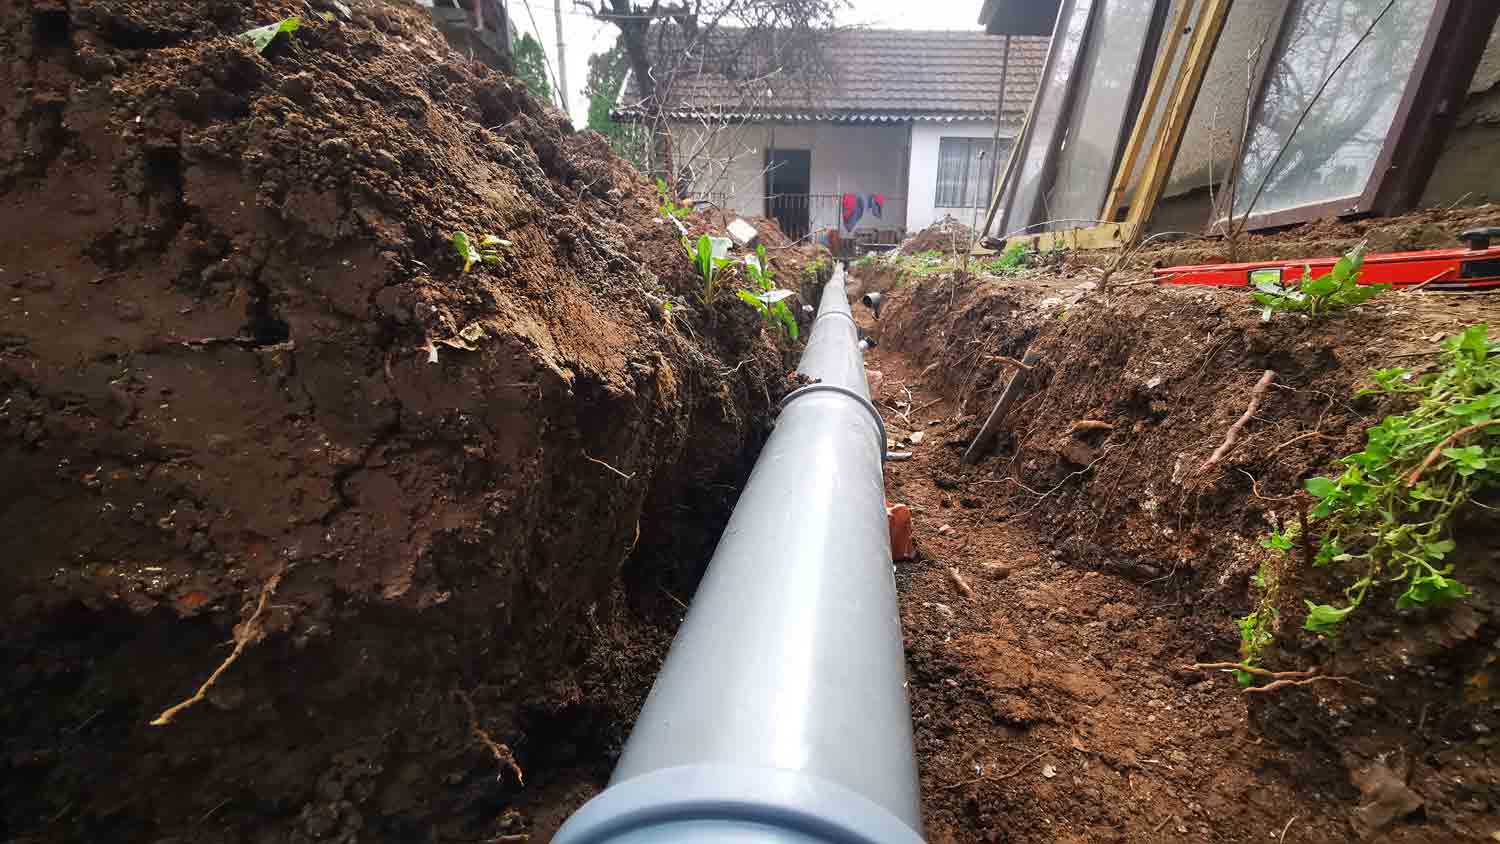
A landscape designer can elevate your outdoor space and bring your vision to life. Use this landscape design cost guide to budget for your next project.
Give your yard or garden a durable and sleek upgrade


Imagine a sleek, shiny, and incredibly durable outer edging to your new garden beds or landscaping project. Sounds like a dream, right? Well, metal landscape edging delivers all of that and more.
Plastic and brick are two commonly used types of landscape edging, but installing a steel or aluminum perimeter is quickly becoming a popular alternative for these reasons. Below, learn how to install metal landscape edging and pick the right type of metal for your budget and aesthetic preferences.
Edging your lawn is a great way to add clean lines to the perimeter of your yard, garden, or walkway. If metal seems like the ideal material for your project, you'll need to decide between aluminum and steel.
Here are some notes about each:
Steel edging: Longer lasting and more durable, costs more, and may be slightly harder to install due to its strength.
Aluminum edging: More flexible (easier to bend around corners), costs less, but may dent easier than steel.
Some homeowners choose to circumvent the installation challenges of steel by using corrugated steel, which comes in a thin sheet of steel and may be easier to install.
Metal landscape edging costs $2.50 to $6.50 per foot, depending on metal quality and thickness. If you’re price sensitive, plastic edging is another alternative that is typically cheaper than metal, but you’ll need to be prepared to replace it more often.
First things first, take measurements to gather how much material you'll need (stakes and edging). Also take note of where curves or bends are that you'll need to account for, which could impact what garden edging idea you go with.
This is also a good time to calculate when and how many cuts you may need to make with a handsaw. You can do this before you install or cut as you go.
A local landscaping professional can also give you ideas on how or where to install metal edging.
You’ll want to install metal edging so it sticks about 1/2 inch out of the ground. First, you’ll need to dig a trench where the metal landscape edging will be installed that's around 1/2 inch shorter than its height to achieve this. (Take into account step #3 when calculating the final number.)
Using a half moon shovel here can save you time as you won't take up large chunks of dirt. They cost about $30 at home improvement stores. Standard metal edging materials are usually 3 or 4 inches tall.
Placing sand at the bottom of your trenches is helpful for drainage. It also prevents water pooling, your edging from settling crooked after the first big rainstorm, and helps prevent bugs and critters prone to puddles from calling your garden or plant bed their new home.
A small distribution of sand (half an inch) at the bottom is plenty. Hand pack it firmly before inserting the edging.

Insert your metal landscape edging (or unravel if it's corrugated steel) into the trench you've laid out. If you haven't made cuts yet, make them now with a handsaw and insert your edging into the trench after.
Use a mallet to install the stakes or top pins into the metal edging. Make sure you buy stakes for the metal you've chosen if they don't come with it. Steel edging stakes, like the metal itself, will cost more. But they're designed to hold durable steel in place.
Every 3 to 4 feet is a good guideline. Don't use a regular hammer or metal edge to hammer them in or you'll dent your new edging.
Depending on the metal landscape edging you bought, it might have a sharp edge to the top that could damage your feet if you step on it. If there's a chance that, say, little kids may step on it and get injured, it's a good idea to soften these edges.
If needed, add dirt back to the trenches you've dug and pack it in firmly with your hands. This usually applies to garden bed edging, which may have lost some dirt during the process.
From average costs to expert advice, get all the answers you need to get your job done.

A landscape designer can elevate your outdoor space and bring your vision to life. Use this landscape design cost guide to budget for your next project.

We break down the cost to remove bamboo, which is slightly higher than other forms of tree removal. It's a difficult DIY task because of bamboo's hardy underground roots.

Leveling your yard can help with drainage and prevent damage to your home. Learn the cost to level a yard in Columbus, OH, and what factors can affect the price.

What is a privet hedge and why should you consider it for your backyard? Use this guide to consider the pros and cons along with upkeep and maintenance tips.

Keep your yard from flooding by choosing the right piping and drainage. Learn what type of piping is used for the drainage system in a yard with this guide.

Nothing spruces up your home’s exterior quite like refreshing flower beds and walkways with landscaping materials. Learn what questions to ask about mulch before ordering.