Do you want to add a mudroom to your home but are unsure if it’s within your budget? Use this mudroom addition cost guide to determine your installation price range.
Make laundry easier with each load


The convenience of a laundry chute is unmatched for anyone who has a large family or lives in a multi-level home. Less laundry pile-up in your living space and fewer trips lugging baskets up and down the stairs is a complete win-win.
If your home wasn’t built with a laundry chute and you’d like to enjoy the benefits of one, consider adding this home improvement project to your list. With these tips, you’ll have the information you need to start benefiting from the convenience of a laundry chute.
Depending on where you live, you may need to obtain a building permit to install a laundry chute in your home. These regulations vary based on state and city. Get in contact with your local building authority to ensure your project is up to code and to obtain any permits.
When installing a laundry chute, you have three options: construct the chute by yourself, purchase a kit, or hire someone to handle it all for you.
However, since this is a complicated home project, it’s best to hire a professional general contractor in your area if you don’t have the experience or skills.
Laundry chute kits come with all the materials (instructions included) that you need to install. You can find these kits at your local home improvement store.
If you’re up for an advanced DIY laundry room project and have the skills, building your own laundry chute is the more cost-effective way to go.
Here’s a look at some of the tools you’ll need if you DIY this project:
4-in-1 screwdriver
Drill bit set
Drill/driver - cordless
Drywall saw
Reciprocating saw
Tape measure
Taping knife
Tin snips
Utility knife
The location of your laundry chute will be the most important decision you have to make throughout the entire process. Above all, you’re looking for convenience and a smooth path to the laundry room.
You want to find a place in your home that makes it easy for everyone to use. Hallways tend to be the best option, as it’s a communal space. Pick three to five different spots for your laundry chute and then determine which one will work the best.
Another key consideration is if the spot is free from wires or plumbing. This requires some exploring, so be prepared to cut a few holes in the spots of your choice to see if they are prime for a laundry chute.

If you have children or pets in your home, you’ll want to ensure you put safety precautions in place to avoid someone taking a treacherous ride down the laundry chute. Keep the door of the chute out of reach to children by placing it high up. If you’d like the door to be a little lower, you can add a lock or make the space small to ensure little ones can’t fit through it.
Another important consideration is fire safety. Laundry chutes have a chimney-like construction and many people believe this makes chutes susceptible to turning a small fire into a large one. This is one of the most important reasons you’ll want to consult your local building authority to ensure you build the laundry chute in accordance with fire codes.
Before you begin the installation, have a clear map of your laundry chute path. Obtaining the blueprint to your home will be beneficial, but you’ll also want to use a small camera or a wall scanner to view the path yourself. You can find these tools at your local home improvement store.
Once you have your path in view, ensure you have all the tools you need handy to avoid mid-project trips to the home improvement store.
Follow the steps below for installing your laundry chute:
Cut the entry and exit points
Frame the enclosure
Assemble and install the ductwork
Test the path
Seal up the enclosure
Install the door
When the work is done, sit back and admire your handy work. Now you’ll never have to lug dirty laundry downstairs again!
As nice as it would be to install a laundry chute and simply enjoy the benefits, you do want to make sure you’re caring for the chute. This ensures you keep the area clean and safe from any dangers, like potential fire hazards or bug and incest infestation.
Since everything going down the laundry chute will be dirty, you’re likely to experience a build-up of dirt and grime. There’s also a risk of mold if any laundry taking a trip down the chute is wet. This build-up can intensify due to the closed space of the laundry chute.
Many home improvement stores have chute cleaners, typically labeled for trash chutes, but the products work similarly for laundry chutes. Detergents that are foaming are your best option as this allows the product to cling to any dirt and grime on your chute to effectively clean it.
If you would rather not add another cleaning task to your list, you can hire an HVAC specialist to clean the ductwork for you.
In addition to cleaning, you’ll also want to periodically check the chute for its stability. You can do this on a yearly basis and even use the camera or wall scanner you purchased for the installation to help you in the maintenance process.
From average costs to expert advice, get all the answers you need to get your job done.

Do you want to add a mudroom to your home but are unsure if it’s within your budget? Use this mudroom addition cost guide to determine your installation price range.

Accessory dwelling units can be a smart investment, but your ADU cost will depend on the size, type, and materials you choose. Here’s how it breaks down.

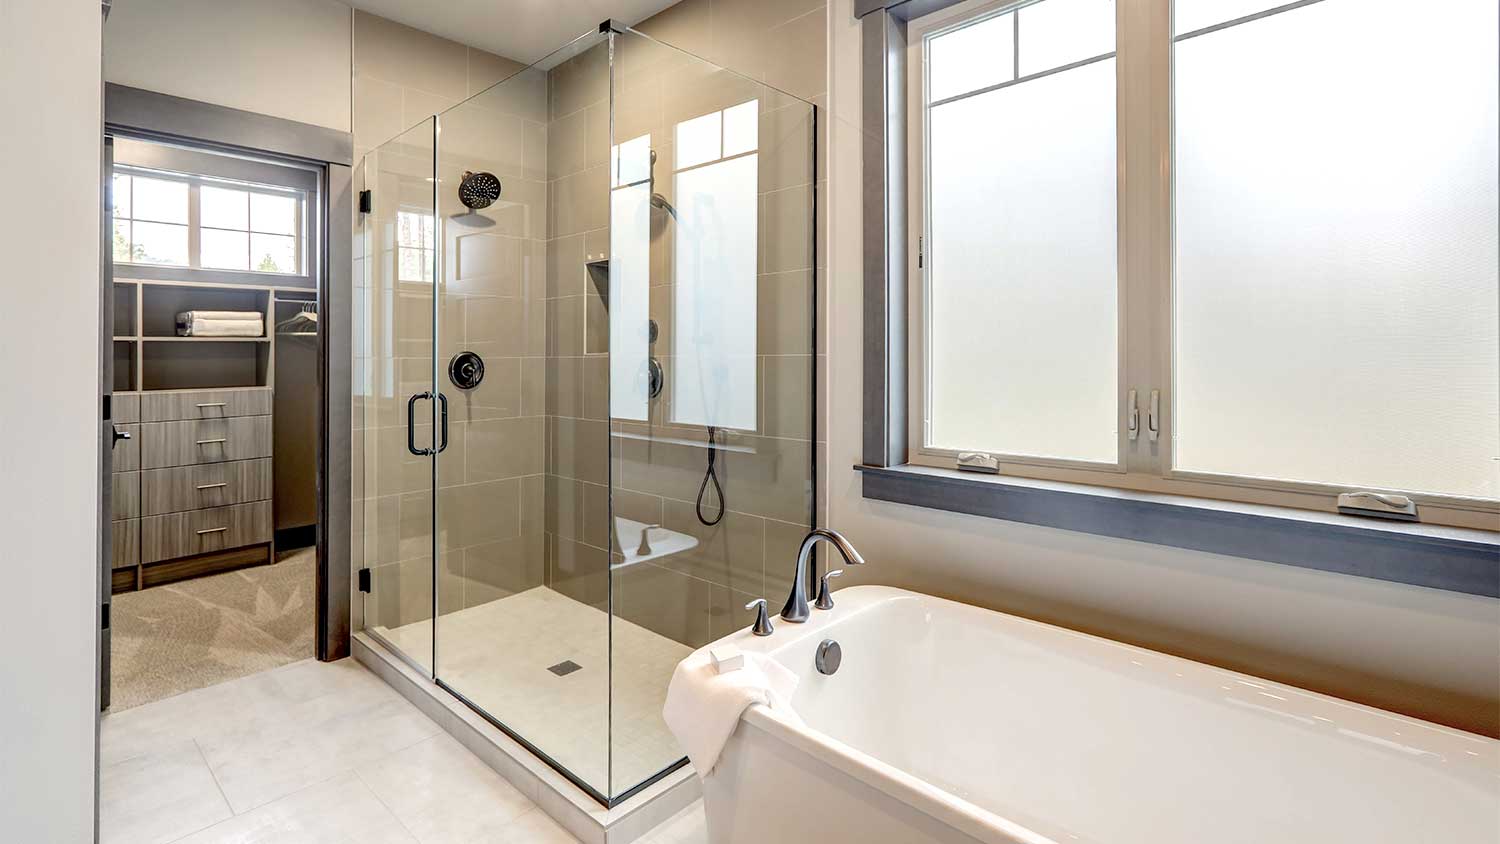
Thinking of getting rid of that old bathtub and replacing it with a walk-in shower? This walk-in shower cost guide will help you plan your budget.

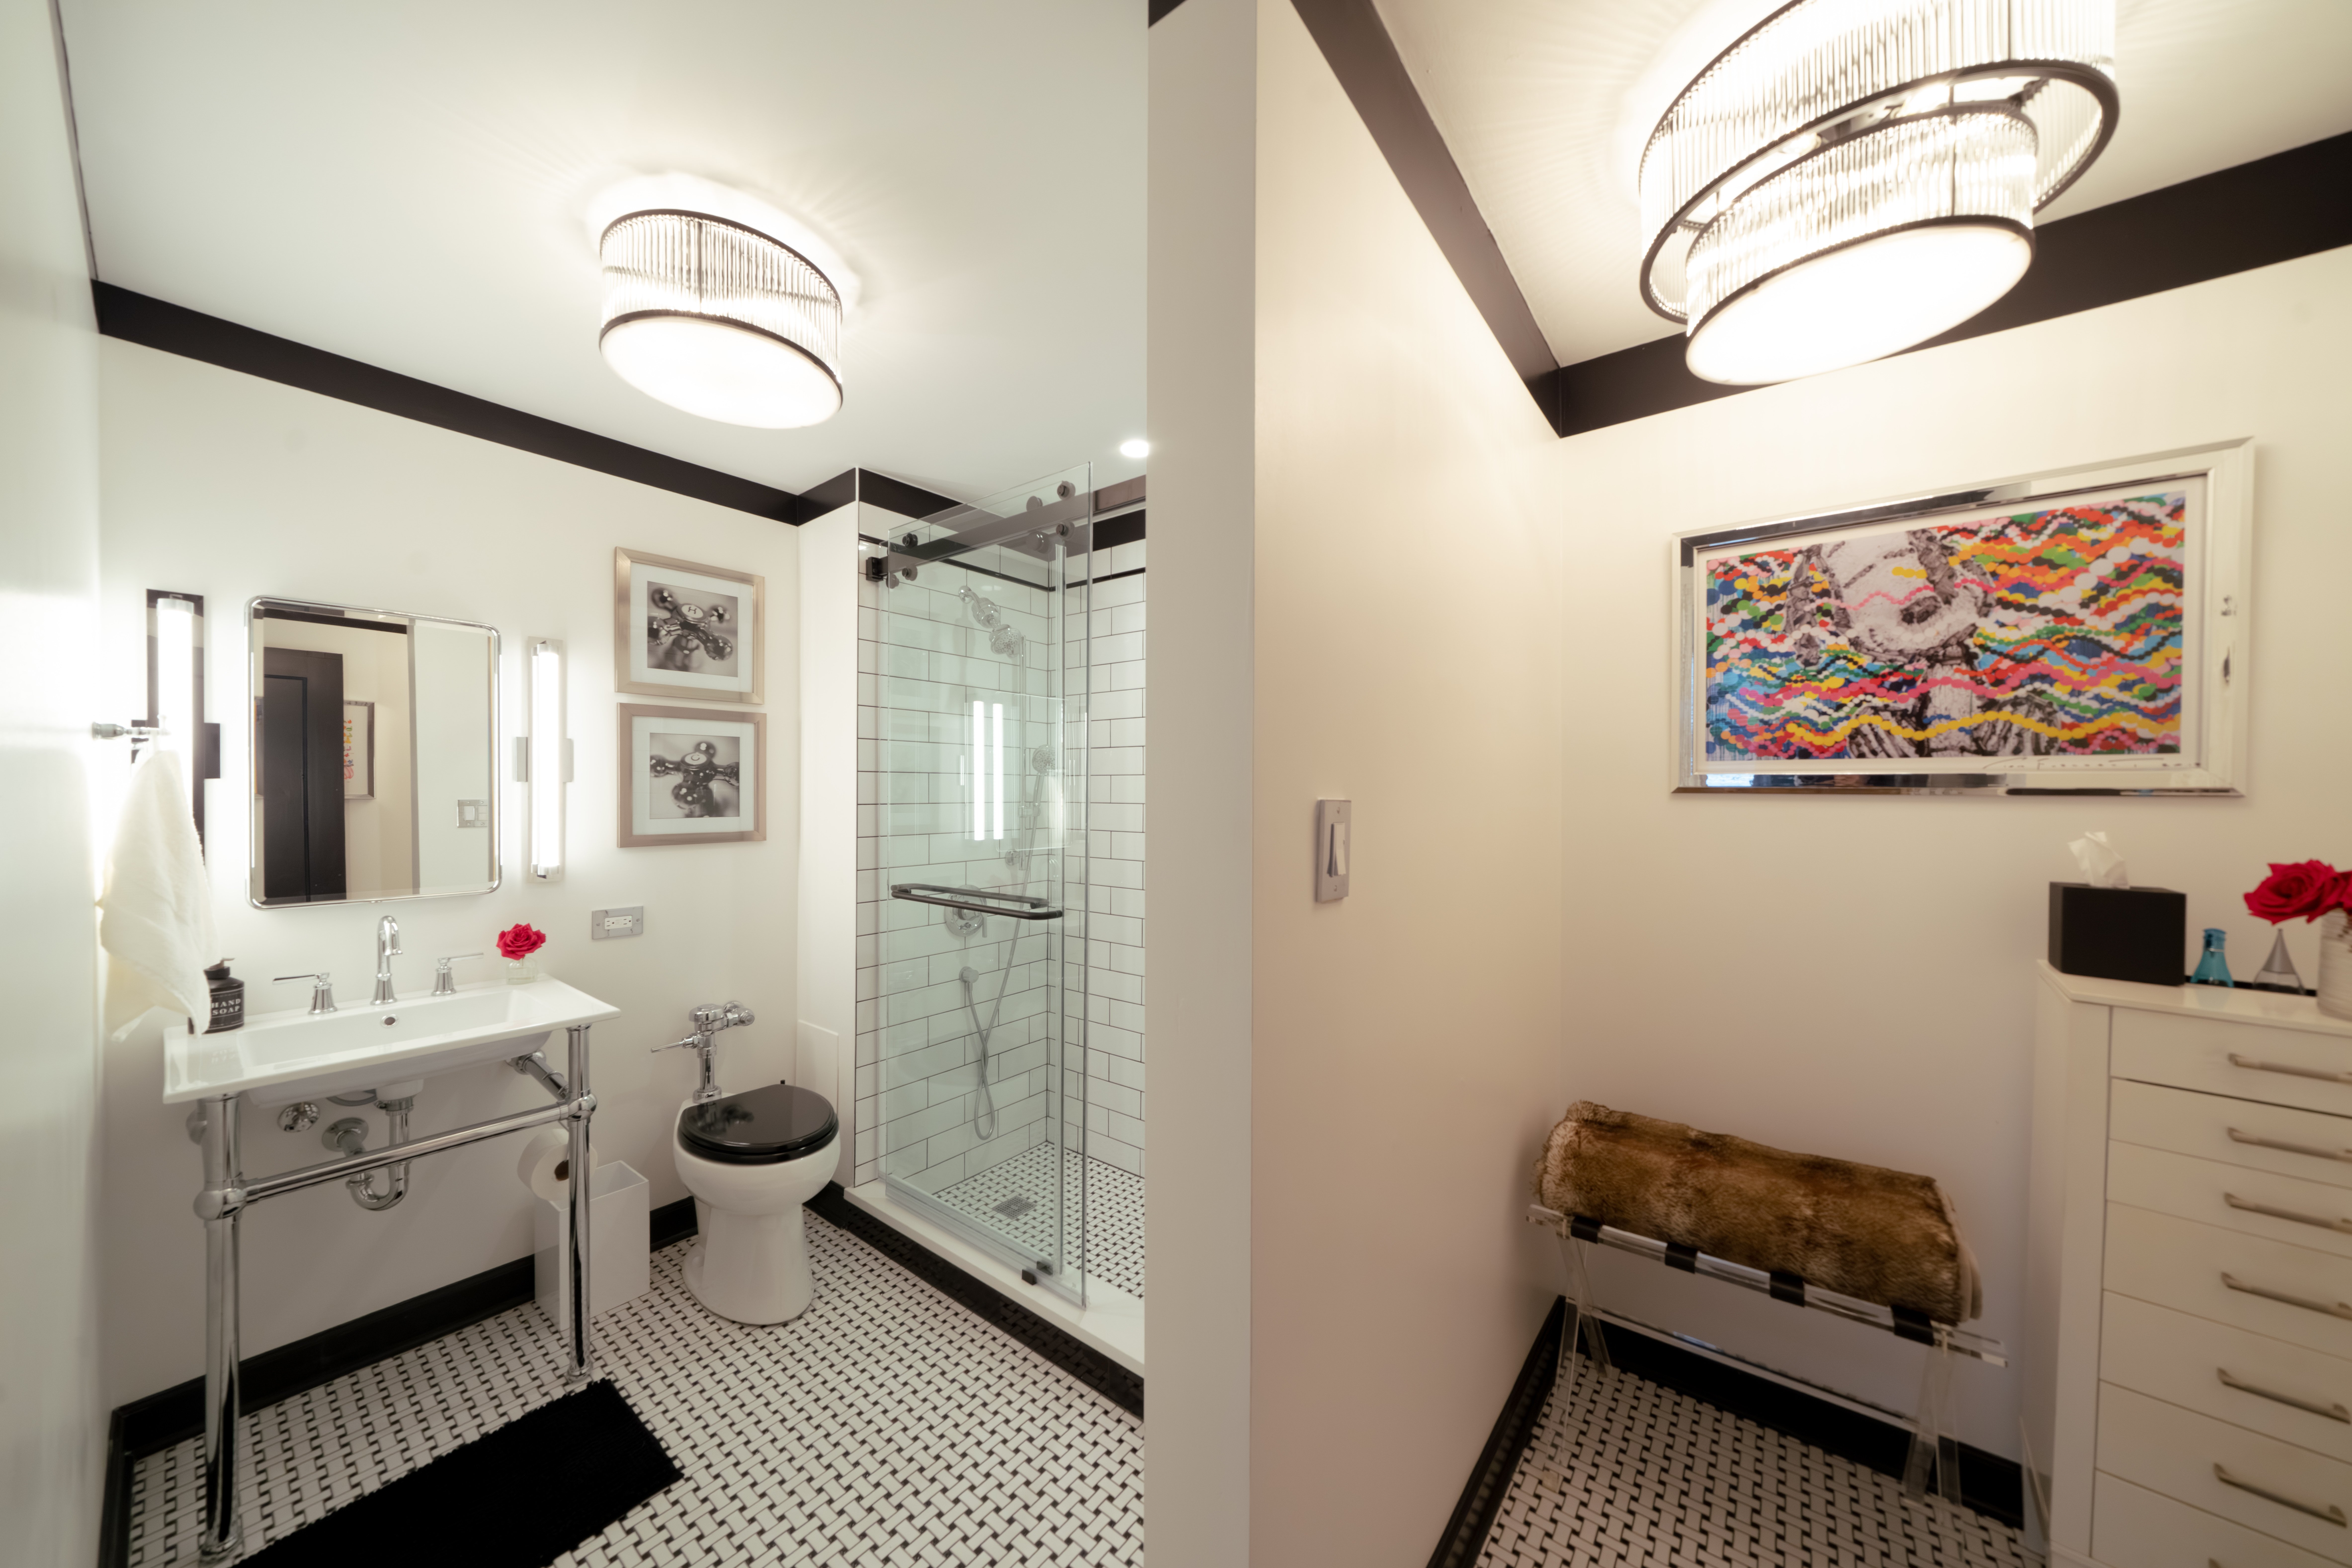
An outdated bathroom is transformed into a vintage-inspired space with basketweave floor tile, a console sink, and subway tile.

Mirror, mirror, on the wall—how do I hang you so you won’t fall? Get tips and tricks for how to hang a vanity mirror and keep your reflection straight.

An updated bathtub can give a bathroom a whole new look. Find out how much it costs to replace a bathtub in Kansas City, MO, including prices by type and labor costs.