
•
Discover the cost to install landscape lighting. Learn about average prices, key cost factors, and ways to save on your outdoor lighting project.
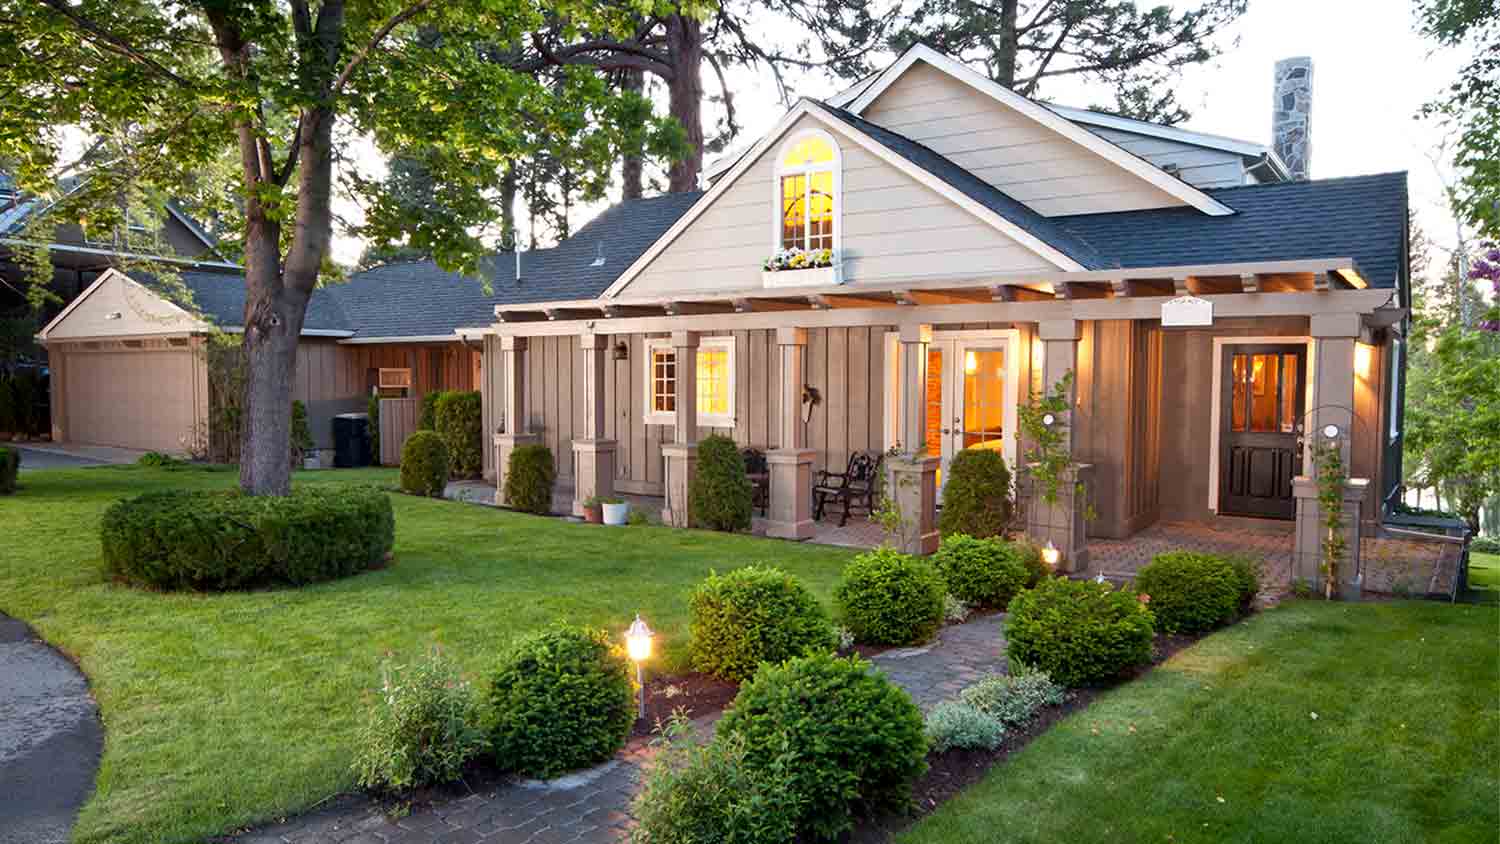
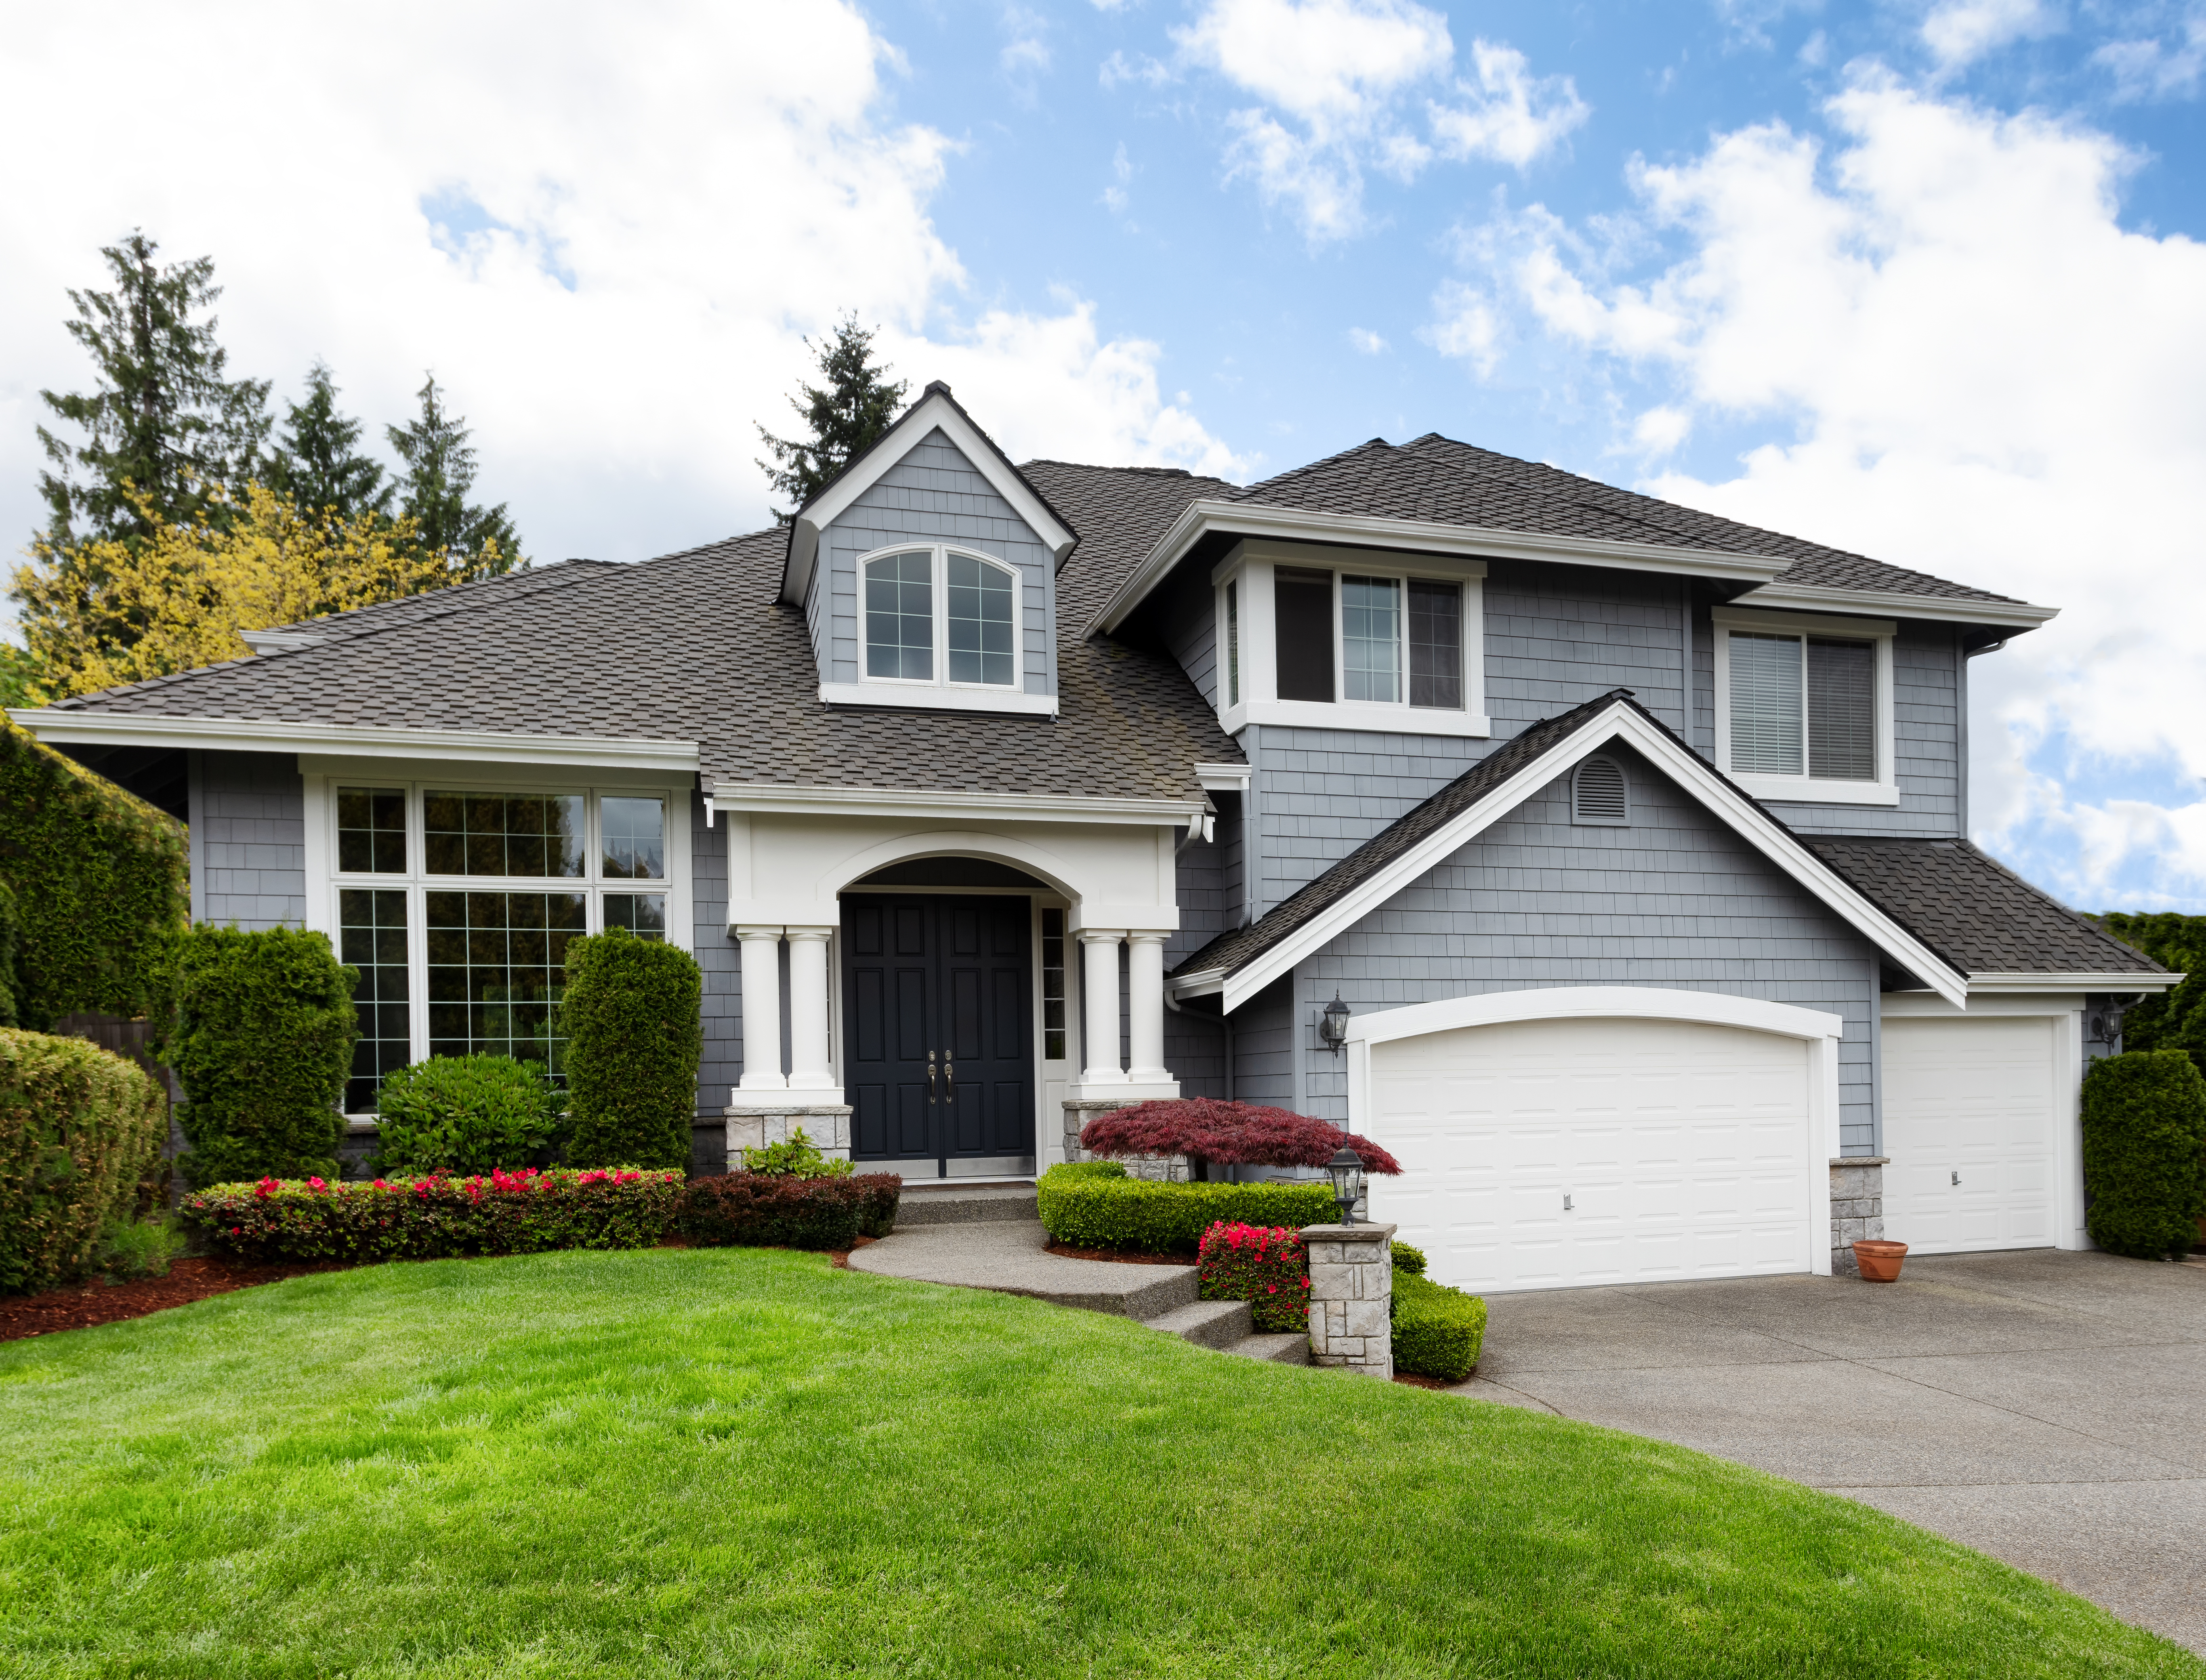
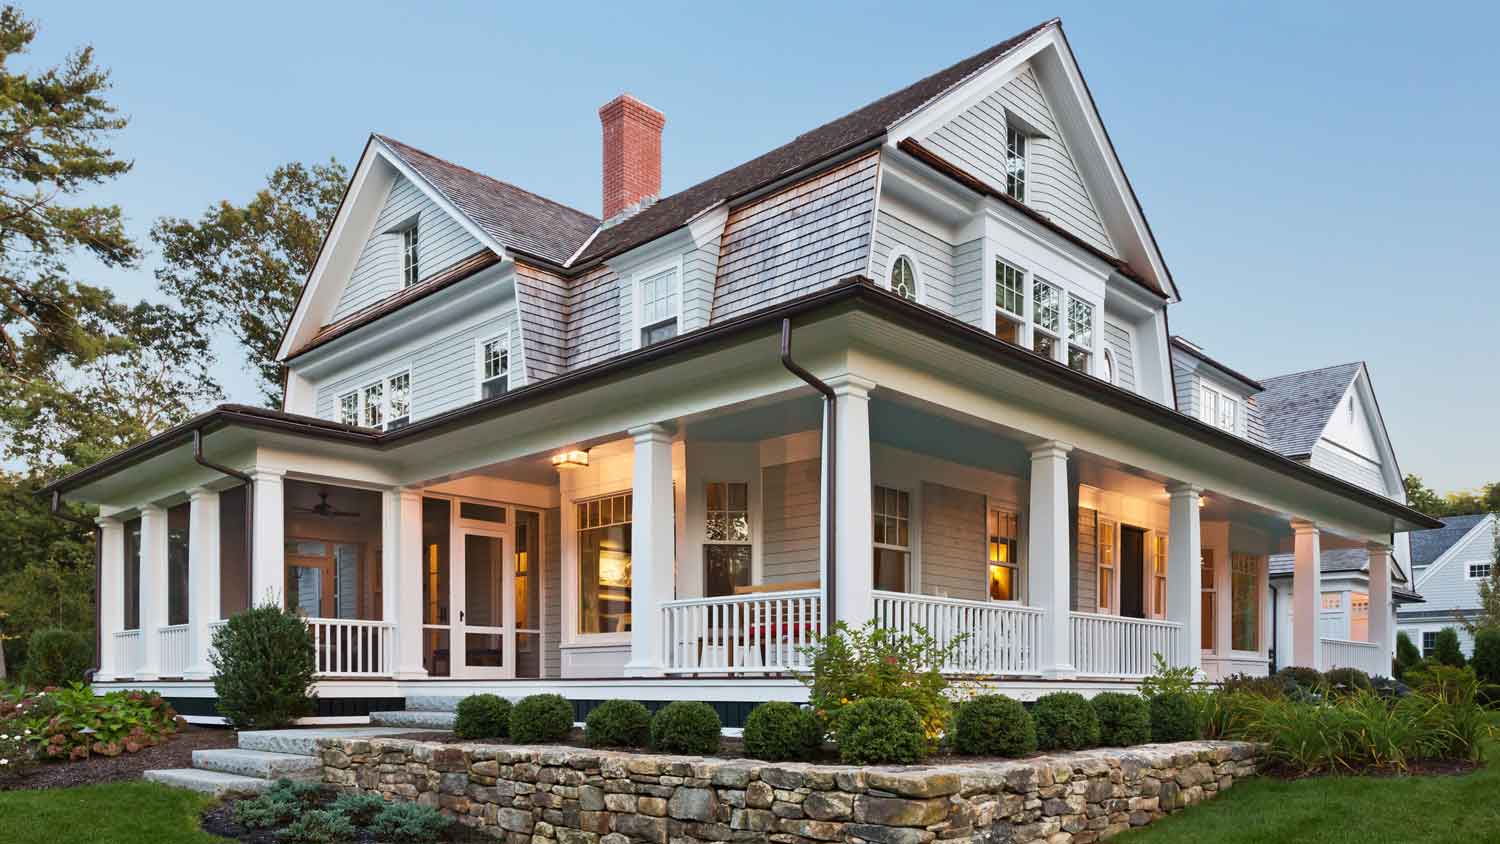
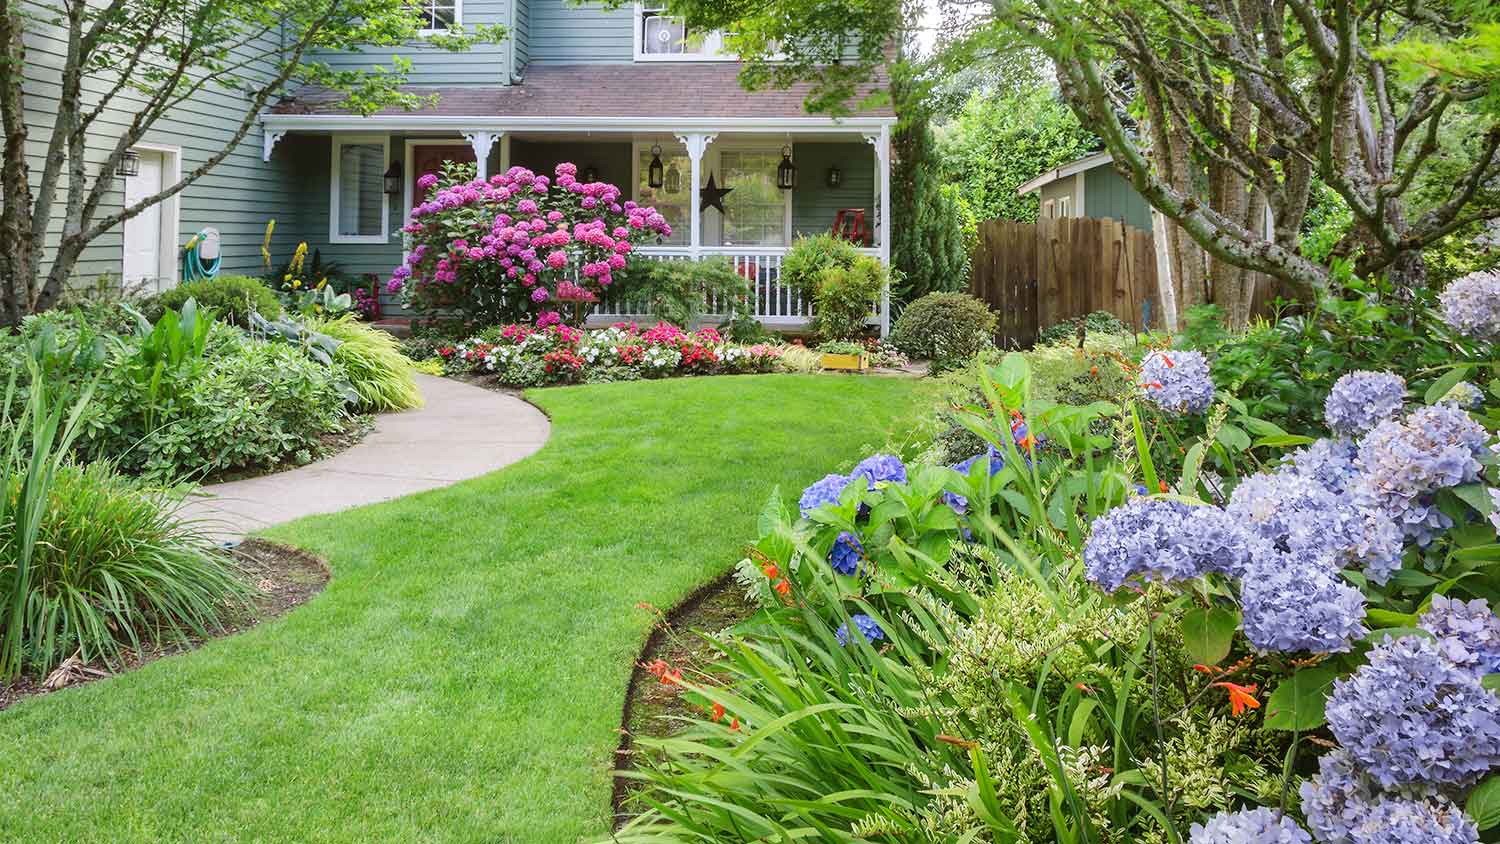
Turn a ho-hum yard into the landscape of your dreams

Attaching landscape timbers together with galvanized mending plates and deck screws on interior surfaces keeps your timbers level and reduces shifting as soil settles.
Your DIY materials cost $100 to $500 for this project, including landscape timbers, galvanized spikes, stakes, string, and optional landscape fabric to block weeds.
You secure each timber by drilling pilot holes every 4 feet and at both ends, then driving 12-inch galvanized spikes completely into the ground with a sledgehammer.
Hiring a local landscaping professional provides reliable support for larger edging projects or retaining walls that involve structural concerns and precise installation.
If you’re looking for a polished, professional look to update your plant beds and walkways, learning how to install landscape timbers can bring your landscaping to the next level. These lengths of wood are made for various landscaping uses, and installing them can be a rewarding DIY project to beautify your yard. You can use landscape timbers to edge flower beds, create new garden beds, or edge driveways and walkways, boosting your home’s curb appeal. Use our easy guide to tackle this DIY project like a pro.
Before getting started, you’ll need to know how much landscape timber you’ll need to buy. Measure the perimeter of the area where you’ll be installing the timbers so you can determine how many timbers it will take to complete the project. Take the total length of the perimeter and divide it by the length of the timbers you’re using, rounding up to account for partial lengths as well as corners.
You’ll also want to choose the right size and kind of wood for your timbers. They come in a variety of widths from 3 to 6 inches, so select your size depending on how wide you want your landscape edging to be. Most landscape timbers are made from pressure-treated wood but are also available in finished and unfinished natural wood. Remember that untreated wood will be more susceptible to rot and water damage and will not likely last as long as pressure-treated wood.
Mark the intended placement of your timbers using stakes and string. This will ensure your timbers are installed correctly and exactly where you want them. Hammer a stake into the ground where you want your timbers to begin, tie the string to the stake, hammer another stake into the ground at your desired end point, and attach the other end of the string. If your design involves corners or other angles, use a stake at each corner to indicate where the angle will be.
While marking the placement, ensure that you will not be digging into any sprinkler lines or other lines that are buried less than a foot underground.

Using a shovel, dig a trench about an inch wider than the width of your landscape timbers along the marked line. You’ll want to dig 3 to 4 inches down to stabilize the timbers once installed and give a professional, finished look. Remove any larger rocks or other obstacles that may interfere with leveling the timbers with a garden hoe or your shovel.
While the timbers don’t necessarily need to be perfectly flat according to a level, depending on the landscape of your yard, they should be level with the contours of the ground and even with each other. Use a hoe or shovel to level the bottom of the trench, then either walk inside the trench or use a hand tamp to pack down loose soil and create a solid base for your timbers.
If desired, install landscape fabric in the trench to discourage weed and grass growth around the timbers. Unroll the fabric down the length of the trench and affix it with landscape fabric staples, then trim to fit. Be sure that no fabric is showing past the top edge of the trench, as it will be visible once your timbers are installed.

Next, set your timbers inside the trench. Be sure not to leave any space between the timbers. For additional stability, join adjacent timbers with galvanized mending plates and deck screws on the interior surface facing into the plant bed or along the bottom surface so the plates don’t show. This can help keep your timbers level with each other and reduce shifting and uneven settling.
If your edging requires multiple timbers and you’ll need to cut a timber significantly shorter than the full length in order to reach the desired end point, consider shifting the timbers so both ends have shorter pieces of equal length. This will give a more symmetrical look than having a short piece on only one end.
If you end up needing to use partial timbers to reach your desired length, use your saw to cut pieces to the necessary length. If you’re only using right angles in your edging, you won’t need to cut any angles, as you can just butt the end of one timber perpendicular to another. If you’re looking for angles other than right angles, mark and measure out the angles, then cut using your saw.

Once your timbers are laid out, use your drill and a drill bit that’s slightly smaller than the diameter of the galvanized spikes to drill through the timbers. You’ll want to drill at each end of each timber and every 4 feet in between. Using a small sledgehammer, drive the galvanized spikes through the holes and into the ground to secure the timbers into place. Ensure that the spikes are fully driven into the ground and the heads of the spikes are not sticking up at all.
Once the timbers are secure, use some of the soil you removed from the trench to fill in the gaps around the timbers and tamp it so that it’s level with the ground. If desired, spread grass seed on the side facing the lawn to avoid a line of demarcation around the timbers.
Installing landscape timber edging for garden beds or walkways can be a straightforward DIY project. However, if you have a larger area to cover or are looking to install landscape timbers for a retaining wall, you might enlist the help of a local landscaper. Landscape pros can handle bigger projects or anything that involves structural concerns. Landscapers can also execute other landscape edging projects, like landscape curbing.
Custom Paint Jobs LLC made our home feel like a piece of art. Thank you for your creativity!
Window Depot did an amazing job on my deck. I wasnt sure what I wanted to do, but their composite decking was affordable and will last a long time. I am excited to have family over, and I am no longer embarrassed by my backyard. Jeff and the ground crew were polite, respectful, and caring for...
First of all, the gentleman I dealt with (Cam?) was very responsive to my many questions and concerns throughout the project, which is a huge plus to me. From the first time I met him for the estimate all the way til the completion of the job, he and his crew were professional and respectful....
 All Star Paving and Sealing
We had a 20+ year old landscape lighting system that needed replacement. Midwest Lightscapes worked with us to design a much improved lighting system, lighting the exterior of the house and the back yard. Installation of the 45 light system took one and one-half days, and went very smoothly....
 Midwest Lightscapes
Another great success for me on home advisor. This company did an awesome job on my landscaping and stayed within my budget. The best part, the work was complete within 2 days of my initial request. Professional and responsive. I highly recommend!
The company no showed on me twice. The 2nd time was no call no show. They were responsive to set up the first appointment to perform the "landscape cleanup". 3 hours after their initial scheduled appointment time they called me to let me know they had some "problem" with the truck and their...
 Ruby Home and Hauling Services
Received ideas for future landscape plans...quote to do the work seemed a bit high but I did not have any other quotes to compare it to, so perhaps that is the going rates. <br />
 Landscapes By Terra, Inc
All around they have done a really great job. <br /> I have used JL Landscapes for the past 8 years. I own and operate my own commercial/residential real estate company where we own, operate, and maintain our own properties. JL Landscapes has been our exclusive landscaper for both our...
 J.L. Landscapes
Bought a half a cord of firewood from Pitzer with stacking last month. I waited to report so I could see how the wood burned. <br /> <br /> I have three pet peeves regarding landscapers, but Pitzer scored "A"s regarding all three. First, rather than having customers "leave a message" and...
 Pitzer Landscaping
I left a message on Sunday requesting to schedule a time to obtain an estimate/walk-through and received a return call in the morning of the following Monday. Mark worked with me and agreed to schedule the estimate/walk-through for the following Saturday. When Mark arrived for the...
From average costs to expert advice, get all the answers you need to get your job done.
Discover the cost to install landscape lighting. Learn about average prices, key cost factors, and ways to save on your outdoor lighting project.
Landscape curbing can really improve the look of a yard, but at what cost? Find out how much it costs and the different ways you can do it
If you’re planning to hire an electrician to install outdoor lights, consider cost factors like light type, bulb type, quantity, and more.

Riprap prevents erosion and protects your shoreline when done right. Learn who to hire for riprap and how to find a licensed professional.
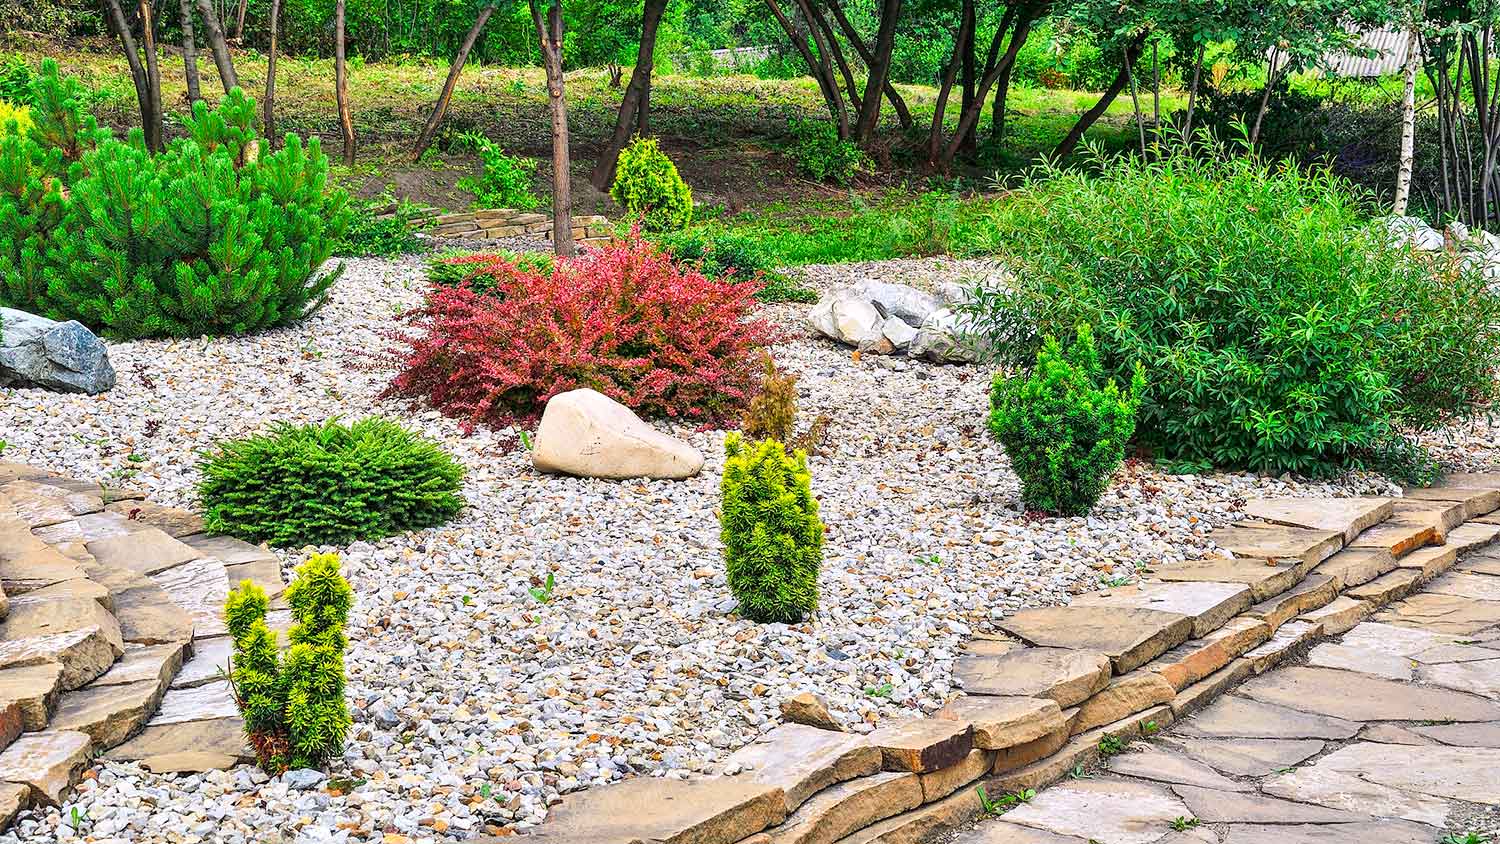
Landscaping rocks are used for a variety of landscaping designs. Learn how to keep landscape rocks in place to keep your yard looking great.
Looking to install landscape edging but not sure which professional is best? Learn who to hire to edge your yard for the best results possible.