

A GFCI outlet can keep your family safe and is relatively inexpensive to install. Learn how much replacing GFCI outlets will cost you, and what factors into those costs.
Reduce your risk of electrical shock by installing GFCI outlets in your kitchen and bathrooms

A safe home is a happy home, and taking precautions like installing GFCI outlets, can help you enjoy your house with more peace of mind.
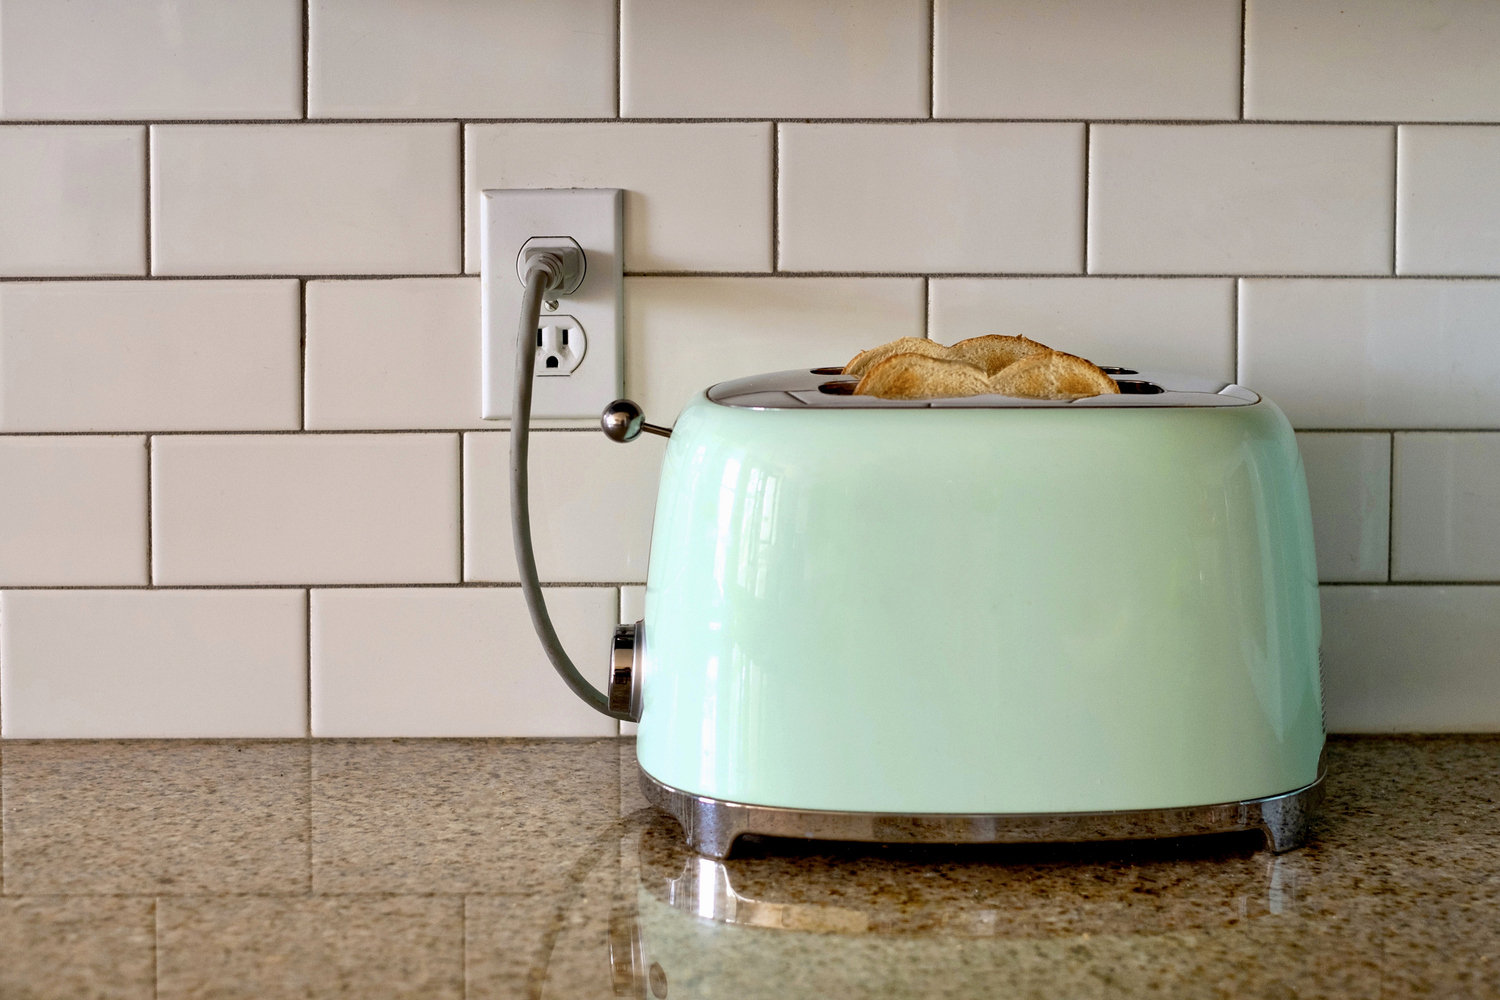
GFCI stands for ground fault circuit interrupter. If water splashes onto your outlet, the outlet will detect a fault, and the power will immediately shut off at the outlet. This feature prevents an outlet from producing sparks that could lead to an electrical fire. It’s a good idea to install GFCI outlets in your home where electrical outlets are close to water, like in kitchens and bathrooms.
If this sounds like your next weekend project, use this step-by-step guide to learn how to install a GFCI outlet.
Safety is of the utmost importance for any project involving electricity, so taking precautions is key. Only complete this project if you know basic electrical safety tips and have some expertise working with low-voltage electricity. If you don’t have this type of experience, we highly recommend hiring a local electrician to replace your outlet with a GFCI receptacle.
This GFCI outlet wiring process assumes you have an existing electrical outlet installed, including the electrical box, wiring, and wall plate. If that’s not the case, you definitely need to call in a pro.

This first step is crucial for safety: Turn off the power to the outlet you will be wiring at your circuit breaker. Once you have turned off the breaker, verify there is no current to the outlet by using a multimeter device or voltage tester.

Remove the existing wall plate with the appropriate screwdriver. If you can see the screw, unscrew it and pull the outlet plate off. If you’re having trouble removing the plate, loosen the top with the flathead screwdriver until the plate comes off. If you have a screwless outlet plate, you can use a flathead screwdriver to gently pry off the plate via one of the catches at the top.
Carefully pull the existing outlet receptacle out of the electrical box. Disconnect all attached wires with a wire cutter—clip the wires as close to the outlet as you can to preserve the length.

This step requires working around live electrical power to identify the hot wires—do not proceed unless you have the electrical experience required. Separate the wires so they are not touching each other, and turn back on the circuit breaker that powers the outlet. Do not touch the live wires with your hands; you can wear insulated electrical gloves for added protection, but still, be sure not to touch the live wires.
With a voltage tester or multimeter, use the red probe to test each black wire for a current. The black wire that lights up the tester is the hot wire or “line” wire—keep track of this wire. Repeat this step to determine which white or neutral wire is the “line” wire using the black probe. You’ll want to keep track of that one too. The black and white wires without a current are known as “load” wires. Turn the circuit breaker back off to remove power from the outlet. Use electrical tape to mark the “line” wires so you do not forget when wiring the outlet.

Make sure each of the wires is straight—use needle-nose pliers to bend the wire if needed. Next, strip the insulation coating from each wire with a wire stripper so that approximately ¾inch of the interior copper conductor wire is exposed.
You will now connect each wire to the appropriate stab-in terminal on the back of the GFCI receptacle. If your GFCI receptacle has terminal screws, unscrew each one until it is difficult to turn the screw in order to open up the stab-in holes.
First, connect the line wires. Connect the black line hot wire to the brass screw terminal marked “line” and connect the white line neutral to the silver screw terminal market “line.” Tighten the terminal screw after connecting.
Next, connect the load wires. Connect the black load wire to the brass screw terminal marked “load” and connect the white load to the silver terminal marked “load.” Tighten the terminal screw after connecting.
Finally, connect the bare ground wire to the green screw at the bottom of the receptacle and tighten the screw.

Carefully place the wired GFCI outlet back into the electrical wall box—screw in the box and the wall plate.
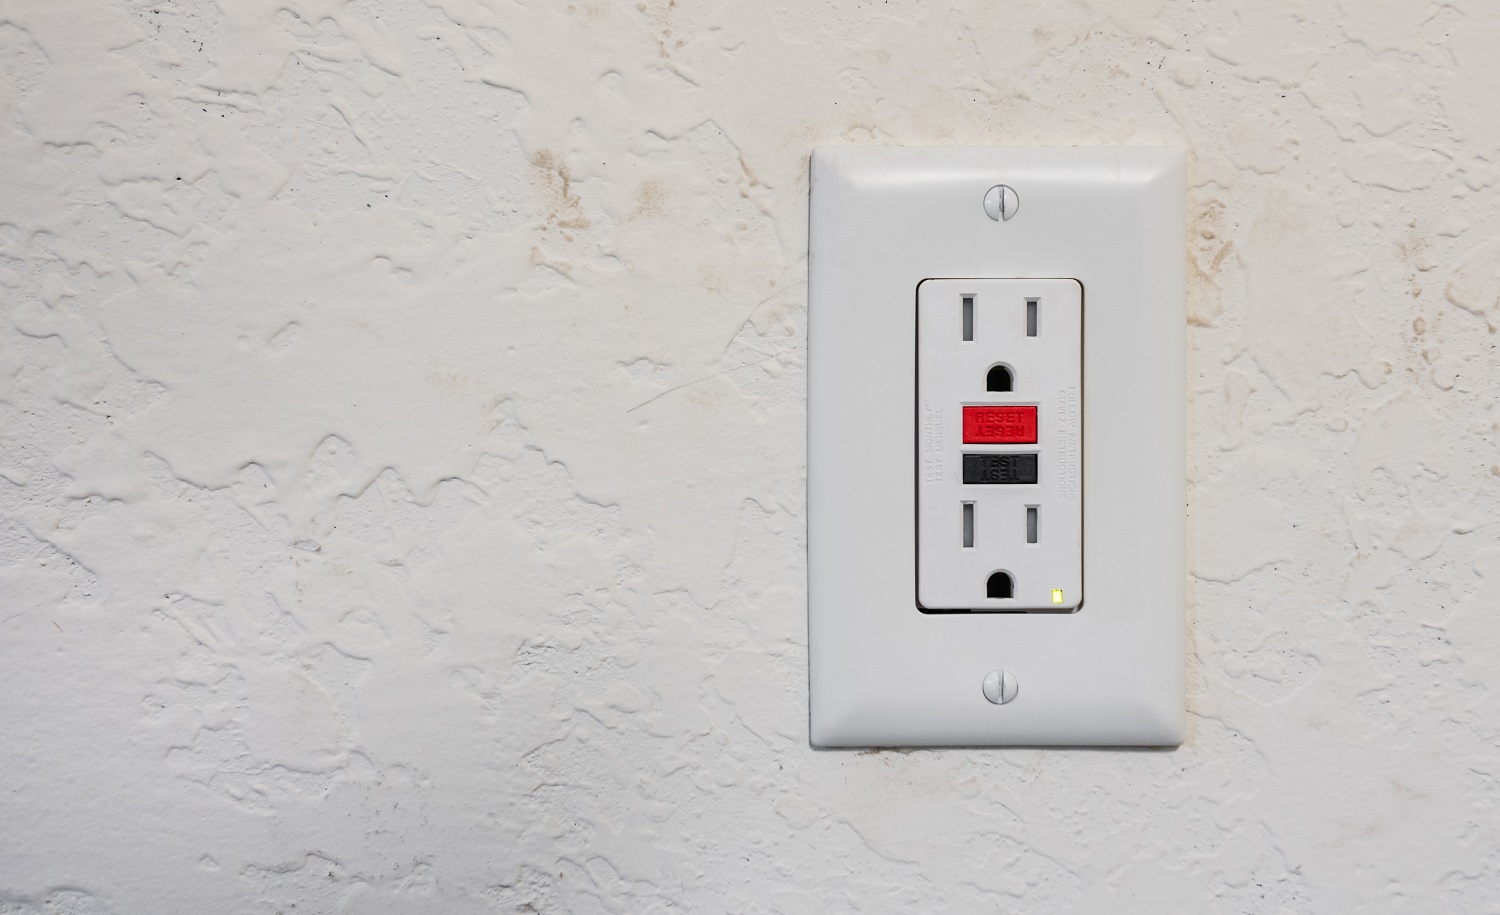
Turn your circuit breaker back on to test the outlet. Press the “reset” button on your GFCI outlet and determine if there is any power to the outlet by plugging in a device.
If you’re replacing a standard outlet with a GFCI outlet, the old wall plate covering might not fit anymore. When shopping for your new GFCI outlet, check if it comes with a wall plate. Otherwise, you might need to pick one up before making the swap.
If you have the right wall plate, this step is a cinch. Simply grab your screwdriver and fit the plate securely over the outlet by tightening the included mounting screws.
Now you’re ready to turn the power back on and check that the GFCI outlet is fully functional. Flip the main breaker or the circuit breaker you switched off at the beginning of the process back on. Then follow these steps to test your GFCI outlet:
Pick a small appliance or device, like a lamp, to plug into the outlet.
Flip the switch and turn on the device.
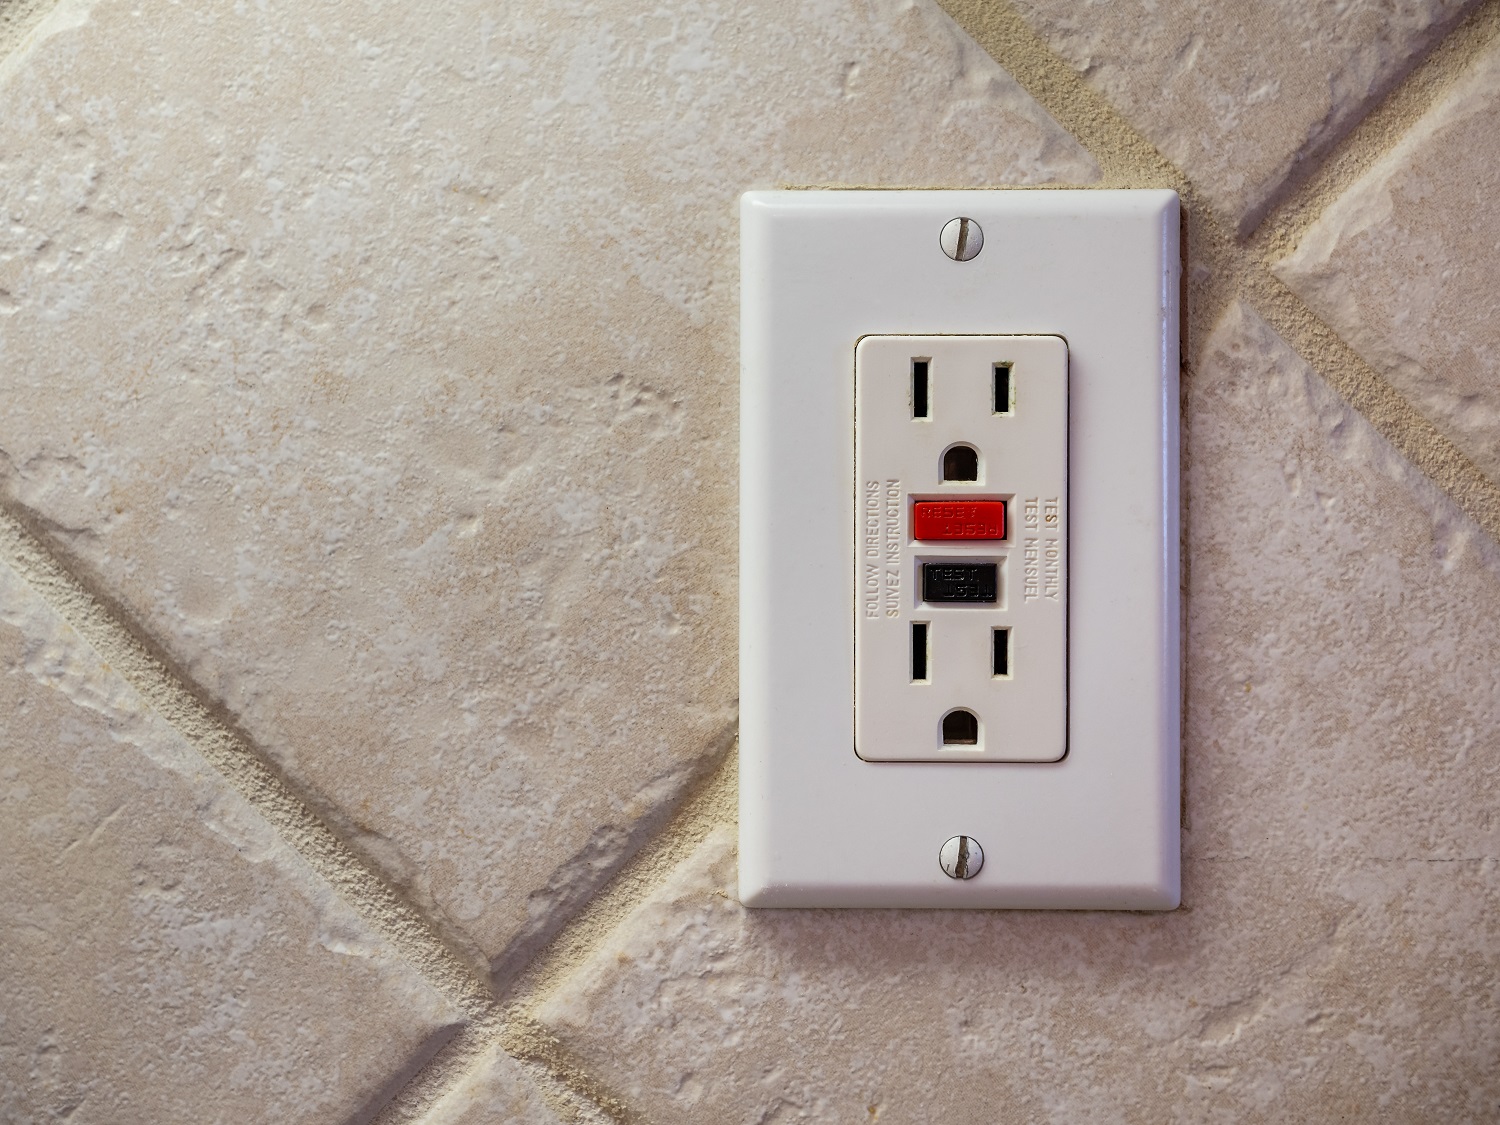
Press the “test” button in the center of the GFCI outlet.
If the outlet is working properly, the device should switch off straight away.
Then press the “reset” GFCI electrical outlet button.
The light should come back on, and you have peace of mind the GFCI protection is doing its job.
If the device doesn’t switch off at the TEST phase or turn back on at the RESET phase, your electrical outlet is not working properly, and it might be time to call an electrician.
Don’t forget to test the GFCI outlet once a month to ensure it still offers protection.
If you choose to hire a professional, the cost to install a GFCI outlet will be between $130 and $300, or around $210 on average. However, by learning how to install a GFCI outlet yourself, it will cost you less than $25—just the cost of the GFCI outlet receptacle.
While it is less expensive to install a GFCI outlet yourself, hiring an electrician will give you peace of mind with this low-voltage electrical project. Any mistakes can lead to injury and damage to your home. A professional electrician will understand all of the risks involved when working with electricity and how to complete your project safely.
Brionna Farney contributed to this piece.
Great company! Price was competitive, technician showed up on time and completed the job (exterior electric Radon fan replacement) quickly. Would hire them again.
I conferred with 2 other contractors before Armstrong Electric. Nick and his crew showed me that the project was not as convoluted as the other contractors made it appear to be. They completed the entire project on time. They were professional, friendly and cleaned up after at completion. I...
 Armstrong Electric LLC
The techs on my project, Shawn and Cliff, were great. They were prompt, courteous, and efficient. I am very happy with the results and would definitely contact Mr. Electric for any future electrical projects.
Victor was wonderful. He was on time, professional, and explained everything he was doing. He was thorough and figured out that the problem was electrical instead of with my HVAC system. Very knowledgeable. I will be using this company in the future for any HVAC needs. Thanks!
 Hubbs Heating & Air LLC
They were excellent. They did a great job. I was totally satisfied. They put tremendous effort in making sure the work was completed. They were great. They provided immediate response to any inquires I made. I would hire them again. I would recommend them to anyone who needs electrical work....
 Property-Tech Industries, LLC
Initially, the repairman could not find the problem. Apparently, there was some electrical shortage, but he could not find the definite problem. He left, but called back later to say he had a new idea. He returned and replaced the light switches on the doors. The refrigerator seemed to return...
 Appliance Pro LLC
The initial quoted price from a walk-through seemed high, but we discussed that the quote represented worst case scenario (re-wiring to two floors) and we were excited about the opportunity to have the work done in a timely manner with closing for fire safety reasons, etc. When the job was...
I have to tell you I am all about customer service - I will go out of my way and even pay more for it if you give me great customer service. <br> <br>In a world where this is hard to find, these guys were awesome! I can not sing their praises enough. They were prompt, personable, funny, got...
 Waibel Electric
When I challenged the markup on the generator, Bruder Electric withdrew its bid. They only want naïve customers.
We had no power to any of the electrical outlets in the MBR. We'd had an intermittent problem for a few years and they finally went out all together. We live on the 3rd floor of a 100 year old building and I know from past experience the wiring has been added to in hodgepodge ways over the...
From average costs to expert advice, get all the answers you need to get your job done.
A GFCI outlet can keep your family safe and is relatively inexpensive to install. Learn how much replacing GFCI outlets will cost you, and what factors into those costs.
The average cost to install an electrical outlet is $133 to $296 each. This guide explains what factors impact the total cost of installing an outlet.

Installing an outdoor outlet is a relatively affordable way to take your outdoor space to the next level. Find out the cost to install outdoor outlets
If you want to upgrade outdated outlets, you may be wondering if you can replace ungrounded outlets with GFCI outlets. Keep reading to find out.
GFCI stands for ground fault circuit interrupter. But what is a GFCI outlet, exactly? See how they lower the risk of shock or fire and where to use them.

There are many types of GFCI outlets, but knowing which is best for your home can be a challenge. Here’s a guide on the 10 most common GFCI outlets.