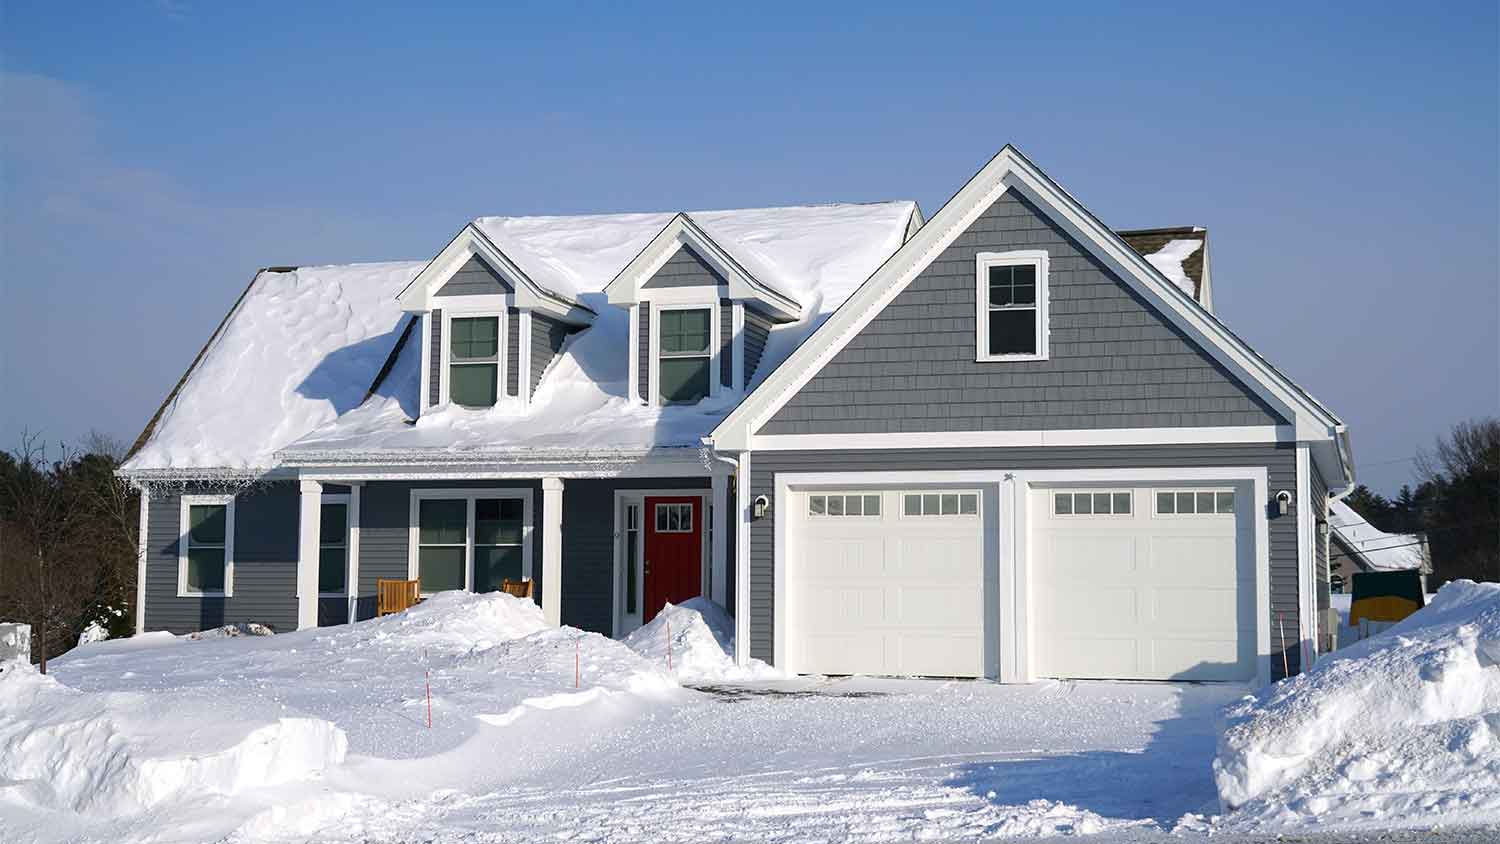
If you live in a climate that experiences harsh winters and summers, you should consider an insulated garage door. Learn what impacts the costs and how it can help save you money over time.
Put in a little elbow grease to get your new garage door up and swinging

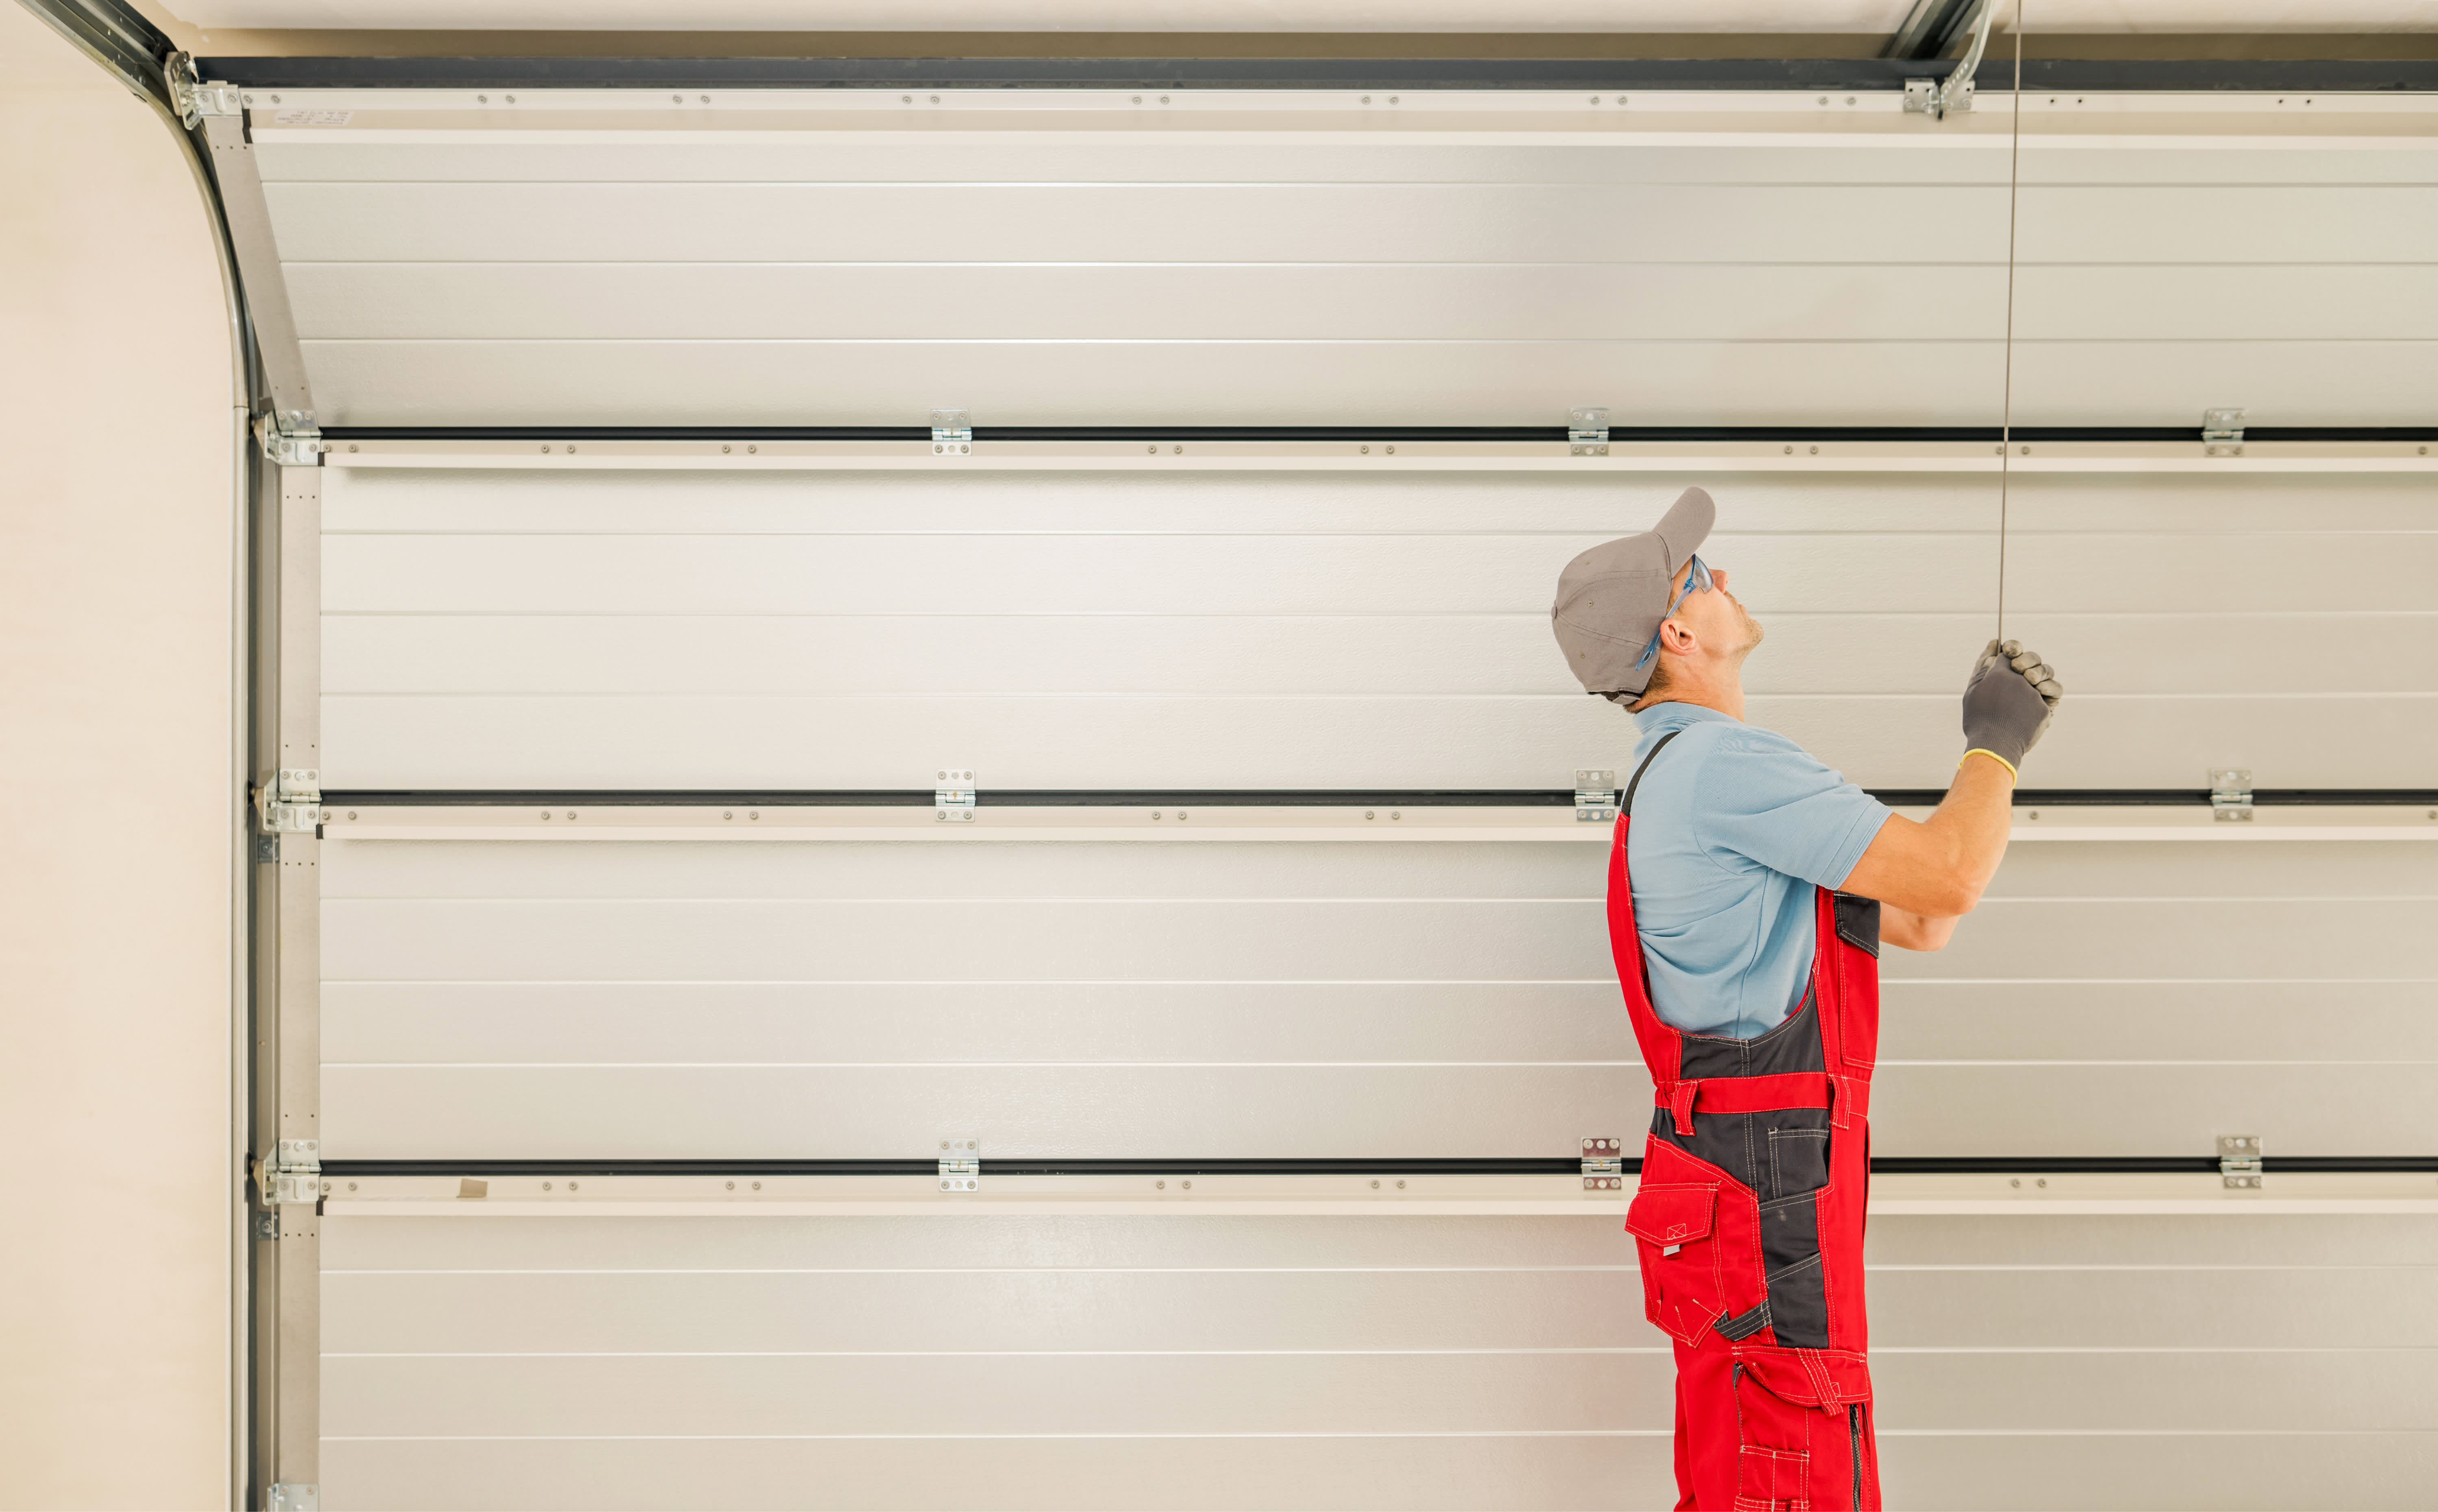
Whether your garage door opener is no longer working because of a faulty old garage door, or you're looking to upgrade your garage door, installing a new door can increase your garage's energy efficiency. Installing a garage door is a bit of a tall order, but this guide is here to help. Keep reading to learn how you can install a garage door yourself.
Installing a garage door without prior experience can be extremely challenging and potentially dangerous. It's highly recommended to contact a pro if you need a garage door installed.

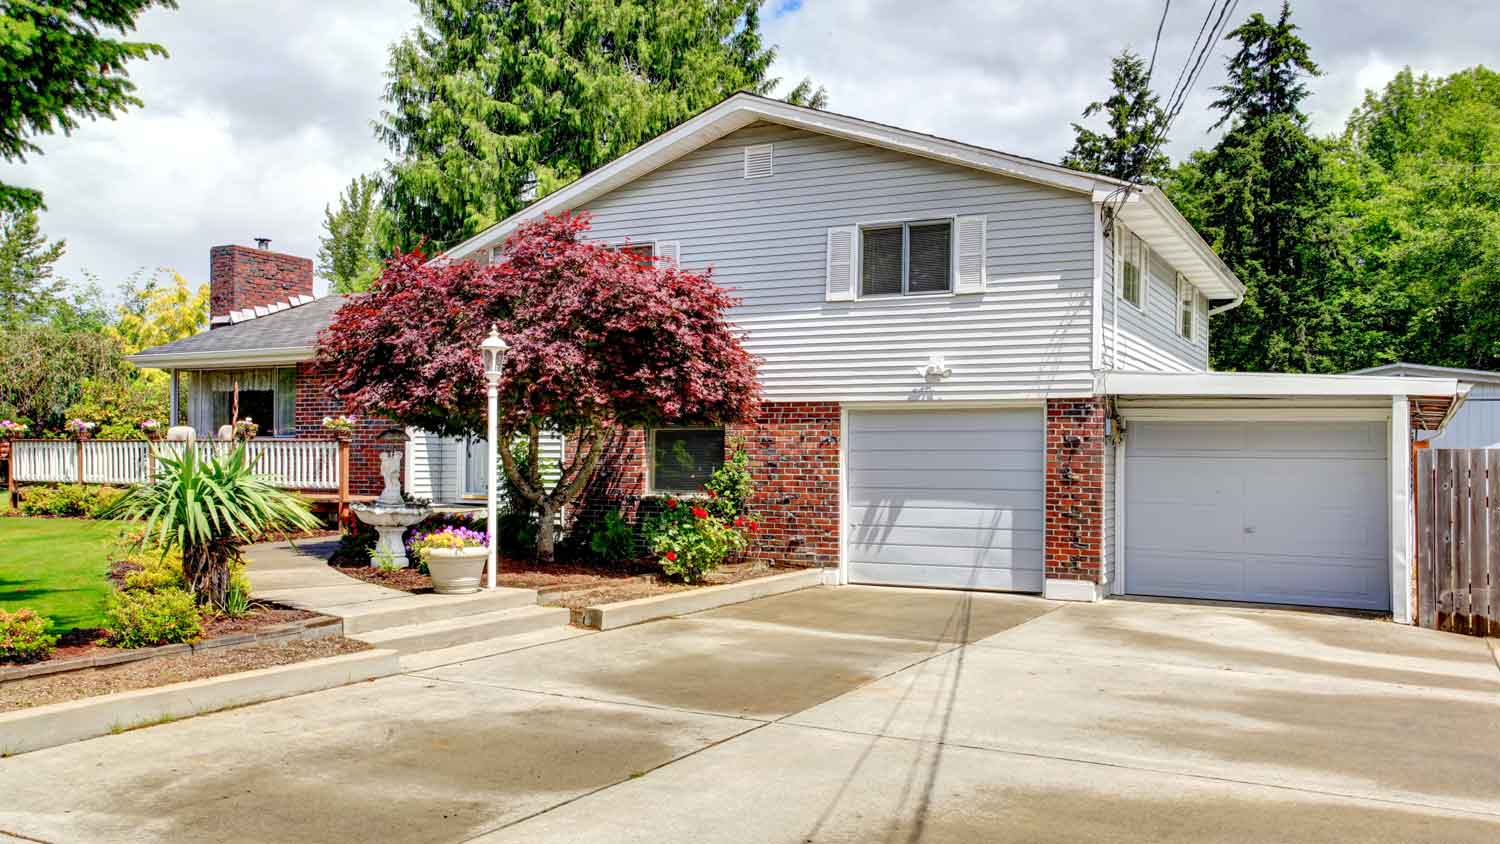
Most double garage doors are 7-by-16 feet, while angle door garages are 7-by-8 or 7-by-9 feet in dimension. Measure your garage opening to know what the right-sized garage door is for your home.
You also have many types of garage door materials to choose from, including garage door alternatives like fiberglass, classic wood, or tried-and-true steel. If you opt for steel, you can choose from standard steel or an insulated garage door.
If you already have an existing garage door, you’ll need to remove it and any parts that came with it using pliers, screwdrivers, or a drill. Remove hangers, pulleys, guide tracks, rollers, cables, springs, pulleys, and more. You may need to call a junk removal company near you to haul away your old garage door and its components.
The bottom of your new garage door should come with rubber weather stripping for insulation. To install it, simply slide or press the weather stripping along the base of the garage door until it completely covers the bottom of the door.
You’ll need to install two brackets—one on each corner of the base of your garage door. These brackets eventually attach to the cables to allow the door to open upward and close downward. Lay the brackets just over the weather stripping and use a screwdriver to secure them together.

The hinges of your door hold the panels together, allowing the door to have mobility. Install the hinges on the top of your panels using your drill. Your hinges should go on the top center and corners of your garage door panels. This will prepare them for the rollers that will attach to the base so that the panels of the garage door can slide. Keep in mind, every garage door is different, so check your instructions as you install the components of your garage door.
After you’ve installed the hinges and brackets, insert the rollers into the brackets of the bottom-most garage door panel so that your panels can easily slide into place as you install them. This will help prevent the panels from moving as you go.
Avoid installing the rollers into the following panels until after you install each one, however, as you’ll have a hard time sliding the rollers into place if they’re already attached to the panels. Instead, install the outermost hinges and rollers as you attach each panel to the panel before it.
Some instructions may say to install the roller track after assembling the garage door panels, so follow the instructions on your particular garage door. For this guide, you’ll want to install the roller track after assembling the first, bottom-most panel. Doing so will help you avoid having to shift the entire weight of the assembled panels to get them to fit the roller track.
Screw the roller track into the wall framing using lag screws and a ratchet or screwdriver—leaving enough wiggle room to adjust the track and assembled door panels as you install each panel in the next step.
The first panel and last panel in your garage door installation require different installation methods than the rest of the panels. You will need a friend to help you center the panels and lift them into place. You’ll also need shims and a leveler to ensure the door is level as you go. If you notice one side is unlevel, place shims under the panel to even it out. To install the first panel, fit it into the roller track, making sure that it’s firmly in place.
Connect the remaining panels by centering them and stacking the panels on top of each other one at a time. Use your drill and 3-inch screws to secure the top brackets of the bottom of the panel to the bottom of the subsequent panel.
Install the hinges in the upper corners of each panel as you attach them to the panel below, and slide rollers for each panel into the roller track as you stack the panels on top of the bottom panel. Check the track and adjust it if you notice the door rubs against the track. Repeat step eight until you’ve installed every hinge and roller and connected all but the last panel together. This step comes after configuring the rest of the track.

Your next step is to connect the two pieces of track. You must do this before you install the final panel to avoid the panel falling in on you while you adjust and install it. To do this, screw the horizontal section of the track into the vertical section using a ratchet wrench and lag screws.
Now that your track is in place, you can install the last panel following the same method used in step eight. Line the panel up against the panel below it, secure it to the brackets on the below panel, and then install the hinges and rollers.
Hook the end of the spring to the hook at the end of the track. With your helper, lift the door up until it slides all the way up the track.
Use your locking pliers to clamp down on the track and prevent the door from sliding down as you work on attaching the cable in the next step.
You may need a step ladder for this step. Attach the cable to the bottom bracket of your garage door and string it through the pulley system, then pull it through the bracket that came with your garage door. Place an S-hook on the bracket and then hook it to the track.
Your garage door’s cable holds a lot of tension, and the last thing you want is for that cable to break and for the spring to go flying and damage your car or harm you or your loved ones. To protect yourself from this worst-case scenario, weave a safety cable through the center of your spring and attach it to the bracket.
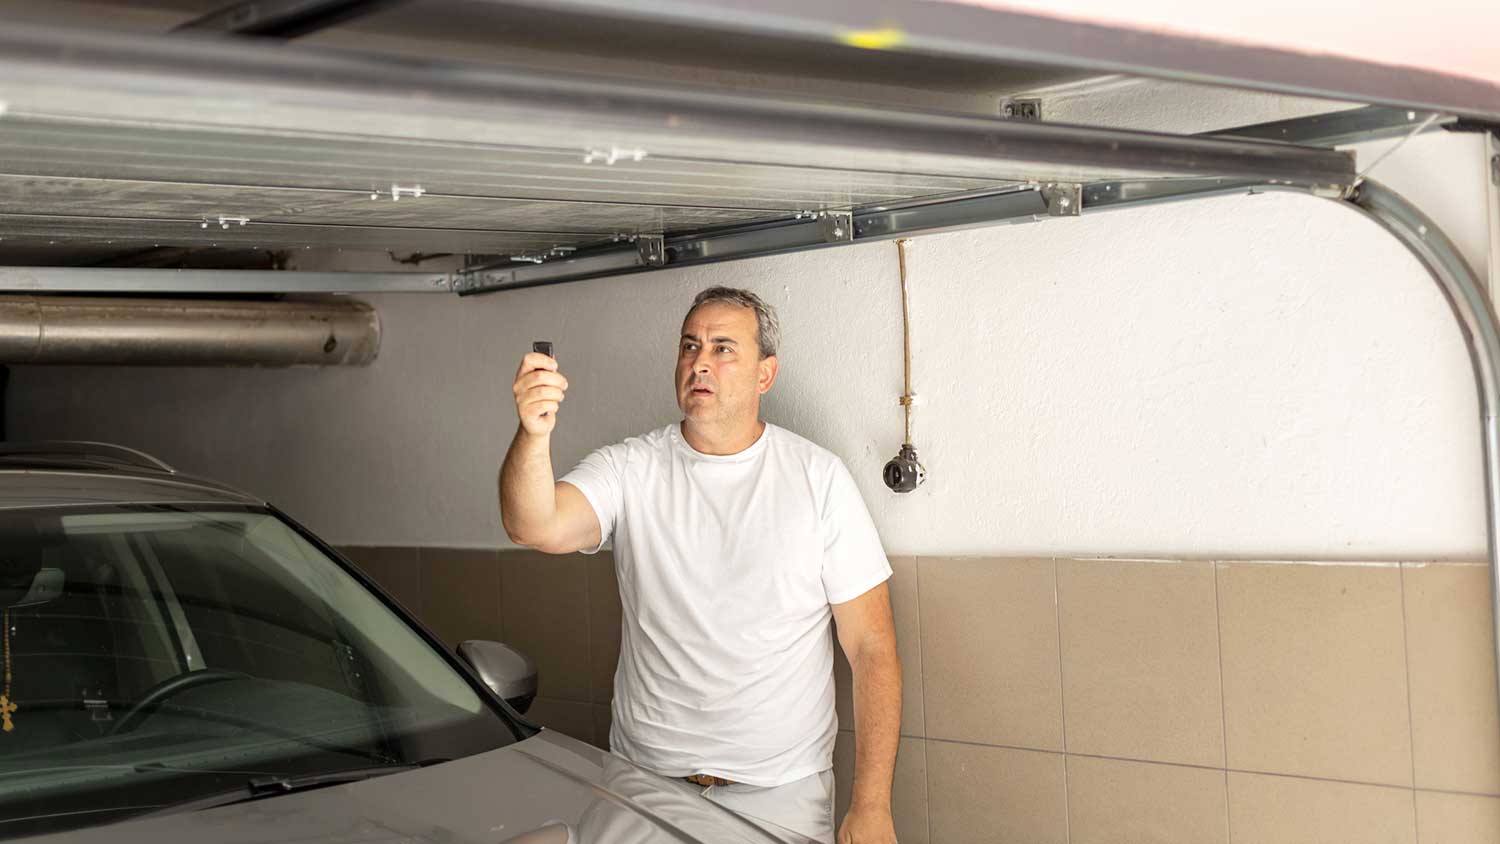
Lower your garage door down to test the cable tension and make sure you’ve completed the job correctly.
Installing a garage door yourself is not the easiest DIY project. For one, there are many steps to follow, and every instruction manual varies. Secondly, garage door panels are heavy and require a helping hand. If you don't have the manual labor to get the job done, then you might want to hire a local garage door installer to safely install your new garage door.
The cost to install a garage door increases by $300 to $500 if you hire a pro. Still, this may be the best option if you don't feel confident doing it yourself.
Jason has helped me with multiple household projects, with the most recent being new door installation. He has always showed up on time and organized and has done an incredible job! Jason is very professional and he's now my go-to for anything around my house that needs to be fixed or...
Company came to look at my garage door that was off track. They also said I needed a brace on the other garage door. They put the door back on track, and I paid to install the brace. The technician told me I needed a new garage door opener, and it would cost $1000. Red flags went off in...
 Precision Overhead Garage Door Service
On Sunday 2/26 I requested quotes via Angi from 4 refrigerator repair businesses. Northwest Appliance responded to me Monday morning (2/27) and my refrigerator was repaired by noon the same day. Great communication, they did everything they said they would. The technician had the parts on...
Excellent customer service and knowledge. I was recommend to him from my neighbour. My front door and window came in great and were installed beautifully perfectly, I m very satisfied with their excellent work, so decided to order one more big bow window for my living room. I cant wait for...
Called ahead and worked quickly to install keyless locks on vintage wooden doors.
Scott did not get appropriate access to the property prior to the scheduled inspection which required us to come back later in the day to complete it. He also, unprofessionally, knocked on a neighbor?s door in his attempts to reach someone with access. His overall report was fine though the...
I highly recommend KTM construction! I will look no where else for anything that needs to be done, in or out side of our property. The level of craftsmanship is 5 star service across the board! The level of detail, knowledge and professionalism is 5 star service across the board! Ken is a...
Door Depot was very responsive - they came out the day after my call to assess my needs, then returned at my convenience to complete the work. They arrived early, and the work was completed in a shorter period of time than estimated. Very pleased with the results. I would definitely use them...
 Door Depot LLC
Replace garage doors: Fast response, competitive estimate, timely work done well.
I would have given an "A" rating were it not for the devil being in the details. 1. The van rear doors, when open, expose the track area and that had not been cleaned. Noticeable only when you look for it and then it's obvious. 2. Was able to get 99.5% of the dog hair out of the cargo area...
 614 Detail
From average costs to expert advice, get all the answers you need to get your job done.
If you live in a climate that experiences harsh winters and summers, you should consider an insulated garage door. Learn what impacts the costs and how it can help save you money over time.

This guide will help you determine the true cost of installing garage door openers. You’ll need to consider type, horsepower, and other factors.
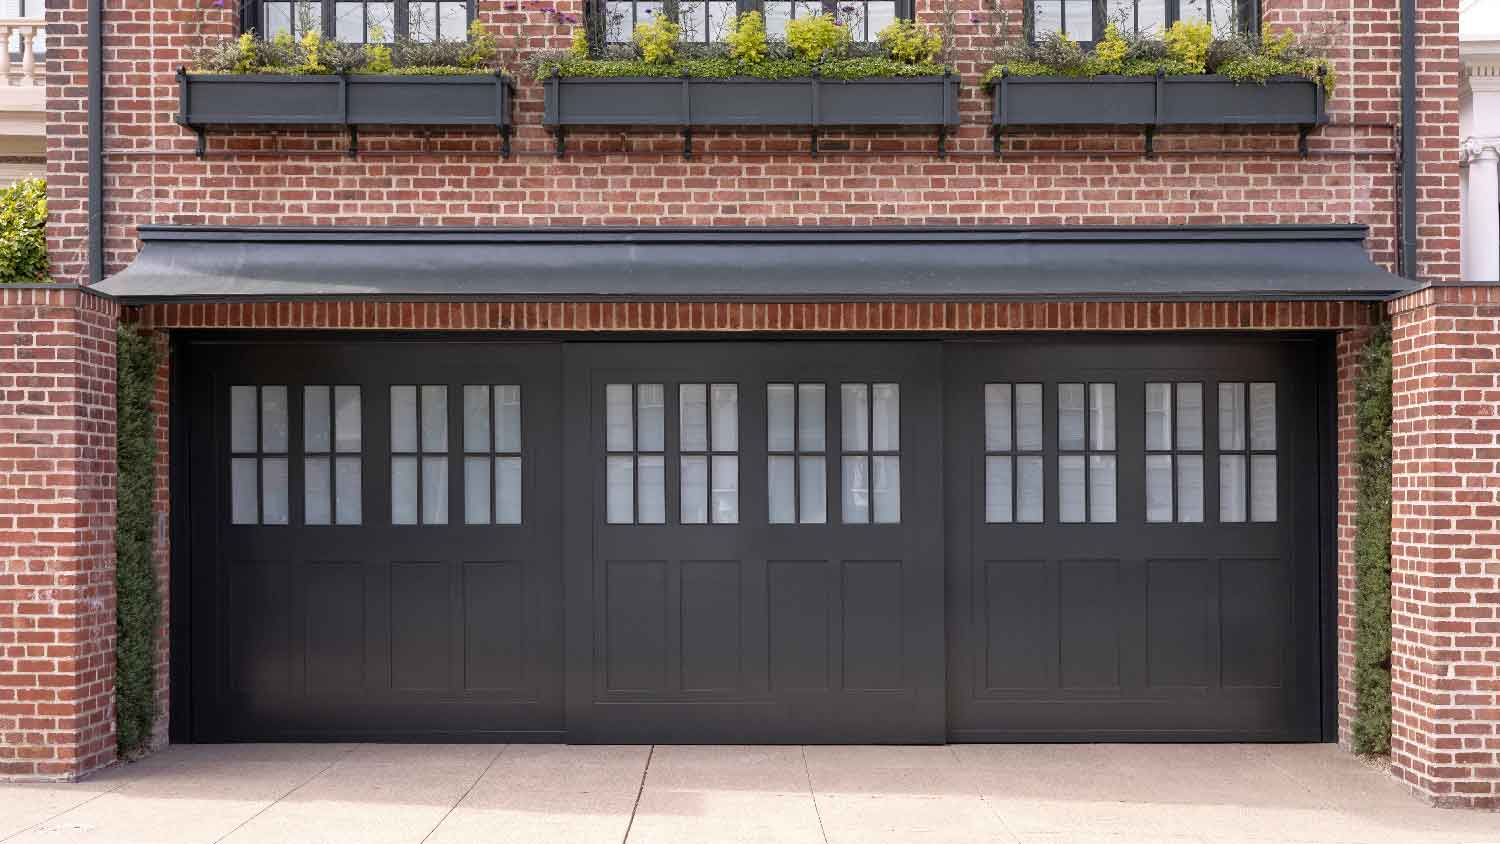
A side sliding garage door costs a pretty penny, but there are serious advantages vs. tilting garage doors. Learn what affects the cost of this seldom-seen door type.
Learn how to frame a garage door with our guide that includes instructions for each step, from measuring the rough opening to installing the side jambs.
Not sure who to call to install a garage door opener? The right person for the job is someone with experience in all garage door-related areas.
Learn how to hire a garage door installation pro with confidence, including comparing prices, verifying credentials, and more.