
Welcome home! How much does exterior door installation cost when it's time to add a new entryway to your front or back porch? Let's take a look.
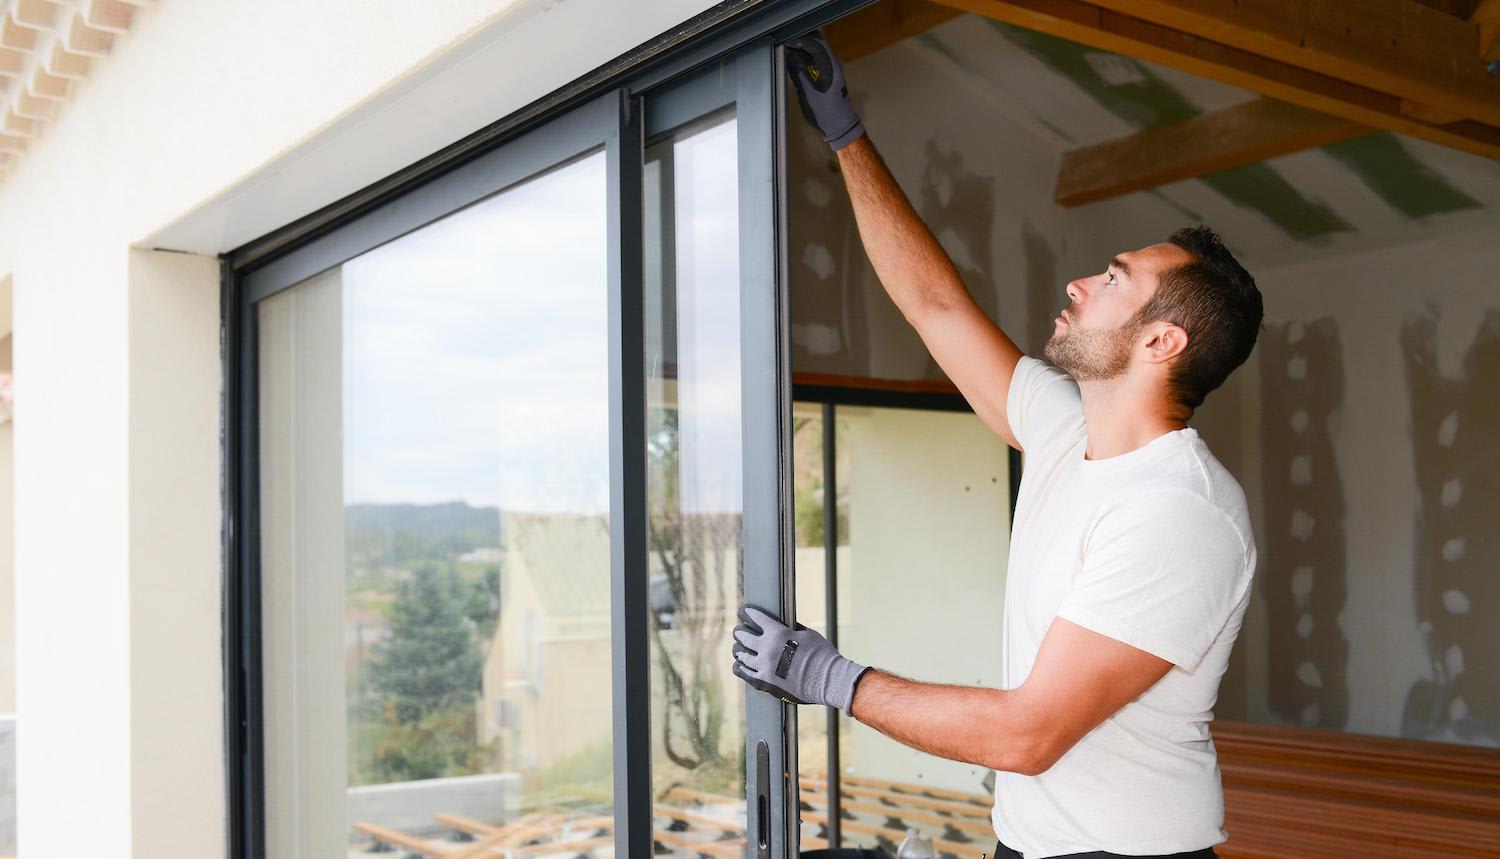
Getting the new exterior door you want hinges on these steps

One of the first things you see when you get home after a long day is your door, which makes it hard to miss those telltale signs of daily usage. So, when you’re tired of looking at it and are ready to give it a makeover, you start considering taking the old one out and putting a new one in its place.
But how do you install an exterior door? This guide will give you a step-by-step guide on exterior door installation and how to know when this is a job better left to the pros.
Different types of doors, such as exterior, interior, fire-rated, and egress doors, have distinct code requirements. A professional door installer has the extensive knowledge to ensure your project is up to code.

Before you start ripping the hinges out, one of the first things you want to do is make sure that you don’t start this project until you have your new door on hand and understand the installation process inside and out. Consider the weight of your door and ask someone to help you install it if it feels too heavy.
Another pro tip is to double-check the handedness of your door. Yes, that mahogany wood door is a beauty, but if your home’s interior layout or furniture placement demands that your door open one way, you could have to undo all of your work, reinstall your old door, and wait for a new door that opens the right way to get delivered.

Your first step to giving your exterior doorway a makeover is to measure your existing door. You don’t want it to be too big or small for its opening, so take your time during this part of the process.
Use a tape measure to measure the height of your door’s opening, where you’ll measure the door jamb from top to bottom. To measure the door height, you’ll need to measure its left, middle, and right sides from top to bottom; use the shortest length. Remember that this is not the rough opening, but rather the actual size of the door you need. The standard height is 80 inches.
Next measure the width of the doorway, you’ll need to measure its top, middle, and bottom horizontally; if each of those measurements is different, use the shortest length.
You’ll also need to measure the width of your door jamb by measuring the distance between the front and back of your door jamb, not including any molding or casing. The standard wall opening for an exterior door is 4-9/16”, but that can vary based on whether or not your home is stick-framed.

If you’re removing an existing door, now’s the time. Put a drop cloth underneath it to help catch any debris that might fall. Remove the interior and exterior trim using a utility knife to cut the caulk.
Next, use a pry bar to loosen and remove it, being extra careful not to damage your drywall on the inside. At this time, also remove any nails. Use a screwdriver and a hammer to remove the hinge pins by positioning your screwdriver at the bottom of the hinge pin, hitting upward until the pin comes out, then take the door off its hinges.
Remove the strike plate using a screwdriver. You can use a drill to remove the screws between the door frame and your house frame, or you can cut them with a reciprocating saw between the door and the framing. Next, pull out the door, starting from the top. If the frame seems a little stubborn, don’t worry, it might be an old caulk and nails holding on tight; just continue gently removing it, then carry it off. But, if it still seems like it doesn’t want to budge, use the reciprocating saw again in those areas to see if it was another hidden nail.
Once you’ve removed the pre-hung door, clean up any caulk still there using a putty knife so you can give your new door a nice, fresh start in its new home.
Now that your rough opening is exposed, measure the width of the side jambs, the opening’s height from the head jamb to the old threshold’s seal, and the wall’s thickness. To make sure everything fits, the rough opening needs to be at least 1/2-inch wider and a 1/4-inch taller than your new door.
Check that everything is level and the door is square and plumb. If it’s not, use shims and screws on the existing frame to level everything off. Then conduct a dry test-fit which means you’re going to position your new door and see if everything fits. And while it's in there, you’d also want to double-check that everything is centered.
Once you’re confident that everything will fit as it should, remove your new door and frame, then apply two to three thick beads of caulk with your caulk gun on the bottom of the sill. Press your sill pan firmly into place onto the caulk.
You should also apply a bead of caulk around the sides of your door on the molding that sticks out on the exterior side of the door.
Insert your door into the opening by placing its bottom on the door sill and tilting the top in. Make sure that the door sits firmly in place by pushing the bottom, middle, and top of the door into the exterior wall. If you have a hardwired doorbell, you can feed the wires through the hole on the molding during this step, as well.
Make sure that your door is centered. If you need more shims, now’s the time to add them. You might need to add a shim behind each hinge on the hinge side, at the top, middle, and bottom of the latch side, and behind the strike plate.
Be sure to use your level to check that the door is plumb on all four sides. Take your time to ensure that the door sits perfectly level before moving on. If the door isn’t perfectly level, it won’t function properly.
Your next step is to secure your door temporarily with a finishing screw at the top of the jamb on the hinge side close to where the hinges sit. If you’re installing a front door that’s prehung, you can go ahead and secure the door frame with screws on the sides as well to keep it permanently in place.
When screwing the door into place, be sure to shim behind all three hinges, as well as behind the strike plate. These are the most common areas where the doorframe could pull away or push inward toward the framing behind it, so shims will help prevent that movement.

Now, you’ll need to install the door hinges. To help make your door more secure and anchor in the shims you placed behind it, remove the top and bottom hinge screw and replace them with a 3-inch screw so it can go through the shim and frame. Check that everything is squared, plumb, and leveled.
While not all prehung exterior doors come with retaining brackets, now’s the time to remove them if yours does have them. Retaining brackets serve to prevent the door from swinging open during shipping and while you’re setting the door in place. They’re just small pieces of plastic that keep the door fixed in the frame. You can pop them out by hand or with a screwdriver.
Some doors also have a retainer in the deadbolt hole, so be sure to remove that as well, if your exterior door has one.
Remove any temporary anchor screws and replace them with galvanized nails every 12 to 14 inches. You can also use galvanized screws to keep your door in place, in which case you can just drive the temporary screws in all the way and add more as needed.
Once you’ve completely attached the door to the frame, you can break off any pieces of shim extending beyond the wall opening. You can use a utility knife to cut them or just break them off.

Now that your door is securely in place and you’re satisfied with its fit, use batt or spray foam insulation around your door frame. Be careful when applying the insulation because too much can shift your door, making it not level or plumb anymore.
After insulating, add your new trim following the manufacturer’s instructions and add caulk along the joints and edges. This will serve to weatherproof your door and prevent unconditioned air and bugs from entering through any gaps. Also, fill any nail or screw holes with paintable caulk.
You’ll want to maintain your exterior door to keep unconditioned air and water out over time, so it might be a good idea not to caulk around the trim. That way, you can get easy access to insulation and caulk behind the trim in the future.

And finally, install your door lock and strike plate. Double check that the components line up properly before affixing them. You can use the hardware that came with your door to attach the deadbolt to the door, but we recommend upgrading to 3-inch screws to attach your strike plate. This adds a bit of security when installing an exterior door.
You can also install the handle, making sure to follow the manufacturer’s instructions.
The cost to install an exterior door professionally is $540 to $2,230, but it’s a worthwhile investment for peace of mind. If you add on the cost of installing a screen door, you’re looking at an extra $100 and $1,500. DIYers may save between $300 and $500 on labor costs if they have the right experience. Much of the cost comes down to the materials—a solid wood door can cost up to $5,000.
With some time and patience, it’s possible to install your exterior door yourself and save money on labor fees. However, unless you’re familiar with installing doors or the process involved with ensuring your door is secure and plumb, we recommend considering hiring a door installer near you. Exterior doors not only need to be properly sealed to prevent drafts, pest infestation, and water intrusion, but they also need to maintain security for your home to keep you safe. Any mistakes in the installation process could lead to property damage and decreased safety.
Based on data from Angi, 84% of homeowners are looking to replace an existing door when it comes to exterior door installation. Only 15% want to add an exterior door when one didn’t already exist. If you’re not sure what your situation calls for, get in touch with a local door installation professional.
Terrible experience. Walls/trim/floors/cabinets/doors all have drip marks, overspray, etc. Tiling at the fireplace had to be redone by another vendor due to incorrect and shoddy install by Profect. Contractor had his children in our house while he was on site without prior authorization or...
 Profect painting & exteriors
Jason has helped me with multiple household projects, with the most recent being new door installation. He has always showed up on time and organized and has done an incredible job! Jason is very professional and he's now my go-to for anything around my house that needs to be fixed or...
Company came to look at my garage door that was off track. They also said I needed a brace on the other garage door. They put the door back on track, and I paid to install the brace. The technician told me I needed a new garage door opener, and it would cost $1000. Red flags went off in...
 Precision Overhead Garage Door Service
On Sunday 2/26 I requested quotes via Angi from 4 refrigerator repair businesses. Northwest Appliance responded to me Monday morning (2/27) and my refrigerator was repaired by noon the same day. Great communication, they did everything they said they would. The technician had the parts on...
Excellent customer service and knowledge. I was recommend to him from my neighbour. My front door and window came in great and were installed beautifully perfectly, I m very satisfied with their excellent work, so decided to order one more big bow window for my living room. I cant wait for...
Called ahead and worked quickly to install keyless locks on vintage wooden doors.
Scott did not get appropriate access to the property prior to the scheduled inspection which required us to come back later in the day to complete it. He also, unprofessionally, knocked on a neighbor?s door in his attempts to reach someone with access. His overall report was fine though the...
Door Depot was very responsive - they came out the day after my call to assess my needs, then returned at my convenience to complete the work. They arrived early, and the work was completed in a shorter period of time than estimated. Very pleased with the results. I would definitely use them...
 Door Depot LLC
Replace garage doors: Fast response, competitive estimate, timely work done well.
Jeremiah did an awesome job cleaning 28 windows inside and out! He was fast, efficient and now I have a beautiful view again. This was a Groupon for $139 for 20 windows, but I had 28 windows/doors cleaned, so there was an extra $6 per window. Totally worth it.
 Complete Home Services
From average costs to expert advice, get all the answers you need to get your job done.
Welcome home! How much does exterior door installation cost when it's time to add a new entryway to your front or back porch? Let's take a look.

Are you looking to upgrade an old door in your home? Use this interior door installation cost guide to estimate the project's total cost and learn how to save.
Whether you’re installing a new door or replacing an existing one, the cost of door installation varies based on location, door type, framing needs, and other factors.
If you need to install or replace your exterior doors, you should start by asking your contractor these door installation questions.
Doors don’t have a one-size-fits-all option. Read on to see the standard door sizes you can expect when purchasing your next one.
Learn how to hire a door installer, from finding qualified pros to questions to ask. Get expert tips for hiring the best door installation contractor.