How to Install a 240-Volt Outlet for an Electric Car
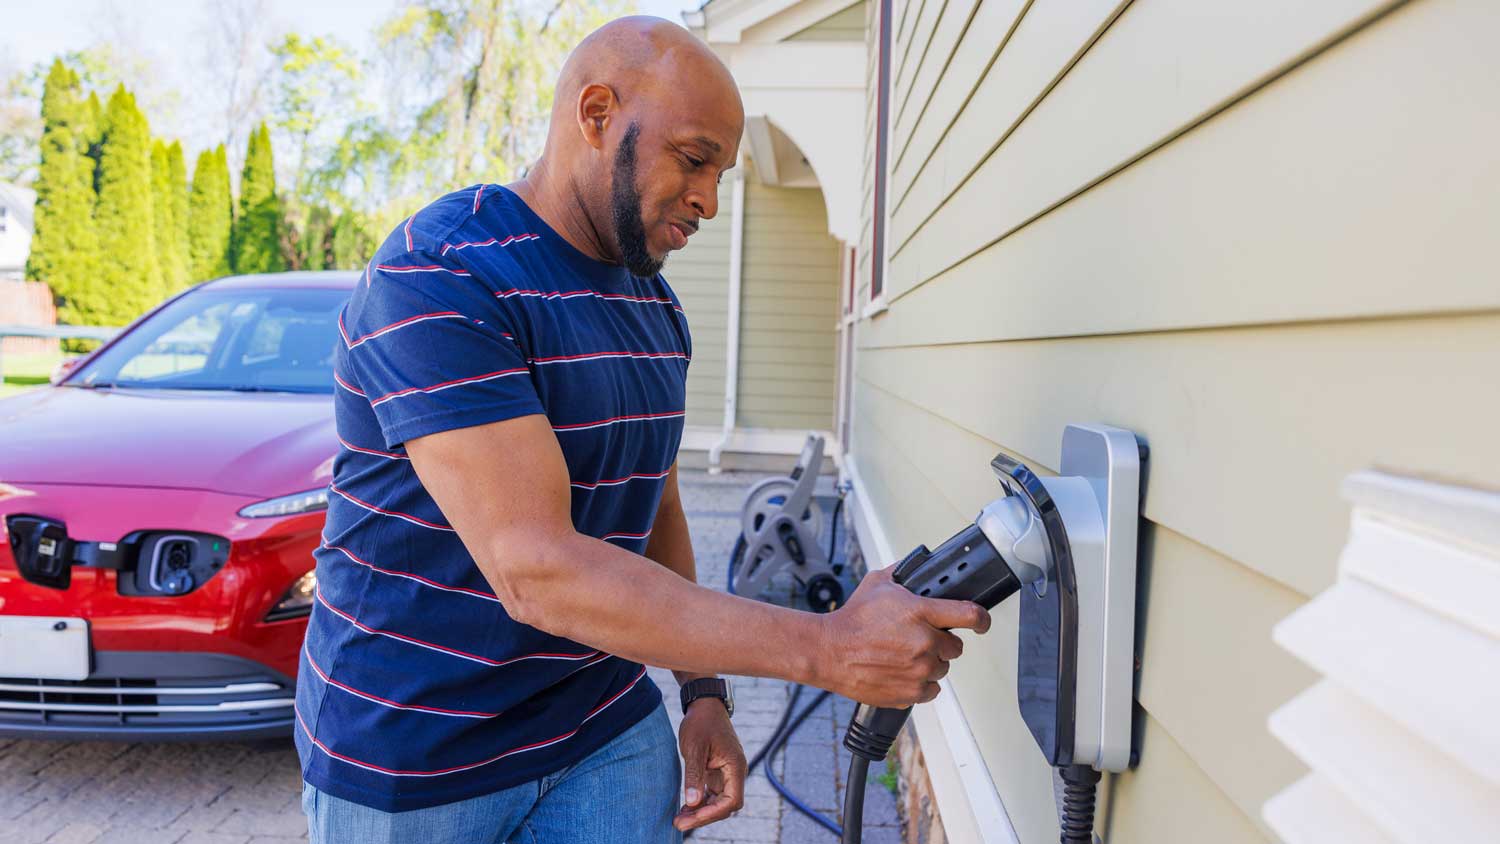
Take your EV charging to the next level with a 240-volt outlet

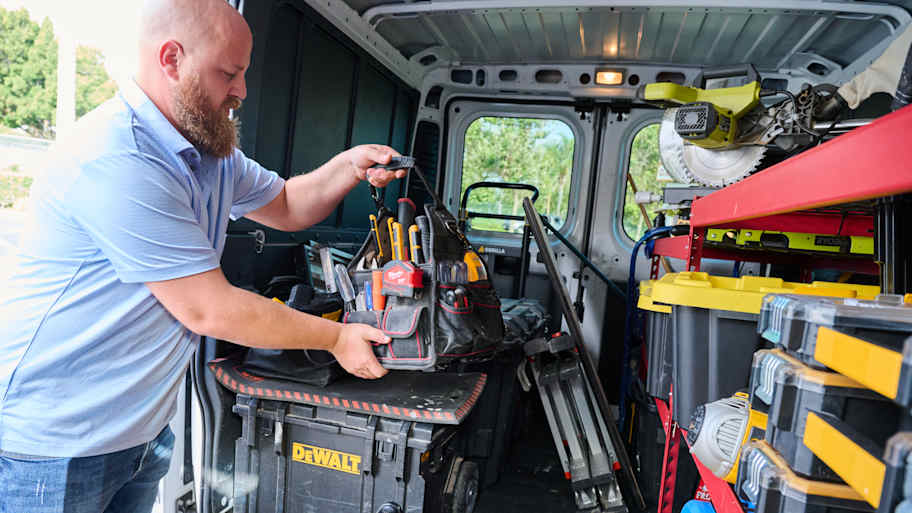
This project requires a lot of experience, so we don’t recommend DIYing it. Hire a pro with the special skills and tools necessary to complete the job safely.
- Voltage tester
- Drill
- Screwdrivers
- Wire strippers
- Measuring tape
- 240-volt outlet
- Electrical conduit
- Double-pole circuit breaker
- Electrical wire
- Mounting hardware
Installing a 240-volt outlet for your electric car is an excellent investment because it significantly reduces EV charging times compared to a conventional 120-volt outlet. Known as a Level 2 charger, this upgrade allows you to fully recharge your vehicle overnight or in a few hours. Plus, it improves charging efficiency and lets you take advantage of lower electricity rates during off-peak hours. This guide will walk you through the installation process, from selecting the right location to ensuring a safe and efficient setup.
Obtain the Proper Permits
Most municipalities require an electrical building permit to install a new outlet. Before you start this project, consult your local permit office to confirm requirements and obtain any necessary documentation. If you hire a licensed electrician, they will handle this process on your behalf.
Choose the Right Location
When planning your electric car charger installation, it’s best to install the outlet in the garage where you park your EV, rather than the driveway, as it will shield the outlet from the elements and prolong its lifespan. Ensure it’s within reach of your charging cable and mounted at a convenient height (typically 18 to 48 inches from the ground). Always check local electrical codes to ensure you comply with any placement regulations.
Shut Off Power at the Breaker
Before you start, shut off the main power supply at the breaker to prevent the risk of electrocution while you or your electrician work. Use a voltage tester on an existing outlet to verify that the power is completely off before proceeding to the next step.
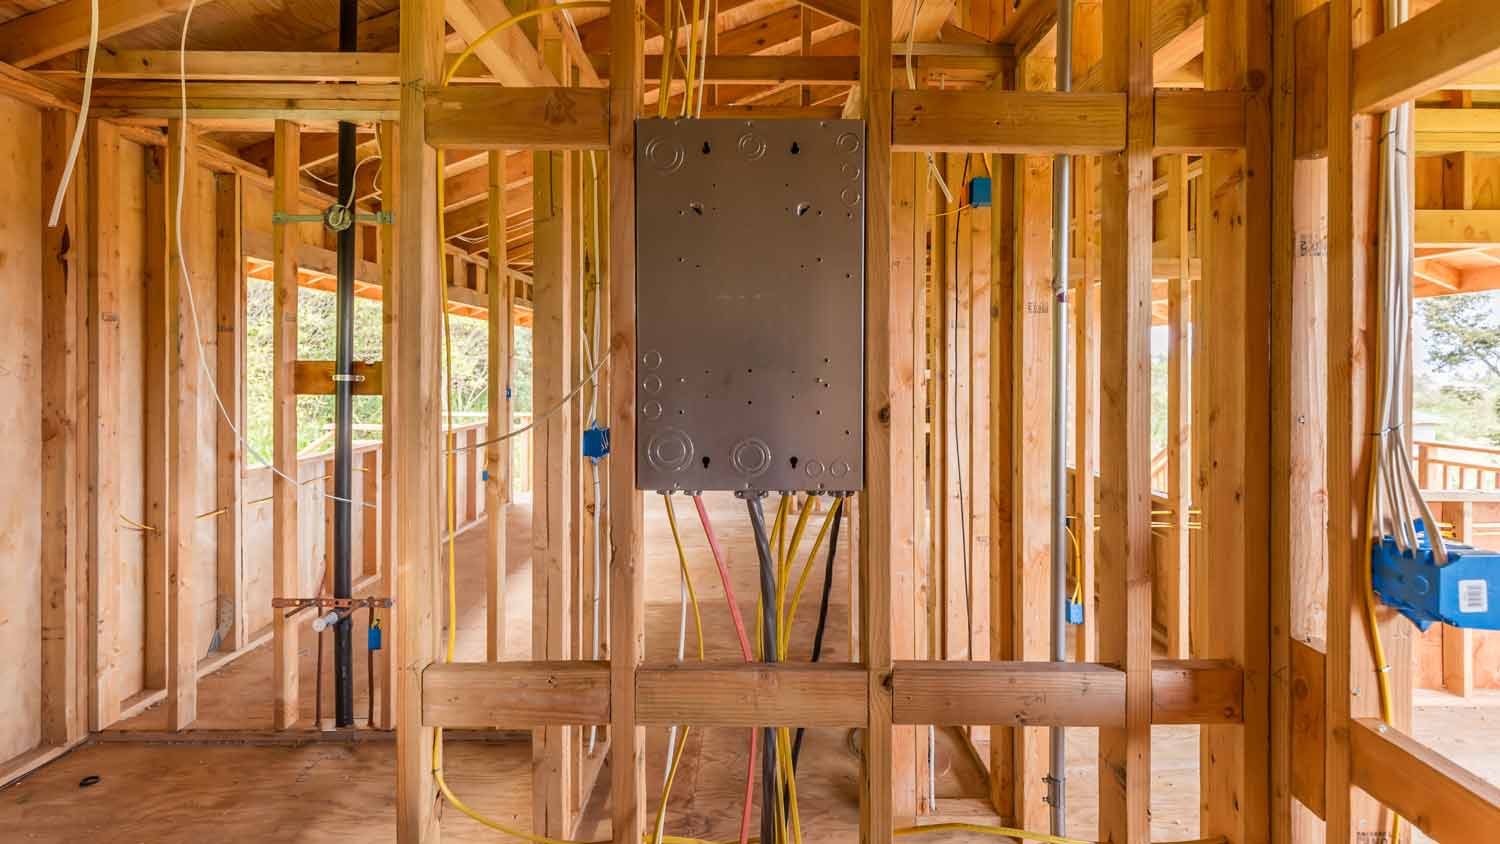
Plan the Wiring
Next, plan the wiring route from the panel to the installation site, ensuring a clear and accessible path. Always use the appropriate wire gauge for the amperage of your EV charger. You’ll also need to determine whether you need to upgrade your electrical panel for your EV charger, which is only necessary if you have 100-amp service. If you’re not sure, calculate your home’s electrical load to ensure your current service can accommodate your EV charger.
Install the Circuit Breaker
Open the breaker panel and install a dedicated double-pole circuit breaker that matches the amperage of your charger (usually around 50 amps). Connect the wires to the breaker following the manufacturer’s instructions, ensuring everything is connected properly for safety.
Run and Connect the Wiring
Run the wire from the panel to the outlet location through conduit. Connect the wires by color to the 240-volt outlet terminals: Hot (black and red), neutral (white), and ground (green or bare copper). Secure all connections tightly.
Mount and Test the Outlet
Secure the outlet box to the wall with appropriate mounting hardware. Restore power at the breaker panel and use a voltage tester to confirm the correct voltage before plugging in your EV charger.
Mistakes to Avoid When Installing a 240-Volt Outlet

This electrical task is complicated and should be completed by a local electrician. However, if you choose to install a 240-volt outlet yourself, be sure to avoid these mistakes:
Attempting an installation without proper expertise: This installation should only be attempted with proper electrical knowledge, as there is high risk of electrical shock or fires from improper installation.
Using the wrong wire gauge: Undersized wiring can overheat and pose safety risks.
Skipping over local code requirements: Improper installation that doesn’t strictly follow code regulations may lead to inspection failures or safety hazards in the future.
Overloading the circuit: Ensure your breaker and wiring can handle the EV charger’s power requirements.

DIY vs. Hiring a Pro
If you’re not trained to perform electrical work, hiring a licensed local electrician is necessary for this project, and may even be required by law to receive the proper permitting. The cost of hiring an electrician averages between $200 and $300, so it’s well worth the extra spending to avoid the risk of electrical shock and fire hazards in the future. When in doubt, always hire out.
Frequently Asked Questions
The cost of installing a 240-volt outlet for an electric car averages between $175 and $300. Depending on the type of outlet as well as labor costs, you might pay as little as $130 or upwards of $400. Hiring a professional electrician makes up the bulk of the expense but ensures a safe and code-compliant installation.
When converting a standard 120-volt outlet to a 240-volt outlet, the only components you can typically reuse are the existing electrical box and the hole in the wall. Everything else—including the wiring, breaker, and receptacle—should be replaced to ensure both safety and efficiency. Additionally, appliances designed for 240 volts have different plug configurations that won’t fit into a standard 120-volt outlet, making it necessary to install a compatible 240-volt receptacle.
If you’re wondering if you can use your electric vehicle as a backup battery, it depends on whether your EV is compatible with bidirectional charging. This technology allows energy to flow both ways, enabling vehicle-to-home (V2H) backup power, vehicle-to-load (V2L) for appliances and camping, and vehicle-to-grid (V2G) to support the power grid. Compatible EVs convert stored DC energy into usable AC power, helping reduce energy costs and enhance grid stability while providing emergency backup power.


.jpg?impolicy=leadImage)

- Home Generator Repair
- Lamp Repair
- Electric Repair
- Generator Installation
- TV Antenna Services
- Emergency Electricians
- Commercial Electricians
- Attic Fan Installation
- Attic Fan Repair
- Exhaust Fan Installation
- Electric Inspectors
- Subcontractors
- Electrical Construction
- EV Charger Installer
- Chandelier Installation
- Doorbell Installation
- Bathroom Fan Installation
- Ring Installers
- Electrical Panel Upgrade
Get our Angi-powered app


