
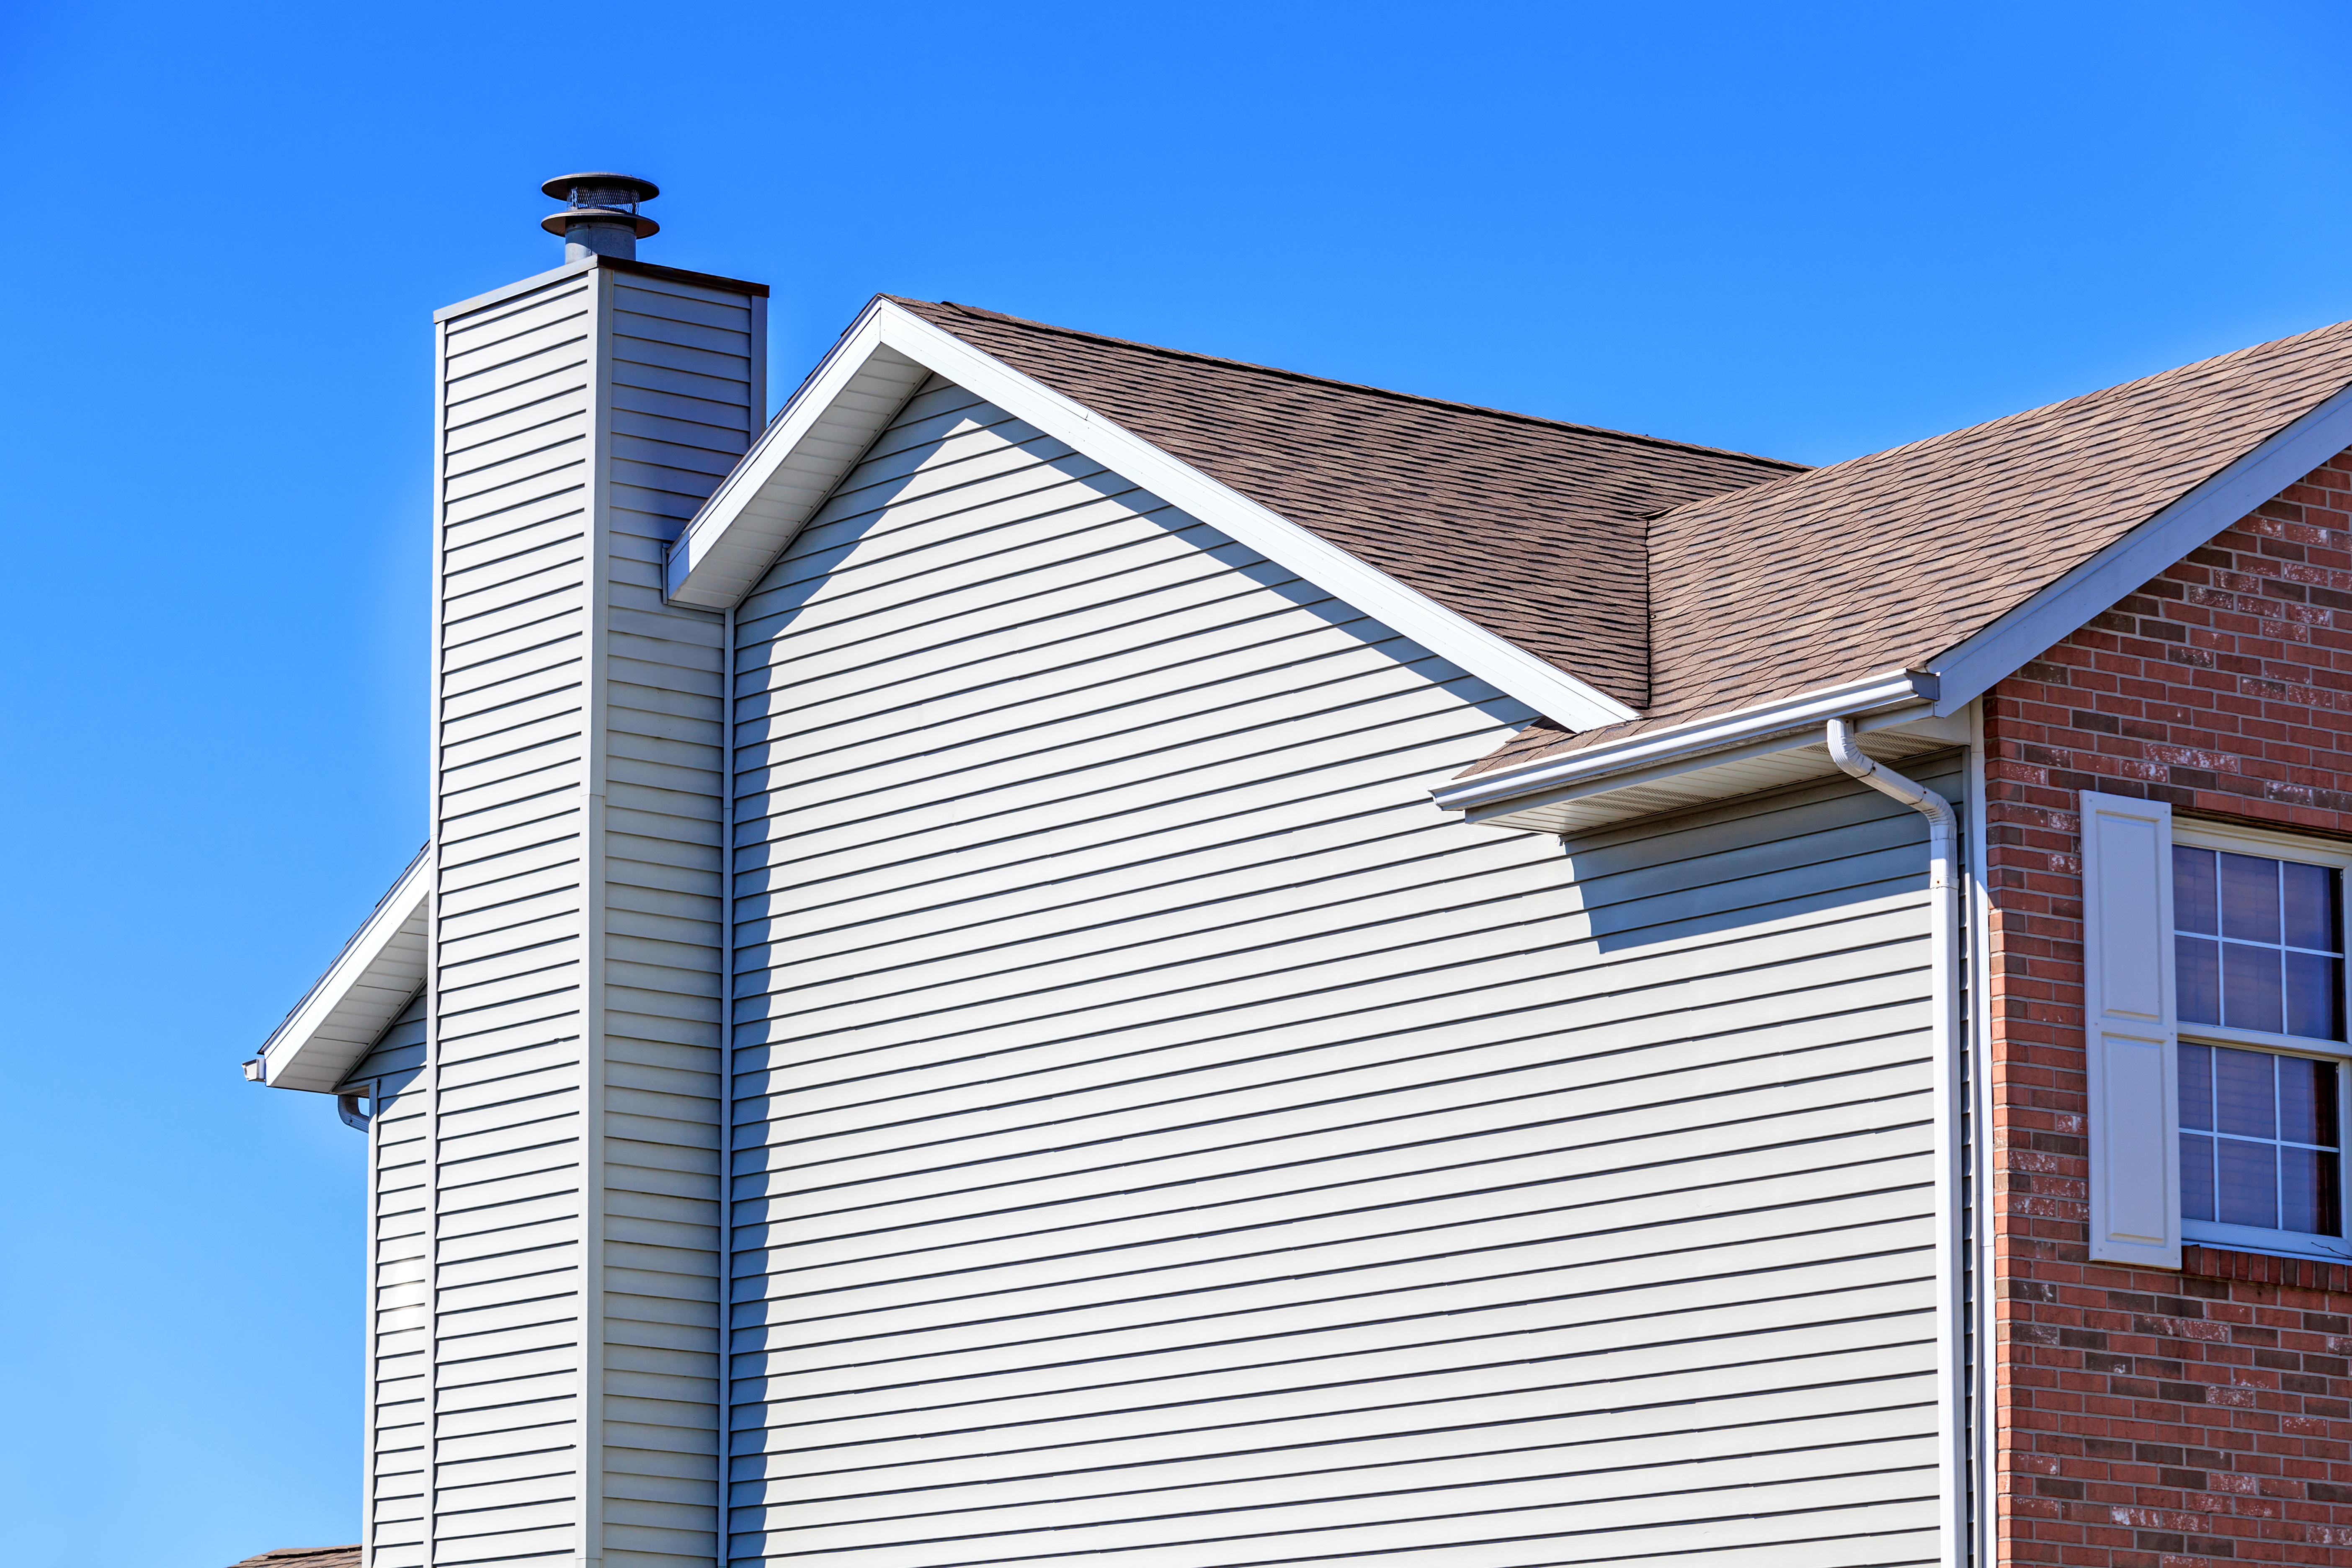
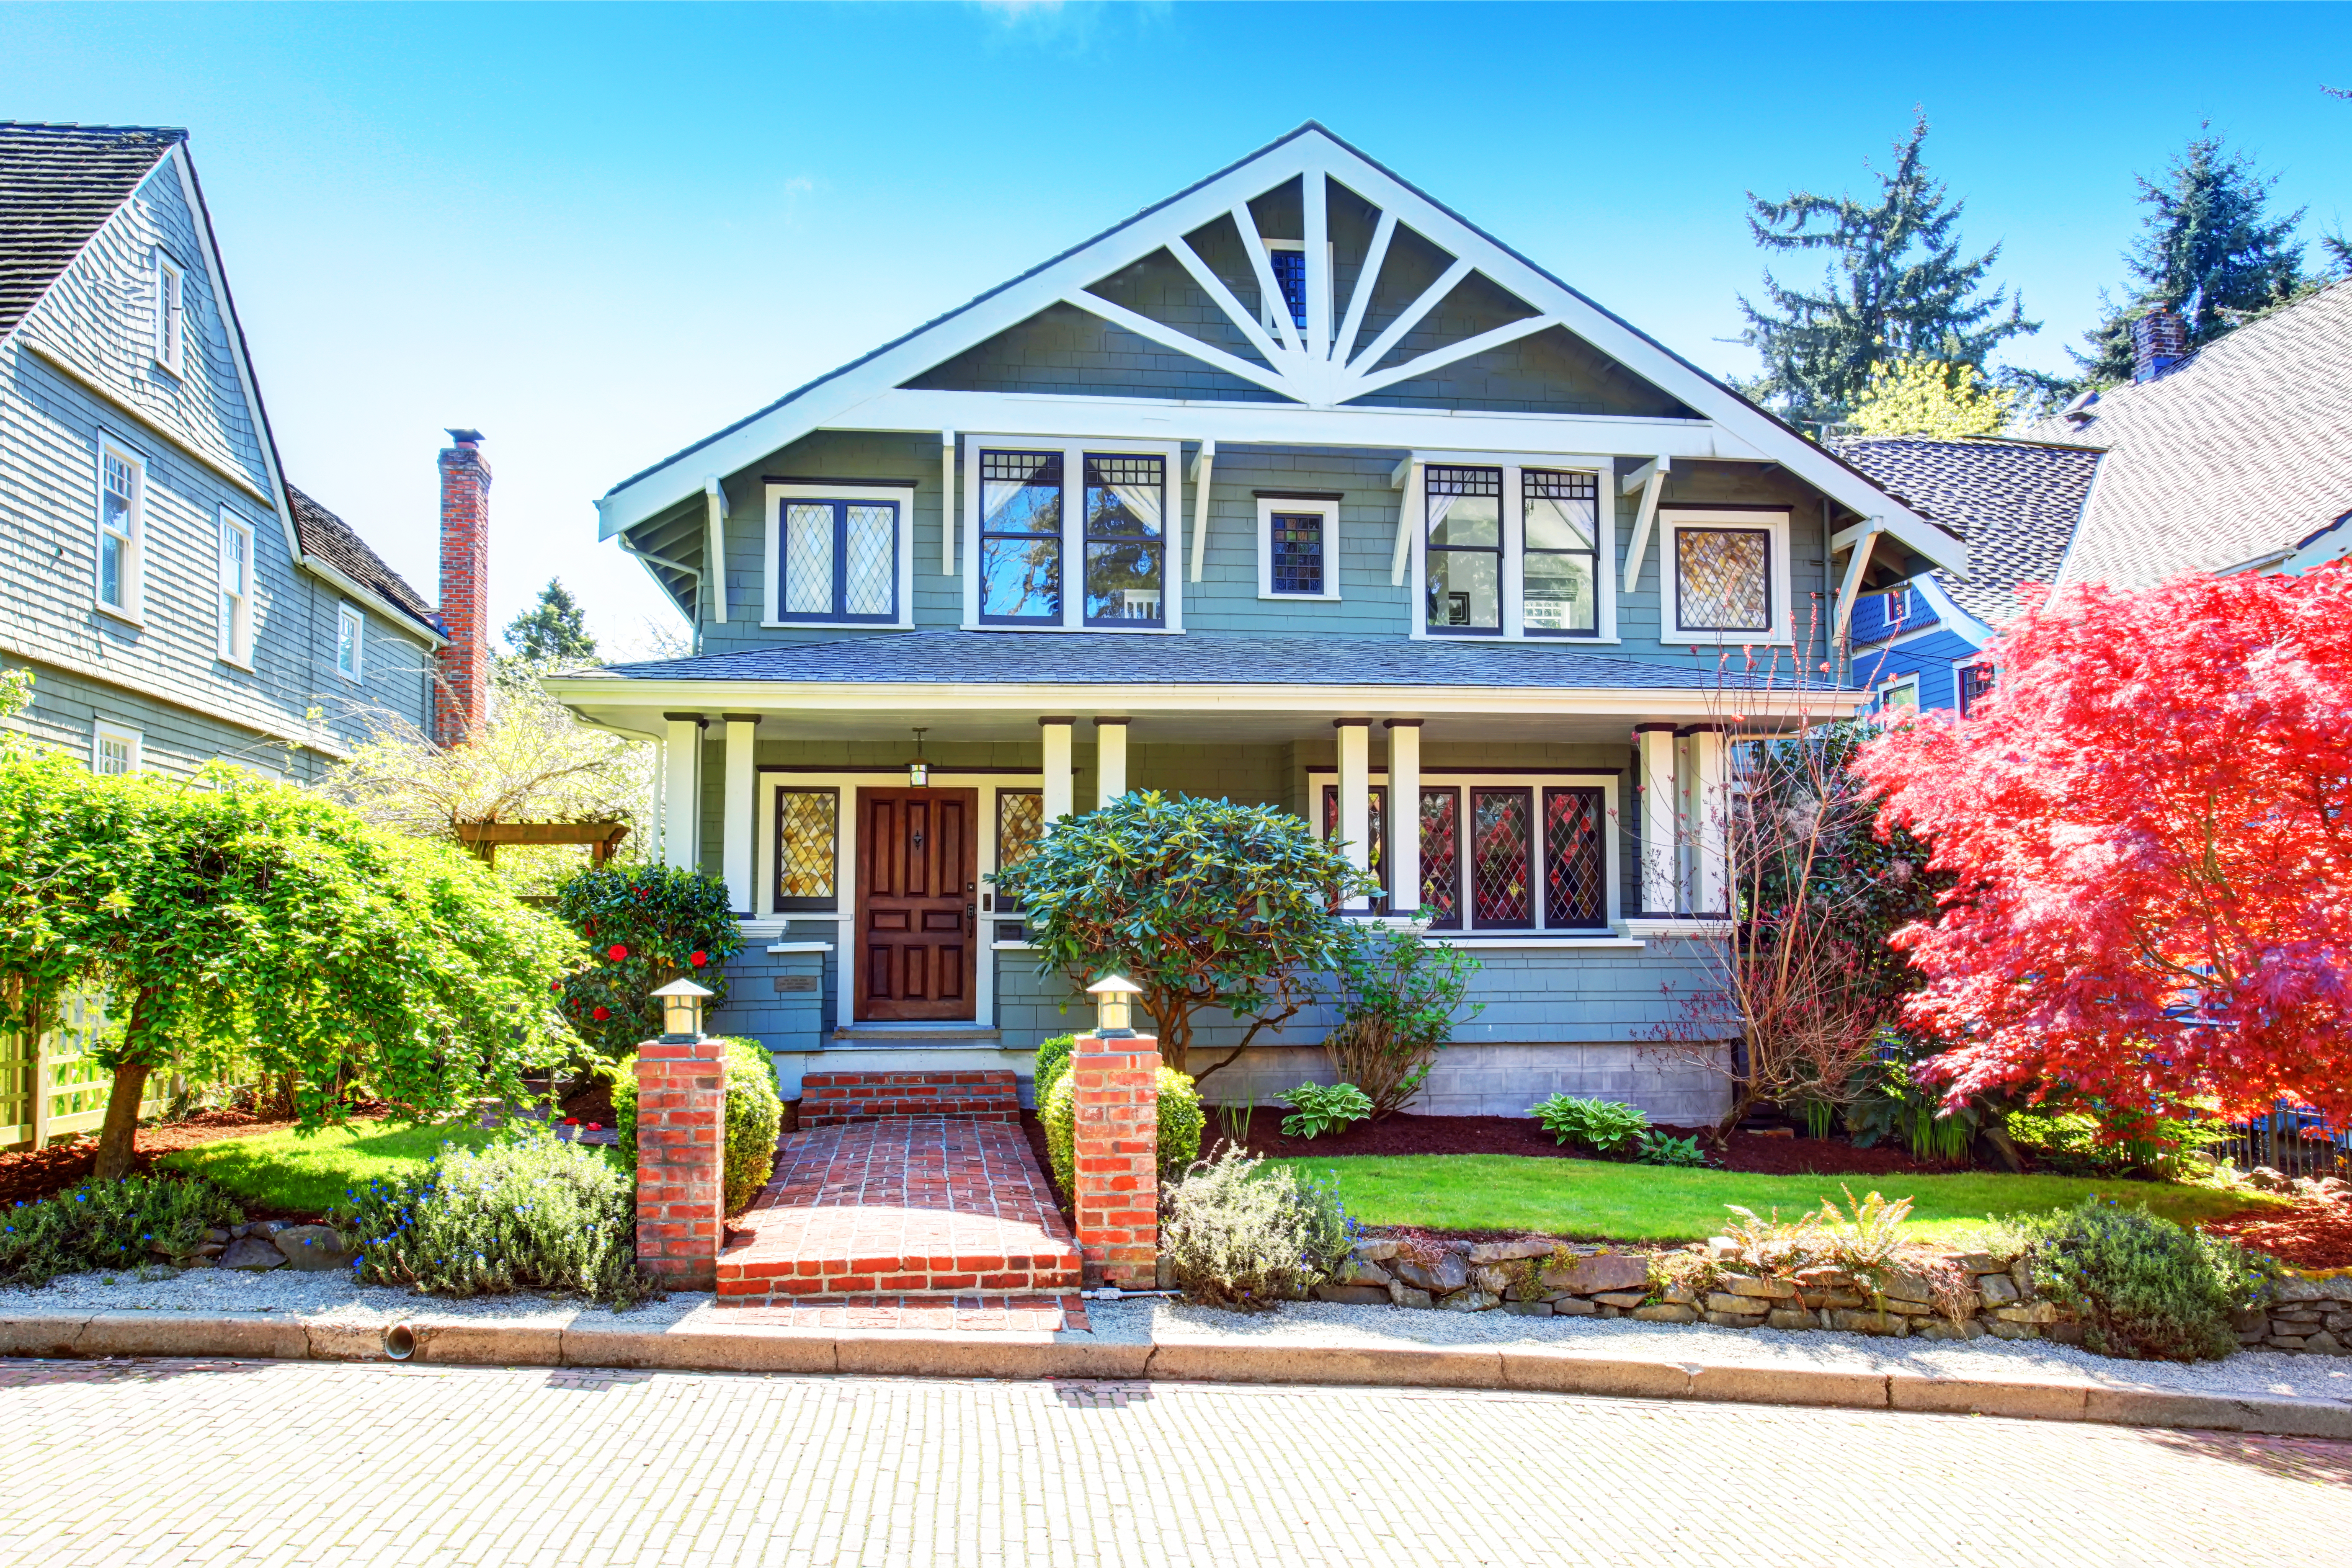
In addition to protecting against extreme Midwest temperatures, new siding in Columbus adds curb appeal. Learn about siding replacement cost in Columbus.
Enhance your home’s exterior with EIFS


While a professional EIFS installation costs around $12,000 to $21,000 for a 1,500-square-foot home, use a siding contractor for this highly complex project.
Preparing the home’s exterior is essential for a successful EIFS installation, and a pro has the skill and experience to streamline this task.
DIY mistakes made during EIFS installation can cause water and structural damage to your home.
Local building codes are extremely detailed in guiding EIFS installations, so DIYers may struggle to meet the requirements.
From protecting your home’s exterior to aesthetic appeal, EIFS has a host of benefits. Reaping those benefits depend on a quality installation job or learning how to install EIFS. While EIFS installation can be time-consuming and complex, a professional siding contractor can handle the job. Here’s how to install EIFS in five steps.
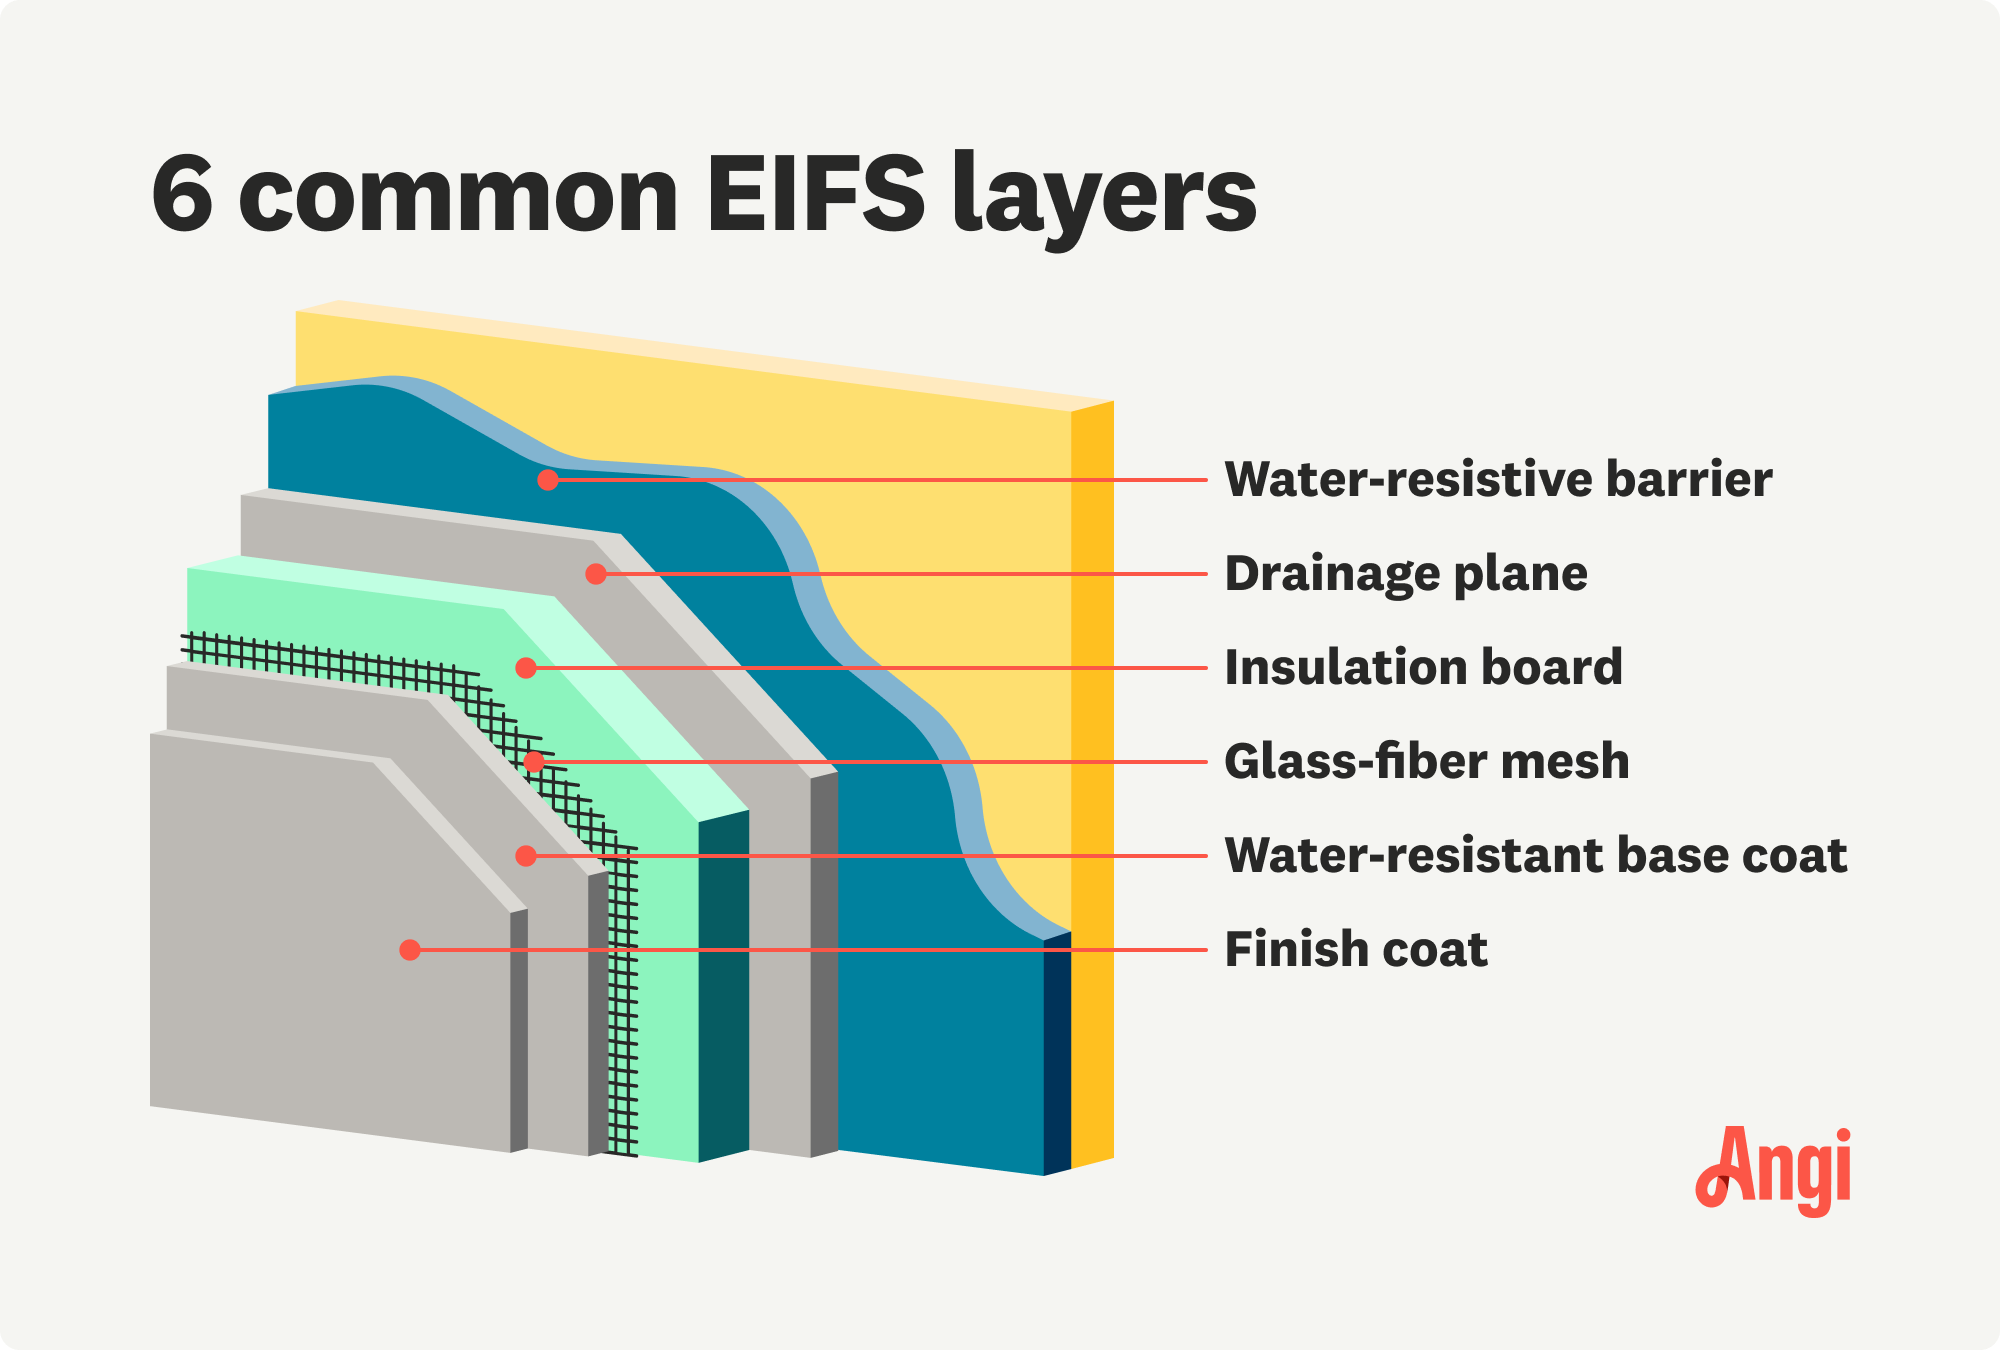
An exterior finish is the protective material that helps your home withstand the elements while also elevating its appearance. Exterior Insulation and Finish Systems, also known as EIFS, is one popular type of exterior cladding that has six layers. These several layers function together to insulate your home, boost its energy efficiency, and make it more durable.
You might also hear EIFS called “synthetic stucco” which is vastly different from traditional stucco, though similar in appearance. EIFS is lightweight, flexible, and comes in a variety of textures and striking colors—making it a great choice for homes in areas with extreme climates and homeowners after a unique look.
Compared to traditional stucco, installing EIFS can take more time, which increases installation costs. You can expect to pay between $8 and $14 per square foot for EIFS installation. For a 1,500-square-foot home, most homeowners are looking at a final price tag of anywhere from $12,000 to $21,000. While installation costs are more expensive, EIFS is extremely durable which eliminates the cost to replace siding.
For optimal results, it’s very important to prepare the exterior of your home before installing EIFS. Begin by choosing the right materials for installation based on weather, insulation, and your decorative vision. Working closely with your siding contractor can help you stay mindful of local building requirements and other factors that can affect installation.
Next, inspect the surface for any cracks, existing damage, or weathered areas. If you come across any damage, make sure to address it before moving ahead with prep. Finally, clean the surface of any debris and allow it to dry completely.
Since EIFS consists of many layers, installing this type of exterior finish properly requires a high level of knowledge and flawless execution. Unless you have extensive experience with EIFS installation, we recommend that you let a siding pro tackle the job. Follow these essential steps when installing EIFS.
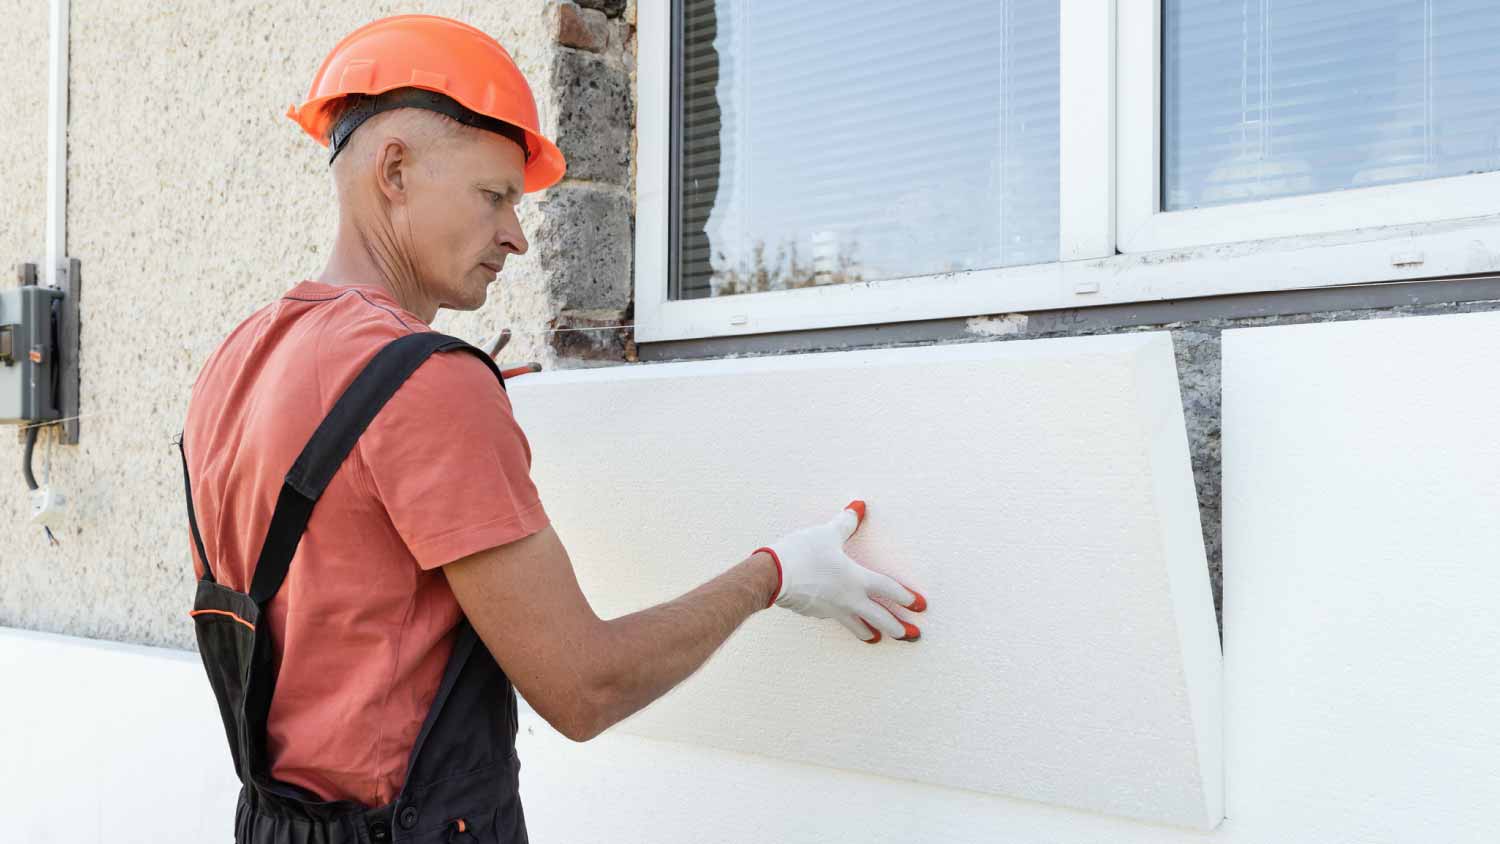
Before starting any installation, check that your surface is clean, dry, and free of any damage. Then, proceed with installing the first layer of EIFS, which are the insulation boards. These boards are made of expanded polystyrene and attached to your existing surface using an adhesive or mechanical fastening. Cut insulation boards to fit the surface. Next, apply your adhesive and place them on your home’s exterior to provide insulation.
After installing the insulation, you’ll need to apply a water-resistant base coat on top of the insulation. The base coat can either be an acrylic or polymer-based cement material. Mix the base coat according to the manufacturer’s instructions. Then, use a trowel to apply a layer over the foam boards.
While the base coat is still wet, embed glass-fiber mesh into it for reinforcement. The mesh provides extra strength and flexibility, allowing the EIFS to bond properly and have maximum durability.
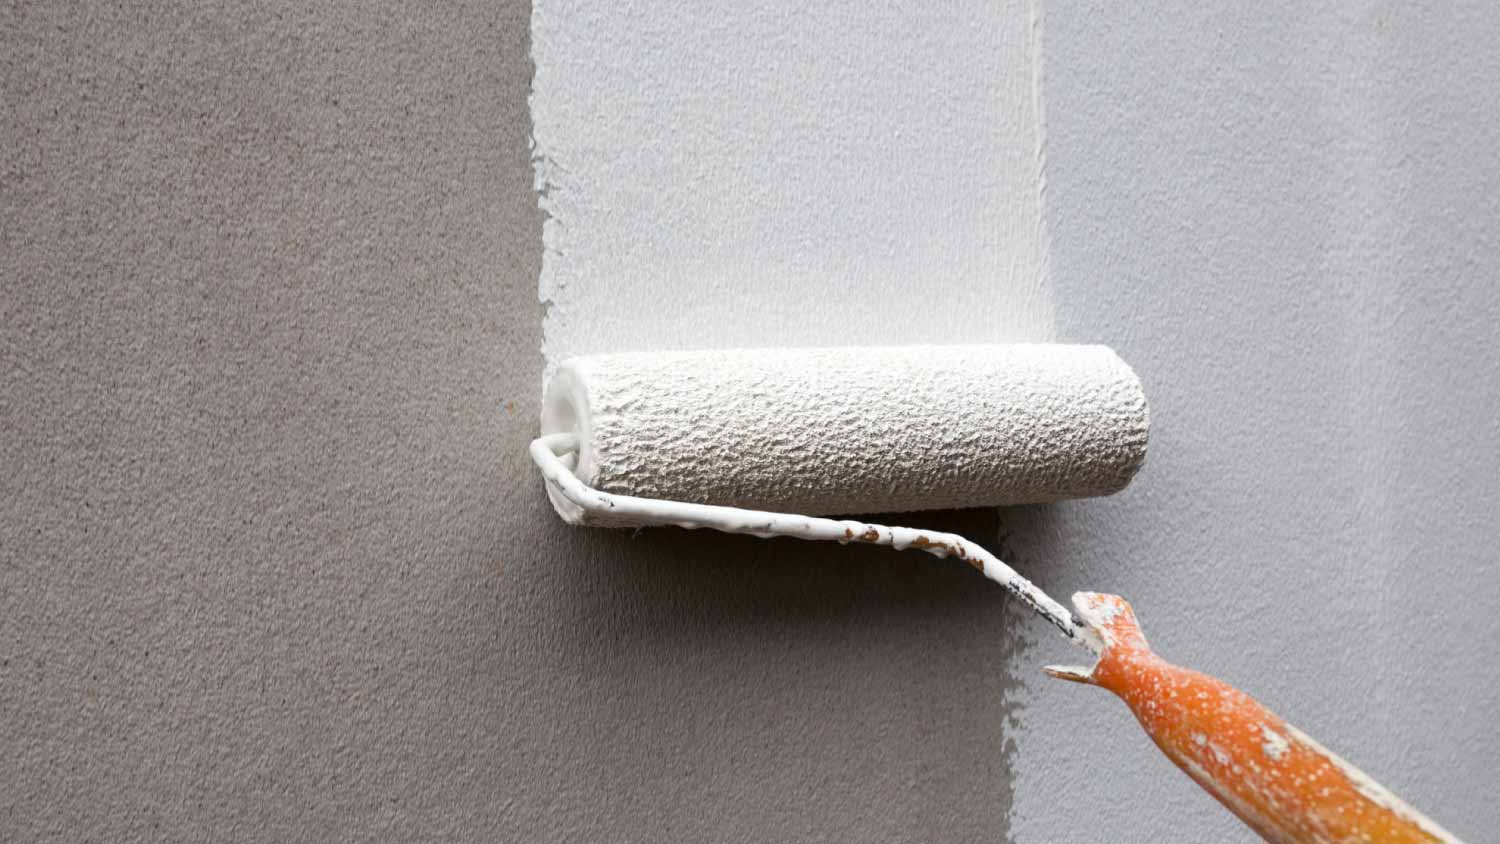
The finish coat is the final layer, which is used to prevent cracks and create your desired look. Mix the finish coat according to instructions and apply it to your surface. It can be smooth or textured depending on your preference. Make sure to apply the finish coat in small sections for an even application.
Lastly, allow the EIFS to cure for the appropriate amount of time, following manufacturer’s instructions. This can be anywhere between 24 to 48 hours or more, depending on the climate and materials used. Once fully cured, carefully examine the surface and touch-up any needed areas.
While a quality installation is crucial, the work doesn’t end once the installation is complete. Regular maintenance is vital for maximizing the lifespan of your EIFS. Consider a few tips that can help keep the exterior of your home in tip-top shape.
Prevent the buildup of debris by regularly cleaning your home’s exterior. Use a gentle cleaning brush, cool water, and a mild cleanser for cleaning.
Regularly examine exterior walls for any signs of damage, including cracks, rotting, mold, and water damage.
Immediately repair any damage to avoid more serious issues down the line.
Invest in professional maintenance and repairs.
Ensure that your EIFS has efficient drainage systems.
With the know-how and proper tools, experienced DIYers may be able to lower costs significantly by installing EIFS on their own. Keep in mind, though, that EIFS installation can be extremely complex. Installation errors can lead to costly and serious issues like insulation failure, water infiltration, and structural damage.
If you aren’t highly experienced at installing EIFS, hiring a siding contractor near you is the best choice. A professional can perform a quality installation that complies with local building codes. Additionally, your pro should be insured which protects you from being liable if an accident occurs.
From average costs to expert advice, get all the answers you need to get your job done.
In addition to protecting against extreme Midwest temperatures, new siding in Columbus adds curb appeal. Learn about siding replacement cost in Columbus.

Fiber cement siding is durable, fire-resistant, and affordable. Learn more about fiber cement installation costs in Columbus, OH.
The cost of siding repair varies depending on material, design, and damage. This helpful guide covers the siding repair costs to expect in Columbus, Ohio.

On the hunt for sturdy, stylish, and sustainable siding for your home? From modern to historic houses, fiber cement is a popular option for good reason.
From clapboard to shiplap, there are tons of wood siding types for you to choose from. Here’s a run-down of the ten most popular types of wood siding.
.jpg?impolicy=leadImage)
Stucco that isn’t waterproofed leaves your home vulnerable to moisture damage. Learn four ways to waterproof stucco for the most protection.