
Discover how much it costs to install a drip edge, exploring how factors like your roof’s size, height, and layout affect your final costs.
Prepare for a rainy day

This project is costly to DIY, and making a mistake could immediately double the cost. Call a pro for a job done well the first time.
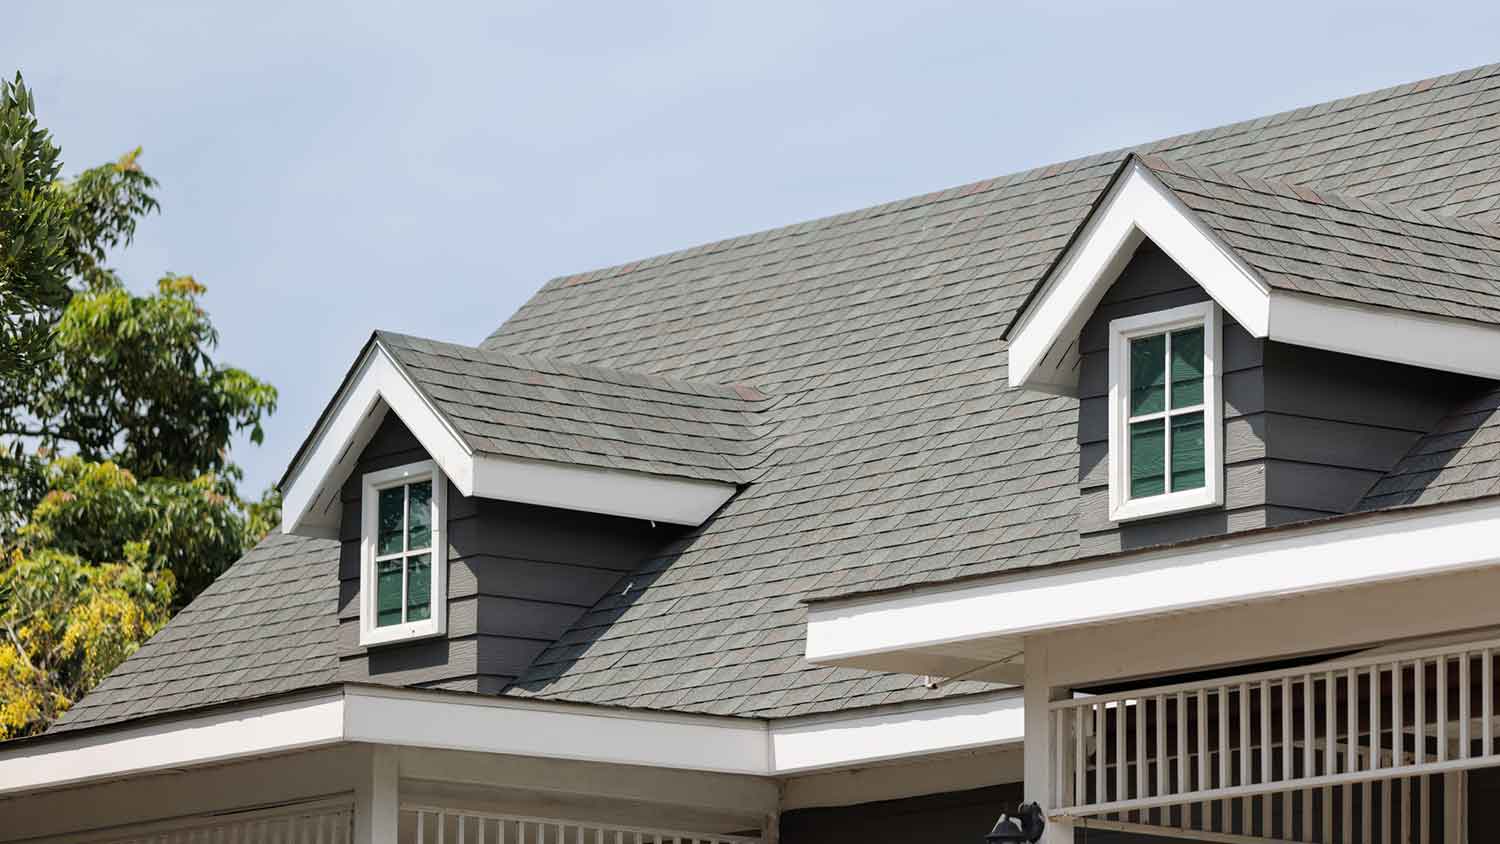
A drip edge is a required component of your home's roofing system. Its function is its name. A drip edge helps your roof shed rainwater by directing it away from the fascia and minimizing the possibility of water damage. However, its installation must be precise to provide adequate protection. Here's how to install a drip edge on your roof.
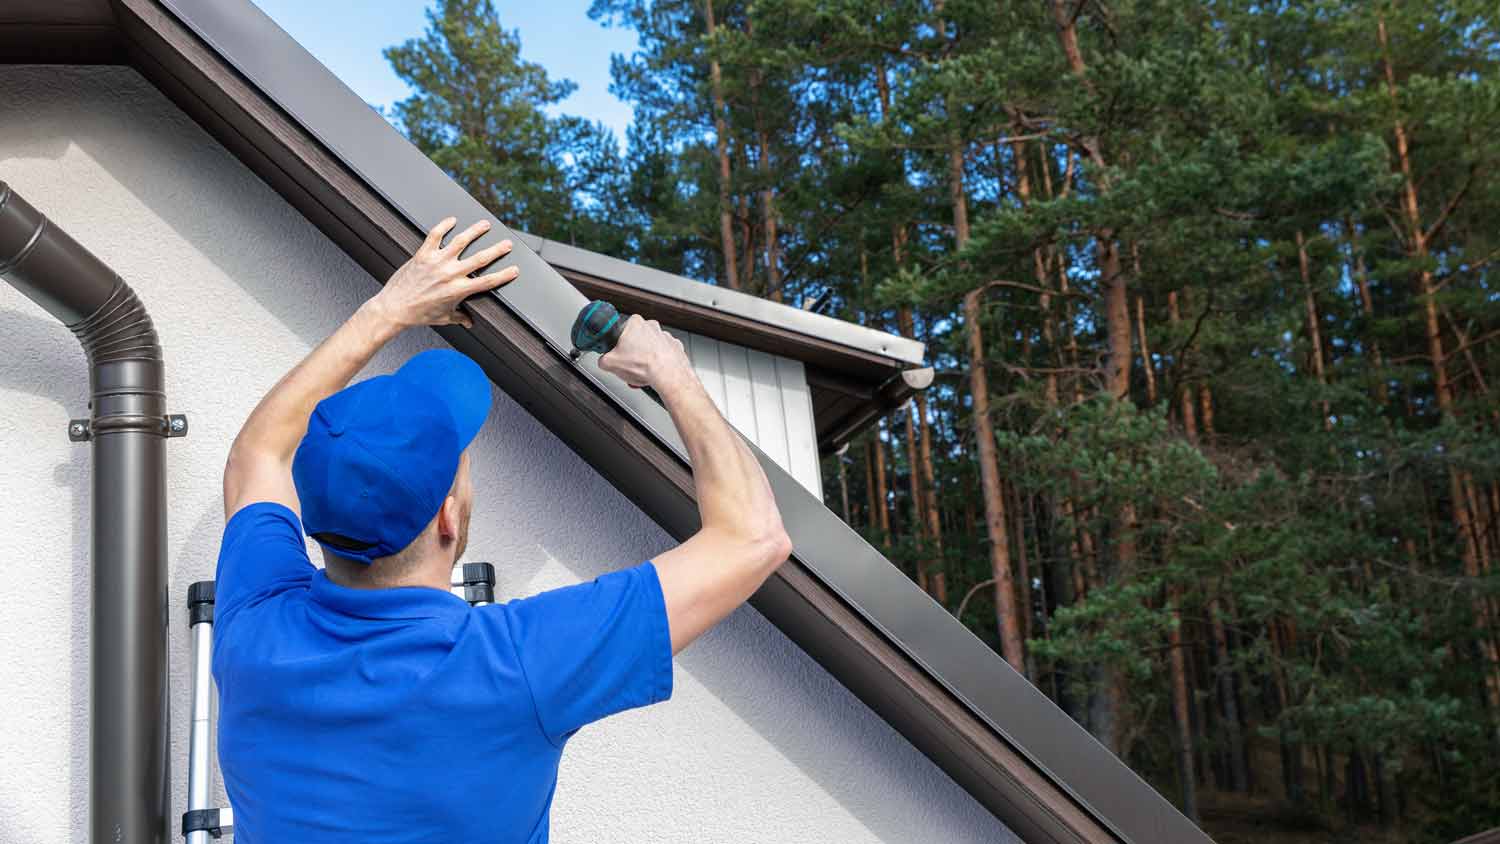
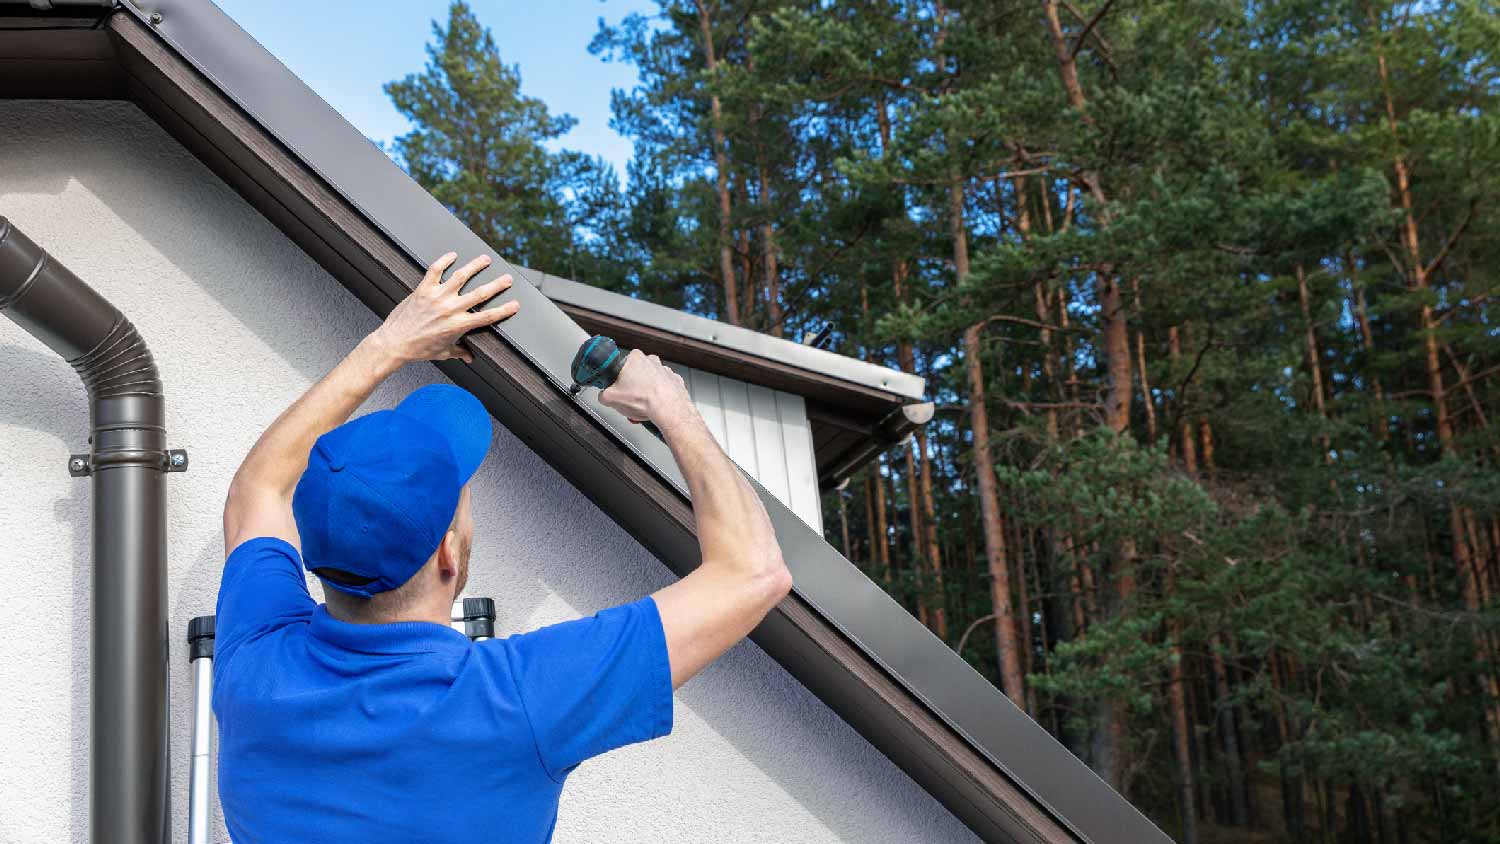
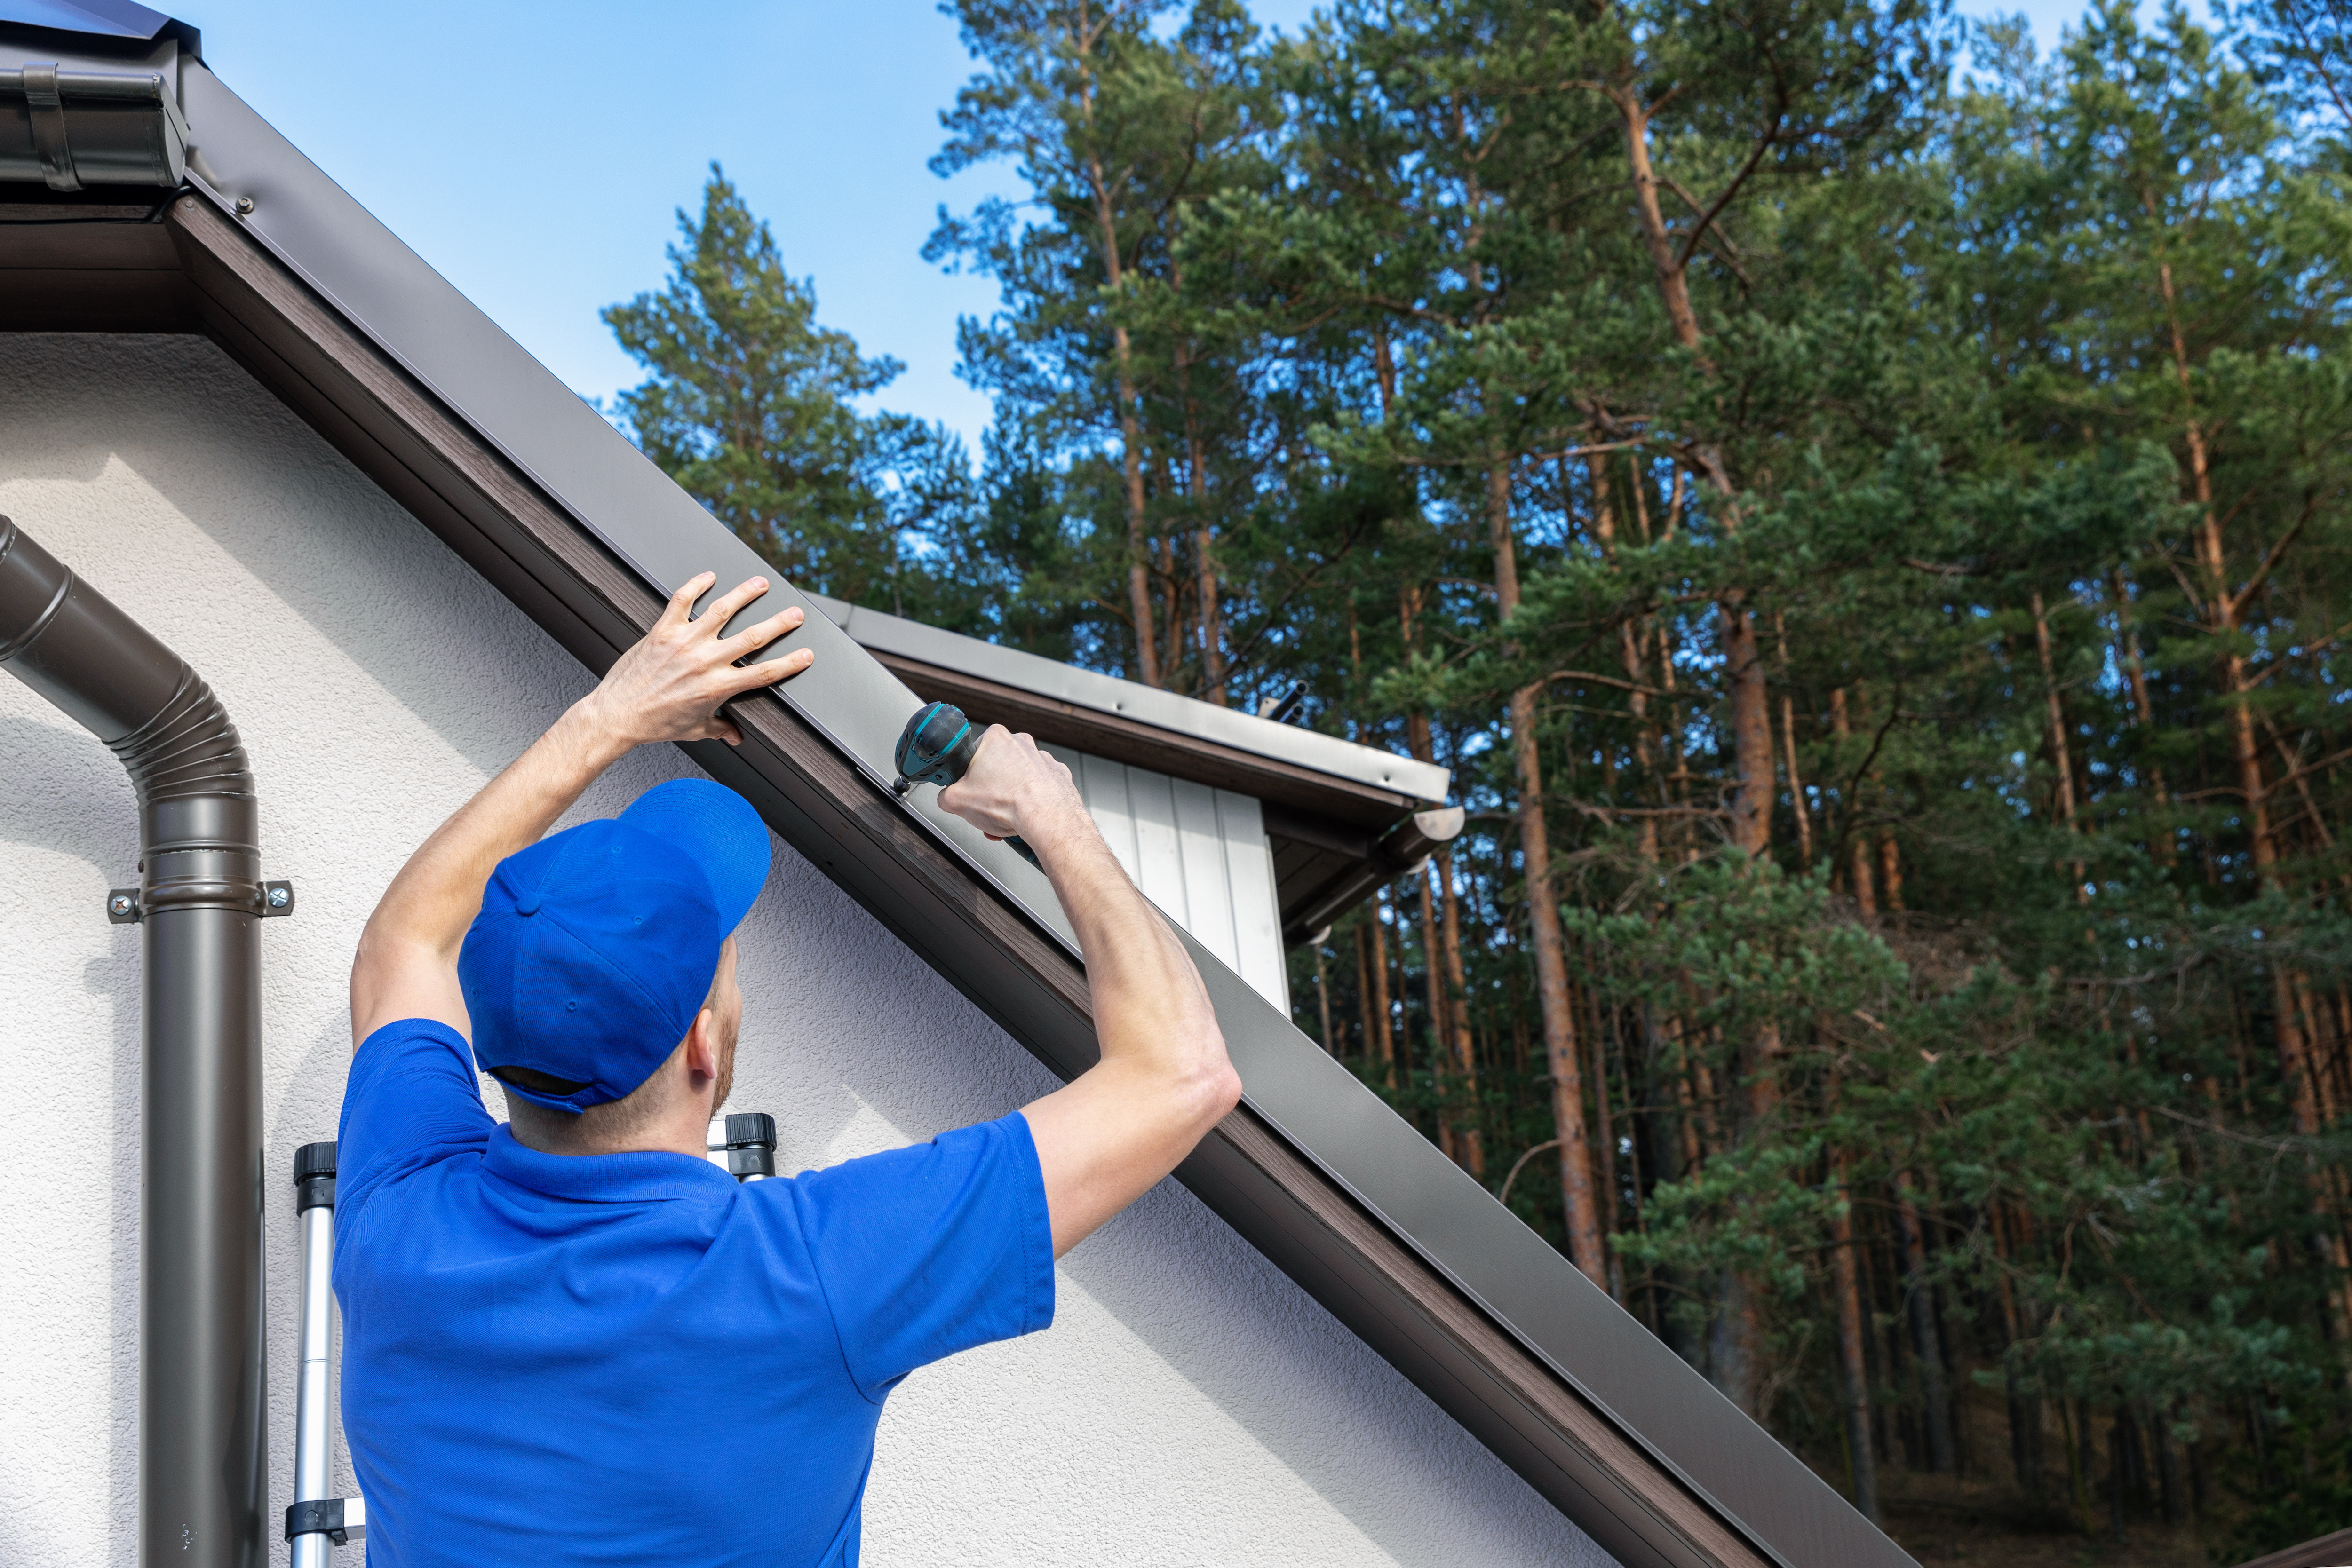
Installing drip edge flashing requires working from a ladder, scaffolding, or the roof. All of these are inherently dangerous. Follow all ladder safety procedures if you work from the ground, and familiarize yourself with safety when working from scaffolding. Use fall-arrest equipment if you choose to work from on top of the roof.
Drip edge installation starts at the eaves or the horizontal and lowest part of the roof. To start, remove any debris or material left behind from the old roof underlayment if applicable. Your new drip edge's position for the eave sections will be under the underlayment and placed to leave a gap of about one-quarter to one-half inch between the lowest edge of the drip edge and the surface of the fascia.
Choose a corner of one of your home's eaves. To make the first corner piece, lay the drip edge in place and mark the end that overhangs the corner of the roof one inch from the end of the drip edge piece. Use tin shears to cut away the extreme lower and upper portion of the drip edge to leave an extending tab. Fold the tab toward the roof corner to wrap around its edge. Remember that making accurate, successful drip edge cuts can take some practice to develop the skill.

Secure the first piece of drip edge by nailing roofing nails through the top flange into the roof deck every 12 inches. When complete, lay the second piece in place, overlapping the first by two inches. Secure the second piece with nails the same way as the first. Continue until you reach the end of the eave section and create another corner tab.
Because the upper flange of the drip edge that goes up the rake sides of the roof must lay on top of the roof's underlayment, install the underlayment after the eave drip edges are in place. Place a bead of roof cement on top of the eave-edge drip edge before laying out the underlayment.
Starting at the bottom where the rake or slanted part of the roof meets the eave, install the first rake drip edge in the same way as the eave-edge pieces. At the starting corner, install the first piece over the tab in the eave-edge piece to create a clean-looking corner. Continue until you reach the final section before the roof's ridge.
When you reach the roof's ridge, lay the last section of the drip edge in position and mark the location where the piece extends beyond the roof. Extend your mark to the bottom of the piece and make a vertical cut through the lower flange. Fold the upper flange over the roof ridge so the lower flange sections overlap to create a clean-looking corner. Nail a fascia nail through the overlapping section and into the fascia.
While installing a drip edge is far easier to do before installing shingles or other roofing material, it's still possible to install a drip edge on an existing roof. The installation procedure is the same as doing it without the roof material in the way. However, you'll need a few extra tools. Use a wide pry bar to loosen the lower or outer edges of shingles and a broad putty knife or similar to hold the material out of the way as you secure the pieces with nails. Work slowly and take care not to damage the roofing materials.
While installing drip edges is possible as a DIY project, you should consider several factors before diving into the task—not the least of which is your safety. Working from a roof or ladder is especially dangerous when working with long pieces of material and striving for accurate placement.
Safety aside, if you're replacing an existing roof or installing a new one, your roofer must install the necessary drip edge to meet the building code requirements. Additionally, because the cost of installing a drip edge is part of the roofing contract, doing the drip edge installation yourself won't save a significant amount of money.
For these reasons, most homeowners simply hire a local roofing company to handle the drip edge installation and most other roof-related work.
D1 Roofing delivers outstanding service from beginning to end, backed by a strong warranty and expert teams. I highly recommend them for their excellence in meeting and surpassing expectations with unmatched communication. Choosing D1 Roofing was flawless decision
This place took $25,000 for a flat roof job with a five-year warranty and never returned to fix the leaks that were caused by their work. These people are not professionals and should not be doing this type of work. They incorrectly changed the pitch of the roof, and caused more damage than...
The technician was very professional and friendly. He answered all my questions and was very thorough. He left the fireplace area very clean . He inspected from the roof and advised me as to other work that might need to be done. There was no pressure there. I was very satisfied with the...
 Supreme brick & chimney
I am really impressed with their timeliness and turnaround. Mitchell came out, and we decided to move forward with their pricing. Our roof was on within a week, and we could not be happier with their team! Amazing company, great prices and honest, dependable craftsmanship. I highly recommend...
Manuel Calvillo is the best option in the area for roofing and you won't be disappointed.
They damaged multiple items on my property, including a marble slab used as a table top, tried to hide it, and refused to pay or replace. Arrived day one without a ladder to access roof & delayed a day. Left a mess in back yard; didn't wear face masks; no show by owner to property to see damages
I've hired Gary/Cherokee Roofing for two different homes, work quality, responsiveness, and completion have been great both times. And the prices quoted were very competitive. I would definitely hire again.
Lyle did a great job removing asbestos shingles from our front porch roof. They worked together with our roofer to make sure that the new roof was able to be installed on the same day that Lyle removed the asbestos shingles.
 Lyle Environmental
Bradley Builders did a good job replacing the roof on our front porch. They color-matched the existing shingles on the rest of the house and installed a metal ridge roll since we live in a historical neighborhood. They did the job while we were out of town. When we got back, everything was...
 Bradley Builders, Inc.
I would absolutely recommend this business. They offer a variety of services, including: painting, roofing, and refinishing wood flooring. I hired them to refinish the original hardwood flooring in my home built in 1874. The job was quite challenging, as the floors were extremely aged and...
From average costs to expert advice, get all the answers you need to get your job done.
Discover how much it costs to install a drip edge, exploring how factors like your roof’s size, height, and layout affect your final costs.
Before you go about installing a drip edge on an existing roof, here’s a breakdown of everything you need to know about this home repair project.
While there are various styles, the right roof drip edge type for your home will depend on your roof type and the rainfall in your climate.
What is a roof drip edge and why do you need it? Use this guide to learn about different roof drip edges and protect your home from water damage.
Deciding between a gutter apron and a drip edge can be a tough call, but one may work better than the other. Here’s what you need to know before you decide.
Find the right pro for roof heating cable installation. Learn what questions to ask, qualifications to check, and how to hire the best contractor.