
Updating broken and outdated light switches isn't as tricky as you might think. We'll cover the considerations and cost to install a light switch in this guide.
Set the mood with ease

Adjusting the intensity of your lighting changes the entire feel of a room. From dinner parties to nightly reading, you can have the perfect lighting for your space. Even without lighting and electrical experience, most DIYers can replace a standard switch with a dimmer by following electrical safety guidelines and a straightforward guide like this one. Keep reading to learn how to install a dimmer switch and decide what type of dimmer switch you need.
The most important part of learning how to install a dimmer switch is making sure you’re doing it safely. Before you dive head-first into this exciting project, keep a few important safety tips in mind. First off, you should never work on a live wire, aka one that currently has power flowing to it. Doing so can lead to electric shock and even house fires, potentially causing permanent and irreversible damage to you and your home.
Even after you turn off power to your switch, check it with a voltage tester and make sure you’re wearing rubber electrical gloves while working with wires, which can protect you if something unforeseen happens with the circuit.
If any part of you is hesitant about installing a dimmer switch, stop now and don’t try to DIY this one. An electrician can quickly and safely install a dimmer switch for you, so take advantage of their services. Any extra cost is always worth it for your safety.
Before installing a dimmer switch, make sure to choose a dimmer that’s compatible with your fixture, wiring, and lightbulbs. Here are the main considerations when selecting a dimmer.
Most light fixtures are dimmable, but some dimmers are only compatible with specific types of light fixtures. If the type is not a match, the lights could flicker or not work altogether. Double-check the packaging or the description of your dimmer before buying it.
Halogen and incandescent bulbs work well with most dimmers, but check the label on the switch you’re buying to be sure. It's harder to find compatible dimmers for LED and fluorescent bulbs, so keep an eye out for dimmers that specifically function with those types of light bulbs if you have them.
If you have two switches that operate your light fixture, such as one at each end of the hallway or room, you need a three-way dimmer. Choose which switch location you want to install the dimmer at, as you can only dim a light fixture from one spot. If you have just one switch for your light fixture, then use a standard single-pole dimmer.
Count the number of bulbs in your fixture and add up the wattage, which should be listed on the base of your bulbs if you don’t still have the box. Make sure the dimmer can handle the total wattage.
Many dimmer switches aren’t compatible with lights that have ceiling fans. You need a specific type of electrical switch and dimmer to ensure the dimmer doesn’t burn out the fan motor.
If your home was built after 1985, you likely have neutral wiring, which is compatible with most dimmer switches. If your home was built before 1985, check to see if you have neutral wiring. You can either upgrade your wiring to neutral or choose a non-neutral dimmer (which comes with a bulb adapter).
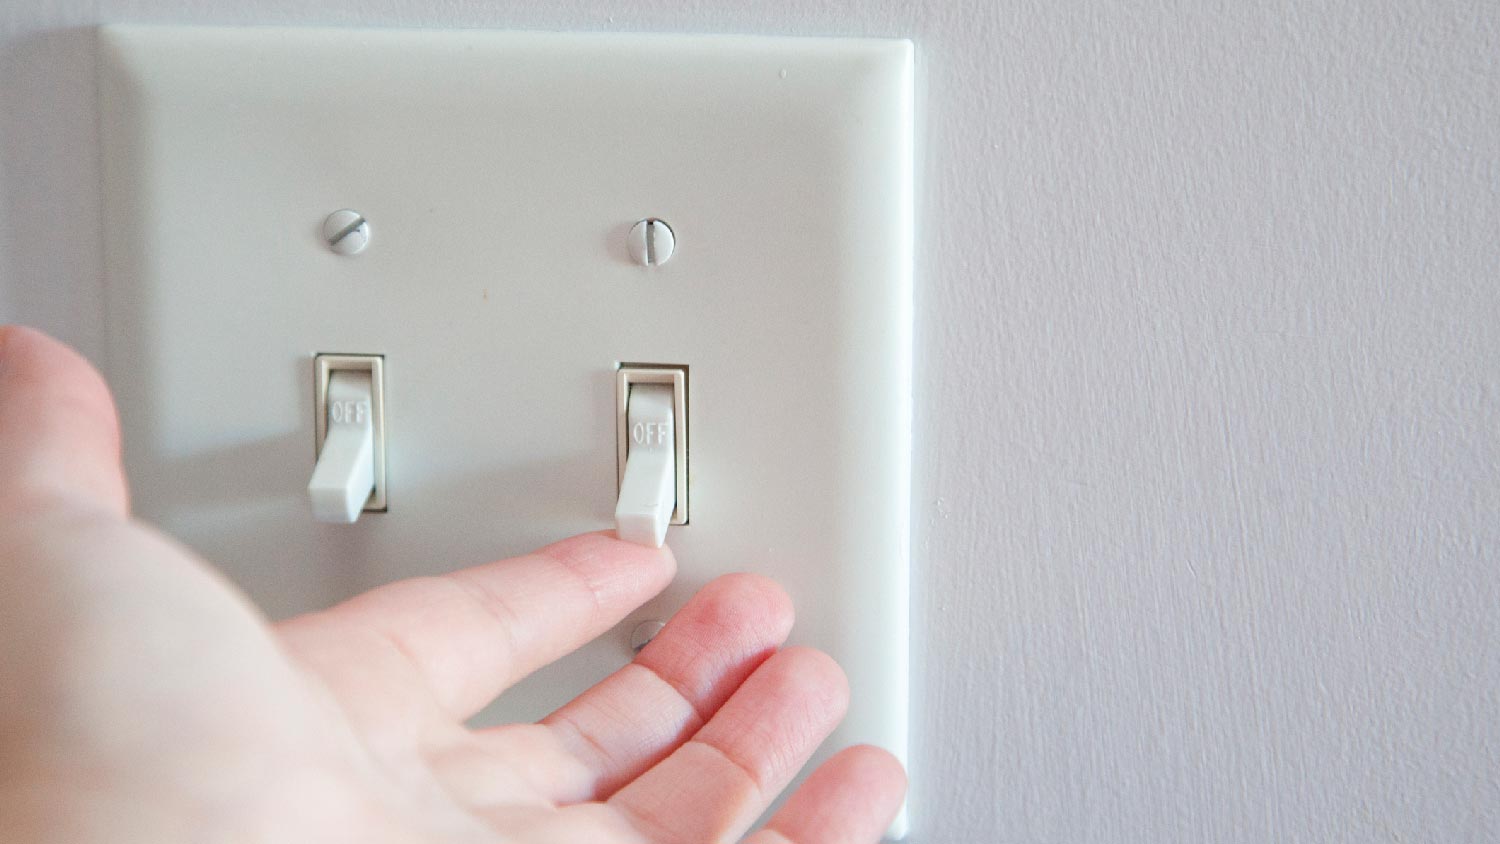
Open your circuit breaker box and turn off the power to the area where your light is. This step is critical to ensure your safety. Confirm that the power is off by flipping the switch on and off or using a voltage tester.

With a flathead screwdriver, remove the light switch cover. Use a Phillips-head screwdriver to disconnect the switch from the box.
Gently pull the switch away from the wall. If there’s a bundle of white wires in the back of the wall box, leave them there. You can use a voltage tester to double-check that no wires in the box have a charge.
Look to see where the colored wires connect to the existing switch. Snap a photo so you can easily reference it later when you’re hooking up the dimmer.
If you’re replacing a three-way switch, locate the "COMMON" wire, also known as the C-wire. If there isn't one labeled with a “C,” look for the wire that connects to a different screw color. Tag this common wire with a piece of electrical tape so you can find it when connecting the dimmer.
Remove the wires from the old switch. Keep the wires separate by bending them to opposite corners of the box. The ground wire is the green or bare copper wire that's connected to the green screw. Remove that wire last. If you’re replacing a dimmer with another dimmer, unscrew the wire nuts around the switch wires and house wires.
Use needle-nose pliers to attach the wires to the dimmer in the same spots as your previous switch had them. Reference the photo you took in step 3 to be sure.
If any house wires (usually black, red, or white with black marks) are bent, use a wire stripper to cut off the twisted ends and remove 3/4 inch of casing from the ends of the wires. Connect the green-colored or bare copper ground wire from your dimmer to the green or bare copper wire in the wall box. Twist the ends together clockwise and cap them using a wire connector nut.

Here's how to install a single-pole dimmer switch (meaning you only have one switch to that light fixture) after you’ve prepped all the wires:
Connect each dimmer wire (typically black) to a house wire by gripping the wire ends with a pair of needle-nose pliers and twisting them together.
Tighten a wire nut over each pair of wire ends.
If a bare wire is exposed, unscrew the connector and untwist the wires. Clip the ends of the wires with a wire cutter, twist them back together, and re-cap the wires so that no bare wire is exposed.
Use a screwdriver and screws to mount your dimmer to the wall.
How to install a dimmer switch with three wires after you’ve prepared all your wires:
Connect the black dimmer wire to your C-wire. Remove the tag you made out of electrical tape.
Connect the two remaining dimmer wires to each remaining wire in your wall box.
Use a screwdriver and screws to mount your dimmer to the wall.
If you have solid copper wires, create a “c”-shaped hook at the end of the wire with pliers. Guide the hook around the screw located on the side of the dimmer. Tighten the screw to secure the wire beneath the screw.
Gently fold the wires back into the outlet box to prevent them from coming loose or breaking. Tighten the screws to secure the dimmer to the electrical box.
Tighten the mounting screws to set your switch plate in place (or snap the switch plate adapter to the dimmer if it’s a screwless design). If your dimmer switch has a knob, take it off before attaching the plate to avoid damage.

Once your wall plate is secure, reattach your knob if you removed it in the last step. Then, turn on your power from the circuit breaker and test the dimmer to ensure it works properly. If your light doesn’t come on or won’t dim, turn the power back off and double-check your wiring. If your light still isn’t working, reach out to an electrician for help.
Is it safer to hire an electrician for any electrical work? Yes. Is installing a dimmer switch a relatively safe DIY so long as you follow electrical safety protocols? Also yes. You don’t always need to have an electrician install a dimmer switch unless you want to update your wiring or you feel uncomfortable working with switches and electricity. If either of those is the case, you can hire a local electrician to take care of the task. The cost to replace a light switch with the help of a pro is $150 on average.
Great company! Price was competitive, technician showed up on time and completed the job (exterior electric Radon fan replacement) quickly. Would hire them again.
I conferred with 2 other contractors before Armstrong Electric. Nick and his crew showed me that the project was not as convoluted as the other contractors made it appear to be. They completed the entire project on time. They were professional, friendly and cleaned up after at completion. I...
 Armstrong Electric LLC
The techs on my project, Shawn and Cliff, were great. They were prompt, courteous, and efficient. I am very happy with the results and would definitely contact Mr. Electric for any future electrical projects.
Victor was wonderful. He was on time, professional, and explained everything he was doing. He was thorough and figured out that the problem was electrical instead of with my HVAC system. Very knowledgeable. I will be using this company in the future for any HVAC needs. Thanks!
 Hubbs Heating & Air LLC
They were excellent. They did a great job. I was totally satisfied. They put tremendous effort in making sure the work was completed. They were great. They provided immediate response to any inquires I made. I would hire them again. I would recommend them to anyone who needs electrical work....
 Property-Tech Industries, LLC
Initially, the repairman could not find the problem. Apparently, there was some electrical shortage, but he could not find the definite problem. He left, but called back later to say he had a new idea. He returned and replaced the light switches on the doors. The refrigerator seemed to return...
 Appliance Pro LLC
The initial quoted price from a walk-through seemed high, but we discussed that the quote represented worst case scenario (re-wiring to two floors) and we were excited about the opportunity to have the work done in a timely manner with closing for fire safety reasons, etc. When the job was...
I have to tell you I am all about customer service - I will go out of my way and even pay more for it if you give me great customer service. <br> <br>In a world where this is hard to find, these guys were awesome! I can not sing their praises enough. They were prompt, personable, funny, got...
 Waibel Electric
When I challenged the markup on the generator, Bruder Electric withdrew its bid. They only want naïve customers.
We had no power to any of the electrical outlets in the MBR. We'd had an intermittent problem for a few years and they finally went out all together. We live on the 3rd floor of a 100 year old building and I know from past experience the wiring has been added to in hodgepodge ways over the...
From average costs to expert advice, get all the answers you need to get your job done.
Updating broken and outdated light switches isn't as tricky as you might think. We'll cover the considerations and cost to install a light switch in this guide.
Installing a new light switch is a straightforward job for an electrician and doesn’t have to break the bank. Read on to learn how much it costs to install a new light switch.
The cost to install a generator transfer switch depends on several factors. Our guide will help you understand all of the costs.

Dimmer lights are a winner for ambiance, but they have a few common issues. This guide will show you why your dimmer light is flickering and how to fix it.

Common types of light switches include single-pole, double-pole, and three-way switches. Keep reading to learn more about the best light switches for your home.
If you want the convenience and peace of mind they bring, learn how to install smart light switches to control your home’s illumination from any location.