How to Install Carpet Padding Step by Step
Padding your carpet helps it last longer


- Broom
- Tape measure
- Utility knife
- Chalk line
- Carpet tack strips
- Carpet padding
- Staple hammer-tacker
A well-carpeted floor feels plush underfoot and adds warmth to your home. But if you don’t install padding under the carpet, it can feel like walking on a hard, lumpy surface. Carpet padding also protects the underside of your carpet from wear, which helps prolong the carpet’s life. This guide will walk you through how to install carpet padding to give your new carpet the full life it deserves.
Prepping to Install Carpet Padding
Before you install carpet padding, you must remove the existing carpet or flooring from the room. Depending on the material and the installation method, you might need a scraper, pliers, and a utility knife. You will also need to remove any doors that open into the room to prevent obstructions while installing the padding. Finally, you might need to remove the baseboards if replacing a flooring material other than carpet. You can also hire a professional carpet installer to complete these steps.
How to Install Carpet Padding in 3 Steps

Follow these three simple steps once you’re ready to install your carpet padding.
Prepare the Subfloor
Before installing carpet padding, check the condition of the subfloor. It doesn’t need to be perfect for carpet installation, but if there’s any damage, you’ll need to repair that before proceeding. Check for cracks, uneven areas, and water damage. If the subfloor is in bad shape, you might need to replace it before proceeding. Replacing subflooring costs between $900 and $3,000, with an average price of $1,560.
Once you’ve made any necessary repairs, clean the subfloor thoroughly with a broom to remove debris, dust, and dirt.
Install the Tack Strips
Carpet tack strips are long pieces of wood with small tacks protruding from one side. These tacks hold the carpet in place and eliminate the need for staples or nails. Measure the room's perimeter to determine the number of strips you need. Then, use a chalk line to mark your installation location around ¼ to ½ inch from the wall.
Place the tack strip on the chalk line and drive the fasteners along the strip to hold it in place. Repeat with the next tack strip until you’ve lined the room. Use a utility knife to trim the tack strips as needed.
Install the Padding
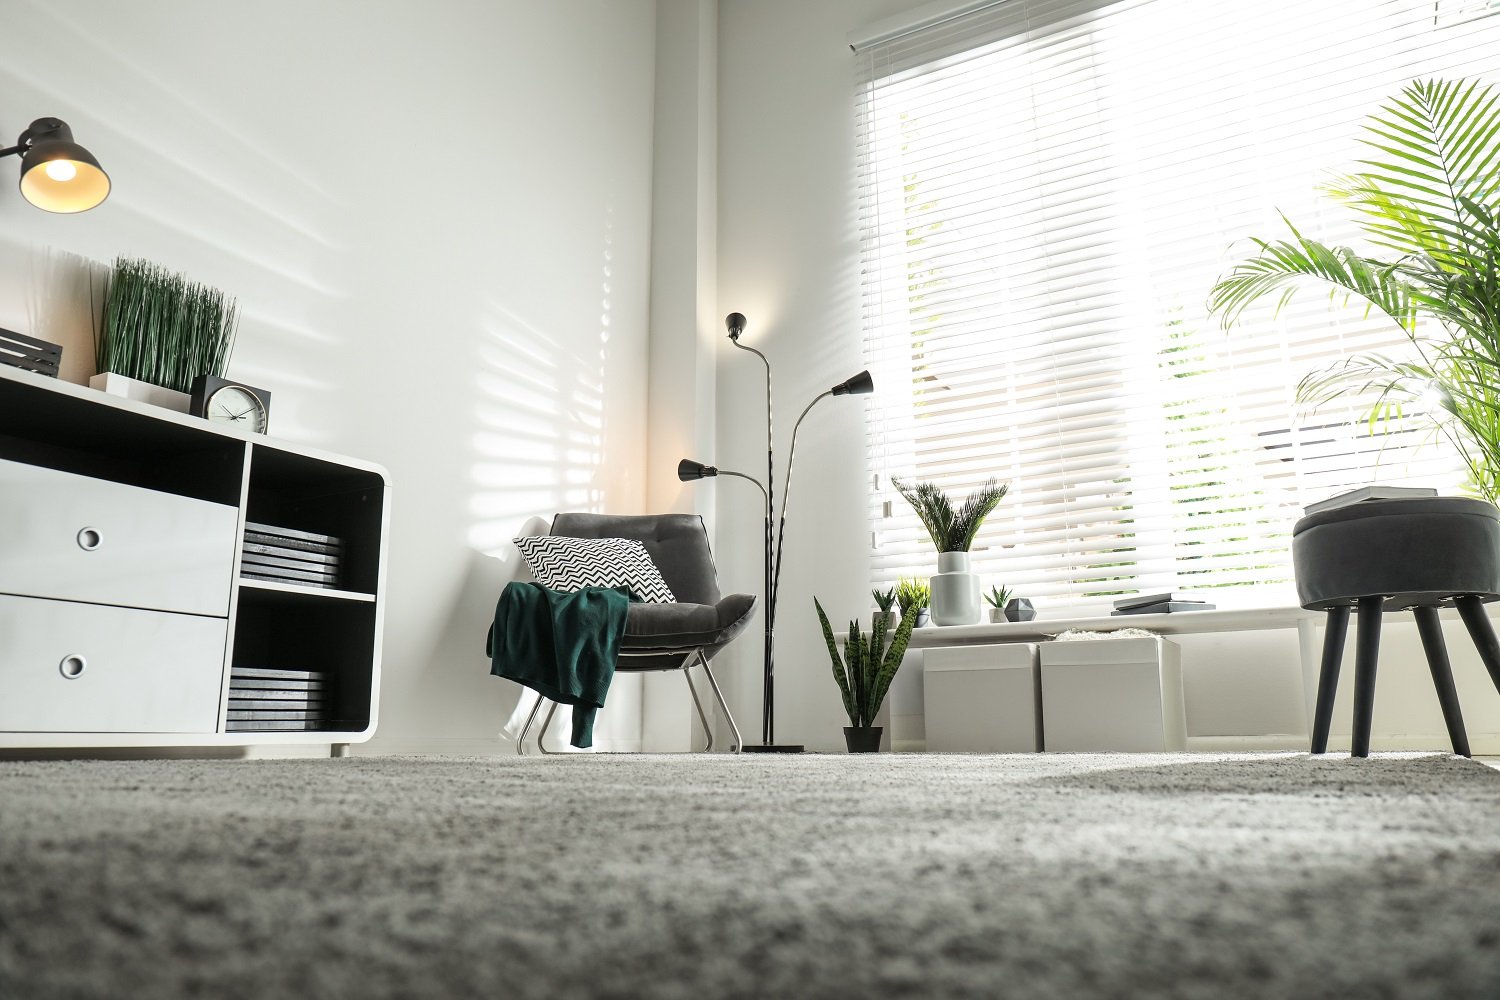
 Photo: BanksPhotos / iStock / Getty Images Plus / Getty Images
Position the padding in the room and cut it to size. Depending on the room size, you may need several strips of padding.
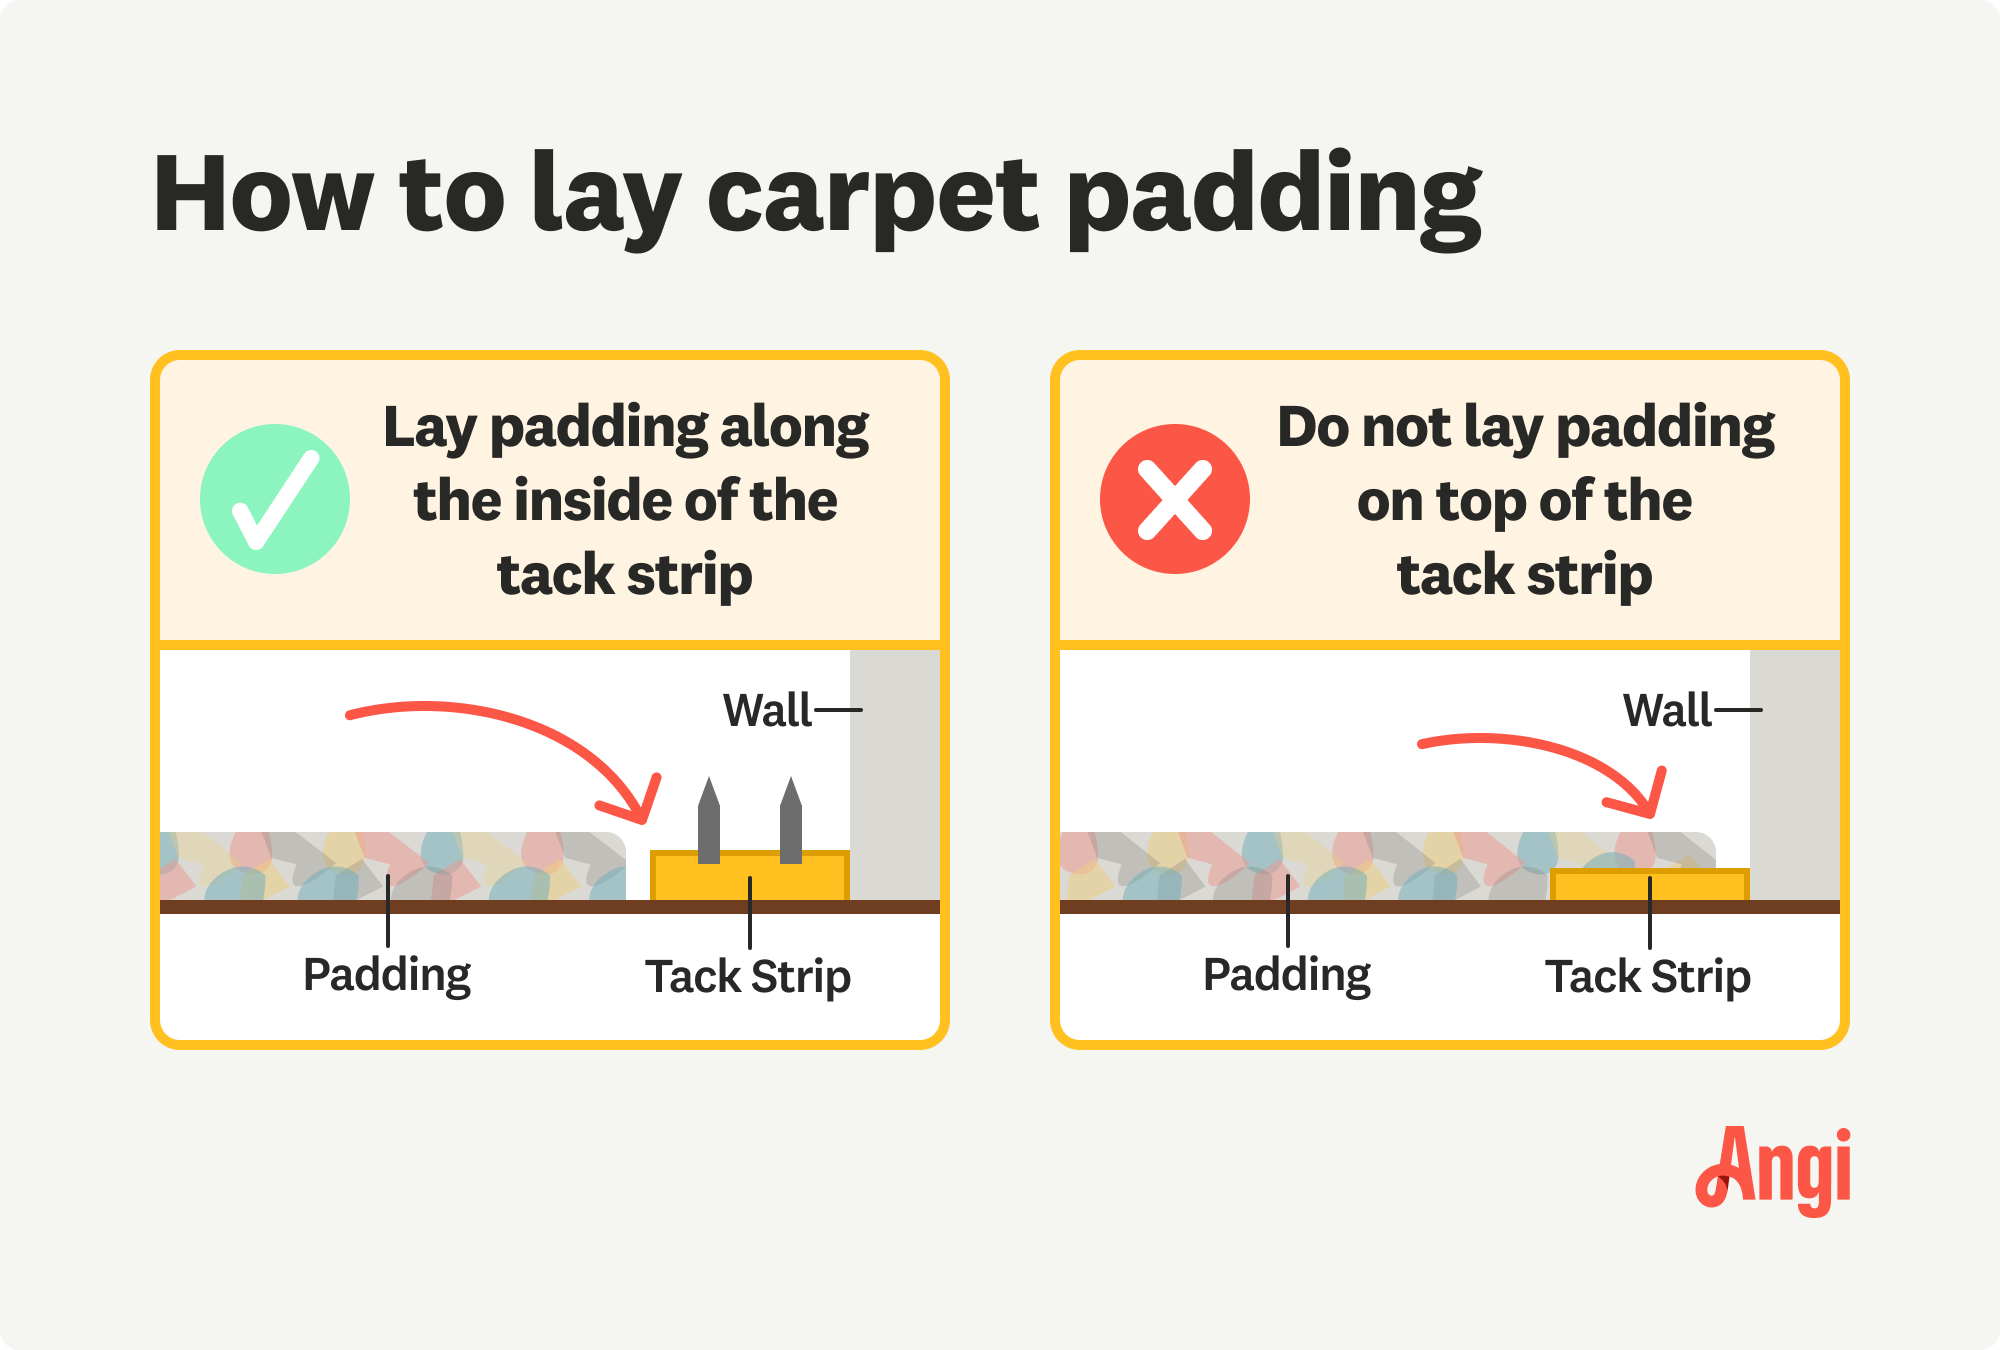
Staple the edges of the carpet padding to the edges of the tack strips using a staple hammer-tacker, but be careful not to place it over the tack strips, as this could prevent the carpet from properly attaching to the tacks. Next, staple along the seams to attach the padding to the subfloor and prevent it from moving under the carpet.
Now, you’re ready to continue the rest of the carpet installation project.
DIY vs. Hiring a Pro
Installing carpet padding can be a DIY project if you carefully measure the space and follow the installation guidelines. Padding costs between $0.75 and $2 per square foot, and taking on this project yourself can reduce the overall carpet installation costs. However, improper padding installation could lead to a lumpy texture under your carpet.
Hiring a local carpet installer is best if you’re not confident in your DIY skills. A professional has installed hundreds of carpets over their career and can lay the padding and the carpet quickly.
Frequently Asked Questions
If you have a concrete subfloor, you must secure the carpet padding with adhesive or glue. However, if you have a wooden subfloor, use staples instead. Removing a glued-down carpet can be difficult and time-consuming, so it’s best to avoid glue when possible.
If you don’t put padding under your carpet, the carpet won’t be protected from wear on the underside. This could result in a shorter life span for your carpet and increased carpet repair costs over time. An unpadded carpet can also be less comfortable to walk on, depending on your subfloor and the type of carpet.


