
•
Discover the energy-efficient window costs. Learn about installation prices, cost factors, and tips to save money on your window upgrade.
Your windows never looked so good


A bay window can open up a room, add character to your home, and provide lots of natural light to a space. You can take on bay window installation yourself if you have woodworking and framing experience. Learn how to install a bay window, or at least how the pros do it, that will illuminate your home for years.
Installing a bay window isn’t an easy project. Most DIYers can’t take this on themselves, as many complicated tools and steps are necessary for a perfect result. That’s why we always recommend hiring a local window installation company for this project.
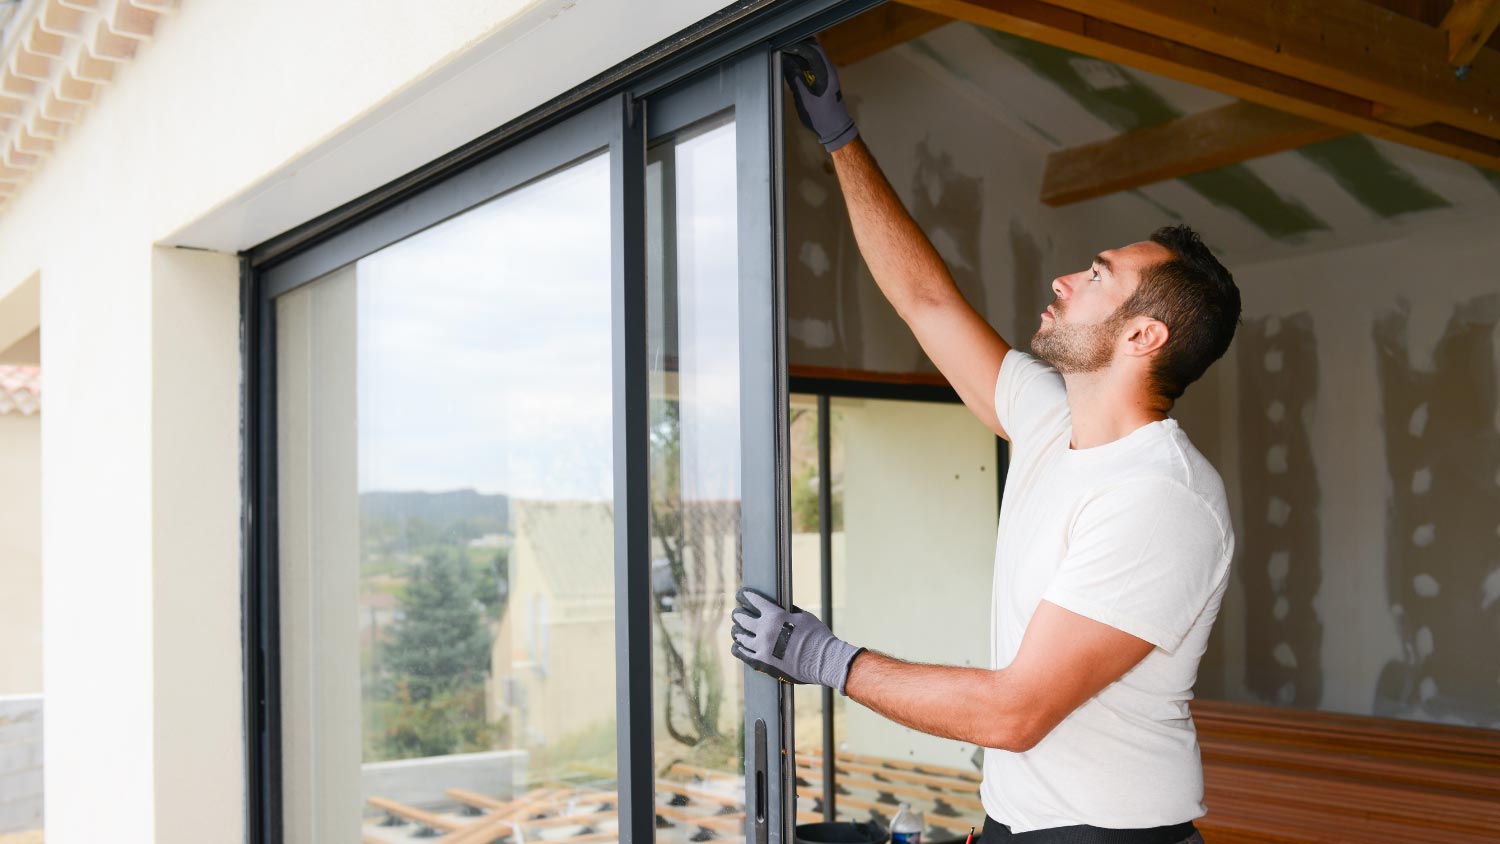
However, if you’re a pro at installing windows, you may be able to tackle this one, but make sure you have the help of a similarly experienced friend (or three). Before you get your power drill out, you’ll need to measure and prepare your opening and order a bay window. You’ll also need to put on some work gloves and a dust mask before beginning the actual installation.
Deciding on the right bay window requires measuring and assessing specific details, including the studs in the wall, the clearance above and below the window (for installing your anchors), and the frame’s load-bearing capacity. Get a quote and measurement from a local window contractor. They’ll inspect the window opening and determine the possible sizes and shapes of the bay window. The contractor can order the window for you to put in, or they can handle the full installation for you.
A local contractor can give you options for your bay window's size, style, and shape. Consider what will match the style of your home and match your budget for the project. The cost of a bay window itself ranges from $400 to $5,400 without installation.
Your bay window should come pre-assembled along with the cables and hanging materials. Check with your contractor to see if the siding, top and bottom panels, and the roof cab come with the kit. Pre-fab pieces, especially the roof cab, are much easier to install than building your own from scratch.
If you’re replacing a window with a bay window, you’ll need to remove the old window. Be careful not to damage the surrounding wall as you remove the window and frame. Press the tabs on the top of the pane and lower the pane toward you. Pull the window out once it is perpendicular to the frame.
Remove the window frame with a chisel. Slide the tool underneath the trim and press down to pry the trim from the wall. Repeat the process until an entire piece of trim comes out, then do the same for the other pieces, both on the interior and exterior. You may need a chisel, rubber mallet, and crowbar to remove the frame pieces.
Pry out the base of the window with a chisel and crowbar, exposing the wood frame of the window. Ask for help from a friend or neighbor if the window sill is too heavy to lift on your own. With a nail remover, rip out the nails from the frame. Leave all nails that hold the joists in place. Nails that are flush with the wood joists are necessary to keep the wall’s integrity intact.
If you’re installing a bay window in an entirely new spot, you’ll need to cut and frame the opening. Use proper techniques to remove the exterior siding, stucco, or brick to ensure no external damage occurs.
Bay windows require industrial-strength cables on the outside to hold them up, often attached to an overhanging eaves structure, header, or studs. Read your bay window’s instructions to determine how high you need to secure the cables. The cables often attach at a 45-degree angle, 16 to 24 inches above the bay window.
Remove any shingles or siding that are in the spot where you need to install the cable clamps. You may need to add blocking between the studs, as existing framing may not align with your bracket locations. Secure the two cable clamps with a power drill and screws. Drill the screws in most of the way, but leave space for the cable to slide in later if it’s not pre-installed.
Later in the project, you’ll cover the cable with a roof cab.

If the bottom of the window frame isn’t level, install a 1x4 board to the bottom joists of the opening with screws. Use shims and plywood to make it level.
Place flashing tape around the edges of your opening to create a seal against moisture and air. Ensure the flashing tape covers the exterior edge and wall seam. Smooth down the flashing tape with the edge of a putty knife.
With two to four adults, hoist the window into the opening. A bay window is extremely heavy. Lifting it alone can lead to a damaged window or personal injury. Lift the window by the angular sides. Use temporary supports made of 2x4s to hold up the bottom of the bay window on the outside.
From the inside, line up the edges of the window at the top and bottom. Make sure it is level and resting inside the frame. Push in shims as necessary on the top and bottom to keep the window level.
From the inside, drill the top of the window into the overhead joist with wood screws. Place a screw every four inches. Secure the bottom of the window the same way.
Thread in the support cables through the clamps if not already installed. You may need to attach nuts and washers to the threaded shaft at the end of each cable to secure them in place. Adjust the cable and nuts to raise or lower the window until level. Tighten the nuts and screws of the clamp to secure it once you establish the desired level.

Ensure your window is level on all sides. Slide wood shims into any gaps around the interior frame. Drill the shims into the wall with wood screws. Score and break off any piece of overhanging shim.
If you need to build your roof cab, do so on the ground level before lifting it. Set your cab on top of your window and line up the front edges so the cab is flush with the window on all sides.
Nail the roof cab into place on the bottom and against the side of the home, keeping it level as you go. Fill the cab with blanket insulation to ensure the window doesn’t get too hot or cold.

Cut strips of roofing paper with a utility knife. Place the roofing paper over your cab and secure it with staples. Ensure there are 5 inches of paper at the top where the window runs perpendicular to the wall. The roofing paper is a water barrier between the outdoors and the window. Cover the roof's seams and where it meets the wall with flashing tape.
At the base of the roof cab, place down your first row of shingles. Nail them into place and layer on another row of shingles to cover the nails in the first row. Continue until the roof cab is complete with shingles. Cut to size any shingles with a hook blade. Spread asphalt caulking in between the shingles to seal them.
Along the edges and corners of your roof cab, install step flashing to keep water out. Cut the flashing with tin snips and bend it to shape using work gloves.
If the bottom of your bay window doesn’t come insulated, cut a piece of blanket insulation to the size of the window base. Push the insulation into the base of the window and cover it with the finishing piece provided with your bay window, or construct a finishing piece with plywood.

On the window’s interior, spray foam sealant into the edges of the frame and window to create a strong seal against air leaks and water.
On the interior, install your sill piece (if you have one) at the base of your window. Install the interior and exterior trim around the window, cutting any pieces to length.
Bay window installation is a technical woodworking project that requires at least one day and two helpers. You’ll need to install and shingle a roof cab, lift a heavy window, and ensure the window is level and sealed. Most people hire a local window contractor because of the complex woodworking components and physical demands.
The cost to install a bay window ranges from $900 to over $7,100, depending on the size and type of window. Installing a bay window yourself can save $300 to $1,000 of the project total, but remember that improper installation can lead to higher utility bills, water damage, or the cost of a window replacement if the window collapses.
From average costs to expert advice, get all the answers you need to get your job done.
Discover the energy-efficient window costs. Learn about installation prices, cost factors, and tips to save money on your window upgrade.

Bigger windows mean more natural light in your space and better views of the outdoors. Learn about the cost to enlarge windows and what affects your total.

Single, double, or cottage-style, the cost of casement windows is worth it for their versatility alone. Let's look at casement window costs plus installation.

Keep the cold out and warmth in. Learn how to glaze your windows in under 60 minutes with this simple, step-by-step guide.

There are tons of types of kitchen windows that add charm and functionality to your home. Keep reading for a breakdown of 10 types of kitchen windows.

Use our window installation checklist to ensure your home is ready before contractors arrive—and to make sure the windows are installed correctly and affordably.