Put Safety First: How to Install a Smoke Detector in 6 Simple Steps
DIY this household essential


- Wirecutter/wire stripper
- Voltage tester (for hard-wired units)
- Phillips screwdriver
- Drill
- Sharp pencil
- New battery-powered or hardwired smoke detectors
- Wire connectors
- Plastic wall anchors
- Batteries
A smoke detector is one of those items you hope you never need but are always thankful for in an emergency. If you’re concerned your current units are too old, or you need to add a few more around the house, learn how to install a smoke alarm yourself to tackle this critical task as quickly as possible.
Determine the Best Placement
The first step is a biggie—selecting the proper placement of your new smoke detectors. If your home has a pre-existing network of smoke detectors, then this part should be easy. But if you’re adding one for the first time, you need to know where smoke detectors should be installed.
According to the National Fire Protection Association, plan on installing at least one smoke detector:
On each floor, in the hallway
In each bedroom
In the basement, attic, and/or garage
In the kitchen, at least 10 feet away from the stove or oven
Wherever else you feel necessary
It’s also important you don’t install them near a window, door, or drafty spot since these can interfere with the successful operation of the smoke detector.
Switch Off the Breaker
 Photo: RossHelen / iStock / Getty Images Plus / Getty Images
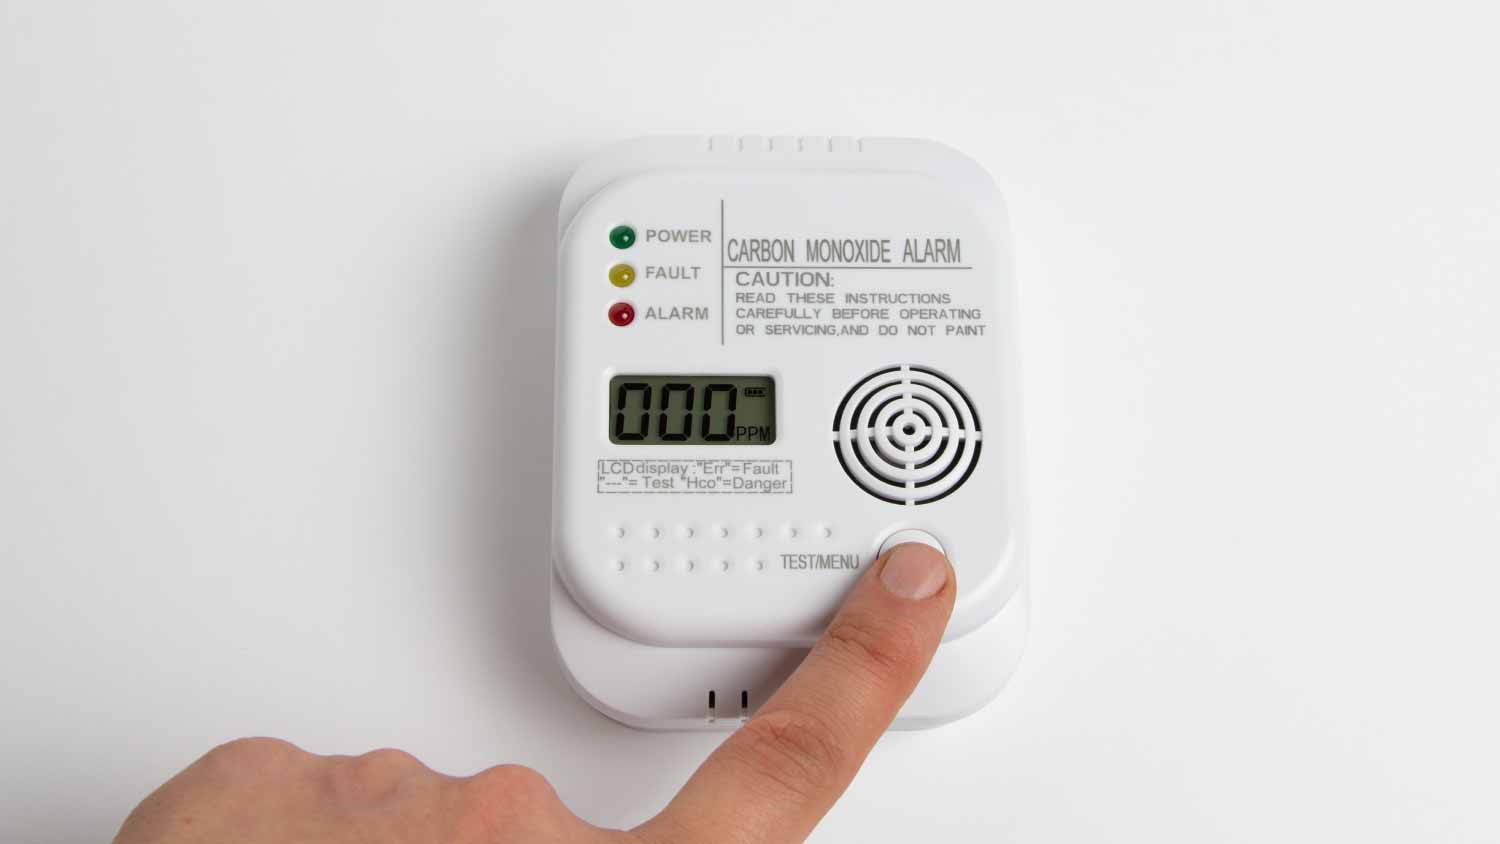
Smoke detectors come in two varieties: hardwired and battery-operated. As the name implies, a hardwired smoke detector gets wired directly into your home’s electrical system. Battery-operated alarms only require a battery, typically a 9-volt, and require less complex installation.
If you’re replacing or installing a new hardwired smoke detector, you must first shut off the power source. Locate your electrical panel and find the breaker powering the smoke detector. Ensure you’ve selected the right one by pulling down the existing smoke detector and using your voltage tester to check for a current.
Install the Mounting Bracket
Each smoke detector includes a mounting bracket for easier installation. Remove the existing unit by twisting the smoke detector and pulling it apart from the bracket (you should feel it click).
For hardwired smoke detectors
You will have a previously-installed electrical box where the current smoke detector is. Loosen the mounting screws located in the electrical box and put the new bracket in its place. You will need to pull the wires through the bracket at the same time. Tighten the screws with your screwdriver.
For battery-operated smoke detectors
Use your pencil to mark on the ceiling where you need to place the screws for your mounting bracket. Using a drill, carefully make two holes. Use your plastic wall anchors and screws to adhere the mounting bracket to the drywall.
Tip: Write the year of installation on the mounting bracket in permanent marker. This will be a benchmark for when you need to replace your smoke detector—most units last for about 10 years.
Add Power Source
Before you install the unit to the mounting bracket, it’s time to connect the alarm to its power source. For battery-operated alarms, insert the battery as directed by the manufacturer.
For hardwired smoke detectors, the new unit should include a wire harness, and you connect these wires to those you pulled through the bracket. Strip the ends of each wire, then connect them to the matching color. Use wire nuts that conceal the connection. Once complete, plug the wiring harness into the new smoke detector. Most hardwired smoke detectors also include a battery backup, so remember to insert that power source before you mount the unit.
Pay attention to the placement of your unit’s battery—one day, you'll likely have to change the battery when you’re wondering why your smoke detector keeps beeping unprompted. Knowing exactly how to access it will make the incessant noise stop faster.
Attach Smoke Detector
 Photo: Rafael Ben-Ari / Photodisc / Getty Images
Once you’ve added the power source, lock the smoke detector in place by twisting it clockwise until you hear it snap in place. A battery-operated unit may beep or light up now, depending on the model.
Turn on the Power and Test
At this point, a battery-operated smoke detector will be operational. For a hardwired smoke detector, go ahead and turn your power back on by flipping the breaker. You should hear a beep or see an indicator light on your smoke detector to let you know it’s functioning.
DIY vs. Hiring a Pro
If you’re uncomfortable working with smoke detectors or simply don’t have the time for a DIY, you can hire an electrician or local smoke detector pro for proper installation. The normal cost range for hiring an electrician is $160 to $535, or $50 to $100 per hour. Installing a smoke detector is a pretty quick job, so you may pay a minimum charge for their time, even if they’re with you for less than an hour. Handy homeowners may want to skip the cost of installing a smoke detector and do it themselves.
Frequently Asked Questions
The National Fire Protection Association (NFPA) says you can place smoke detectors on either the ceiling or the wall, depending on the setup of your room. Since smoke rises, the ceiling makes sense, but if you go with a wall mounting, the alarm should be installed high up—no less than 12 inches from the ceiling.
Smoke detectors come in two different options: hardwired or battery-operated. While hardwired units are attached directly to the home’s electrical system, a battery-operated smoke detector only needs a simple battery for operation and can be placed virtually anywhere in your home. Some homeowners may mistakenly think their battery-operated units are hardwired in because all their units are interconnected, but many battery-operated units can operate within a smoke alarm network in your home.


