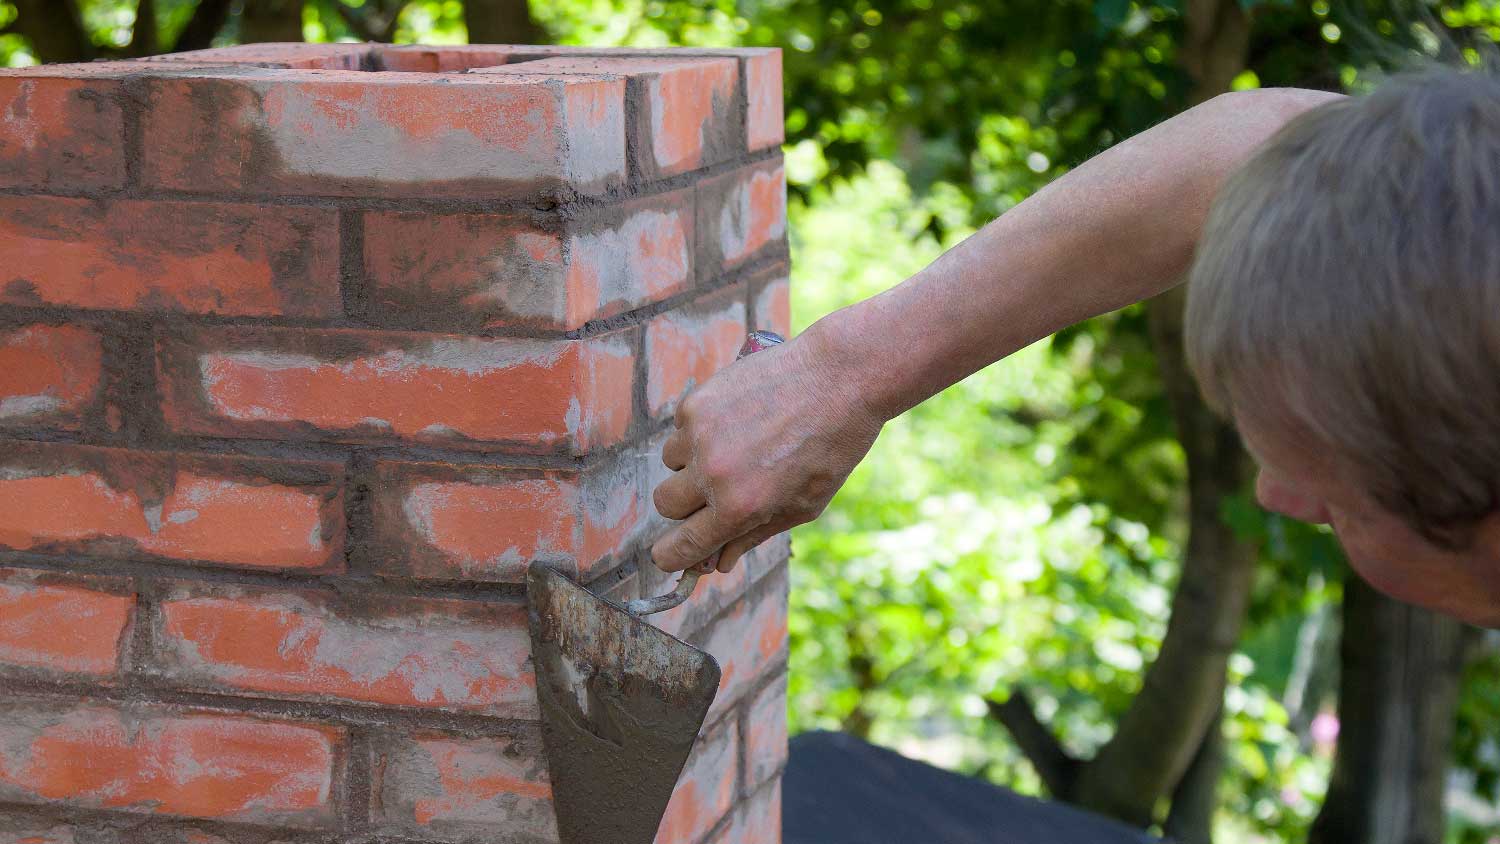
Sealing your chimney is one of the most affordable ways to prevent water from penetrating the bricks. This guide breaks down the cost to seal a chimney.
It’s your chimney’s trusted gatekeeper


A chimney damper is a small yet powerful feature that makes your abode more energy efficient while protecting it from harmful smoke, gases, and outdoor elements. Learning how to install a chimney damper is a big step toward making your home cozier and safer. Here's what you need to know about this project before you attempt a DIY.
It’s a smart move to have your chimney swept and inspected before starting this project. Work with a local chimney repair specialist to ensure your chimney is in top condition.
You must wear protective gear—long pants and sleeves, a dust mask, gloves, and safety goggles—when working in your fireplace because of loose debris and soot inhalation. Remember, your health and safety should always come first.

Place a drop cloth in front of your firebox and take steps to protect nearby furniture from soot. Next, grab your wire brush and shop vacuum to remove any remaining soot buildup around the old damper and flue to get accurate measurements.
Measure the flue opening width and length to ensure you purchase the right damper size. Buy your damper kit, paying close attention to the product’s measurements.
Following the manufacturer’s instructions is key to a successful installation. Start by unpacking the kit you purchased and lay out the parts. It will include the damper plate, control mechanism in the form of a rod or chain, and mounting hardware.
Attach the control mechanism to the damper plate—it’s the part allowing you to open and close the damper from the comfort of your living space. Then, ensure all the small parts, like screws, brackets, and any other additional fasteners, are correctly aligned and tightened. Double-check that the damper plate can move without any obstruction before installation.
Position the damper plate into the chimney flue, ensuring it fits securely and aligns properly with the opening. Once it's in place, use a screwdriver or drill to bolt the plate to the flue walls. You may need to drill pilot holes first.
As you tighten the fasteners, check that the damper plate remains level and centered. The goal is to ensure the damper can open and close smoothly while maintaining a snug fit. If the plate sticks, adjust its position slightly before tightening the screws completely.
Using your caulk gun, apply the high-heat silicone caulk around the damper's edges to create an airtight seal. Use a putty knife to smooth it out nicely. This small yet significant step is essential for preventing drafts and ensuring the damper functions efficiently.

The mechanism that controls the damper should extend to the fireplace opening, making it easily accessible. Move the control rod or pull the chain to ensure the damper plate opens and closes smoothly. You may need to adjust per the manufacturer's instructions if there's any resistance or if the mechanism is not within comfortable reach.
We highly recommend hiring a professional for this project. Installing a damper requires accurate measurements and handling of potentially hazardous materials, and you should always prioritize your and your home’s safety over saving money with a DIY.
Hiring a professional is always the best decision if you need clarification on what a chimney damper is, need more confidence in your DIY abilities, or want to avoid costly mistakes. Pro installers have the expertise to handle all aspects of the job, from cleaning and inspecting your chimney to ensuring the damper works efficiently.
From average costs to expert advice, get all the answers you need to get your job done.

Sealing your chimney is one of the most affordable ways to prevent water from penetrating the bricks. This guide breaks down the cost to seal a chimney.

If you’re experiencing chimney airflow problems, a new damper may be in order. Use this guide to learn what goes into your chimney damper replacement cost.

Discover the average chimney tuckpointing cost, key price factors, and expert tips to help you budget and save on your next chimney repair project.

Wondering what is a chimney damper? A chimney damper is a small flap that allows you to open and shut the airflow through your chimney.

Cracks in your chimney crown will grow over time and cause serious structural problems. Learn how to repair a chimney crown and prolong your chimney’s lifespan.

Knowing how to repair a chimney helps maintain your home's value and safety. Here’s a guide to common chimney problems.