How to Check a Dryer Vent for Lint Blockages
A dryer vent inspection will help you uncover lint's most dangerous hiding places


A little lint is no big deal—but a little lint can easily become a lot of lint. Every time we run our clothes dryer, lint accumulates in the lint trap, exhaust vents, and ducts. This poses a serious fire risk.
According to the National Fire Protection Association (NFPA), lint is responsible for 27% of the 13,820 home fires that are caused by dryers every year. Even if clogged vents don’t cause damage, they can reduce your dryer’s efficiency. This is where a dryer and dryer vent inspection comes in.
The Chimney Safety Institute of America (CSIA) and NFPA recommend homeowners have their dryer vents inspected and cleaned at least once a year, though you may want to do it every few months if your family does a lot of laundry. Professional cleaning is more thorough, but many homeowners opt to take the reins in-between annual cleanings. This guide can help.
Dryer Vent Inspection Checklist
During your dryer vent safety inspection, you should mainly look for lint build-up, dust, grime, and other obstructions. Also keep an eye out for obvious damage like cracks, holes, and leaks.
You should clean out your lint trap before and after every drying cycle. You should inspect and clean your dryer vents at least every year. Here’s an easy checklist of things to keep in mind.
Look for common warning signs
Examine and clean the dryer’s lint trap
Examine and clean the dryer’s exhaust vent
Examine and clean the wall duct
Examine and clean the exterior exhaust vent
Give your dryer a test run
Common Warning Signs
In addition to inspecting your dryer and dryer vents every year, you’ll also want to give them a look when you notice any of the common warning signs:
Large amounts of lint sticking to your clothes after a drying cycle
Your dryer has overheated or shut off
Clothes take longer to dry than in the past
Some dryers also have an indicator that alerts you when a vent is obstructed—but they’re not always the best at detecting partially blocked vents. Don’t rely solely on an indicator.
Examine the Lint Trap
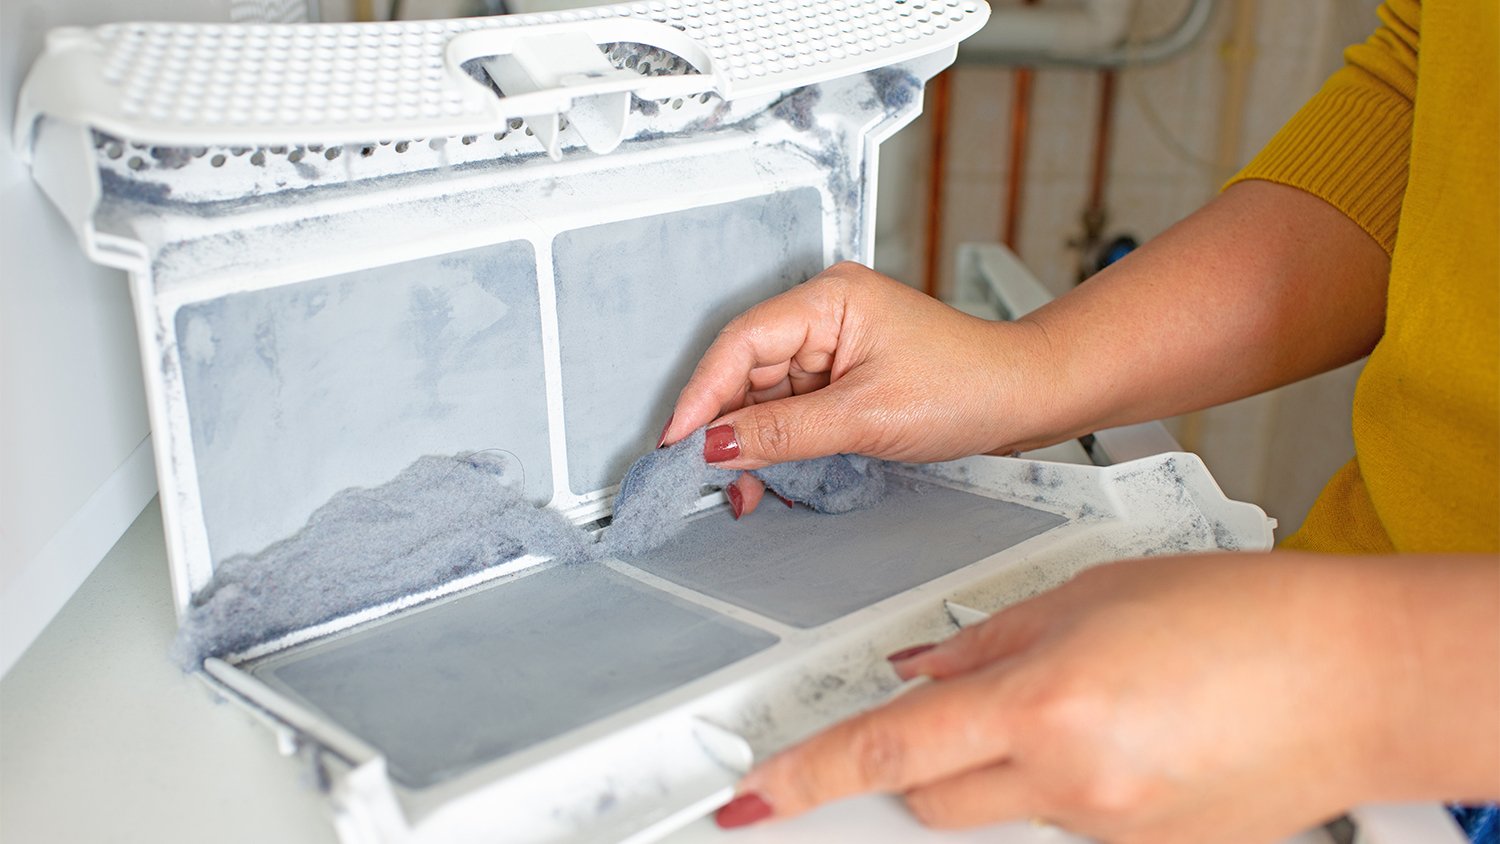
Check and clean your lint trap (or lint filter) after every single load of laundry. You can remove the lint with your hand or use a vacuum cleaner with a hose attachment for harder-to-reach lint inside the slot in your dryer. If you notice stuck-on residue or a mildew smell, take your lint trap to the sink and clean it using:
Hot water
A rag or sponge
Liquid dish soap
Examine the Exhaust Duct
After you inspect your dryer’s exhaust vent, inspect the wall duct. The wall duct acts as a passageway from your dryer to the exhaust vent outside of your home. At this point, the duct should be disconnected from your dryer and your dryer should be away from the wall. Use this checklist during your dryer vent inspection:
Unplug your dryer’s power cord from the wall outlet
Locate the duct connecting your dryer to the wall
Remove tape or clamps that attach the exhaust vent to the wall duct
Gently remove the wall duct from the exhaust vent
Carefully move your dryer away from the wall
Examine the area inside and around the duct for lint build-up and other blockages
Use a vent cleaning kit or vacuum with a hose attachment to clean debris
Examine the vent for damage like splits and cracks
Seal holes with aluminum tape
Push your dryer back into place
Reattach your dryer to the wall
If you notice any damage or blockages you can’t clear on your own, a professional duct cleaning and repair service can help.
If you have a gas-powered dryer, you have to be mindful of gas leaks. Do not tamper with the gas line. The hose should be securely attached at all times, but this may mean that you can’t move or get behind your dryer to clean the vent. In this case, bring in a professional vent cleaning service near you. A professional dryer vent cleaning costs an average of $135.
Examine the Exterior Exhaust Vent
Your outdoor exhaust vent is a gateway into your home—and you don’t want it to invite in fallen leaves, dirt, debris, and the odd critter. A missing vent cap can give birds the license to build a nest in your vent and cause a serious blockage.
Use this checklist to inspect your exhaust vent:
Examine your vent cap for visible damage like cracks and missing screws
Remove the vent cap
Examine the exhaust duct for blockages, buildup, and visible damage like holes and cracks
Clean the exhaust vent and cap using a vent cleaning kit or vacuum with a hose attachment
Re-attach the vent cap, making sure it’s secure on your exterior wall
Some vent caps are easily detached using a screwdriver, meaning they’re also easy to replace if there’s damage. But others are more complicated. You may want to call in a professional if you can’t remove your vent cap and see a blockage that you can’t reach with your cleaning kit.
Give Your Dryer a Test Run
Once you’ve cleaned your dryer and dryer vents, you’ll want to make sure everything is in working order. Run your dryer on a cycle, go outside to the exhaust vent, and make sure you can feel exhaust air exiting your home. If you still have a problem, it’s time to bring in a professional.
You may also want to bring in a professional to make sure your dryer vents are up to code. Certain types of ducts, like those made of flexible plastic or foil vinyl, are prone to extreme lint buildup and need a professional cleaning (if not a replacement) to mitigate the fire risk.
How Much Does Dryer Vent Cleaning Cost?
Dryer vent cleaning costs on average $200, but can increase depending on the placement of your dryer vent. Some vents are located right next to the dryer and extend only 2 to 3 feet to the corresponding wall, but some vents snake upwards through the ceiling, attic, and roof.
In cases where your dryer vent exceeds 6 feet in length or is located in hard-to-reach areas, it’s worth it to hire a professional cleaning service to ensure it’s thoroughly cleaned out. A pro will have specialized equipment to access longer vents, as well as the experience to navigate tough areas like an attic or crawl space.
If recurring dryer vent cleanings are eating into your budget, you may want to consider a ventless dryer. These are best for smaller spaces that can operate without an external venting system.


Get our Angi-powered app


