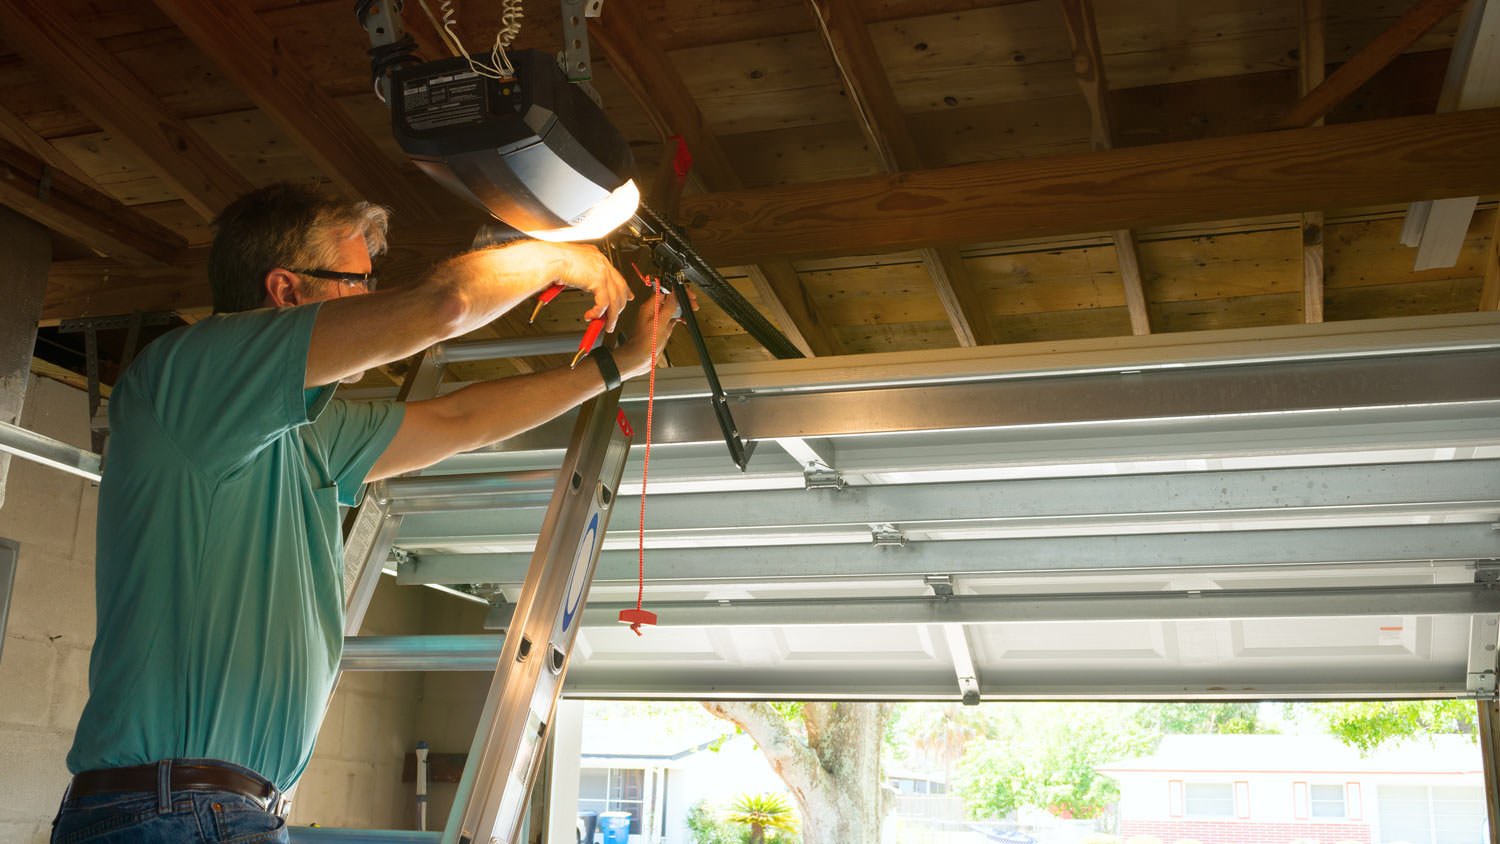
How to Inspect Your Garage Door
A garage door inspection can catch issues before you’re shut out of an easy solution


The average garage door repair costs $150-$350
Garage doors should be inspected every six months to a year
You should be able to spot obvious wear, like frayed cables and corrosion
Pay extra attention to safety features like photo eye sensors and auto reversal
It’s easy to take your garage for granted, but when you think about it, it’s a clear value-add for most homeowners. Garages are a great place for storage (especially if you’ve already maxed out your attic), and they help shield your car from the elements. Similar to other types of home appliances, garage doors also require regular maintenance. At 600 pounds, a faulty garage door can be dangerous—to both your car and your family. So it’s important to look for warning signs that your garage door is broken or needs replacement.
Why Do I Need to Inspect My Garage Door?
Garage doors have many different parts and components—from the sensors that let you effortlessly enter your garage to safety features that prevent potential injury. Many of these elements are used at least twice a day (when you exit and enter the house), so it’s not uncommon for parts to wear down or face other common problems.
The good news is that a garage door inspection can catch problems before they become a serious issue. You should inspect your garage door every six months to a year, as well as conduct an annual tune-up. The average repair costs about $150 to $350, so identifying and resolving problems early can save you a few hundred dollars.
To ensure that your garage door is running smoothly, follow this garage door inspection checklist:
1. Inspect the Photo Eye Sensors
Photo eye sensors are a necessary safety feature if your garage door doesn’t have some other kind of auto-reverse. It prevents the door from closing on cars (or, in a worst case scenario, actual people). If your photo eye sensors are working, your door won’t close if something is in front of the sensor.
Photo eye sensors are typically located on the floor near your garage door, and they should not stand more than 6 inches off the ground. Measure the distance to make sure your sensors are up to code. During your inspection, you’ll also want to test the photo eye sensors by doing the following:
Ensure sensors are securely attached to the wall
Open your garage door
Put an object that’s taller than 6 inches in the door’s opening
Make sure the object blocks one of the sensors
Use your garage opener to close your garage door
If the door doesn’t close, then your sensors are working properly. If the door starts to close, it’s time to call a professional. Your sensor may be broken.
If your garage door doesn’t have photo eyes sensors, contact your manufacturer and make sure it’s not a requirement for your system.
2. Inspect the Wall-Mounted Push Button and Remotes
Your garage should have at least one push-button mounted on a wall, which controls the garage door in addition to portable remote control garage openers. The wall push-button should be:
In clear view of the garage door
Located at least 5 feet above where someone would walk (so children can’t reach it)
Responsive to touch, meaning that it opens and closes your garage door when you press the button
Test the button and any other remotes by pressing them. If they’re not working, you may need to replace the batteries or bring in a professional.
3. Test the Garage Door’s Auto-Reversal
Your garage door’s auto-reversal is another important safety feature that prevents the door from closing on cars, people, or the errant piece of sporting equipment. Your door should automatically reverse when it encounters pressure. To test the reverse:
Open your garage door using your garage door opener
Place a non-breakable object at least 1.5 inches tall (such as piece of wood) beneath the door
Close your garage door using your garage door opener
Once your garage door touches the object, it should start opening again
If your garage door doesn’t automatically reverse, check the pressure sensitivities on the door. There should be a pressure-sensitive strip at the bottom of the door. If it’s intact and there’s still a problem, you’ll need to adjust the knobs on the back of the garage door opener. This handy guide can help. Keep in mind that this is a safety feature, so unless you’re very familiar with the mechanics of your door, you’ll probably want to hire a professional.
4. Inspect Your Garage Door, Track, and Rollers

Your garage door opens and closes using a track and rollers. If these parts are in working order, your garage door should be able to move freely. When the door is open, it should stay open.
You can inspect the door, track, and rollers by switching your garage door opener into manual mode and moving your door into different positions by hand. During your inspection, make sure:
Your door isn’t dented, rusted, or worn
You can open and close the door without strain or difficulty
Your door stays on the track
The track isn’t rusted, corroded, or worn down
Your door stays open when it’s fully open
Your door stays open when it’s half open
The rollers stay inside the track
The rollers are free from obvious wear like chips, cracks, or warping
If your door feels sticky, make sure the track isn’t blocked by debris. Lubricate the rollers with a garage door lubricant spray or powdered graphite, and then wipe the excess product away with a damp rag. If that doesn’t help, call a professional. Do not attempt to replace rollers or adjust your door’s balance on your own, as this step can be dangerous.
Now is also a good time to start maintaining your garage door. Waxing and regularly washing your door with hot, soapy water will help stave off corrosion.
5. Inspect, Clean, and Fix Hardware
Hardware like brackets and hinges hold your garage door and its mechanical parts together. Unfortunately, they’re also a magnet for dirt, dust, and grime. The following steps will help ensure your hardware remains in good shape:
Look for loose or missing screws and bolts along the system
Tighten loose screws with a wrench
Replace missing bolts and screws (read the system manual or contact the manufacturer to find the type you should use)
Search for signs of rust, and then clean it with a rust remover or a home remedy like white vinegar
Wipe down hardware with a damp rag, using paint thinner if they’re particularly greasy
Lubricate hinges with a garage door lubricant spray or powdered graphite (avoid wet lubricant because it attracts dirt and grime)
If your hinges or brackets show major signs of wear—they’re warped or the metal is flaking off with corrosion—you might need replacement parts.
6. Inspect the Springs
Most garage doors have one of two types of springs:
Torsion springs, which are located above your garage door
Extension springs, which are located above the upper track
When your garage door is closed, check the springs for signs of rust, breakage, and wear. If they’re squeaking, lubricate them with a garage door lubricant spray or powdered graphite. If the squeaking doesn’t stop, there may be a larger problem. Extension springs should have retention cables that prevent injuries in case a spring snaps. Make sure these cables are intact and free of obvious wear.
You should never tamper with the torsion springs on your garage door or try to replace them on your own. These are tightly wound and one mistake can cause severe injury. If you notice a problem with your springs, call a professional.
7. Inspect the Pulleys and Lifting Cables
Look for signs of wear and tear, like fraying, cracks, corrosion, or sagging, on your garage door’s pulleys, lifting cables, and chain. The lifting cables on the lower part of your roller bracket tend to wear out first. If you notice signs of wear, bring in a professional. It’s dangerous to tamper with these elements, particularly pulleys that are attached to springs.
8. Inspect the Weatherstripping
Weatherstripping, the rubber tread on the bottom and sides of your garage door, can help increase your home’s energy efficiency by sealing your garage. Inspect the weatherstripping by:
Closing your garage door
Inspecting whether any light comes through the bottom or sides of the door
Look over the tread for signs of obvious wear, like tread that’s warped, missing, cracked, or out of place
Some homeowners choose to replace the weatherstripping on their own. It’s available at most hardware stores, and comes in a variety of different materials. If you’re not quite that handy, you can get the weatherstripping replaced professionally. This usually costs somewhere between $170 and $490.


