

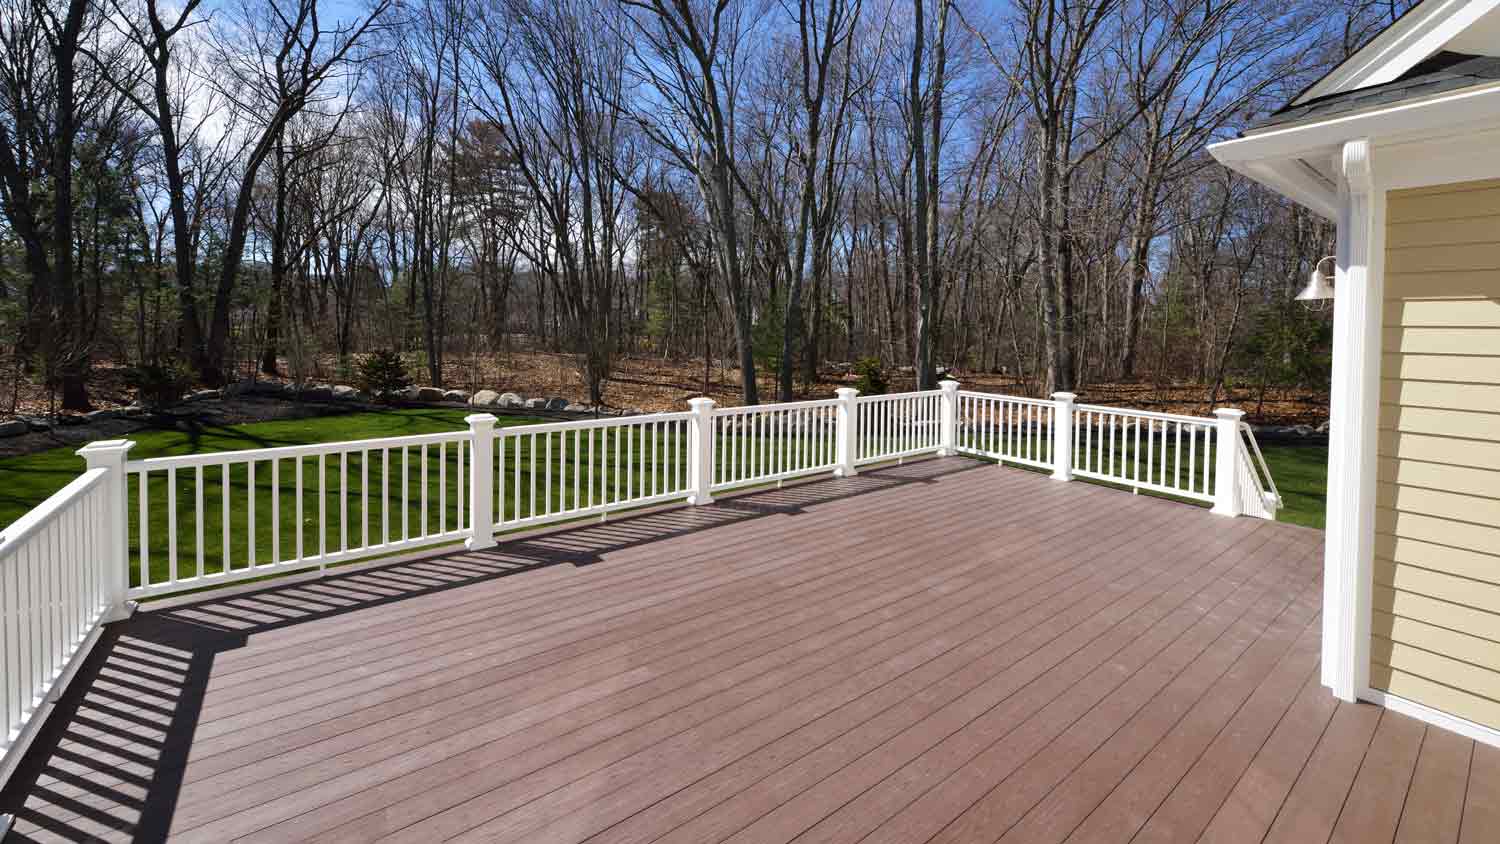
If you’re updating a deck or staircase with a modern railing, you may be wondering how much cable railing costs. We dive into the cost factors you need to know.
Get swinging in no time


Get ready to relax outdoors this season with a stylish porch swing. A porch swing is just one of the many ways you can spruce up the exterior of your house. Porch swings are ideal for snuggling up with a book, relaxing with loved ones, or simply expanding outdoor seating. You can even hang your porch swing on a screened-in porch or a sunroom.

Not only do porch swings provide outdoor enjoyment, but they can even increase your curb appeal. Make sure to consider all the angles before you pick a location for your porch swing.
Measure for size. Make sure your porch swing has enough room to hang comfortably. We recommend leaving 2.5 to 3 feet of space in front and back of the swing and 14 to 20 inches of clearance on either side.
Private vs. public. If you're looking for a reclusive spot, install your porch swing on the back porch or face inward for more privacy. If you’re the type who likes to greet the neighbors and watch the local dogs go by, a forward-facing front-porch swing might be best for you.
Consider style. Your swing can be functional and make a statement to complement your home. A hand-painted wooden swing looks particularly timeless on a covered porch. Or, settle on a homier vibe with a wicker loveseat and lots of throw pillows. No matter what material you choose, make it your own.

Now that you’ve picked the perfect location for your porch swing, it’s time to tackle the technical.
Exposed beams. Finding your ceiling joists—aka ceiling studs—should be simple with exposed beams. Ceiling joists run from front to back on most porches making them easier to locate.
Covered ceiling. For covered ceilings, you’ll need to use a stud finder. For this project, a stud finder that can locate the joist center is best. Measure three feet or more from the wall and mark the edges and center of the ceiling joist with a pencil.
When completing a DIY project, it’s important to put safety first. Confirm that your weight loads and structural supports are up to the task.
Joist support. For hanging a two-person porch swing, we recommend using at least two joists that are 2 x 6 inches. If you are hanging a swing along a single joist, it should measure 2 x 8 inches, at a minimum.
Check hardware rating. We recommend all hardware you purchase for this project be rated for at least 500 pounds. If you plan to use rope when hanging your swing, we recommend using a 500-pound rated marine-grade braided nylon or rated similar rope.
Choose your porch swing kit. Porch-swing-hanging kits run a range of prices and styles and include different types of hardware. The two most common types are comfort spring kits and chain link kits. A kit that includes comfort springs is meant to give your swing a bit more bounce and fluidity vs. a chain link kit that covers the basics.
Horizontal vs. vertical hangers. Included in your kit may be a horizontal or vertical hanger. With a horizontal hanger, the two mounting holes are perpendicular to the pivot of the swing. A vertical hanger means the pivot of the swing will be parallel to the mounting holes.
Depending on the direction of your ceiling joist and where you would like to place the swing, it may make sense to choose one type of hanger over the other. Kits that offer eye hooks vs. hangers are another viable option.

If your ceiling joists don’t line up with your ideal porch swing placement, you can always add structural support yourself.
Find a strong crossbeam. An existing cross-beam in a location that meets your needs can be a spot for adding structural support from above.
Measure. Carefully measure the distance between the two joists where you’d like to add structural support. The additional support will be added above the existing support beam.
Cut. Be sure the wood thickness corresponds to the dimensions of the existing ceiling joists. Cut a board that fits snugly between the two joists using your measurements and a wood saw.
Attach the support. Fit the additional support beam snugly between the two existing joists. Directly attach the support beam to the ceiling joist using a power drill and two or more wood screws on each end.
Attach the hardware to a joist. Remember, even with reinforced structural support, at least one side of your hardware hanger needs to be attached to the center of a joist. A common situation is attaching one side of a horizontal hanger to a ceiling joist and the other to a reinforced structure.
Should any questions arise regarding structural support, we recommend hiring a professional carpenter.
When prep time’s over, you’re good to go. Just make any last adjustments and start hanging your hardware.
Measure your porch swing. If you bought your porch swing after your initial assessment, be sure to measure your swing for comfortable clearance. Remember to ensure your joists are 2 to 4 inches wider on either side to attach to your swing hangers.
Double-check! You should check last-minute spacing adjustments before attaching your hardware—especially if you purchased your swing after taking initial measurements.
In some cases, porch swing attachment might be complicated by unexposed beams. Depending on the type of porch ceiling, you may be able to move aside existing ceiling panels and replace them during or after installation.
We recommend the following step to attach most hanging hardware.
X marks the spot. Mark the spots where you will attach your hardware with a pencil—either directly on the joist or on a piece of masking tape. Make sure the marks are in the center of the joist to prevent wood splitting. Now is a good time to double-check directionality and hanger alignment.
Drill pilot holes. Once you’re sure of the placement, drill a pilot hole where you will attach each bolt or eye screw—pilot holes will avoid wood splitting. Remember, if you’ve added structural support, one hanger bolt on each side of your porch swing must attach to a joist for structural stability.
Attach the hanging hardware. Using your power drill and appropriate attachment, bolt your hanger to the markings on the center of the joist. If you’ve chosen a porch swing set with eye screws, you can attach them by hand or use a hook attachment with your drill.

The hardest part is behind you! Just follow these final steps before you enjoy some well-earned downtime.
Make adjustments. Make sure the back and seat of the swing are adjusted for your comfort. You’ll want to make sure your rope or chain is correctly attached to the back of your swing before you hang it. You can even place the swing on a box to make the hanging process easier.
Hang your porch swing. This might be a good time to ask for another set of hands to help support the swing.Use a rope or chain to attach your swing to the hanging hardware you installed. This may vary slightly depending on the porch-swing-hanging kit and style of swing.
When hanging your porch swing with a chain, you may need to use quick links for a secure hold. If you’re using comfort springs, you may wish to add a safety chain.
Adjust for height. Before you finish fastening the front end of your swing, it’s time to adjust the height. We recommend a comfortable 17 to 19 inches off the ground. It’s your choice, however, so feel free to hang your porch swing a little lower if you have kids who’ll want to climb up easily.
Finish up. Once you have the swing where you want it, securely attach the chain or rope to the fixtures on the front of the swing. You can always adjust the height later for your comfort. For now, relax and enjoy!
In most situations, you can hang a porch swing yourself in just a few hours. In cases where you aren’t sure of the ceiling type or structural support, hanging a porch swing can become more complicated. If you're unsure if you can DIY this job, you can always hire a carpenter to do a professional installation.
If you choose to hire a carpenter for professional installation, you can expect an average cost of $75 to $100 per hour, but this average depends on numerous factors. Your location, the size of the porch swing, and the skill level of the carpenter you hire can all influence the installation cost.
Paul F. P. Pogue contributed to this article.
From average costs to expert advice, get all the answers you need to get your job done.
If you’re updating a deck or staircase with a modern railing, you may be wondering how much cable railing costs. We dive into the cost factors you need to know.

Flagstone patio costs vary by the size, material type, labor, and more. Stay tuned to see how much your flagstone patio could cost.
Deck repair costs depend on materials, damage you need to fix, and more. See how much it costs to replace or repair a deck in Columbus, OH.
Why is my composite deck warping? There are a few key factors at play. Learn more about common problems and how to fix them to get to the bottom of it.
Deck railings keep you safe and give your deck a finished look. Here’s how to install railing posts on a deck to support strong and sturdy railings.

To learn how to build a deck, you’ll need to consider design, materials, labor, and time. Our guide will show you how to build a deck to fit your lifestyle.