

Explore the key factors that impact vinyl fence installation costs in Columbus, OH, including labor, materials, permits, layout, design, and yard conditions.
Upgrade your outdoor space with this sleek and unique DIY fencing project


A corrugated metal fence could be the perfect backdrop to your summer evenings spent on the patio with friends and family. This type of metal fence, which features alternating ridges and grooves in the metal panels, is sturdy, provides excellent privacy, and holds up well against the elements. If you’re considering installing this fence type, it’s important to learn how to frame a corrugated metal fence before you add the panels.
Before you start digging out places to set the fence posts and installing the corrugated metal panels, there are a few tasks to check off your to-do list. From applying for permits to determining how many materials you’ll need, here are some steps to take before framing and installing your fence.
Installing a fence is a project that may require permits. Most fence permits will run about $20 to $60. Fence projects often require permits for fences above a certain height, usually 6 or 7 feet for backyard fences and 3.5 feet for fences in the front yard.
As with any project, you need to measure in order to know the amount of supplies to order. You’ll want to outline the fence boundary using flags or rope and make note of where your fence posts will go. This way, you know how many linear feet of corrugated metal you need, plus you can figure out how many fence posts to buy.
Once you have an idea of where you will install the fence, you can buy all of the supplies for the project. You may want to round up by about 10% on the materials you get to account for any unexpected situations that could come up during installation.
One of the first things you should do before digging into how to frame a corrugated metal fence, or any other project that could require digging into the ground, is call the 811 line for your state or reach out to your local utility companies. You’ll need to call this number or talk to a utility worker to have the utility lines on your property located and marked at least a few business days before you plan to start framing your fence.
Locating your utility lines is a crucial first step to prevent accidentally digging into them. This accident isn’t just an inconvenience; it is costly and extremely dangerous.
Hitting a utility line will definitely impact the power, sewage system, or water for your neighborhood, but it could also lead to electrocution, which can be deadly. Do not skip this step.
Once the utility companies have helped you locate and mark buried utility lines, you can start outlining the future location of your corrugated metal fence. You’ll start with marking near where the corners of the fence will go.
Using a rubber mallet, drive each stake a few inches into the ground.
Position the stakes about 6 inches from where the corner of the fence will be to leave room to dig post holes.
Use a flag or other marker to note exactly where you want the post to be.

To help guide installation, tie string around each stake until you have marked the entire outline of the fence. The old saying, “Measure twice, cut once,” comes into play here. You’ll want to measure the outlined fence again, as you did in the preparation steps, to make sure you have the correct amount of corrugated metal for your fence.
Choosing the right fence posts and installing them properly is key to a strong fence that will stand the test of time. The post holes will need to be deep enough to bury at least 1/3 of your fence post (for example, if your post is 6 feet tall, 2 feet of it should be in the ground).
Each hole should also be wide enough to fill and set the post with materials like concrete or expanding foam, so plan to dig a hole with a diameter about three times the diameter of the post.
Use a shovel or rent an auger (post hole drill) to dig the holes where the corners of the fence will go.
Dig additional post holes spaced evenly apart (about 5 feet up to 30 feet, depending on the size of the fence) around the perimeter of the marked fence outline.
Make the post hole 1/3 of the height of the post.
With a shovel, widen the post hole to about three times the diameter of the post.

Now you’re ready to place the fence posts in the post holes. First, you’ll need to add 6 inches of gravel at the base of the hole. Adding gravel helps water drain away from the wood post, which is important because if water collects here, it can cause the post to rot and fail, leaving you with a sagging or fallen fence.
Next, it’s time to set the posts:
At each post hole, place the post in the center. You may want to ask a friend or neighbor to help you steady the post.
Use a level to ensure the post is perfectly vertical.
Wait to mix your concrete or expandable foam until right before you are ready to set the posts.
Pour the quick-set concrete or mixed expandable foam into the post holes. Follow the instructions on the product labels for specific application instructions and dry time.
For smaller post holes, you can purchase sprayable expandable foam and spray it directly into the post holes for easy application.
Let the concrete or expandable foam set for at least four hours before moving to the next step.
When working with concrete or expandable foam, always thoroughly read all instructions before beginning, and use safety equipment, like gloves and a mask, when handling the setting materials.
When it comes to learning how to frame a corrugated metal fence, you’ll find that you need more than just the fence posts to support these large, heavy sheets of metal. You also need to install horizontal beams to help the posts bear the weight.
Ask a friend or two to hold a two-by-four pressure-treated wood board between two posts toward the bottom of the posts.
Check that the board is level.
Use a drill and exterior-rated structural screws to attach each end of the two-by-four to the posts.
Repeat by adding a two-by-four in the middle and toward the top between the two posts.
Continue the process, adding three horizontal support beams between each set of two posts.
This step is optional, but it can make your life a lot easier as you’re trying to hold the panels in place and attach them to the fence frame.
Lay out the corrugated metal panels on a safe workspace.
Put on protective equipment, including safety goggles and gloves.
Predrill holes along each side of the corrugated metal panels where they’ll be attached to the fence posts about every 4 inches. These holes will guide you on where to drill the panels into the frame.

Depending on the size of your corrugated metal panels, you may opt to install them vertically or horizontally. Decide which option looks best for your property, then recruit a friend or neighbor to help you hold the metal panels in place while you drill through the predrilled holes with flat-head exterior screws to attach the panels to the posts.
Installing a corrugated metal fence costs about $7 to $32 per foot for the materials, plus about $20 to $60 for permits. You may also need to rent some tools, namely an auger, which costs about $10 to $90 per day, depending on how big you need to make your post holes. You’ll also need to recruit a buddy or two and reward them with pizza and some cold beverages because this is a multi-person job.
Hiring a local fence company to frame and install your corrugated metal fence will cost about $50 per hour, adding about $10 to $58 per foot to the project cost. But this is a big job, and the pros will install the fence quickly and correctly without you having to lift a finger for anything besides handing over some money.
From average costs to expert advice, get all the answers you need to get your job done.
Explore the key factors that impact vinyl fence installation costs in Columbus, OH, including labor, materials, permits, layout, design, and yard conditions.
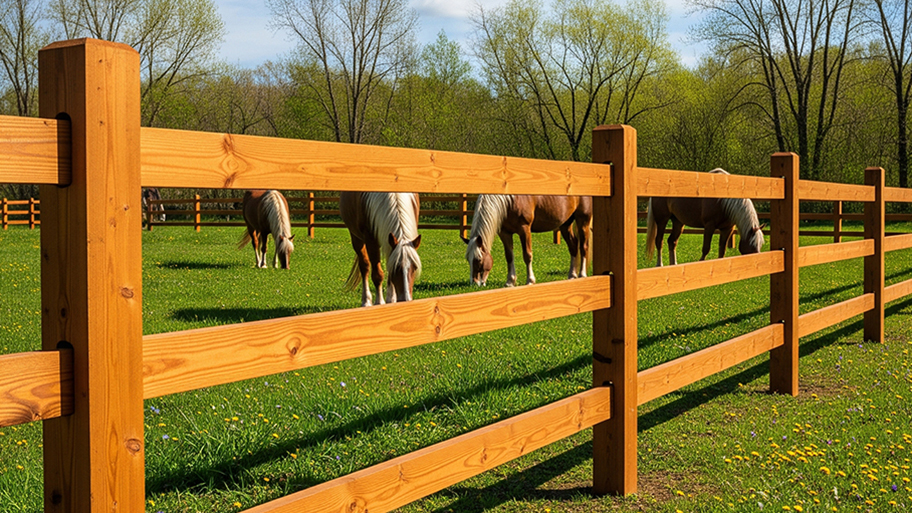
Looking for that rustic charm only a split rail fence can provide? Use this split rail fence cost guide to get an idea of what your fence will total.

A fence can be a beautiful and functional addition to your property. Learn all the factors that determine your fence installation costs in Columbus, OH.

How many bags of concrete per fence post do you need? Use our tips to learn how to properly secure the posts for the perfect fence installation.

If you’re struggling to choose the right type of fence post for your yard, keep reading for a breakdown of fence post foam vs. concrete options.

Looking for a way to increase privacy at home without taking on extra chores? Learn about the best low-maintenance fence options.