Water damage restoration costs depend on the severity of the problem, the type of water, and the length of time the damage has been occurring.
Save your water-damaged wood floor with this step-by-step guide

Hardwood floors are naturally beautiful and elegant, but if you have a plumbing leak or experience flooding, they’ll quickly warp and show signs of water damage. Don’t panic—it’s possible to DIY the repairs. In this guide, we’ll explain how to fix water-damaged wood floors to help you bring that upscale beauty back to your living space.
When water damage is discovered, turn off the power and disconnect all electronic devices from any affected area.


When water runs wild in a home fitted with electricity, safety should always come first. Before you start pulling up wet floorboards, turn off all appliances and cut the power in the water-damaged area.
You’ll also need to make sure you have enough new floorboards to replace the damaged ones. You can check utility rooms and other storage areas in your home to see if the installer left behind extra flooring material. If not, bring a piece of damaged floor to your local home improvement store and ask if they can help you match it.
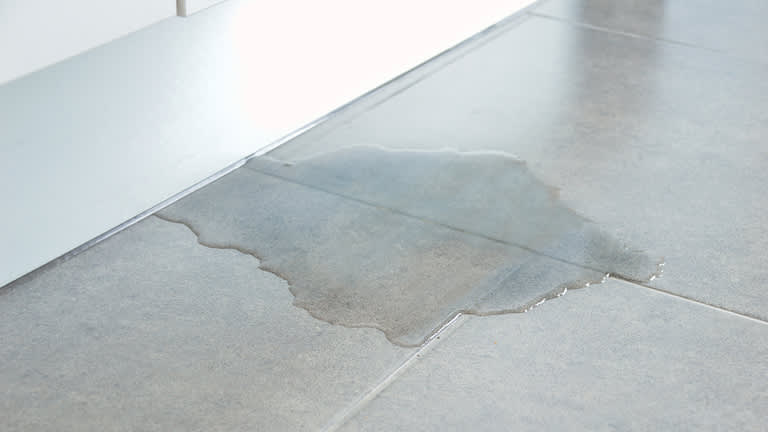
Mold grows within 24 hours after water damage, so the longer water sits, the more damage it causes to your wood floor. Your first order of business should be to remove any puddling on your floors. Use a shop vacuum to remove surface water as soon as you can. Using a wide attachment to the vacuum hose will effectively remove most surface water. Once you get up what you can with your vacuum, use a large sponge to remove what’s left.

Use a mild wood floor cleaning solution or mix detergent, water, and disinfectant to create your own cleaning solution. Next, carefully scrub all affected areas, including water-damaged baseboards, with a soft-bristle brush.
Check the floors for signs of mold. If mold is present, use a more abrasive cleaner and a mold treatment solution to clean the affected area. Once the discoloration or mold growth is removed, rinse the surface with clean water and wipe it dry using your sponge.
Before you move on to the actual replacement, you need to let your floor dry completely. Set up blower fans in the room and open up your windows to accelerate the drying process. This can take anywhere from 24 to 72 hours, depending on your climate and the extent of the water damage.

If you notice minor cupping or crowning, using a floor sander can smooth out the surface. Note that you’ll need to refinish the sanded areas to match the existing floors, so only attempt this if you have matching stains and protective finishes. If you’re uncomfortable sanding your floors, don’t have a matching stain, or see excessive cupping and crowning, hire a water damage professional instead to get the job done.
Mold can easily grow under surface paint. Therefore, if your floors were painted, you should apply additional mold treatment now that the wood is exposed. Use an abrasive cleaner with disinfectant properties to clean the naked wood surface. You can also use mild bleach as your disinfectant. Once finished, wait for the floors to dry.
If any floor panels look severely damaged, use a pry bar to remove them. Repeat cleaning and mold treatment for the subfloor underneath the floor and wait until it is fully dry.
Most homes use standard-sized wood flooring, and you can sometimes find replacement panels at your local home improvement store. You may need to contact your flooring manufacturer for an exact match, though. Once you have your supplies, apply flooring adhesive to the back of your new panel and align it in place. Hold the panel down for a few minutes to let the glue settle.

Finally, repaint, restain, or refinish the floor. This provides additional protection for your repaired floors. Most stain-resistant wood floor sealers are oil-based and thus increase the floor’s water resistance. You can also use water-based urethane waterproofing sealers. Use two or three coats of sealers, and make sure the previous coat is fully dry before applying the next layer.
Restoring water-damaged wood floors is a challenging DIY project, especially since you want a professional look once you’re done. There are a few key mistakes to avoid when doing this work.
Failing to address the source of the water: If you’re repairing your floors after a flood caused by a natural weather event, you’re in the clear. But if your floors were damaged from a roof leak or plumbing leak, always address the source of the leak first. Otherwise, you’ll just end up with repeat damages.
Rushing the drying process: Wood takes a minimum of 24 hours to dry, and you should really run fans for 48 to 72 hours to be safe. Sanding too early will lead to additional warping and cupping after you finish, which means you’ll just need to start the process over.
Not checking the condition of the subfloor: When you pull up damaged floorboards, be sure to check the subfloor for signs of damage. If there’s water damage or mold growth at that level, call in a water damage professional immediately. You’ll likely need to replace portions of the subfloor, too, which is a major undertaking.
Ignoring mold: Never ignore signs of mold on or under your flooring. Remove the mold with an abrasive cleaner first, and be extra careful to dry the flooring before you sand, replace, and refinish. Mold will continue growing under flooring and can lead to poor indoor air quality and further damage.
Not choosing a matching finish: Make sure you have stain and protective finish left over from when you originally finished your flooring. If you don’t, the replacement panels won’t match. Consider hiring a professional to sand and refinish the entire floor if you don’t have a matching stain.
It’s important to catch water damage early. The most common signs that indicate you have a moisture problem are rotting, buckling, or peeling surfaces, which show up in 31% of cases. Damp or wet areas are also common indicators at 26.5%.
Repairing water-damaged wood floors is doable but often time-consuming, especially when factoring in the drying times needed between steps. It’s much more challenging than dealing with other types of floor materials, like repairing laminate floors after water damage, so you may want to call a pro. While replacing floorboards that have topical damage is doable as a DIYer, simply repairing the floor may not be your ultimate fix, as there could be other types of water damage occurring around or under the floors.
If you’ve never worked with wood flooring before, or you suspect that the water damage runs deeper than the surface of your floors, call in a local water damage restoration company to take a look. Water damage restoration costs an average of $3,800, but a pro can assess the extent of the damage, help you decide if you need subfloor repairs, and perfectly match your new boards to the existing ones for a clean, professional look.
Corey Carr was great. I had damage from a recent storm and needed to have my mast and other components replaced. The project entailed coordinating with AEP, and Corey helped make a stressful situation a lot less stressful. I really appreciated his dedication to service and the job very well done.
 Mr. Electric of Columbus
This service was great. My air conditioner went out during the heat spell that we had. My husband has health issues and they came out that night and at 9:30pm the air conditioner was fixed and running. We are sooo very thankful, this is the company I will be using from now on and would...
 Mr. Mechanical Ohio
Positive experience. As previously stated, the replacement/repair could not be completed (no fault of the plumbing tech) b/c misinformation was rec?d by property management maintenance. Thanks to the plumbing tech for your efforts. Appreciate you!
 The Waterworks
Carpet repair done well. Scheduling was easy. Showed up on time.
 BR Flooring Installation
As usual with ECO, tech Jordan was outstanding, very professional, very knowledgeable, and very thorough with repairs made to tankless water heaters. Very highly recommend ECO!!!
 Eco Plumbers, Electricians, and HVAC Technicians
I would recommend this company to anyone! He showed up on time, was friendly, completed a very difficult repair on our dryer vent cover, was responsive, and pricing was extremely fair and competitive. I would have him back to do any of our repairs or cleanings without hesitation!
 U.S.A. Dryer Vent, LLC
Everything from initial contact to completion was absolutely top notch. We contacted the business during off hours to leave a message, and the owner still reached out to feel out the issue within minutes. We were scheduled and repaired within 48 hours. I cannot say enough about the...
 Supreme brick & chimney
Ace Fireplace Services came to the rescue for my chimney repair. They were quick to pinpoint the issue and worked their magic to fix it. My chimney is now in excellent shape, and I'm a satisfied customer.
 Ace Fireplace Services
When we had the winter freeze, I called Quantum Waterworks Waterline & Drain Cleaning Services and within 1 hour I received an e-mail and he sent someone out the next day and he was on time, he was nice and did the job quickly and cleaned up after himself. We had a leak in our kitchen from...
 Quantum Waterworks Waterline & Drain Cleaning Services, LLC
On time, clean and finished fast. Windows seem sturdy and the finish is good. Caulking was done with no smudges. Would recommend.
 Window Depot USA of Central Ohio
From average costs to expert advice, get all the answers you need to get your job done.
Water damage restoration costs depend on the severity of the problem, the type of water, and the length of time the damage has been occurring.
Sagging floor repair costs vary considerably depending on the type and extent of the damage and the flooring material.
Your floors deal with a lot, and they may occasionally experience damage that requires your attention. Learn floor repair costs for your project.
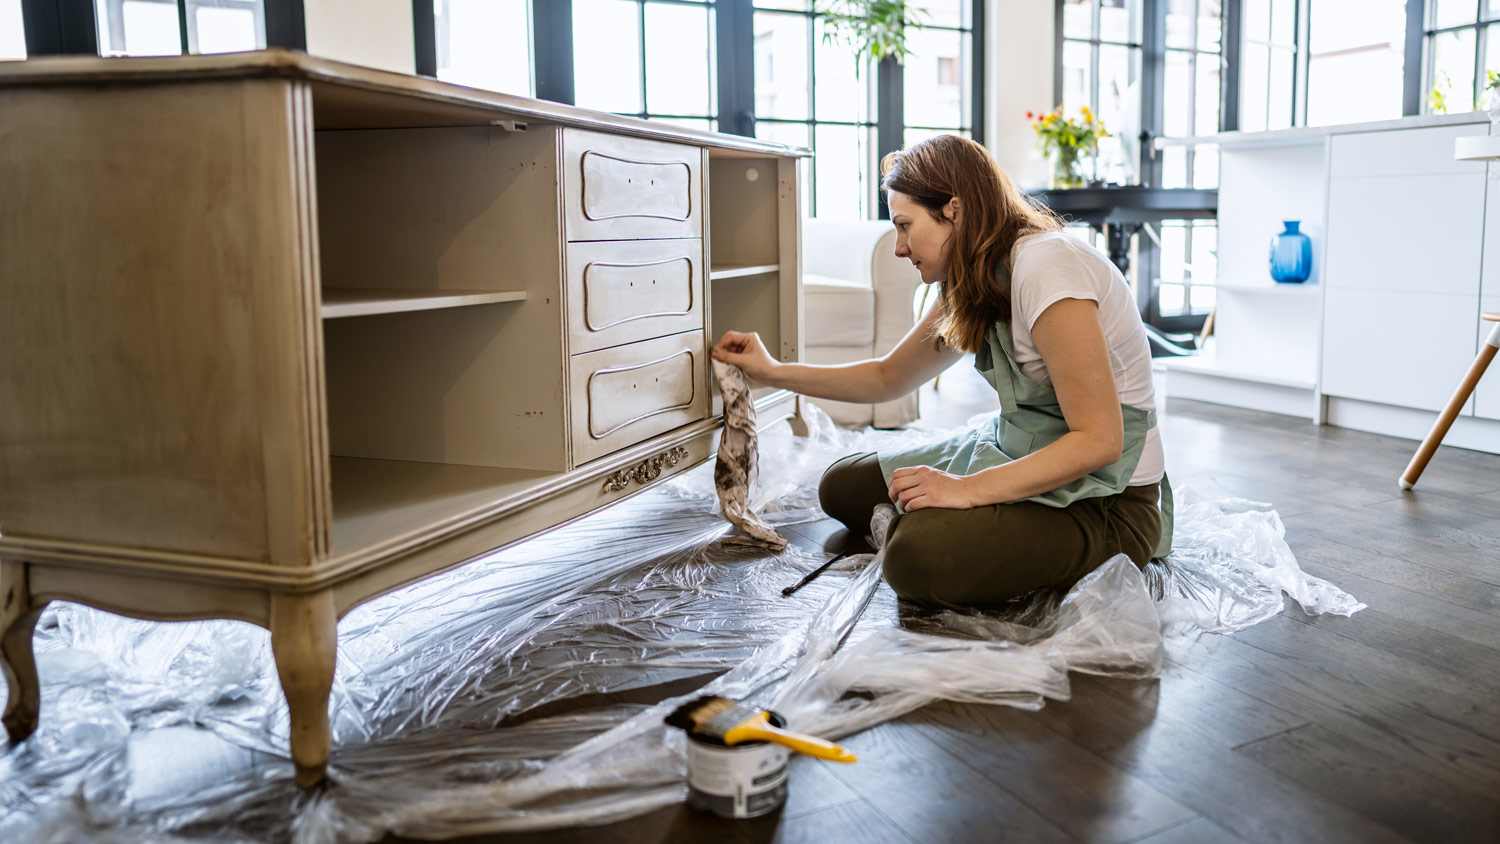
Follow this simple guide to fix water-damaged wood furniture. You don’t always have to buy new ones.
Worried about water-damaged flooring? Learn the signs of water damage, how to clean it up, and what to do if cleaning doesn’t work.
Restoring water damage can be a complicated process. Use these 12 water damage restoration tips to do the job right.