If your ceiling fan stops working due to a bad motor or broken pull chain, here’s what you can expect to pay to get it fixed.
Silence is golden


A professional ceiling fan repair costs $90 to $200 on average, but using a pro will be safer since this work involves heights and electrical components.
While you can fix some noise issues with just a screwdriver, the task might require specialized tools, especially if your fan has deformed brackets or cracked or bent blades.
A ceiling fan repair pro can quickly diagnose the source of the noise, saving you the guesswork.
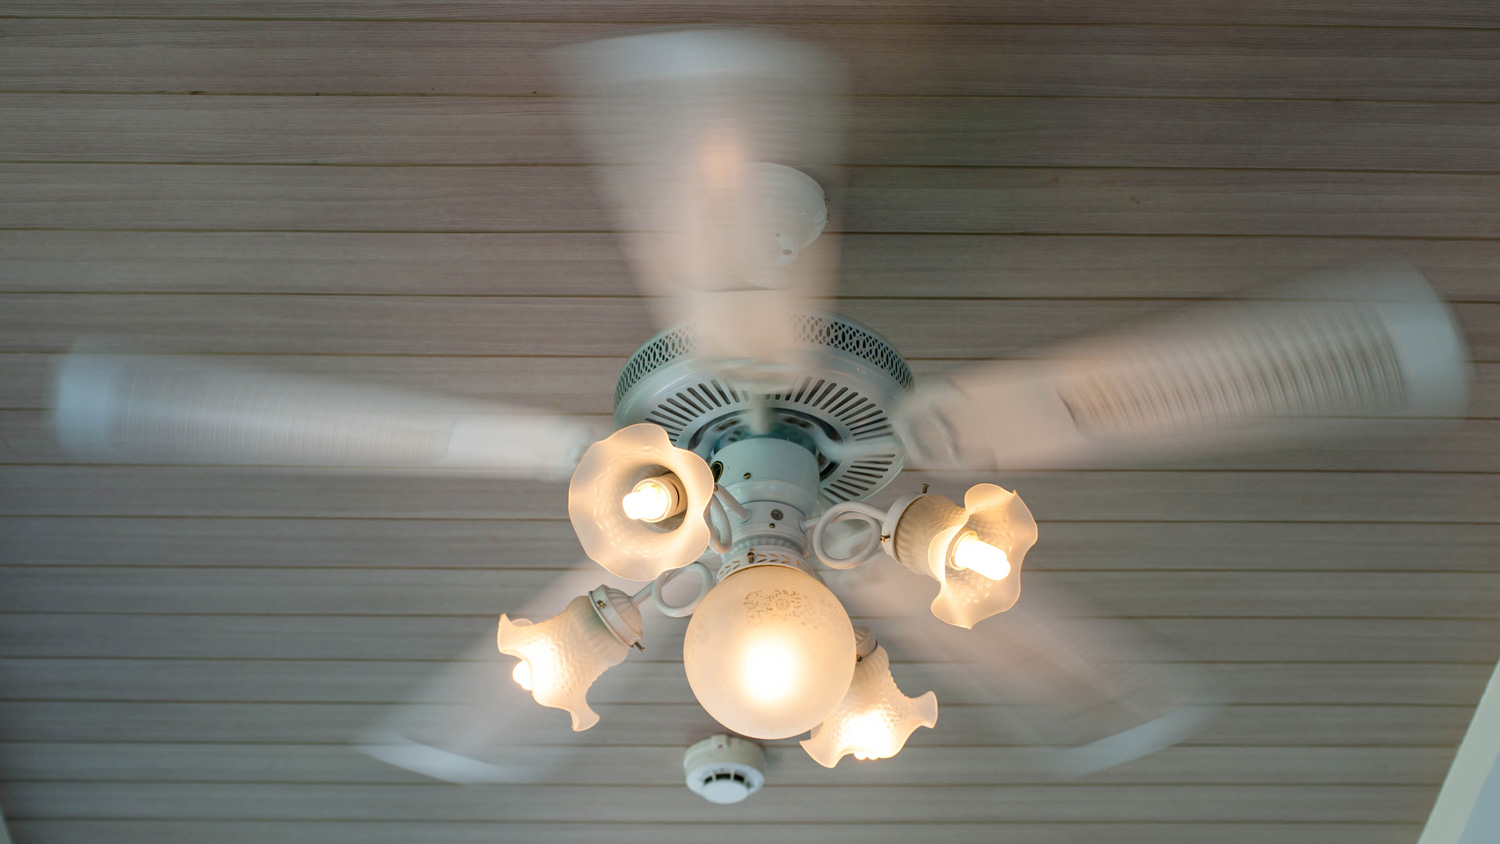
Your ceiling fan should be seen and not heard. That might sound harsh, but its job is to provide gentle air circulation without any more than faint background noise. A noisy fan is not only disruptive but can also act as a warning sign indicating underlying issues with your fan. Whether your fan is clicking, rattling, or making another abnormal noise, you can learn how to fix a noisy ceiling fan with this guide.

There are a few reasons why your ceiling fan might be making noise, and you can usually narrow down the cause by referring to the type of noise it’s making.
The root cause of a noisy ceiling fan can be simply that it’s dirty. When dust builds up on the fan blades or debris collects in the motor housing, the result can be any combination of rubbing or clicking sounds.
Screws and other small parts of your fan and its blades can loosen or fall out of place over time, which can result in consistent clicking or rattling sounds. Irregular clicking might suggest that the problem is within the light fixture instead of the fan.
Rubbing noises can also point to misaligned parts or other mechanical issues with your fan. Either parts have moved out of place and are rubbing against each other, or your fan is lacking adequate lubrication.
Humming or buzzing sounds often indicate electrical issues, which can be either with your fan’s motor or wiring. These sounds can be warning signs of greater issues later on, especially when paired with flickering or dimming lights. Electrical issues should be handled with caution—if you’re unsure or hear crackling or sizzling noises, it’s probably worth calling a professional to check things out.
To avoid injury, working with any kind of electrical unit should be approached with caution. Before starting work on your ceiling fan, disconnect it from power by turning it off at your breaker box. In addition to preventing electrocution, disconnecting your fan ensures that nobody will accidentally turn it on while you’re inspecting it from a ladder.
In most cases, fixing a noisy ceiling fan should only involve a little time and patience. Since ceiling fan issues can range from quick fixes to more complex electrical issues, start by performing basic maintenance to use your time effectively. If those steps don’t resolve the issue, move on to troubleshooting for bigger issues.
Enough dirt and dust on your fan blades can upset the rotational balance of your fan, causing it to wobble, rattle, and run inefficiently. To clean the blades, start by using a duster to remove the bulk of dust, dirt, and debris. Using a damp pillowcase over each blade to wipe them down can also help catch most of the dirt. It’s also worth putting a sheet below your fan as you clean it to prevent debris from getting on your furniture.
To get a deeper clean, use a damp microfiber cloth to wipe down the blades, blade arms, and motor housing. If there’s build-up or debris around the motor housing, use a small brush or cotton swab to clean these small spaces. Make sure to wait until the fan is dry, about 15 minutes, before turning it back on.
It’s normal for screws and other fasteners to loosen over time due to the consistent rotational force of the fan. Carefully look over each part of your fan, including:
Blades
Fan arms
Brackets
Canopy
If you find any loose screws or fasteners, use a screwdriver or a wrench to tighten them. Some components may have been pushed out of place while the screws were loose, which can cause issues such as the motor cover obstructing the fan blades or the fan blades getting out of position. Make sure these parts are properly aligned and in place before tightening their screws.
If your ceiling fan comes with lighting, check the lighting kit’s parts to make sure they haven’t come loose. Remove the globe or shade to inspect the fasteners beneath, and tighten any that have come loose. Check that the shades aren’t damaged and are properly in place.
Since lighting can be a source of humming and buzzing noises, now is a good time to check for any flickering lights. If you identify any flickering lights while the power is on, disconnect it and swap the bulbs. If the flickering and noise continue, it could point to a wiring issue that requires some electrical know-how or a trained local electrician to fix.
Depending on the model, your fan may need occasional oiling to keep its parts from overheating, rubbing, and sticking during rotation. Verify with the manufacturer information that your fan requires oil.
Find the oil hole for your fan, which is typically located on top of the motor and near the downrod, and insert a pipe cleaner to test the oil level. If the pipe cleaner comes out dry, add a few ounces of fan-rated electric oil according to the manufacturer’s instructions. Wipe any excess oil off before testing the fan.
If you notice damaged parts or components at any point, it’s best to replace them to prevent excessive noise or premature wear on your fan components. Depending on your warranty, the manufacturer can generally provide replacement parts.
Check for these common issues:
Deformed brackets
Cracked or bent blades
Frayed wiring
Due diligence can keep your fan running quietly and prolong its lifespan. Try these tips for keeping your fan noise-free and in good repair:
Verify with a professional that your ceiling fan is properly installed.
Wipe down your fan blades monthly to prevent dust build-up.
Troubleshoot the issue as soon as you notice excessive noise or wobbling.
Maintenance is a normal part of owning a ceiling fan, and taking the time to troubleshoot a noisy fan offers cost savings and convenience. If your troubleshooting leads to a dead end or exposes issues more complex than you’re equipped for, such as electrical problems, it might be time to call a local ceiling fan contractor for assistance.
The cost of repairing a ceiling fan ranges from $90 to $200, but a professional with the right expertise can often perform repairs quickly, correctly, and safely to potentially save you from dealing with bigger issues later on.
From average costs to expert advice, get all the answers you need to get your job done.

If your ceiling fan stops working due to a bad motor or broken pull chain, here’s what you can expect to pay to get it fixed.

Discover the cost to install a ceiling fan, including labor, materials, and tips to save. Learn what impacts your price and how to budget for your project.

If your ceiling fan is wobbling, it’s likely a simple problem. Check out these common reasons why your ceiling fan wobbles and their quick solutions.

Learn how to wire a ceiling fan with a light directly from a power source or wall switch and add a convenient remote control. Follow this step-by-step guide.

Although the risk is low, there are a few telltale signs that a ceiling fan will fall off your ceiling. This guide explains when to worry (and when not to).

If your ceiling fan isn’t spinning, the problem could be something as straightforward as a stuck switch or a blocked blade. In more rare cases, it might point to a deeper issue inside the fan.