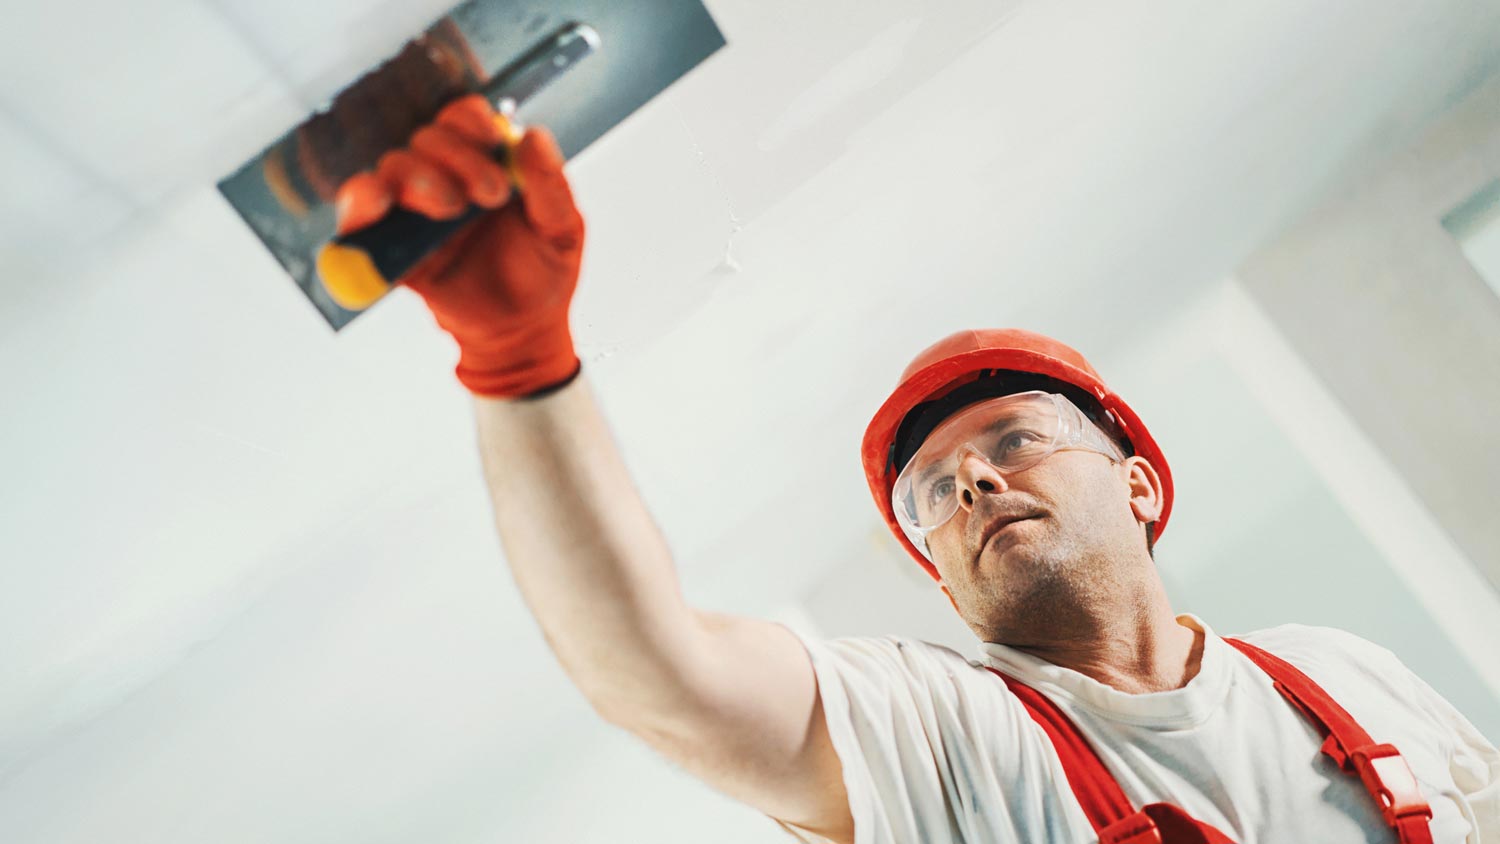
Skim coating drywall is a great alternative to replacement, and is often more affordable. Use this guide to estimate the cost to skim coat walls in your home.
Say goodbye to unsightly drywall blemishes


As a house adjusts to its environment, the wood framing can expand, contract, and settle, causing the fasteners such as nails or screws holding the drywall to push against it, leading to the appearance of nail pops. This often occurs with newly built homes due to the initial natural settling. Nail pops can be unsightly but are a relatively simple fix. Learn how to fix nail pops in drywall for a smooth finish in any room.
Before you get started, examine your wall carefully and locate any nail pops present. Nail pops appear as small, circular bumps or cracks in the drywall where the fasteners, usually nails or screws, have pushed through or become loose. One of the best drywall repair tips is to make sure you have all of your necessary supplies to fix any blemishes at the same time. Take a good look around so you can knock this out at once.
Ensure you wear proper eye protection during the project. Dust from the drywall will emit into the air and you want to avoid getting it into your eyes. If you do happen to get any in your eyes, avoid rubbing them, and clean them thoroughly with lukewarm water.

Locate the popped nail and clear the drywall from the head and the surrounding area. Using your utility knife, carefully remove any loose or damaged drywall material around the nail pop to give you plenty of space to see what you're working with. Do so with caution to avoid causing further damage.
The pop may have resulted from a nail or a screw. For a nail, gently hammer the nail back into place, avoiding causing further damage to the drywall. If it's a screw, loosen it up with your screwdriver or screw gun first. Then, to keep it secure, screw it into the wall clockwise until it's snug against the drywall. Avoid tightening it too much to prevent breaking the paper surface.
In some cases, the nail pop may still be raised after tightening. Even if it's not, reinforce it with drywall screws to prevent the pop from occurring again. Place a 1-1/4-inch drywall screw roughly 1 to 2 inches above the original fastener, and at a slight angle, screw it in and secure it firmly to the wall stud. Repeat this step on the bottom of the original fastener for increased security.

If you already know how to patch a hole in drywall, the rest of these steps will be familiar to you. Ensure the area is flat and then begin to patch the hole. Using your putty knife, apply a thin layer of joint compound over the nail pop and surrounding area. Blend the edges into the existing wall paint. The joint compound will need to dry completely – typically within 24 hours – before you can move on to the next step.
Once the joint compound is completely dry, smooth the patched area with sandpaper. Continue sanding until the area is flush with the rest of the wall. Use a damp, clean cloth to wipe away any dust left behind.

Apply a coat of primer to the patched area to help the paint adhere evenly and create a uniform finish. Once the primer has dried completely, use a paintbrush or roller to paint the patched area with the same paint color as the rest of the wall. Allow the paint to dry completely before assessing whether a second coat is required for even coverage.
Fixing nail pops in drywall is a relatively simple project even inexperienced DIY homeowners can tackle. As long as proper care and protection are taken, the problem can be remedied in one weekend. However, if you don't have time in your schedule for the project or prefer professional help, consider hiring a drywall repair specialist.
If you choose to hire a local drywall installer to make repairs, the cost will range between $294 and $893. The project cost will depend on the extent of the damage.
From average costs to expert advice, get all the answers you need to get your job done.

Skim coating drywall is a great alternative to replacement, and is often more affordable. Use this guide to estimate the cost to skim coat walls in your home.

Pre-drywall inspection costs vary depending on the home size, build complexity, and reporting you receive. Estimate your budget with this cost guide.

Installing beadboard ceilings is a great DIY project. Learn what to expect cost-wise from this project, whether removing or covering a popcorn ceiling.

When hanging objects, you will use different types of drywall anchors. Use this guide to determine which anchor to use and when.

Looking for a unique design to accent your home? Consider these drywall texture types for increased style that's sure to be a conversation starter.

The terms drywall and Sheetrock are often used interchangeably, but one is a brand and one is a specific product. Find out which one you need in this guide.