Get a clear estimate for attic fan repair costs to learn what impacts pricing, how to save, and whether to repair or replace your attic fan.
Don't let a faulty light switch dim your day


Like anything in your home, light switches wear out or start acting up over time. You might notice your lights flickering or not turning on or off properly. The upside is that if you are wondering how to fix a light switch, it's a straightforward DIY project requiring a few tools while keeping electrical safety at the forefront. So, grab your toolbox, and let's replace that faulty light switch.

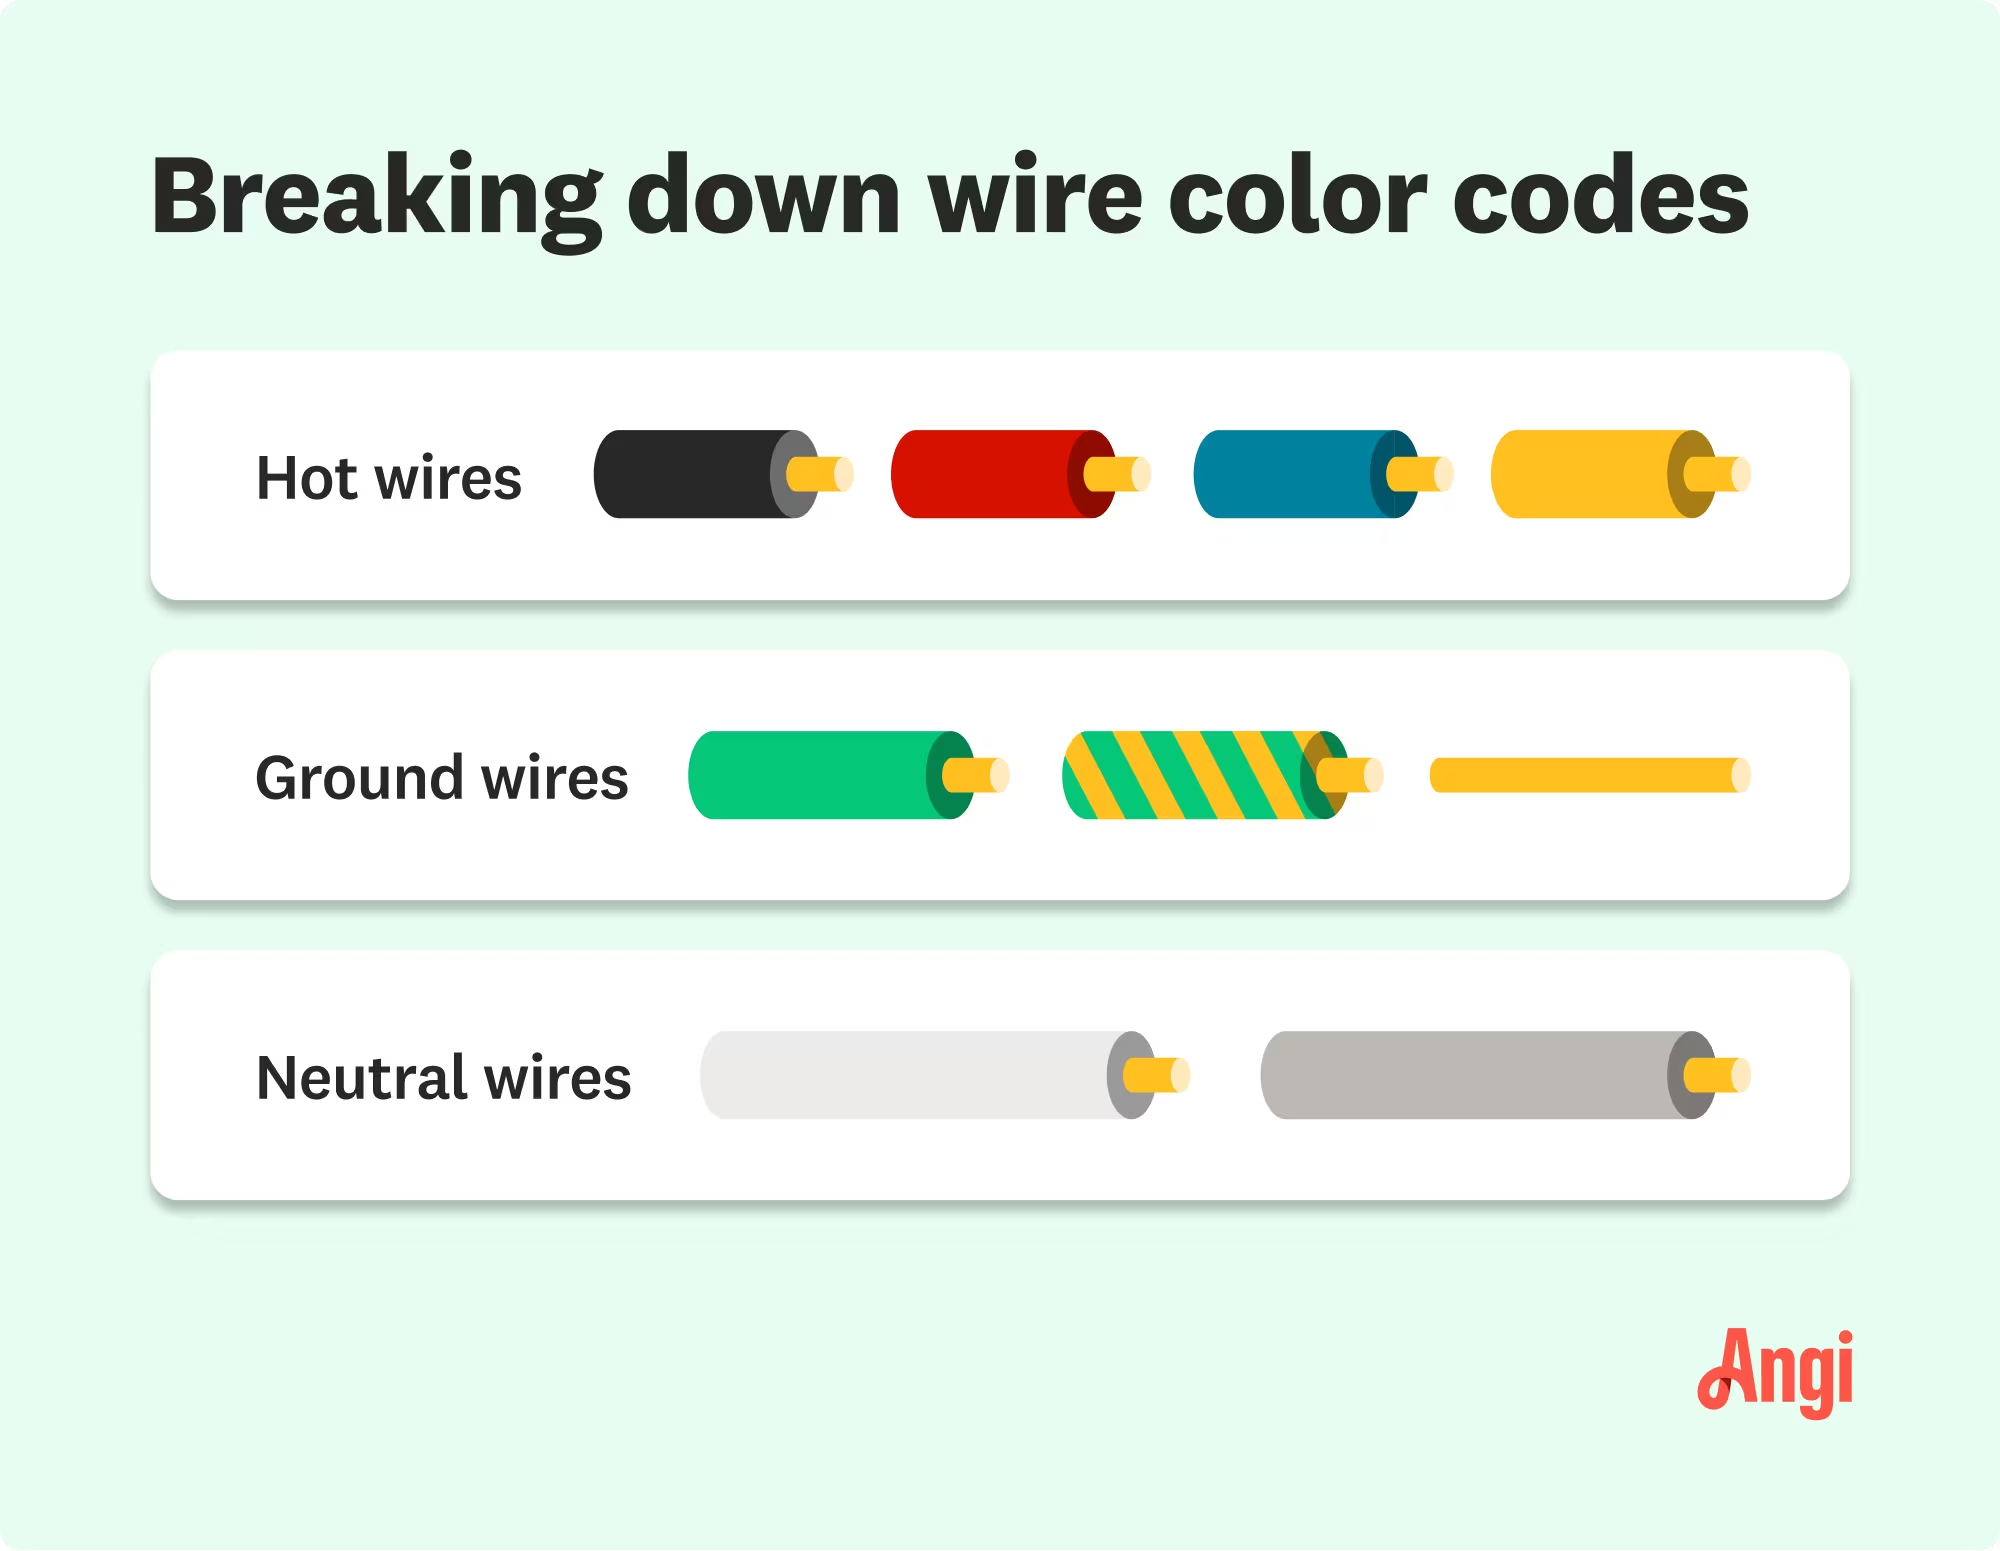
Before getting started, understanding the various wires when repairing a light switch is essential. The hot wire is usually black, red, or brown. For older circuits, it might be red. The neutral wire is white but can be black if the switch is on a dimmer. The ground wire is copper or green. Remember, incorrect wiring can cause a fire, so consult a local licensed electrician if you need clarification during this process.

Fixing a light switch might seem intimidating, but DIY enthusiasts can handle the task with the right tools and precautions. Follow these simple instructions to brighten up your home in no time.
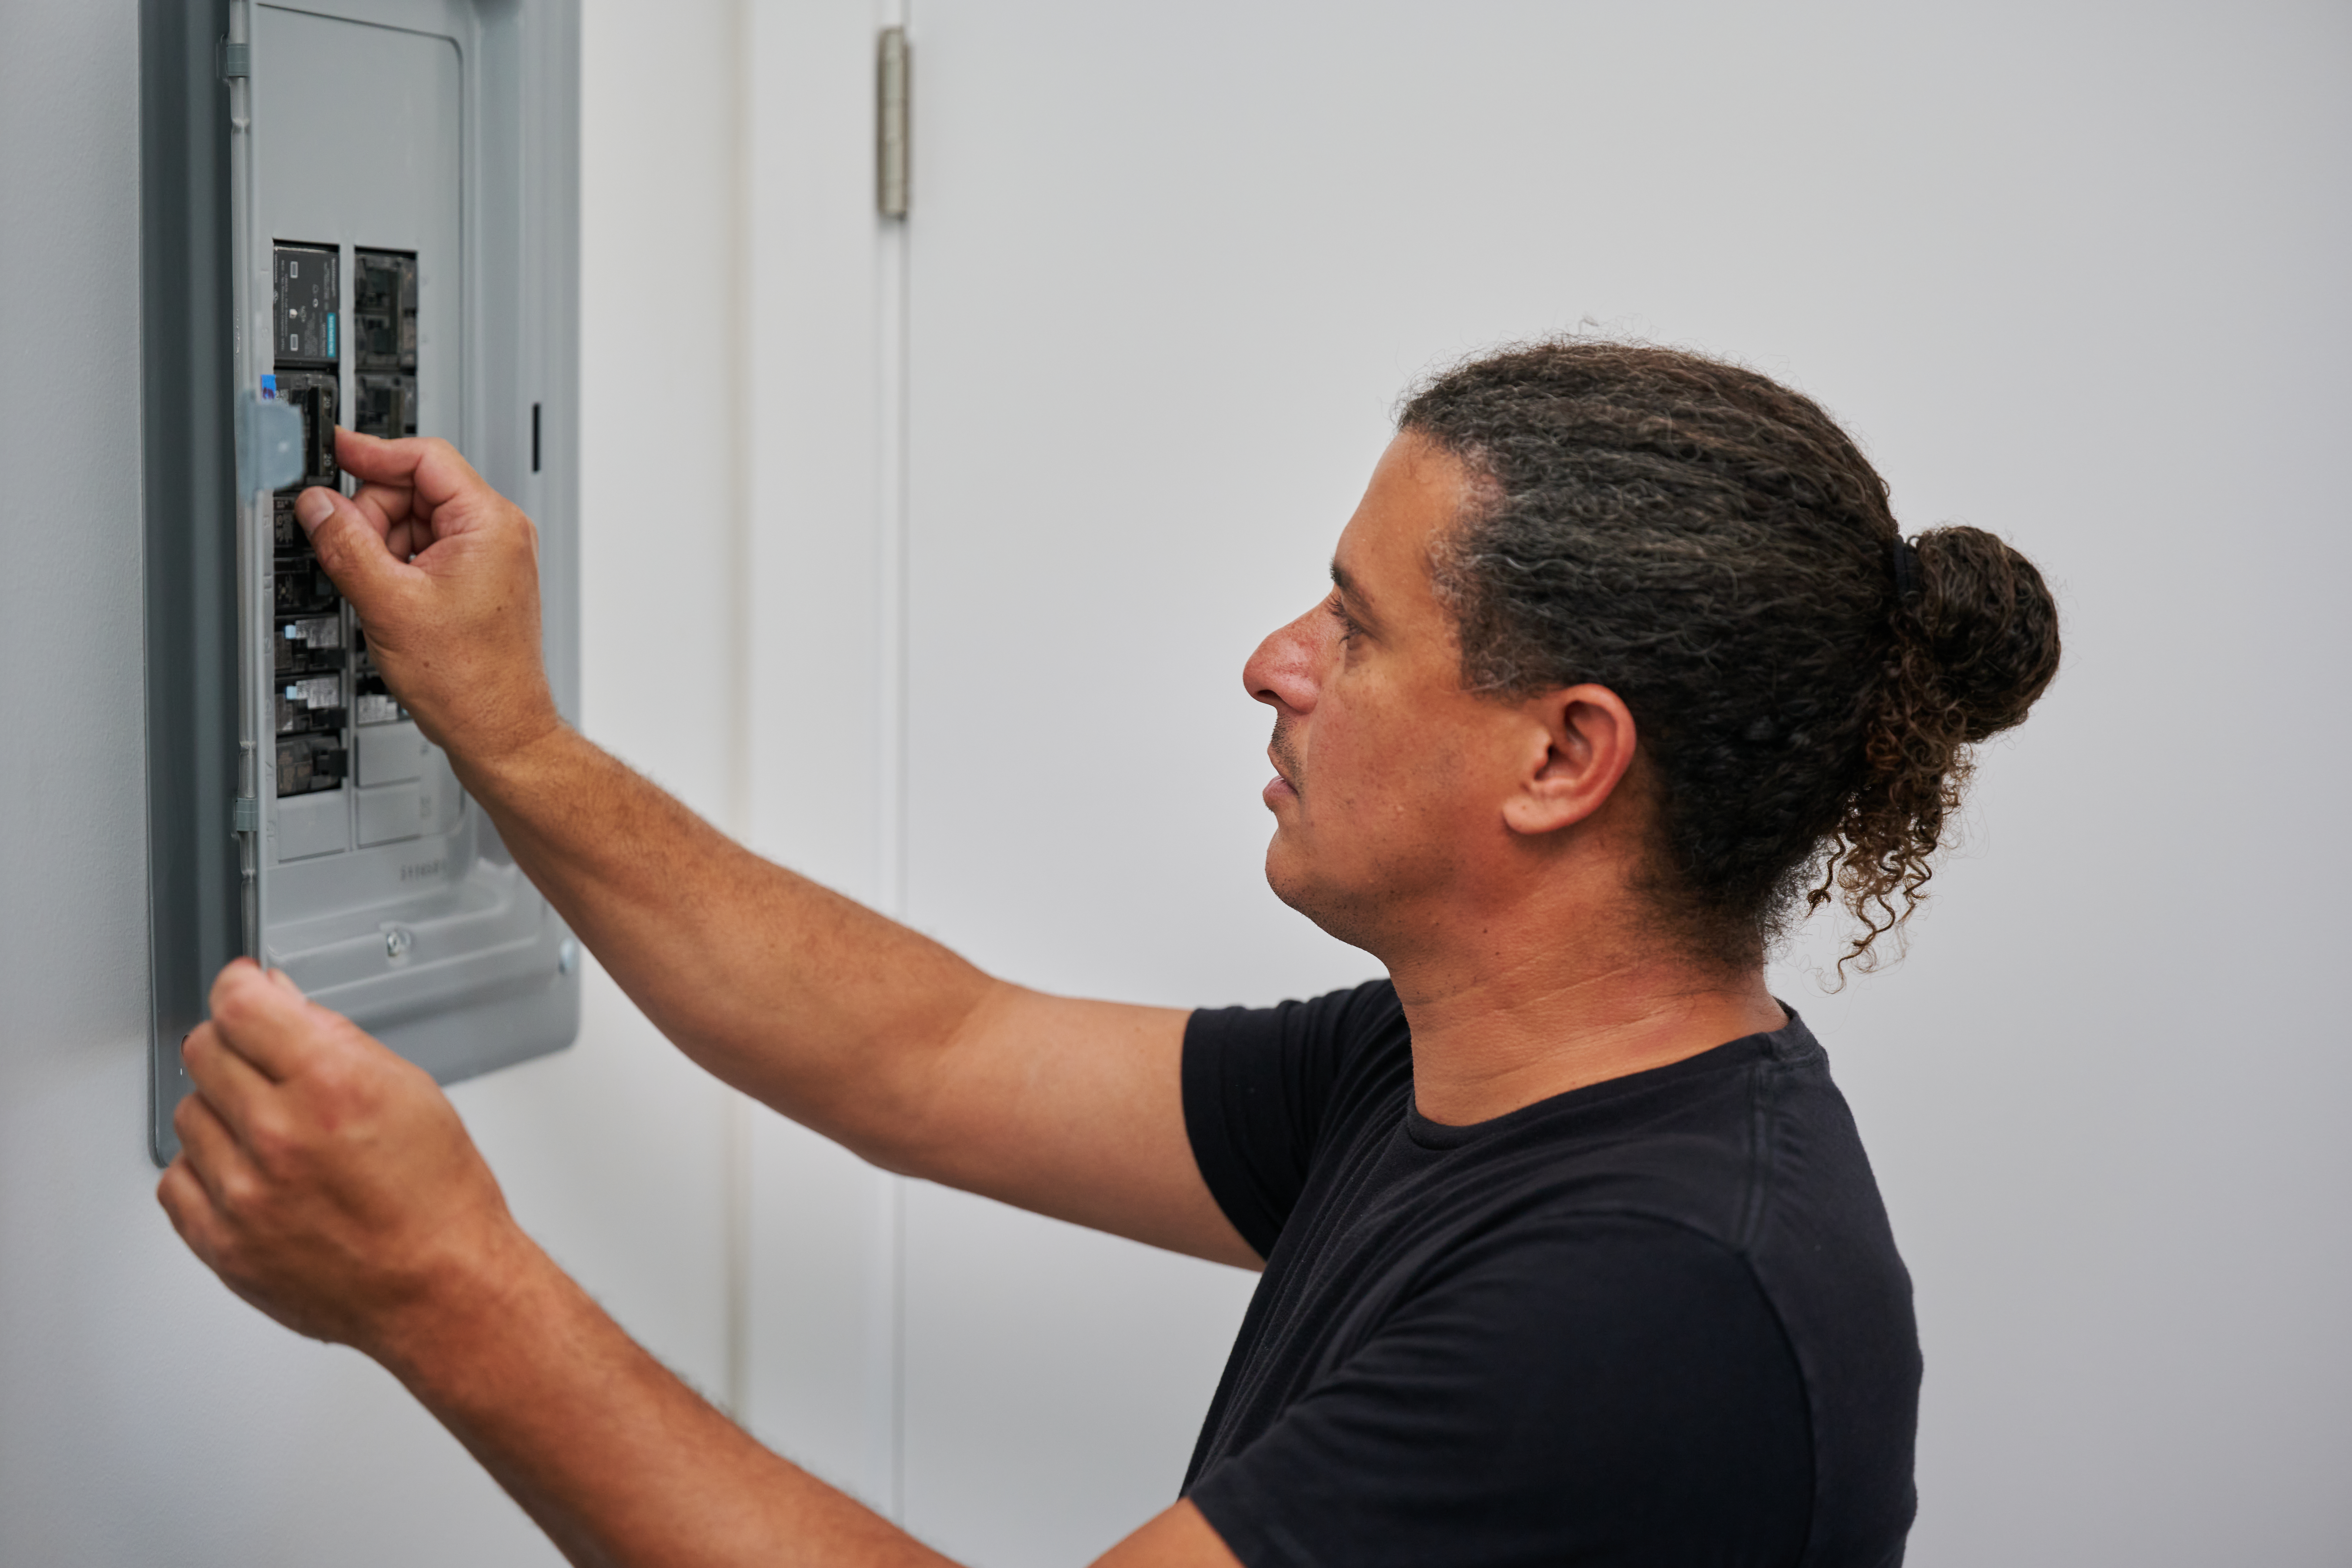
When tackling any electrical project, including replacing your light switch, always turn off the power on the circuit you'll be working on. Go to your home's electrical panel and flip the circuit breaker to the "off" position. Double-check by trying to turn on the light—if it doesn't come on, you've successfully cut the power.
Use the appropriate screwdriver, either flathead or Phillips, to remove the screws securing the cover plate over the switch. Gently pull off the cover plate to expose the switch and wiring. If you are not replacing the switch plate, tape the tiny screws to the plate. That way, you won't have to search around later for those tiny screws.
Even though you've turned off the circuit breaker, it's a good idea to double-check that there's no power running to the switch before trying to replace it. Pick up your voltage tester and test the wires connected to the switch. If the tester lights up, there is still power, and you need to recheck the circuit breaker.
Loosen and remove the screws that secure the switch to the electrical box. Pull the switch out of the box slowly, mindful of the connected wires. Consider taking a photo of which wire goes where for reference later when reconnecting the wires.
If you're concerned about remembering which wire goes where on the light switch, in addition to taking a photo, use masking tape to label each wire. Then, use a screwdriver to loosen the screws and disconnect the wires.

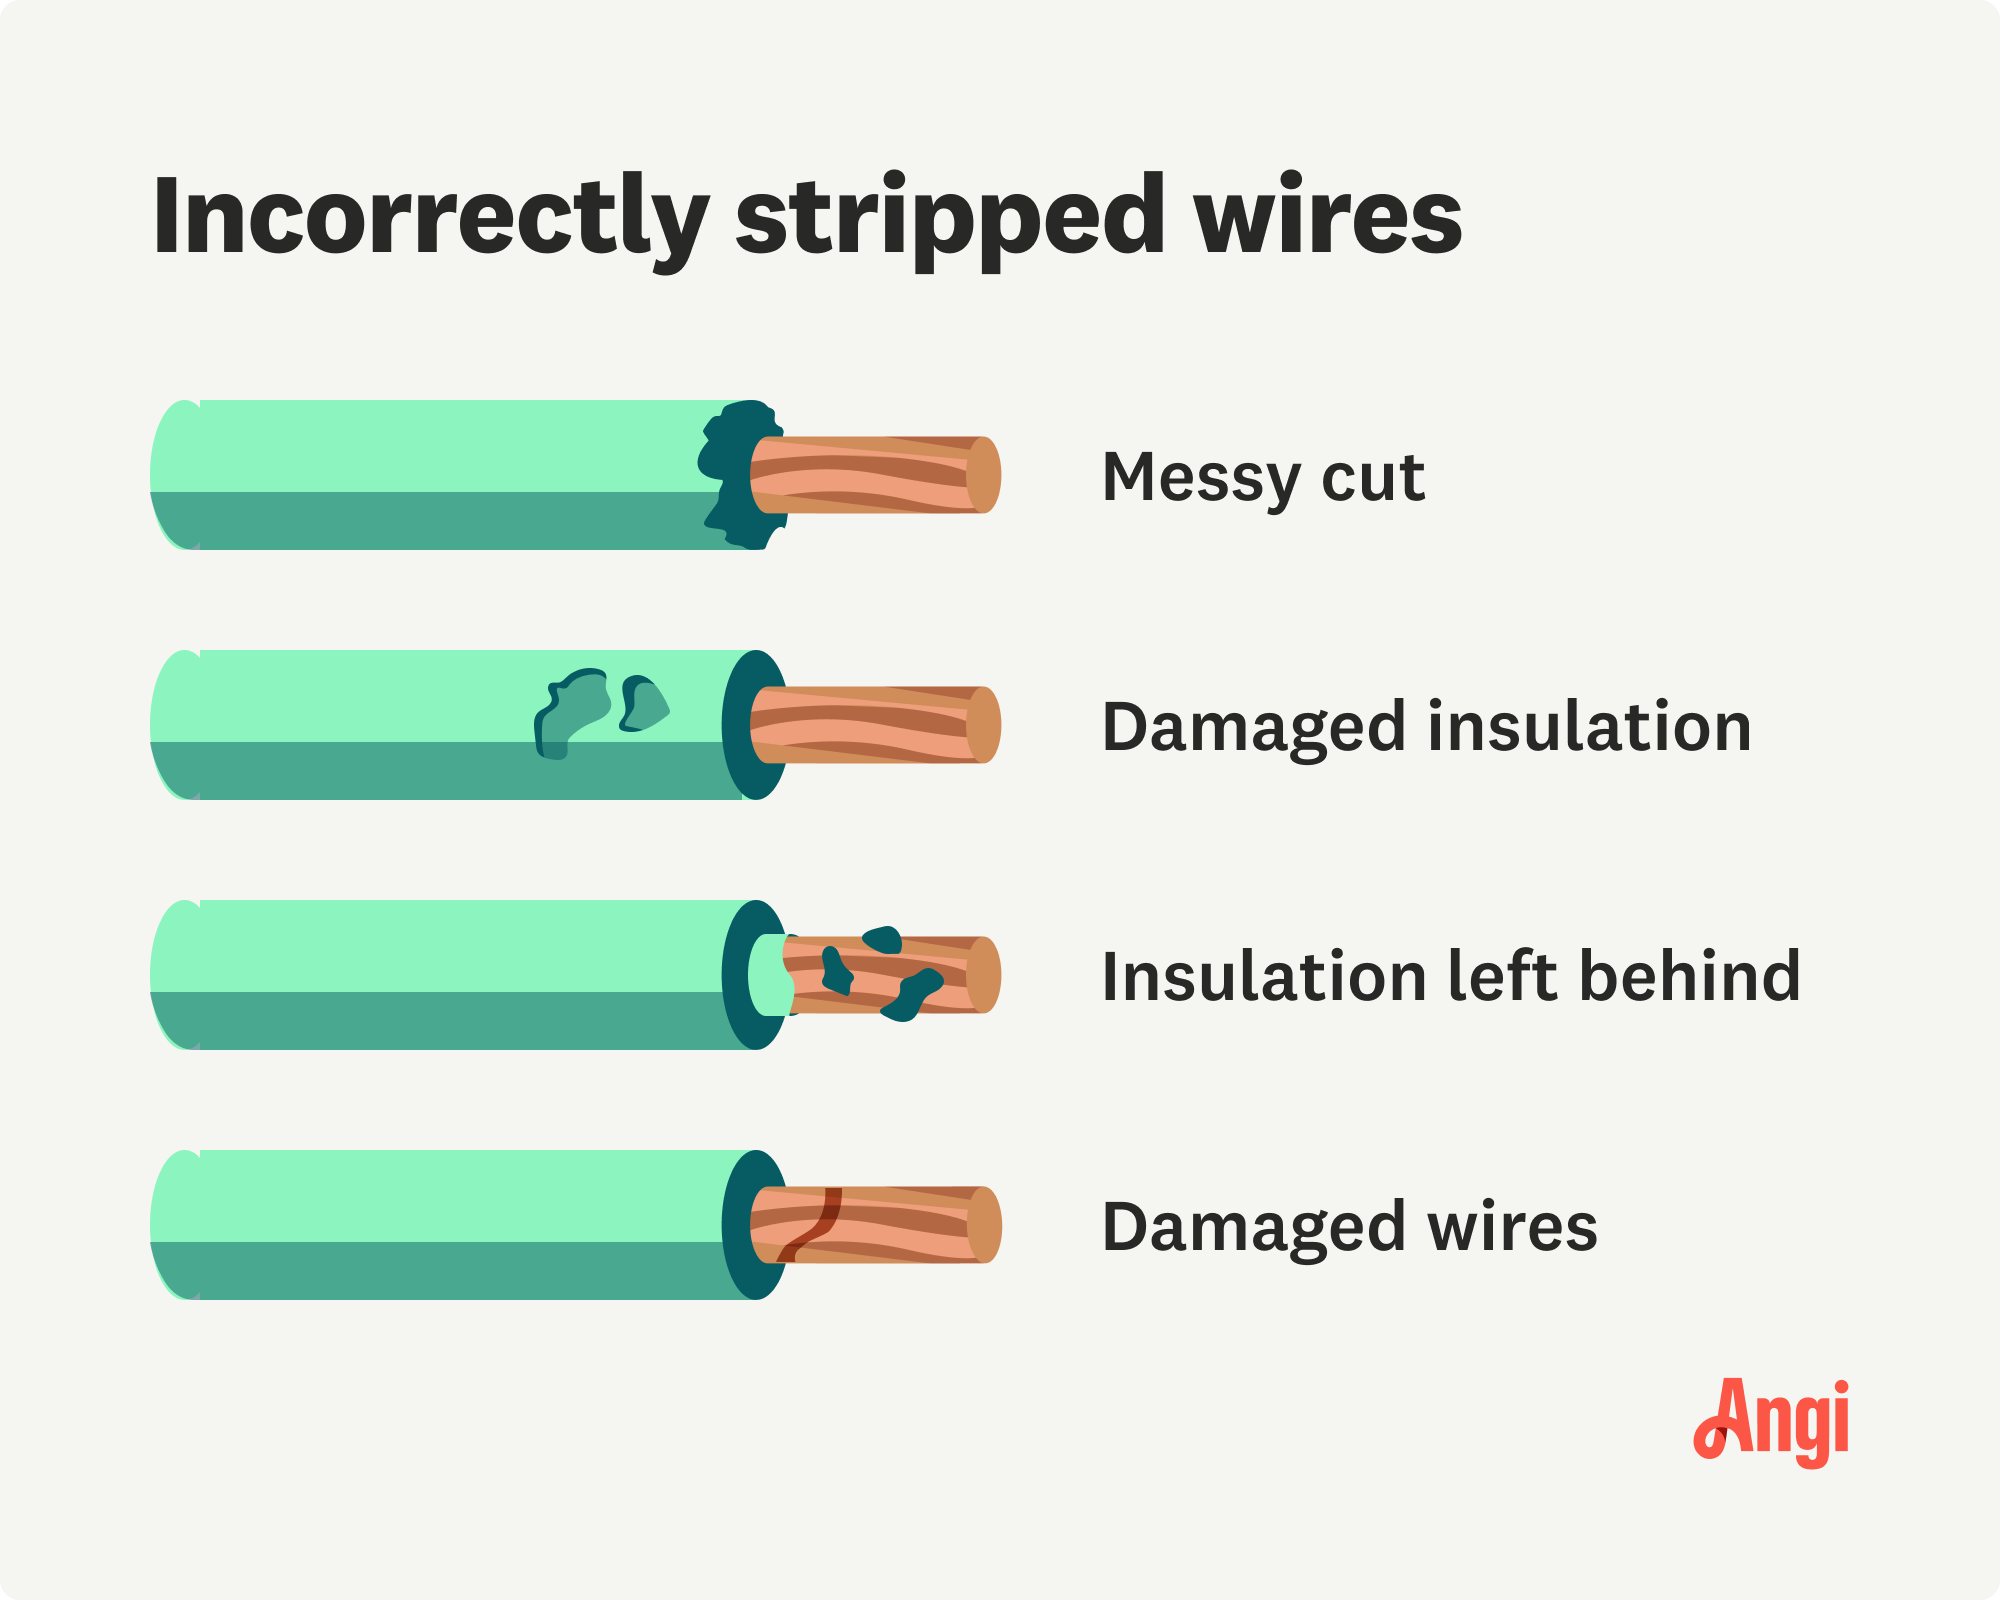
Inspect the exposed wire ends for any signs of damage or fraying. If you notice any issues, trim the damaged section and strip the wire carefully.
Using a wire stripper, remove no more than 3/4 inch of the insulation—the color coating—from the ends of each wire. Take your time so you don't damage the wire.
Twist the ends of stranded wires to ensure they stay together and make a solid connection to the new light switch. Lastly, shape the wires into little hooks using needle-nose pliers, making it easier to loop the wire around the terminals securely.
To connect the wires, refer to the photo you took or the taped labels. Then, take your new switch and attach the wires to the corresponding terminals. Ensure the wires are secure by tightening the screws.
Carefully push the wires back into the electrical box, position the switch, and use the screws to secure it in place. Next, place the cover plate over your new light switch and screw it back on using the appropriate screwdriver.
Return to the electrical panel and turn the circuit breaker back on. Test the new switch by turning the light on and off to ensure it's working correctly.
If the light flickers after installing the new switch, ensure the wires are securely connected. If the light doesn't turn on, double-check the circuit breaker and verify that the wires are correctly connected to the switch.
If you notice any sparking or buzzing, turn off the power immediately and recheck your work. If the issue persists, consult a licensed electrician.
Doing this project yourself certainly saves money. On average, replacing a light switch costs $150, though the price can range from $60 to $300 depending on the type of switch you want to install and the associated labor costs in your area.
While fixing a light switch is a manageable DIY project, some situations may require professional assistance. For instance, if you're uncomfortable with working electricity, the wiring looks damaged or unsafe, or you have a complex configuration with multiple switches.
From average costs to expert advice, get all the answers you need to get your job done.

Get a clear estimate for attic fan repair costs to learn what impacts pricing, how to save, and whether to repair or replace your attic fan.

Installing an outdoor outlet is a relatively affordable way to take your outdoor space to the next level. Find out the cost to install outdoor outlets

Electrical panel replacement costs $530 to $2,100, depending on the location, the type of hardware, and any required building materials.

Adding an outlet to your home can be as straightforward as connecting to an existing circuit. Learn how to wire an outlet from another outlet in this advanced-level DIY guide.

Discover how to upgrade your electrical panel for added convenience and to help increase the safety of the electrical system in your home.

If you use several electrical appliances in your home simultaneously and the power shuts down, an overloaded circuit could have tripped the breaker. Follow these simple steps to reset your breaker.