

Foundation repair costs can be tricky when you have a large repair on your hands. This guide walks through costs from small cracks to total replacement.
Fix non-structural cracks quickly with this guide

 - Derek Rose.png?impolicy=thumbnail)
The sight of a crack in your foundation, no matter how small, can be alarming. Fears of structural damage and thousand-dollar repairs are likely to strike even the most seasoned homeowners. Luckily, most foundation cracks are non-structural and can be fixed without costly assistance from a professional. Read on to identify the type and cause of the damage to your home and how to fix foundation cracks all on your own.
Before you think about fixing a crack, you have to know what kind you’re dealing with. Foundation cracks might look like a mess of random lines, but each has a reason and remedy.
These are the most common variety and, fortunately, are rarely a sign of structural damage. Vertical cracks are often caused by foundation settlement, which is shrinkage that occurs when concrete cures or subpar construction of the foundation’s footing. It should be possible to patch these on your own.
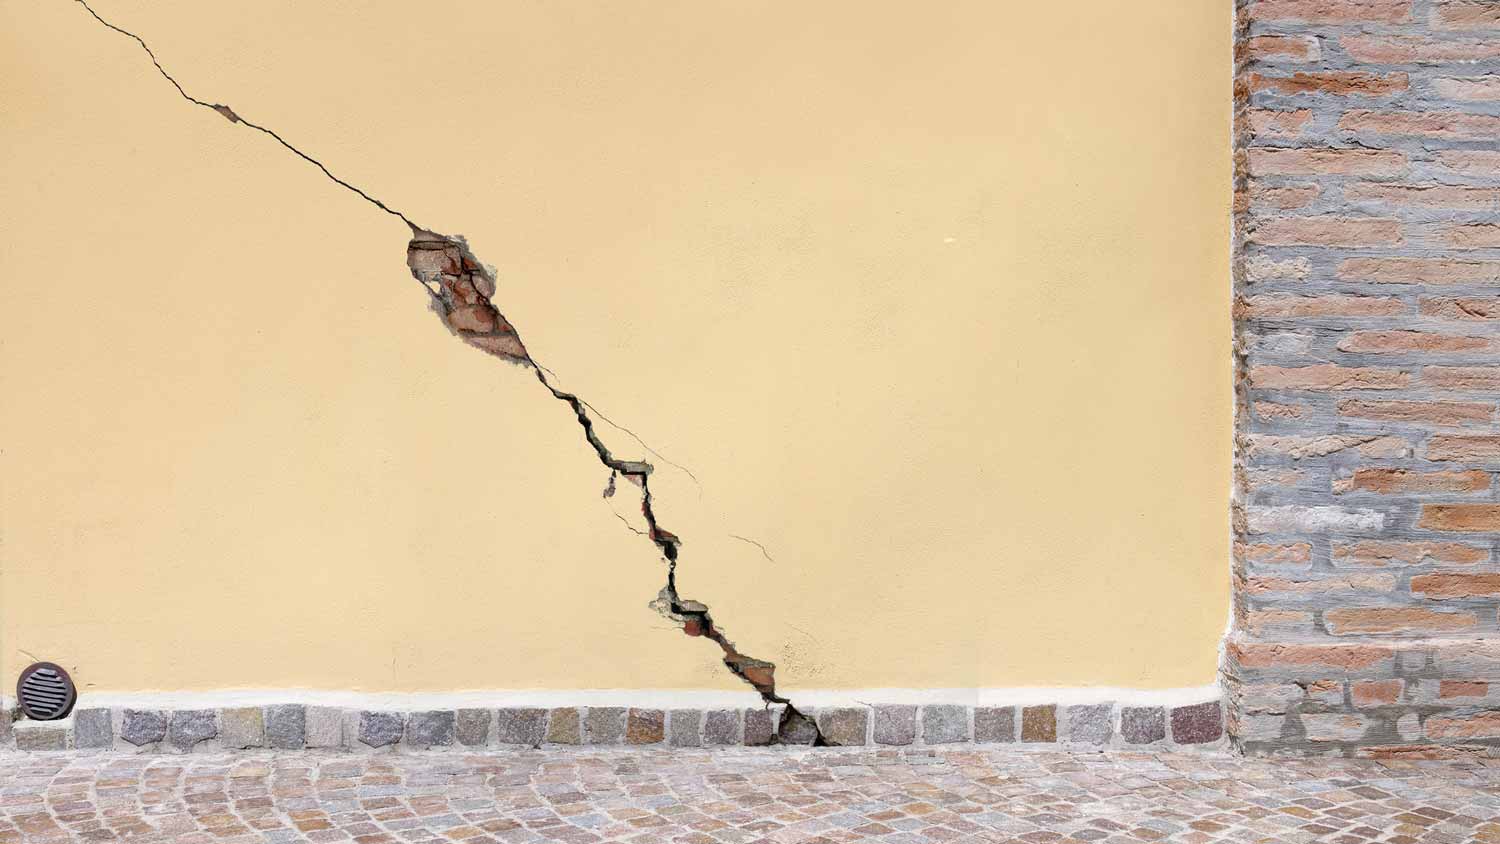
A horizontal foundation crack is among the most serious types. Identifiable as lines running left to right rather than up and down, they indicate that the foundation walls are bowing from too much stress. If you notice these in your basement, contact a local foundation repair pro instead of going the DIY route.
Diagonal cracks form at approximately a 45-degree angle, running from an upper corner of the basement wall to a lower corner. If it’s a fine or hairline crack—less than one-eighth of an inch wide—and stable at that size, it could be caused by foundation settling or concrete shrinkage. Larger than that and it could indicate structural problems or differential settling, making it more serious.
These are similar to diagonal cracks, except they occur in foundations made from bricks or concrete blocks. They usually form along the grout or mortar between bricks and are more worrisome than vertical cracks.
As far as foundation cracks go, the ones on the basement floor are less serious because the floor doesn’t bear the weight of the house. Floor cracks are usually caused by settling and concrete shrinkage and can usually be fixed DIY style.
This category can apply to any of the other types of cracks listed above. It defines any crack that is actively getting deeper, longer, or wider. These are foundation cracks to be concerned about, and you should contact an expert.
If you’ve determined that the cracks in your foundation are non-structural, not active, and less than one-eighth of an inch wide, here are a few easy ways to fix them.
Using an epoxy injection kit is the longest-lasting and most reliable way to repair a foundation crack on your own. Epoxy resin is waterproof and stronger than standard concrete, so it guards against water leaks and provides excellent stability going forward. It’s also more cost-effective than hiring a professional, as kits range from $100 to $400, and the project can be completed in one or two hours. Here’s how to use it.
Clean the crack with a wire brush to remove debris like paint chips and loose concrete.
Use an air compressor to expel dust from the crack.
Attach the injection ports. This is usually done by spreading epoxy on the back of the ports and placing them along the crack about 8 to 12 inches apart. Depending on the kit you purchase, though, you might have to hammer nails along the crack—still 8 to 12 inches apart—and place the ports over the nails.
Spread epoxy along the crack, including over the bases of the injection ports, and smooth with a putty knife.
Inject epoxy into the ports, starting with the lowest one and working your way up. Plug each port once finished before injecting the next one.
Once you have injected epoxy into each port, remove the tops of the ports with a hammer, saw, or scissors.
You can finish the repair by sanding the epoxy-filled crack, but this is not mandatory.
A common alternative to epoxy resin is polyurethane foam. While epoxy is stronger and generally preferred, polyurethane has some advantages. Polyurethane interacts better with wet surfaces and cures faster, so if you’re repairing a leaking crack, this is the way to go.
A polyurethane kit costs roughly the same amount as an epoxy kit, $100 to $400, but since this option expands upon injection, you can use less per repair and possibly save money. If you choose polyurethane over epoxy, check out the steps above, as the two kits have similar instructions.
For homeowners with minor foundation damage, hydraulic cement could be the quickest, easiest, and most affordable solution. It’s especially handy for plugging and preventing leaks because it’s waterproof, binds well to areas that are already damp, and has a rapid set time of 3 to 5 minutes.
A 10-pound bucket costs around $15 to $20. Compare this to the foundation repair cost if you hire a pro, which is around $5,000. So, why don’t we use this quick fix for every foundation repair? It’s simply not strong enough to depend on for structural cracks.
There are a few other disadvantages, too. It’s difficult to apply the mix in cold temperatures; anything below 45 degrees F and it may be unusable. You’ll also have to work fast, as the mix can dry out in 15 minutes. If hydraulic cement is the right fit for your home repair, though, follow these steps:
Chisel out the crack. Hydraulic cement actually binds better to rough surfaces.
Mix the cement. Most mixes recommend around four parts cement to one part water, but consult the manufacturer's instructions beforehand.
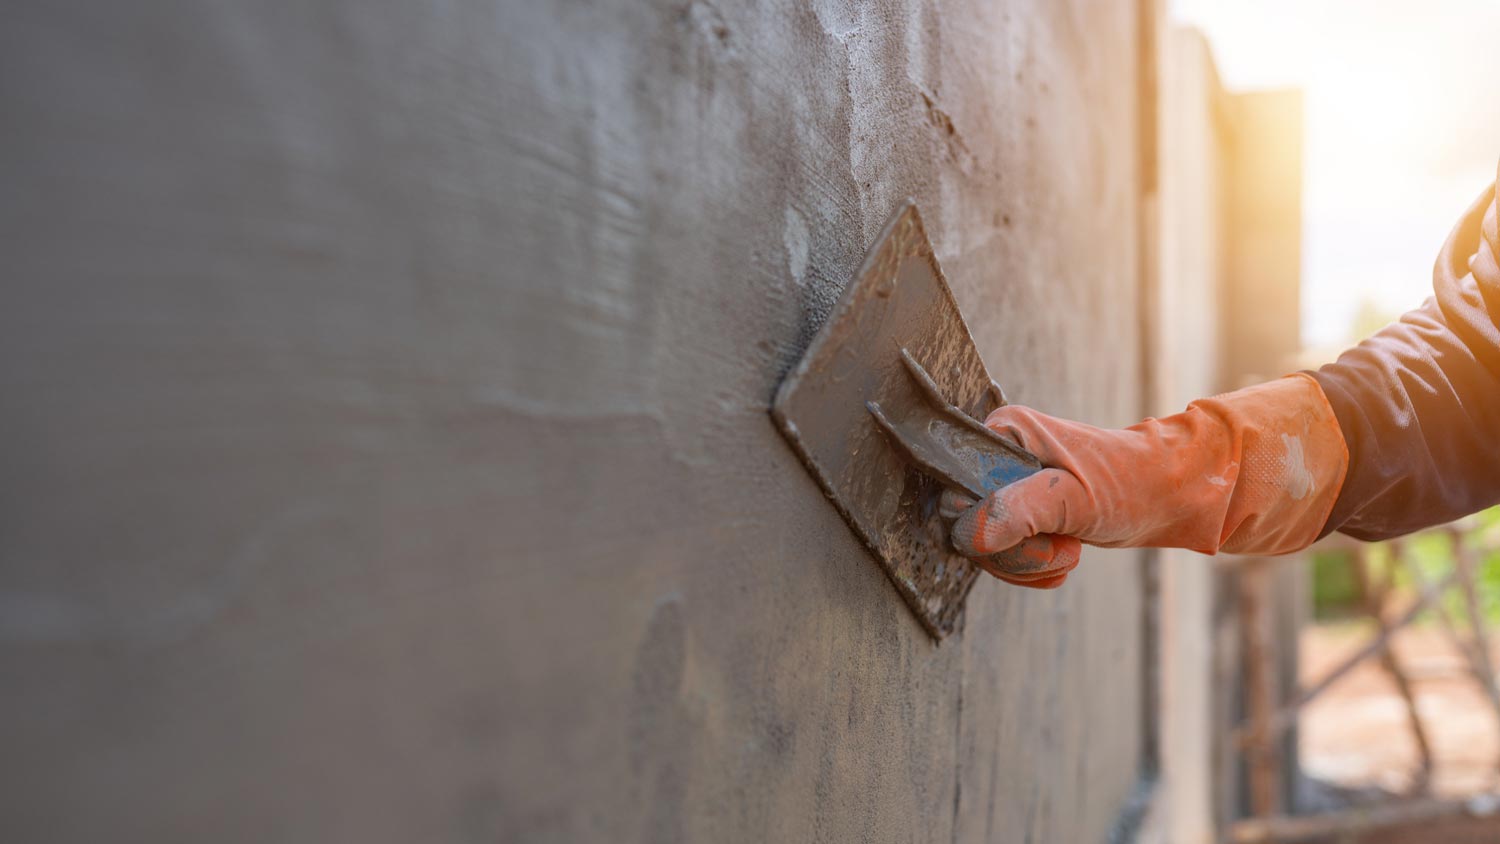
Use a putty knife to spread the mix inside and along the crack, starting at the top and going to the bottom. Try to spread the mix as evenly as possible so it dries more smoothly.
You can use paint or concrete resurfacer to match the color of the mix and wall—the mix will dry darker—and complete the foundation resurfacing. However, this isn’t required if you don’t mind the look.
A variety of factors cause foundation damage. If the cause of your foundation crack is an ongoing issue, as opposed to a one-time incident, you should fix the root problem first before attending to the crack; otherwise, cracks are likely to reoccur.
Foundation settlement occurs when the foundation shifts or sinks. It’s a natural process that every home undergoes (you can hear it in those occasional night time creaks), and changes in the soil underneath the house usually cause it. Though often harmless, settlement can lead to a number of issues outside of foundation cracks.
Shifting soil is another common culprit of cracks, and it goes hand in hand with foundation settlement. Some types of soil, particularly those heavy with clay, expand with moisture and contract with heat or drought. These shifts can strain the foundation to the point of cracking.
Excess temperatures present a dual problem by causing the soil to contract and concrete to expand, both of which can result in foundation cracks. Keep this in mind if there are intense temperature fluctuations in your area.
While foundation cracks can lead to water leaks, they can also be caused by them. For those with leak issues, sealing the foundation is a must. Check for pooling water or water damage both indoors and outdoors when performing a foundation inspection, too.
If a tree or group of trees is planted too close to the house, the roots might absorb so much water that the surrounding soil dries up and contracts, leading to shifts in the foundation. To avoid this, plant trees at least 15 to 20 feet from the house.
From average costs to expert advice, get all the answers you need to get your job done.
Foundation repair costs can be tricky when you have a large repair on your hands. This guide walks through costs from small cracks to total replacement.

Plumbing leaks are never fun, but they’re worse when they happen inside your foundation. Use this guide to slab leak repair costs to see what you’re up against.

Staying ahead of foundation problems can save you time and effort. Learn how much foundation inspections cost and what affects how much you’ll pay.
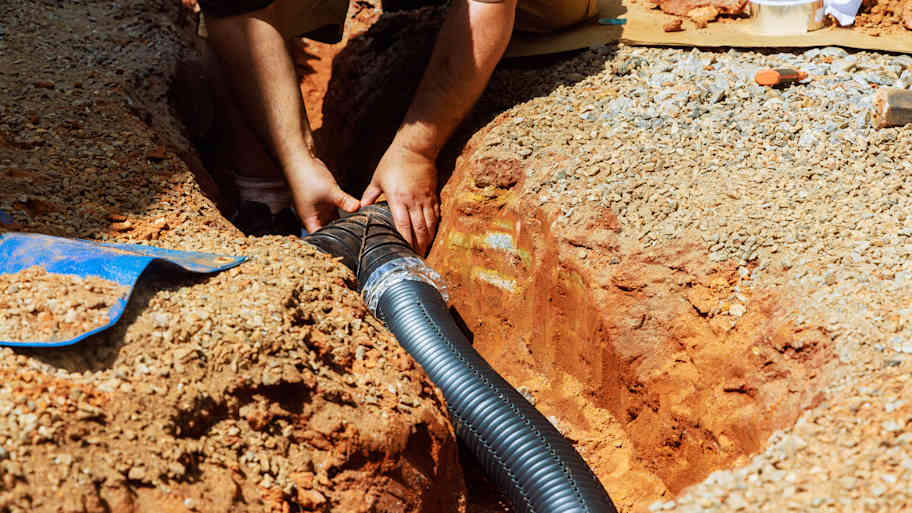
Wondering what weeping tile is? With the unique and somewhat confusing name, you’re not alone. Learn more about weeping tile drainage systems in this guide.

Learn about the benefits and considerations of installing a French drain around your foundation to decide if one is right for you.

All foundations settle, but some can develop related structural issues. Use this guide to identify foundation settlement and determine when to take action.